Tag: low-friction sourdough

  • Can You Make Sourdough in a Bread Machine? What Works, What Doesn’t, and the Smart Middle Path

    Can You Make Sourdough in a Bread Machine? What Works, What Doesn’t, and the Smart Middle Path

    If you own a bread machine, the thought is almost irresistible. You have this countertop box that mixes, kneads, proofs, and bakes a loaf while you do something else entirely. So why not just drop your sourdough ingredients in, press start, and walk away to a finished artisan loaf? It feels like the ultimate low-friction sourdough: all of the reward, none of the babysitting.

    The honest answer is that you can make sourdough with a bread machine, and for a tired or busy baker it can genuinely save your hands and your schedule. But if you use the machine the way the manual intends, pouring everything in and letting the automatic sourdough-or-basic cycle run start to finish, you will usually pull out a dense, squat loaf with a tight crumb and a sad little paddle hole in the bottom. The machine is not broken, and neither is your starter. The two were simply built on different clocks. Let’s walk through what a bread machine actually does well, where it fails wild yeast, and the smart hybrid method that gets you a hands-off loaf without the brick.
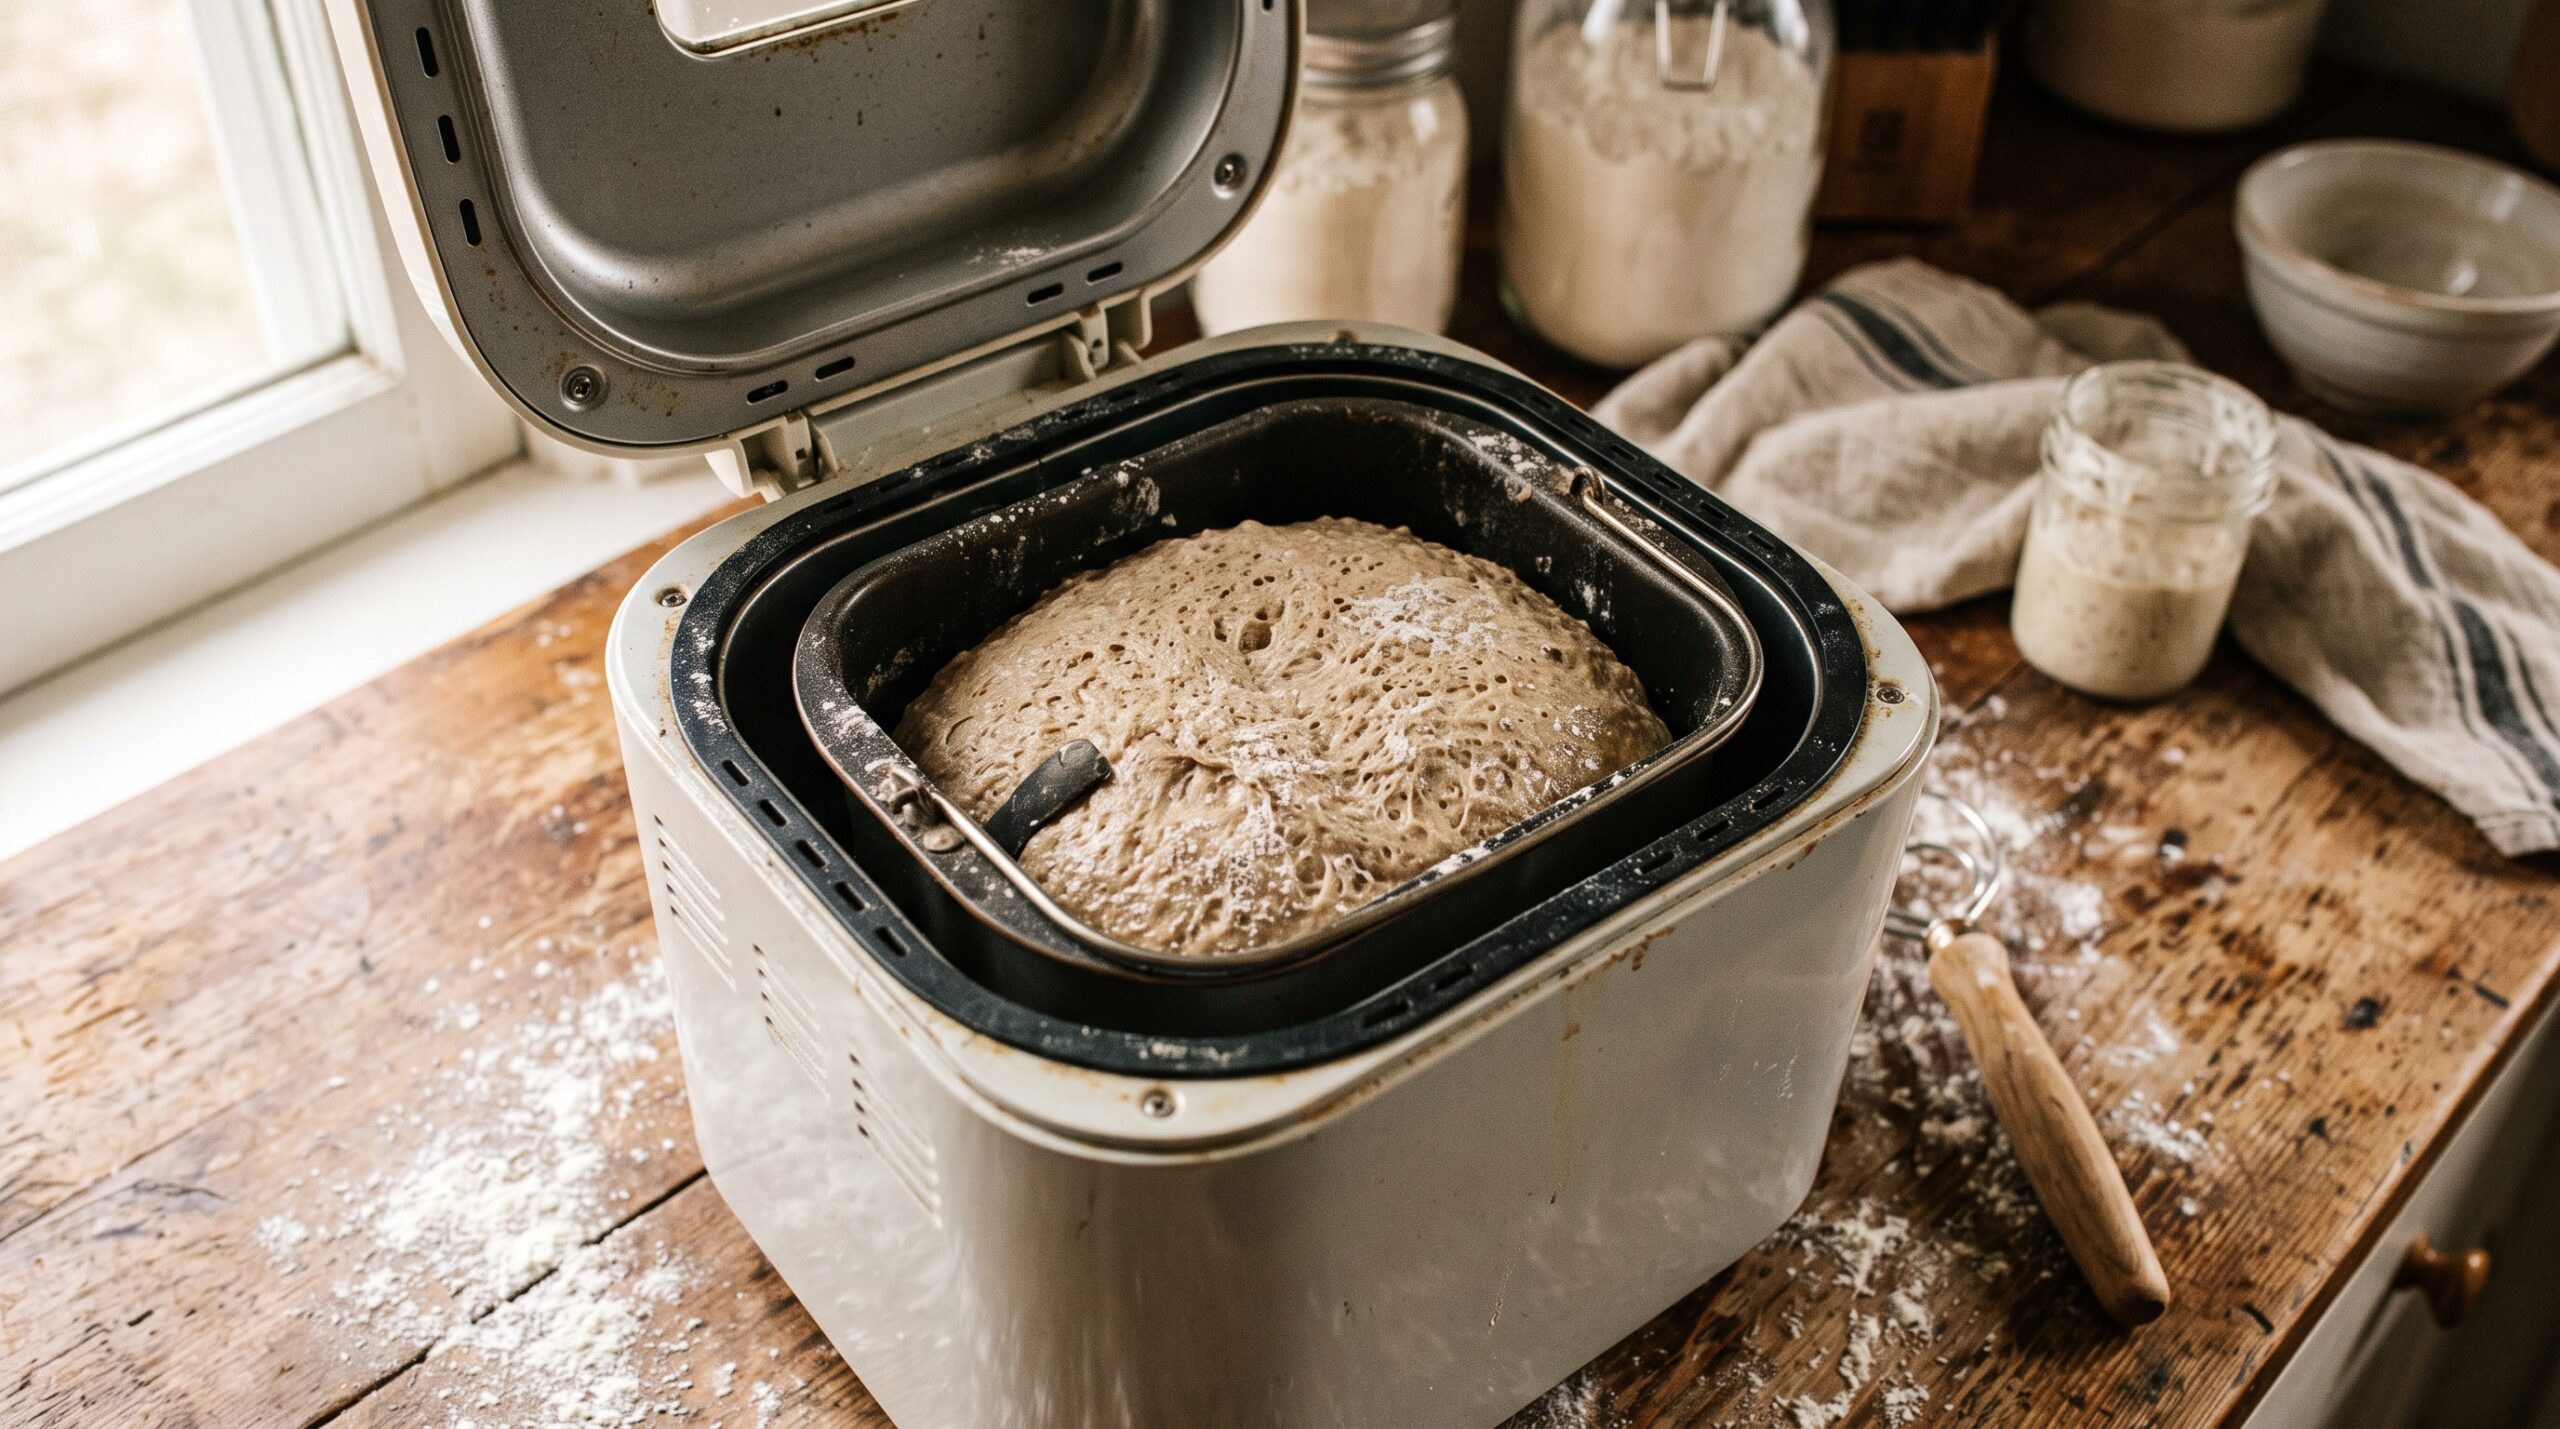
    A bread machine on a kitchen counter with a risen ball of sourdough dough inside the pan
    A bread machine can absolutely help with sourdough, but the fully automatic cycle is where most loaves go wrong.

    The short answer: yes, but not the way the manual tells you

    A bread machine is a fantastic tool for two of sourdough’s most tedious jobs, and a poor tool for the two that matter most to flavor and rise. It is excellent at mixing and kneading, which it does more consistently than most of us do by hand, and it provides a warm, draft-free box that is a decent proofing environment. Where it struggles is timing the ferment and baking a real crust. Those two failures are the whole story, so it is worth understanding why they happen before you blame the recipe.

    Why the fully automatic cycle produces a brick

    Every preset cycle on a bread machine was designed around commercial instant or active dry yeast. That yeast is fast, predictable, and reliable: it wakes up in minutes and pushes a loaf to full rise in an hour or two no matter the day. The machine’s timings, its single short rise, its fixed bake, all assume that speed.
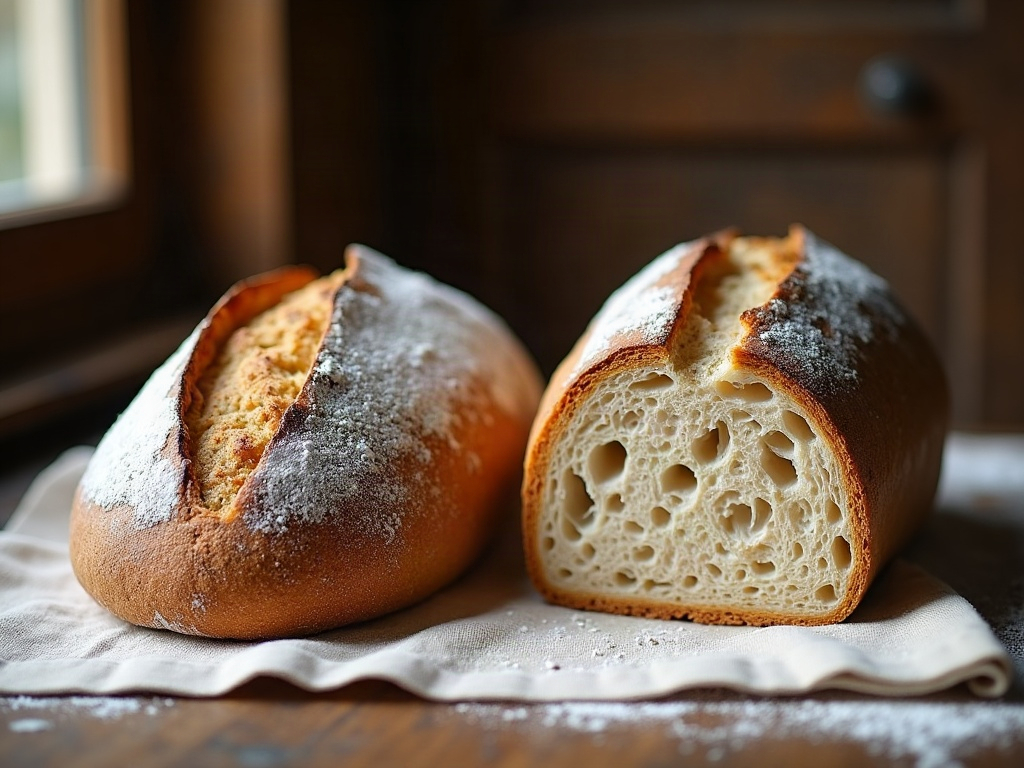
    Two sourdough loaves compared, one tall and airy, one dense with a paddle hole from a bread machine
    The squat loaf on the right is the classic bread-machine sourdough brick: rushed through a cycle built for commercial yeast.

    Your sourdough starter plays a completely different game. The wild yeast and bacteria in it are slower and far more sensitive to temperature, starter strength, and the weather in your kitchen. A natural leaven often needs four, six, even twelve hours to properly ferment a dough, and that timing shifts from day to day. When you force that slow biology through a cycle built for fast commercial yeast, the machine bakes the loaf long before the wild yeast has finished its rise. The result is underproofed bread: dense, gummy, tight-crumbed, with almost no oven spring. Even a dedicated “sourdough” setting on a modern machine is usually just a slightly longer cycle, still nowhere near flexible enough for a living starter that changes its mind with the room temperature. The problem is not your technique; it is a clock mismatch. And critically, you never add a yeast packet to real sourdough, so there is nothing fast in the dough to meet the machine’s schedule.
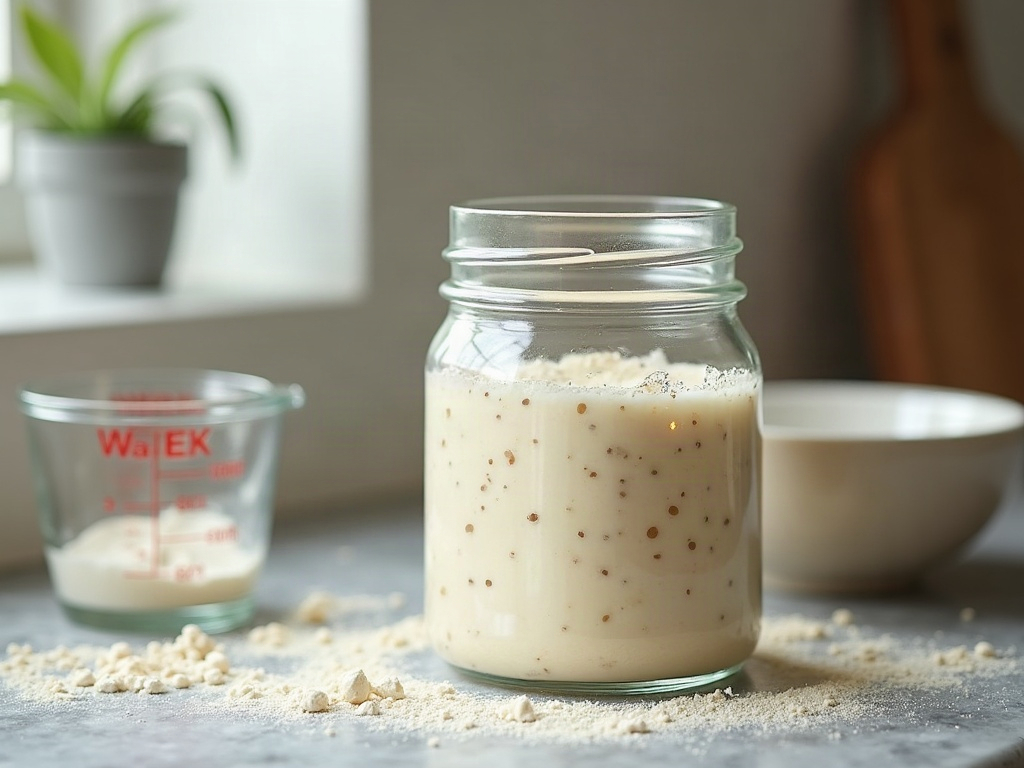
    A jar of bubbly active sourdough starter beside flour and water ingredients
    No yeast packet goes in: a lively, active starter is doing all the leavening, and it works on its own slow clock.

    The baking stage fails for a related reason. A bread machine bakes in a tall, enclosed metal pan with a heating element, which steams the loaf in its own moisture and browns it unevenly. You get a pale, soft, leathery crust instead of the crackling, blistered, deeply colored shell that defines good sourdough, plus that signature hole where the kneading paddle sat. For a soft sandwich-style loaf that may be fine; for the crust most sourdough bakers are chasing, it simply cannot deliver.

    The smart middle path: let the machine knead, not decide

    Here is the method that actually works, and it is the one experienced bakers quietly use. Treat the bread machine as a stand mixer with a warm cabinet attached, not as an autopilot. You keep control of the two things it does badly, timing and baking, and you hand off the two things it does well.

    Hands lifting a kneaded ball of sourdough dough from a bread machine pan onto a floured board
    The hybrid method: let the machine do the mixing and kneading, then take the dough out to ferment and bake on your own terms.

    Most machines have a dough cycle (sometimes called “dough only” or “manual”). Use it. Add your flour, water, salt, and active starter, run the dough cycle so the machine mixes and kneads the dough into a smooth, developed mass, and then stop. Do not let it proceed to its rise-and-bake programming. If your machine has no dough-only cycle, just run a kneading setting for the first eight to ten minutes and then press stop. Either way, once the dough is kneaded you are back in charge.

    From there you follow a normal sourdough timeline on your own clock: let the dough bulk ferment at room temperature until it is visibly risen, puffy, and jiggly, which may be several hours depending on your starter and kitchen. Then shape it, give it a final proof, and bake it in a hot oven. If you do not own a Dutch oven, you can still get a crackling shell; our guide to making sourdough without a Dutch oven and still getting a great crust walks through the steam tricks that matter. The machine saved your arms on the mixing and kneading; you kept the fermentation honest and gave the loaf a real bake. That is the genuinely hands-off win people are actually after.

    How to make the hybrid method work every time

    A few details separate a reliable hybrid loaf from a frustrating one. First, your starter has to be lively. The machine cannot compensate for a sluggish leaven, so feed your starter and use it at its active, bubbly peak. If you are pulling it straight from the fridge, know that cold starter needs waking up first; we cover exactly how in baking with cold starter straight from the fridge.

    Second, watch the dough, not the clock on the machine. Once you have stopped the cycle after kneading, ignore the machine entirely and judge the bulk ferment by how the dough looks and feels: a 30 to 50 percent rise, a domed and jiggly surface, a few bubbles. This is the single biggest lever on whether your loaf comes out open or dense.

    Third, do not trust the delay-start timer with sourdough. That feature exists so you can load commercial-yeast ingredients at night and wake to fresh bread, but it assumes fast yeast on a fixed timeline. A wild starter left sitting in a sealed pan on a timer will over-ferment unpredictably, so skip it. And if you want your weighing and ratios to come out consistent from one bake to the next, work by weight rather than scoops; here is why a kitchen scale beats measuring cups for every sourdough bake.

    When using the machine start-to-finish is actually fine

    There is one honest exception. If your goal is not a crusty artisan boule but a soft, sliceable sourdough-flavored sandwich loaf, and you are willing to help the timing along, a bread machine can bake the whole thing acceptably. The trade-off bakers make is to add a small amount of commercial yeast alongside the starter so the dough reliably hits full rise within the machine’s cycle, treating the sourdough mostly as a flavor booster rather than the sole leavening. The crust will still be soft and pale and you will still get the paddle hole, but you will get a tender, tangy sandwich loaf with almost no effort. That is a legitimate choice, as long as you know you are making a yeasted bread with sourdough flavor, not a naturally leavened loaf.

    Is the bread machine the right shortcut for you?

    If your frustration is the hands-on kneading and the mess, the bread machine is a wonderful fix, as long as you use the dough cycle and finish the loaf yourself. If your frustration is the time, the long hours a natural ferment demands, then the machine alone will not solve that, because no appliance can rush wild yeast without the quality falling off. For the time problem, a better answer is a recipe designed around a real schedule, like our same-day sourdough built around a full-time work schedule, which compresses the timeline honestly rather than forcing the biology.

    Putting it all together

    So, can you make sourdough in a bread machine? Yes, but remember the one rule that governs all of it: the machine runs on a fast-yeast clock, and your starter does not. Let the machine do the mixing and kneading on its dough cycle, then take the dough back and ferment, shape, and bake it on your own terms for an open crumb and a real crust. Reserve the fully automatic, press-and-walk-away cycle for soft sandwich loaves where you have nudged the timing with a little commercial yeast and you do not mind a paler crust. Used that way, a bread machine is not a cheat that ruins your loaf; it is a genuine labor-saver that still lets the wild yeast do its beautiful, unhurried work.

    Want to see the dough-cycle handoff, the bulk-ferment judgment call, and the oven bake in real time? The full walkthrough lives on the LoafLovers YouTube channel, and our free sourdough troubleshooting guide breaks down dense loaves, weak rise, and timing in the same symptom-to-fix format. Let the machine do the muscle work, keep the timing honest, and a great loaf is well within reach.
    Related Reading

  • Can You Freeze Sourdough Dough? Freezing Shaped Loaves, Par-Baked Bread, and Dough for Later

    Can You Freeze Sourdough Dough? Freezing Shaped Loaves, Par-Baked Bread, and Dough for Later

    You love the bread. You do not love being chained to it. A real sourdough loaf asks for a starter feed, a long bulk ferment, a shape, a proof, and a bake, all spread across a day or more, and that rhythm does not always fit a work week or a houseful of weekend plans. So the question comes up for almost every home baker eventually: can I just make a batch of dough and freeze it, then pull out a loaf whenever I want fresh bread?

    The short answer is yes, you can freeze sourdough, and freezing is one of the best low-friction tricks there is. But when you freeze it matters enormously. Freeze at the wrong stage and you get a dense, lifeless brick; freeze at the right stage and you get a loaf that is nearly indistinguishable from same-day bread. Let’s walk through each stage, from the one that works best to the one that mostly disappoints, so you can pick the method that fits your kitchen.

    A shaped sourdough loaf wrapped for the freezer on a floured board
    Freezing sourdough works, but the stage you freeze it at changes everything.

    The honest short answer: freeze shaped, or par-baked, or fully baked

    There are three stages where freezing sourdough reliably works, and one where it usually lets you down. The reliable ones are: shaped dough frozen after its final shape (before or partway through the final proof), a par-baked loaf (baked until set but not browned, then frozen), and a fully baked, completely cooled loaf. The stage that disappoints is freezing a fresh, barely-fermented dough and expecting the wild yeast to come roaring back; cold storage is hard on a young leavening, and you will usually pay for it with a weak rise.

    The reason comes down to one idea: the colder things get, the slower and weaker your wild yeast works, and freezing is the ultimate cold shock. So the guiding rule is simple. The more of the rising you can do before the dough goes into the freezer, the better your loaf will be. Keep that in mind and every method below makes sense.

    Best for most bakers: freeze shaped dough

    This is the make-ahead sweet spot. You run your normal process through bulk fermentation and shaping, so all the heavy lifting of flavor and structure is already done, then you freeze the shaped loaf and finish it on a day that suits you.

    Hands placing a shaped round of sourdough dough onto parchment before freezing
    Shape first, then freeze: a taut, well-formed round holds together far better through the freezer.

    Here is the method. Mix, bulk ferment, and shape your loaf exactly as you normally would, building good tension in the shape so the round holds itself together. Then you have two good options. You can freeze it right after shaping, or you can let it do about half to three-quarters of its final proof first, then freeze; that partial proof banks a little more rise before the cold shuts things down, which tends to give a slightly better result. Either way, place the shaped dough on a small square of parchment, set it on a tray to firm up in the freezer for an hour or two, then wrap it snugly in parchment plus a freezer bag or wrap so no air can dry it out. It will keep well for about two to four weeks.

    To bake, move the frozen dough to the fridge the night before, or let it sit out, so it both thaws and finishes proofing. This is really just a longer, colder version of the fridge rest you may already use; if cold proofing is new to you, our guide to the cold retard and how long sourdough can sit in the fridge explains exactly what to watch for. Give the dough time to come back to a jiggly, risen state before it goes into a screaming-hot oven. Do not rush it straight from frozen into the heat and expect spring; it needs to wake up and finish proofing first.

    The stage that usually disappoints: freezing fresh dough before it ferments

    It is tempting to think you can mix a dough, freeze it green, and simply thaw it into a ready-to-go loaf another day, the way you might with commercial yeasted dough. With sourdough it rarely works well.

    Two sourdough loaves compared, one tall and airy, one dense and flat
    The squat loaf on the right is what happens when frozen dough was asked to do too much of the rising after thawing.

    Wild yeast and the bacteria in your starter are more fragile than commercial instant yeast, and freezing kills or weakens a meaningful share of the cells. If you freeze before the dough has done most of its fermenting, you are asking a damaged, slow population to do nearly all the work after thawing, and it usually cannot. The loaf comes out squat, tight, and gummy, with little oven spring, because the rise it needed never fully happened. If you have ever thawed frozen dough and watched it sit there stubbornly flat, this is why. The lesson is the one from above: let the dough ferment and rise first, then freeze. Do not freeze the potential and hope it survives the cold.

    Most reliable crust: par-bake, then freeze

    If you want the surest path to a loaf that tastes freshly baked, par-baking is hard to beat, especially if you want to keep several loaves ready for drop-of-a-hat baking.

    A pale par-baked sourdough loaf cooling on a wire rack before freezing
    A par-baked loaf, set but barely colored, freezes beautifully and finishes to a fresh crust in minutes.

    Par-baking means you bake the loaf only partway: fully proof and bake it until the structure is set and the inside is cooked through, but pull it before it takes on real color, so it comes out pale and blond rather than golden. Cool it completely, then wrap and freeze. Because the loaf is already fully risen and set, the fragile wild yeast no longer matters at all; you have locked in the crumb. To serve, bake the frozen par-baked loaf straight from the freezer in a hot oven for roughly ten to twenty minutes until the crust browns and crisps and the bread is heated through. The crust comes back crackling and the inside is tender, and almost no one can tell it was not baked that morning. The small trade-off is oven and freezer space, since you are storing a full loaf’s worth of bread rather than a compact ball of dough.

    Simplest of all: freeze a fully baked loaf

    If your goal is just to not waste bread, freezing a finished loaf is the easy answer and it works very well. Cool the loaf completely, slice it first if you like (so you can pull out a slice at a time), and wrap it airtight. It keeps its quality for a few weeks and refreshes nicely with a quick toast or a brief reheat. Because this overlaps heavily with everyday bread keeping, we cover the wrapping, slicing, and reheating details in our full guide to storing sourdough bread so it stays fresh and freezes perfectly. The one thing to avoid is the fridge for finished bread; refrigeration actually stales a loaf faster than the counter or the freezer.

    What freezing actually does to your sourdough

    It helps to picture what is happening inside the dough, because it explains every rule above. Your starter is a living community of wild yeast and lactic bacteria. Those microbes drive both the rise and the tangy flavor, and like most living things they slow down as it gets colder and take damage when they freeze. Fermentation does not stop cleanly at the freezer door; it crawls to a near halt, and a portion of the yeast simply does not survive.

    That is why the timing of the freeze is everything. Freeze while the yeast still has most of its job ahead of it, and the weakened survivors cannot deliver. Freeze after the dough has already risen, or after it is baked, and the yeast’s damage no longer costs you anything, because the structure you needed is already built. This is the same reason a tired, cold starter struggles to leaven a loaf; if you have wrestled with sluggish leavening before, the fixes in baking with cold starter straight from the fridge rest on exactly this principle of giving the yeast time and warmth to recover before it has to perform.

    Troubleshooting a loaf that came out of the freezer wrong

    If your frozen-dough loaf baked dense, flat, and gummy with no real spring, the cause is almost always that it was frozen too early or baked before it had finished thawing and proofing. The fix is to push more of the rise to before the freeze, and to be patient on thaw day: let the dough return fully to a risen, jiggly state at room temperature before baking, even if that takes several hours. If the crust came out pale and soft from a par-baked loaf, your finishing bake was too short or the oven too cool; give it a few more minutes at high heat uncovered to drive off moisture and set a crisp crust.

    And if you simply find the whole frozen-dough dance finicky, remember there are other ways to fit real sourdough into a busy life that do not involve the freezer at all. A compressed, work-friendly timeline like our same-day sourdough around a full-time schedule may suit your week better than stockpiling frozen loaves.

    Putting it all together

    Yes, you can freeze sourdough, and it is one of the most useful tools for baking real bread on your own schedule. Just remember the single rule that governs all of it: do as much of the rising as you can before the dough goes cold. Freeze a shaped loaf after bulk ferment for the best make-ahead dough, par-bake and freeze for the most reliable fresh-tasting crust, and freeze finished bread to simply never waste a loaf. The one move to skip is freezing green, unfermented dough and hoping the wild yeast bounces back, because it usually will not.

    Want to see the shaping, the wrap, and the bake-from-frozen finish in real time? The full walkthrough lives on the LoafLovers YouTube channel, and our free sourdough troubleshooting guide covers dense loaves, weak rise, and timing in the same symptom-to-fix format. Freeze smart, and a great loaf is never more than an oven away.

    Related Reading

  • Small-Batch Sourdough: One Perfect Loaf Without a Giant Starter

    Small-Batch Sourdough: One Perfect Loaf Without a Giant Starter

    Somewhere along the way, sourdough got heavy. Not the bread — the setup. A giant jar of starter that needs feeding twice a day, a discard jar filling faster than you can bake, and the low-grade guilt of pouring perfectly good flour down the drain. If you only want to bake one loaf, once or twice a week, almost none of that is necessary. You can keep a tiny starter, feed it a spoonful at a time, and produce a beautiful loaf with barely any waste. Let us scale sourdough down to the size it actually needs to be.

    A tiny jar of bubbly sourdough starter beside a single finished round loaf on a wooden counter
    This much starter is all one loaf needs. The giant jar was never the point.

    Why You Have Way More Starter Than You Need

    Here is the thing nobody tells beginners: most recipes and starter guides are written around maintaining a large, always-ready culture — often 100 grams or more, fed with equal weights of flour and water every day. That made sense for someone baking multiple loaves or feeding a family bakery habit. For one loaf a week, it is wild overkill. A single standard loaf needs only 50 to 100 grams of active levain. Keeping hundreds of grams of starter alive to produce that is like idling a truck to charge your phone. The excess is exactly where your discard mountain comes from.

    How Much Starter One Loaf Actually Needs

    Work backwards from the loaf. A typical single loaf uses around 400 to 500 grams of flour, and most recipes call for roughly 20 percent of that as levain — call it 80 to 100 grams of bubbly, ripe starter going into the dough. That is all you need to build for a bake. You do not need to store that much between bakes. You only need to keep a small seed alive — a stock starter of a tablespoon or two — and grow it into a fresh levain the night before you bake. Build what you need, when you need it. Nothing sits around going to waste.

    A small scale weighing a tiny amount of starter with flour and water for a small levain build
    Build only the levain you need the night before, seeded from a spoonful of stock starter.

    The Tiny-Starter Method

    This is the whole trick, and it is simple. Keep a very small stock starter — just 10 to 20 grams — in a little jar. The night before you bake, take a small spoonful of it and feed it with the flour and water you need to reach your target levain amount. For one loaf, that might mean mixing 10 grams of seed with 40 grams of flour and 40 grams of water to wake up around 90 grams of ripe levain by morning. Before you use it, feed the stock jar one more tiny time to keep the culture going, then set it aside. You have built exactly the levain the loaf needs, kept the mother alive, and created almost no discard in the process.

    A Simple Small-Batch Framework

    Baker’s percentages make scaling painless because everything is a percentage of the flour weight. A reliable single loaf looks like this: 100 percent flour (say 450 grams), 70 to 75 percent water, 20 percent levain, and 2 percent salt. That gives you one manageable loaf with an open crumb and no leftover dough to deal with. Mix, do a few stretch and folds to build strength, bulk ferment until the dough is puffy and jiggly, shape, proof, and bake. The method is identical to any full-size sourdough — you have just right-sized the numbers so nothing is wasted.

    A single small shaped sourdough loaf proofing in a round banneton
    One loaf, scaled down cleanly with baker’s percentages so nothing is left over.

    Storing the Tiny Starter Between Bakes

    If you bake once a week, your stock starter should live in the fridge, not on the counter. Cold slows the culture down so it can go five to seven days between feedings without complaint. A day before you plan to build your levain, take it out, give it one small feed, and let it wake up at room temperature until it is bubbly and lively again. Then build your levain as above. For an occasional baker, this is the low-effort dream: a spoonful of starter in the back of the fridge, a quick feed to rouse it, and you are ready. If it has been neglected longer than that and smells sharp or has a layer of liquid on top, it is not dead — it just needs a couple of feeds to bounce back.

    A small starter jar going into the fridge to rest between weekly bakes
    Between bakes, the tiny starter sleeps in the fridge. A quick feed wakes it before your next loaf.

    Where Small-Batch Bakers Go Wrong

    Two mistakes trip people up. The first is letting the tiny stock starter get too weak — if you keep it very small and very cold and never feed it, it loses vigor and your levain will be sluggish and your loaf dense. The fix is a single feed to wake it fully before every bake, and an occasional counter feed to keep it strong. The second is trying to build too much levain from too little seed in one jump — a pinch of starter cannot ripen a huge feed overnight. Keep your build ratios modest, roughly one part seed to four or five parts fresh flour and water, and give it time. Respect those two rules and the tiny-starter method is bulletproof.

    The Honest Payoff

    Small-batch sourdough is not a compromise. You get the same crackling crust and open crumb as any loaf — you simply stop maintaining infrastructure you were never using. Less flour spent feeding a jar you do not bake from. Almost no discard, and what little you have can go straight into a quick discard recipe. Less guilt, less fuss, and a fridge that holds a spoonful of starter instead of a science experiment. If sourdough has felt like too much to keep up with, this is how you make it fit a real life: one good loaf, a tiny starter, and next to nothing wasted.

    A single small-batch sourdough loaf sliced open to show an open, airy crumb
    Proof that small batch does not mean small results: one honest loaf, almost zero waste.

    Related Reading

  • Same-Day Sourdough: How to Bake a Real Loaf Around a Full-Time Work Schedule

    Same-Day Sourdough: How to Bake a Real Loaf Around a Full-Time Work Schedule

    There is a stubborn myth that sourdough belongs to people with empty weekends and unlimited patience – that a real loaf demands two days of hovering over the counter. If you work full time, that story quietly tells you not to bother. Ignore it. You do not need a free weekend to bake good sourdough. You need a plan that bends around your day instead of the other way around.

    There are really two workable approaches for a busy baker: a genuine same-day loaf when you happen to be home, and a split schedule that leans on your fridge so the actual baking lands whenever suits you. Let’s walk through both, and the one thing that makes either one succeed.

    A freshly baked round sourdough loaf cooling on a wire rack in morning light
    A real, well-risen loaf – baked start to finish inside a single busy day.

    Same-day is realistic – warmth is the trick

    The reason sourdough usually takes so long is temperature. A cool kitchen slows the yeast and bacteria in your dough to a crawl, stretching every stage into hours. Warm that same dough up and it moves briskly. A dough proofing at a snug 78 to 82 degrees Fahrenheit can be ready in a fraction of the time it takes in a chilly room.

    So a same-day loaf is not about rushing or cutting corners. It is about keeping the dough warm and cooperative – a turned-off oven with the light on, a spot near a sunny window, or the top of the fridge all work. Get the temperature right and a start-to-finish bake in a single day is completely normal, not a stunt.

    First, the non-negotiable: a lively starter

    Here is the part that decides everything before you mix a thing. A same-day loaf leaves no slack for a sluggish starter. If yours crawls up over 12 hours and never quite domes, a fast bake will give you a flat, dense brick and you will blame the timeline.

    You want a starter that doubles within four to six hours of feeding, dome and all. Feed it in the morning, and when it is bubbly and at its peak – not collapsing – that is your green light to mix. If it is not there yet, this is a day for the split schedule below, not the sprint.

    An active, bubbly sourdough starter risen and domed in a glass jar
    Everything hinges on this: a lively starter at its peak, not a sluggish one dragging its feet.

    The same-day timeline, in plain terms

    Say you are home for the day. Here is the rhythm, no fancy equipment required.

    Morning: feed your starter and let it peak (4 to 6 hours). While you wait, get on with your morning.

    Midday: mix flour, water, starter and salt, then let it rest 30 minutes. Over the next couple of hours, do three or four sets of stretch-and-folds, spaced maybe 30 minutes apart. Each set takes under a minute, so you can slot them between other tasks.

    Afternoon: let the dough rise in the warm somewhere until it is puffy and jiggly and grown by roughly half – usually three to five hours in a warm kitchen. Shape it, let it rest a short final proof of 30 to 60 minutes.

    Evening: bake in a hot Dutch oven, and you are pulling a real loaf out before bed. One day, start to finish.

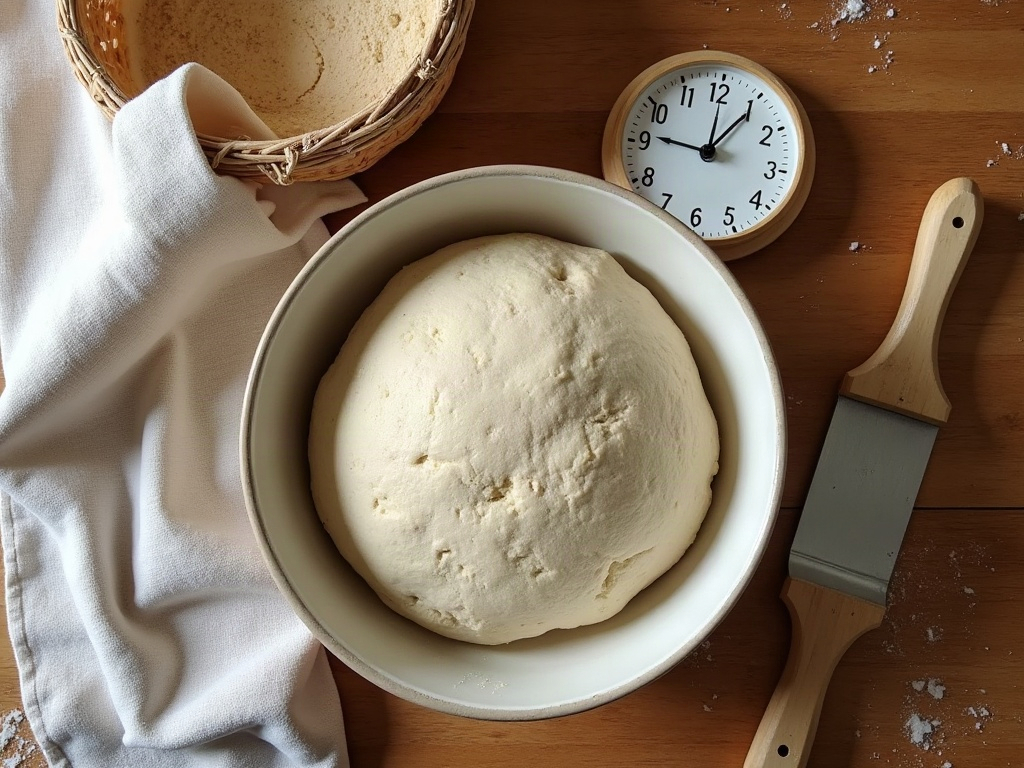
    Sourdough dough, a clock, and a banneton laid out on a wooden counter
    Warmth is the accelerator. A warm kitchen can shave hours off every stage.

    The after-work version: let the fridge do the waiting

    Most of us cannot babysit dough all day. This is where the fridge earns its keep, and honestly it makes better bread anyway.

    The evening-and-morning split: feed your starter before work so it peaks by the time you get home. Mix the dough in the evening, do your folds while dinner cooks, and let it rise on the counter for a couple of hours. Shape it, then slide it into the fridge overnight. In the morning – or even the next evening – you bake it straight from cold. No warming up, no waiting.

    That cold overnight rest, called a retard, does two favors at once: it fits the dough around your sleep, and it deepens the flavor into something tangier and more complex. The fridge does not just delay the dough. It improves it.

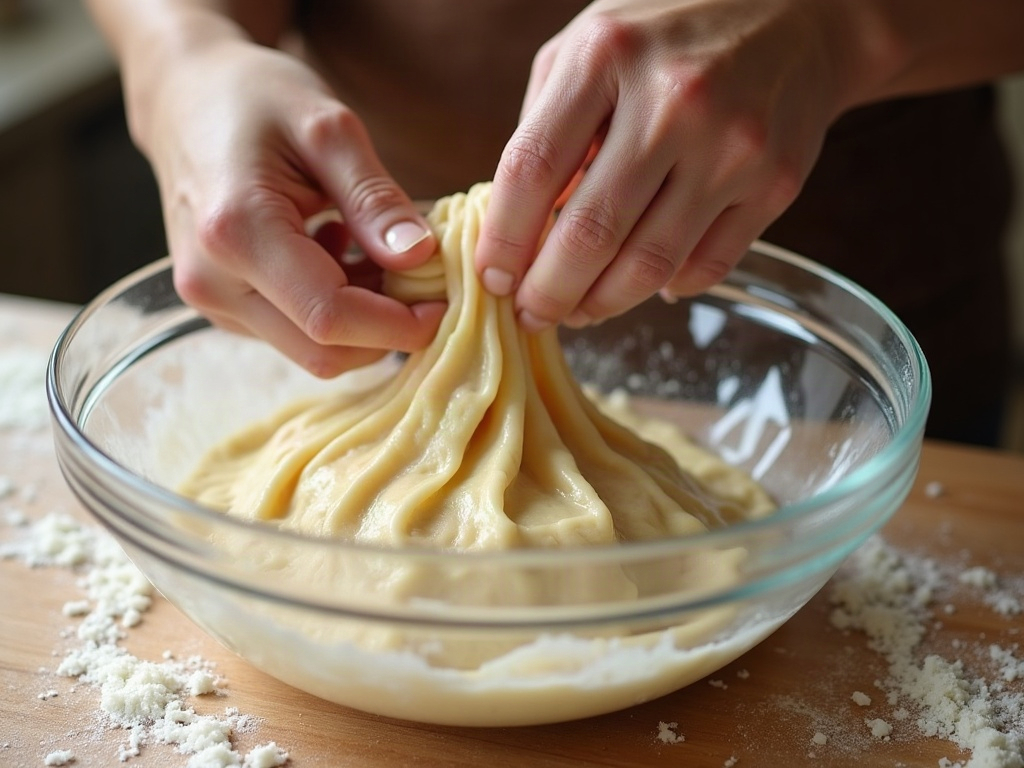
    Hands stretching and folding sourdough dough in a bowl
    A few sets of stretch-and-folds replace long kneading and fit neatly around chores.

    Where the busy bake goes wrong – and the quick fix

    Two problems account for most failures on a compressed schedule, and both are easy to catch.

    A flat, dense loaf almost always means an underpowered starter or an under-risen dough – you rushed a stage that was not actually ready. The fix is patience at the one point it matters: wait for the starter to peak, and judge the dough by how it looks and feels (puffy, jiggly, grown), not by the clock.

    A gummy crumb usually means it went into the oven before the bulk rise was truly done, or came out a touch early. Give the bulk rise its full time in the warmth, bake until the crust is deeply golden, and let the loaf cool completely before you cut it – that last hour is when the inside finishes setting.

    A shaped sourdough loaf resting in a banneton, ready for the fridge
    The fridge is your schedule’s best friend – it lets the dough wait for you, not the other way around.

    Bake on your terms

    Sourdough does not require a cleared calendar. It requires a starter you trust and a plan that respects your day – warm and fast when you are home, cold and patient when you are not. Pick the version that fits this week, and let the fridge cover the gaps.

    If you want to see the same-day timeline and the fold-and-shape steps in real time, the full walkthrough lives on the LoafLovers YouTube channel – it is far easier to copy the feel of the dough when you can watch it. Your work schedule was never the thing standing between you and good bread.

    Related Reading

  • How to Make Sourdough Without a Dutch Oven (and Still Get a Crackly Crust)

    How to Make Sourdough Without a Dutch Oven (and Still Get a Crackly Crust)

    Somewhere along the way, sourdough got attached to one expensive piece of gear: the Dutch oven. Every recipe seems to assume you own a heavy enameled pot, and if you do not, it can feel like you are locked out of a proper crust before you even start. Plenty of beginners quietly give up here, convinced they need to spend a small fortune to bake a decent loaf.

    You do not. A Dutch oven is a convenient tool, not a magic one, and the crust it gives you comes down to a single thing you can recreate with pans already in your kitchen: steam. Once you understand what the pot is actually doing, you can copy it on a baking sheet, in a loaf pan, or with a cheap roasting tray – and get a crackly, deep-brown crust every time.

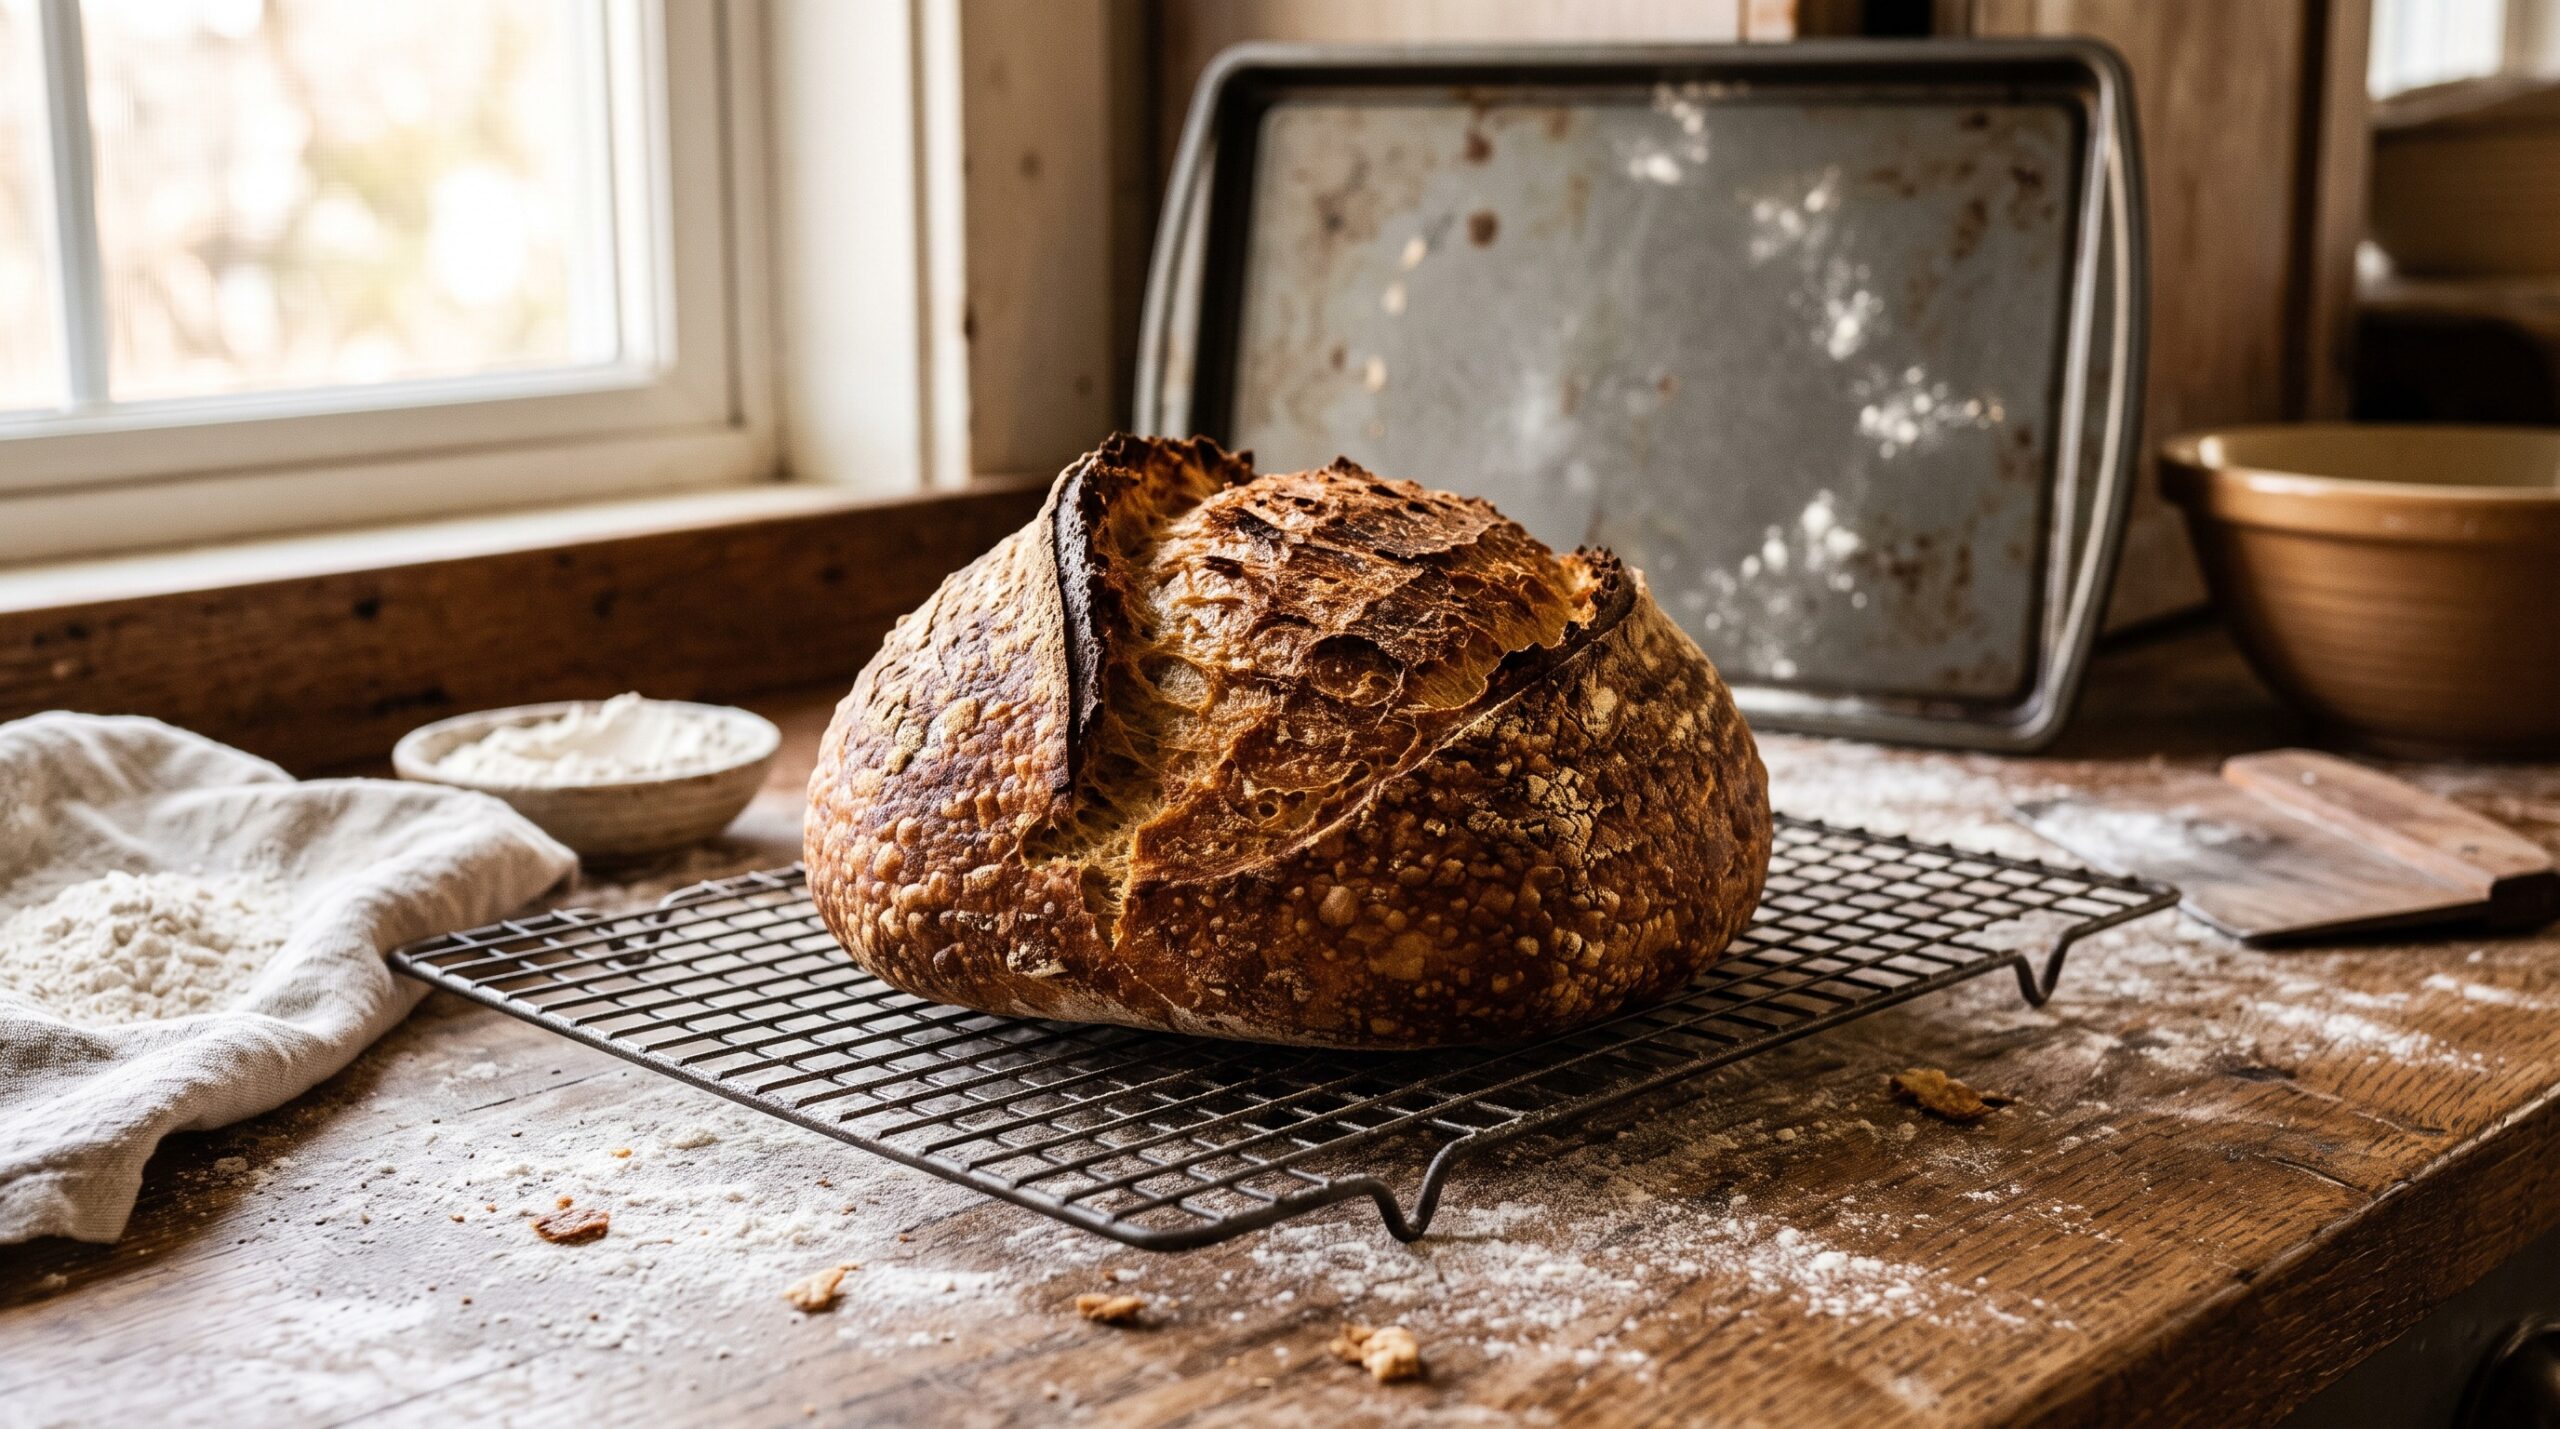
    A rustic sourdough loaf with a crackly deep-brown crust cooling on a wire rack next to an ordinary baking sheet
    A crackly, deep-brown crust baked on a plain baking sheet – no Dutch oven required.

    Why a Dutch Oven Works (It Is Just Trapped Steam)

    Here is the whole secret. When bread first goes into a hot oven, the surface needs to stay soft and moist for the first several minutes. That damp surface lets the loaf keep expanding – the burst of rise bakers call oven spring – and it lets natural sugars gelatinize into that glossy, crackly sheen. Only later does the crust set and brown.

    A Dutch oven does this by trapping the loaf’s own moisture inside a sealed pot. The dough releases steam, the lid holds it in, and the loaf effectively bakes in a little humid chamber for the first half of the bake. Then you take the lid off so the crust can dry, crisp, and color.

    That is the entire trick. It is not the cast iron, it is not the weight, it is not the brand. It is a humid start followed by a dry finish. Recreate those two phases with any equipment and you get the same result. A dry oven, by contrast, is exactly what gives you the number-one no-Dutch-oven complaint: a pale, soft, matte crust that never crackled.

    Two sourdough loaves compared: a pale soft loaf on the left and a deep-brown crackly loaf on the right
    Same dough, different crust: the pale loaf baked dry (left); the glossy one baked with steam (right).

    Method 1: The Two-Pan Steam Setup (Best All-Rounder)

    This is the method I reach for most, because it works for a normal round or oval loaf and uses only a baking sheet and a metal pan you probably already own.

    • Preheat hard. Put your baking sheet (or a pizza stone or inverted tray) on the middle rack and an empty, sturdy metal pan – a shallow roasting tray or an old cake tin – on the rack below. Heat the oven to around 475 degrees for 30 to 45 minutes so everything is genuinely hot.
    • Load the loaf. Slide your scored dough, on a sheet of parchment, onto the hot upper tray.
    • Add steam immediately. Pour about a cup of boiling water into the hot lower pan and shut the door as fast as you can. It will erupt into steam – that is exactly what you want trapped around the loaf.
    • Steam, then dry. Bake with steam for the first 20 minutes. Then carefully remove the water pan (and any parchment if it is browning too fast), drop the heat to about 450, and finish baking another 20 to 25 minutes until the crust is deep brown.

    The one safety note: use an old metal pan you do not care about, and never pour water into a glass or ceramic dish – thermal shock can shatter it. Wear oven mitts and keep your face back from the steam burst.

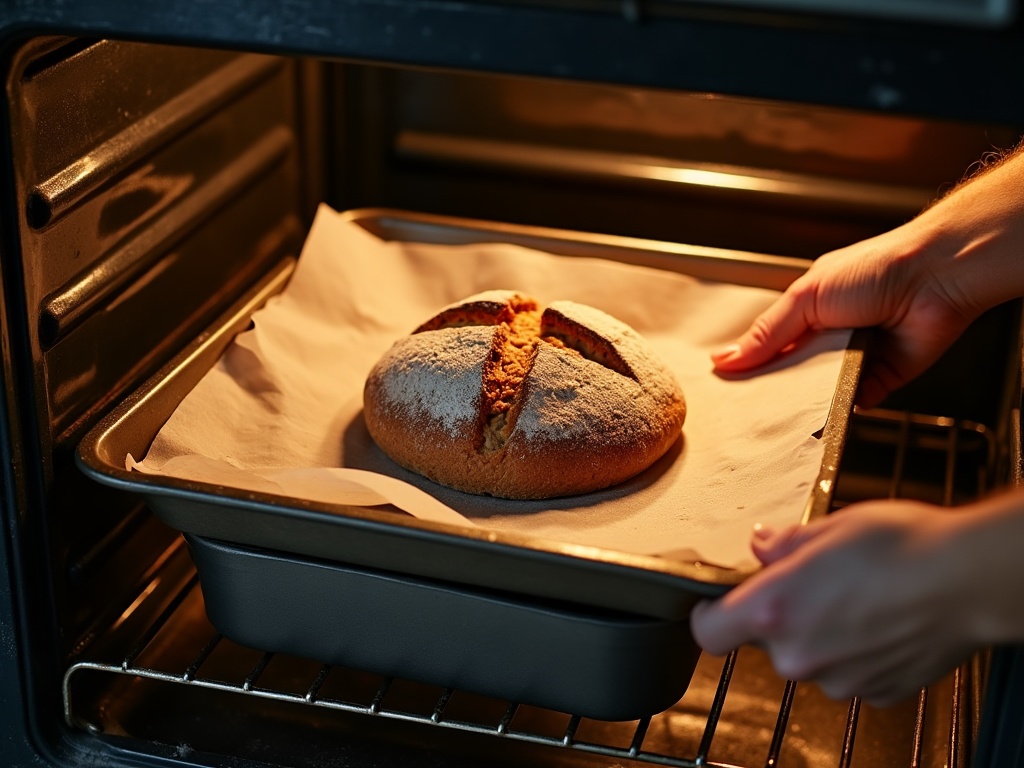
    Hands sliding a scored sourdough loaf onto a hot baking sheet with a metal pan on the rack below for steam
    The two-pan method: loaf on a preheated sheet, an empty metal pan below ready to catch boiling water.

    Method 2: The Loaf Pan (The Lowest-Effort Option)

    If shaping a free-form boule stresses you out, a simple metal loaf pan is the most forgiving route to sourdough there is – and it happens to be great for beginners with a slack, sticky dough that would otherwise spread flat.

    Shape your dough into a log, drop it into a greased loaf pan, and let it rise. The walls of the pan support the dough so it grows up instead of out, which quietly solves the flat, spreading loaf that trips up so many new bakers. If your loaves have been pancaking on you, our guide to fixing flat sourdough that spreads instead of rising tall pairs well with this method.

    For crust, you still want a humid start, so use the boiling-water pan trick from Method 1, or simply mist the loaf and the oven walls with water from a spray bottle a couple of times in the first ten minutes. You will get a sandwich-friendly shape with a genuinely crisp top – no banneton, no scoring drama, no pot.

    Method 3: A Cheap Cover You Already Own

    If you like the idea of trapping steam right against the loaf the way a Dutch oven does, you can improvise a lid. Bake your loaf on a hot baking sheet and cover it for the first 20 minutes with:

    • A large stainless steel mixing bowl turned upside down over the loaf.
    • A tall metal stockpot inverted over it.
    • A disposable foil roasting pan clamped on top.

    Any of these creates the same sealed, humid pocket – the loaf steams itself under the cover. Lift the cover after 20 minutes and finish baking uncovered so the crust can brown. It is essentially a DIY Dutch oven, assembled from whatever oven-safe dome you have on hand, and it is remarkably effective.

    A hand pouring boiling water into a hot metal pan in the oven, releasing a burst of steam
    Pour boiling water into the hot lower pan and shut the door fast – that trapped steam is what makes the crust.

    The Mistakes That Give You a Pale, Soft Crust

    When a no-Dutch-oven loaf disappoints, it is almost always one of these – and every one is easy to fix:

    • Not enough heat. A cool oven or an under-preheated tray robs you of oven spring and color. Preheat longer and hotter than feels necessary, and give your baking surface a full 30-plus minutes to soak up heat.
    • No steam, or steam that escapes. A quick spritz that flashes off in seconds is not enough. Use the boiling-water pan or a cover so real humidity surrounds the loaf for the whole first phase.
    • Leaving the steam in too long. The flip side: if you never remove the water pan or cover, the crust stays soft and never crackles. The dry finish is not optional – it is what browns and crisps the loaf.
    • Opening the door constantly. Every peek dumps your heat and steam. Resist checking for the first 20 minutes.

    Get the hot-and-humid start right and you also unlock better height. If your loaves come out dense or squat, it is worth reading up on scoring and oven spring, because a good steamed start and a confident score work together to give you that dramatic opening and a proud, tall loaf.

    How to Know It Actually Worked

    A well-steamed crust tells you the moment it comes out of the oven. It should be deep golden to mahogany, not blond. It should have a faint sheen and often tiny blisters across the surface. And when you set it on a rack to cool, a properly baked loaf will crackle audibly as it contracts – bakers call it the loaf singing, and it is the sound of a crust that set correctly.

    Cut into it only once it is fully cool. If the crust is crisp but the inside is dense or gummy, that is a separate, common issue worth diagnosing on its own; our breakdown of why sourdough turns out gummy walks through the real causes and fixes so your crumb catches up to your crust.

    None of this needs special gear. A baking sheet, a metal pan, a cup of boiling water, and a hot oven will give you a crackly, bakery-worthy crust that most people assume requires an expensive pot. The Dutch oven was never the secret – the steam always was.

    Because a crackly crust is genuinely easier to see than to describe, the full no-Dutch-oven bake – preheat, load, steam, and the crackle test – is walked through step by step on the LoafLovers YouTube channel. Grab our free sourdough troubleshooting guide too, so the whole method is on hand the next time you bake. You have everything you need already.

    Related Reading