Tag: enriched sourdough

  • Sourdough Dinner Rolls: Soft, Fluffy, and Perfect for the Holiday Table

    Sourdough Dinner Rolls: Soft, Fluffy, and Perfect for the Holiday Table

    Crusty, tangy sourdough is wonderful – but it is not what you want next to the turkey. Holiday dinner rolls need to be the opposite: soft, pillowy, a little sweet, with a tender top you can tear apart with your fingers. The good news is your starter can absolutely make that roll. The trick is treating this like an enriched dough, not a lean artisan loaf, and leaning on a make-ahead schedule so you’re not chained to a bowl on the busiest cooking day of the year.

    Here’s a reliable method, plus the handful of places people go wrong when they try to turn sourdough into soft rolls.
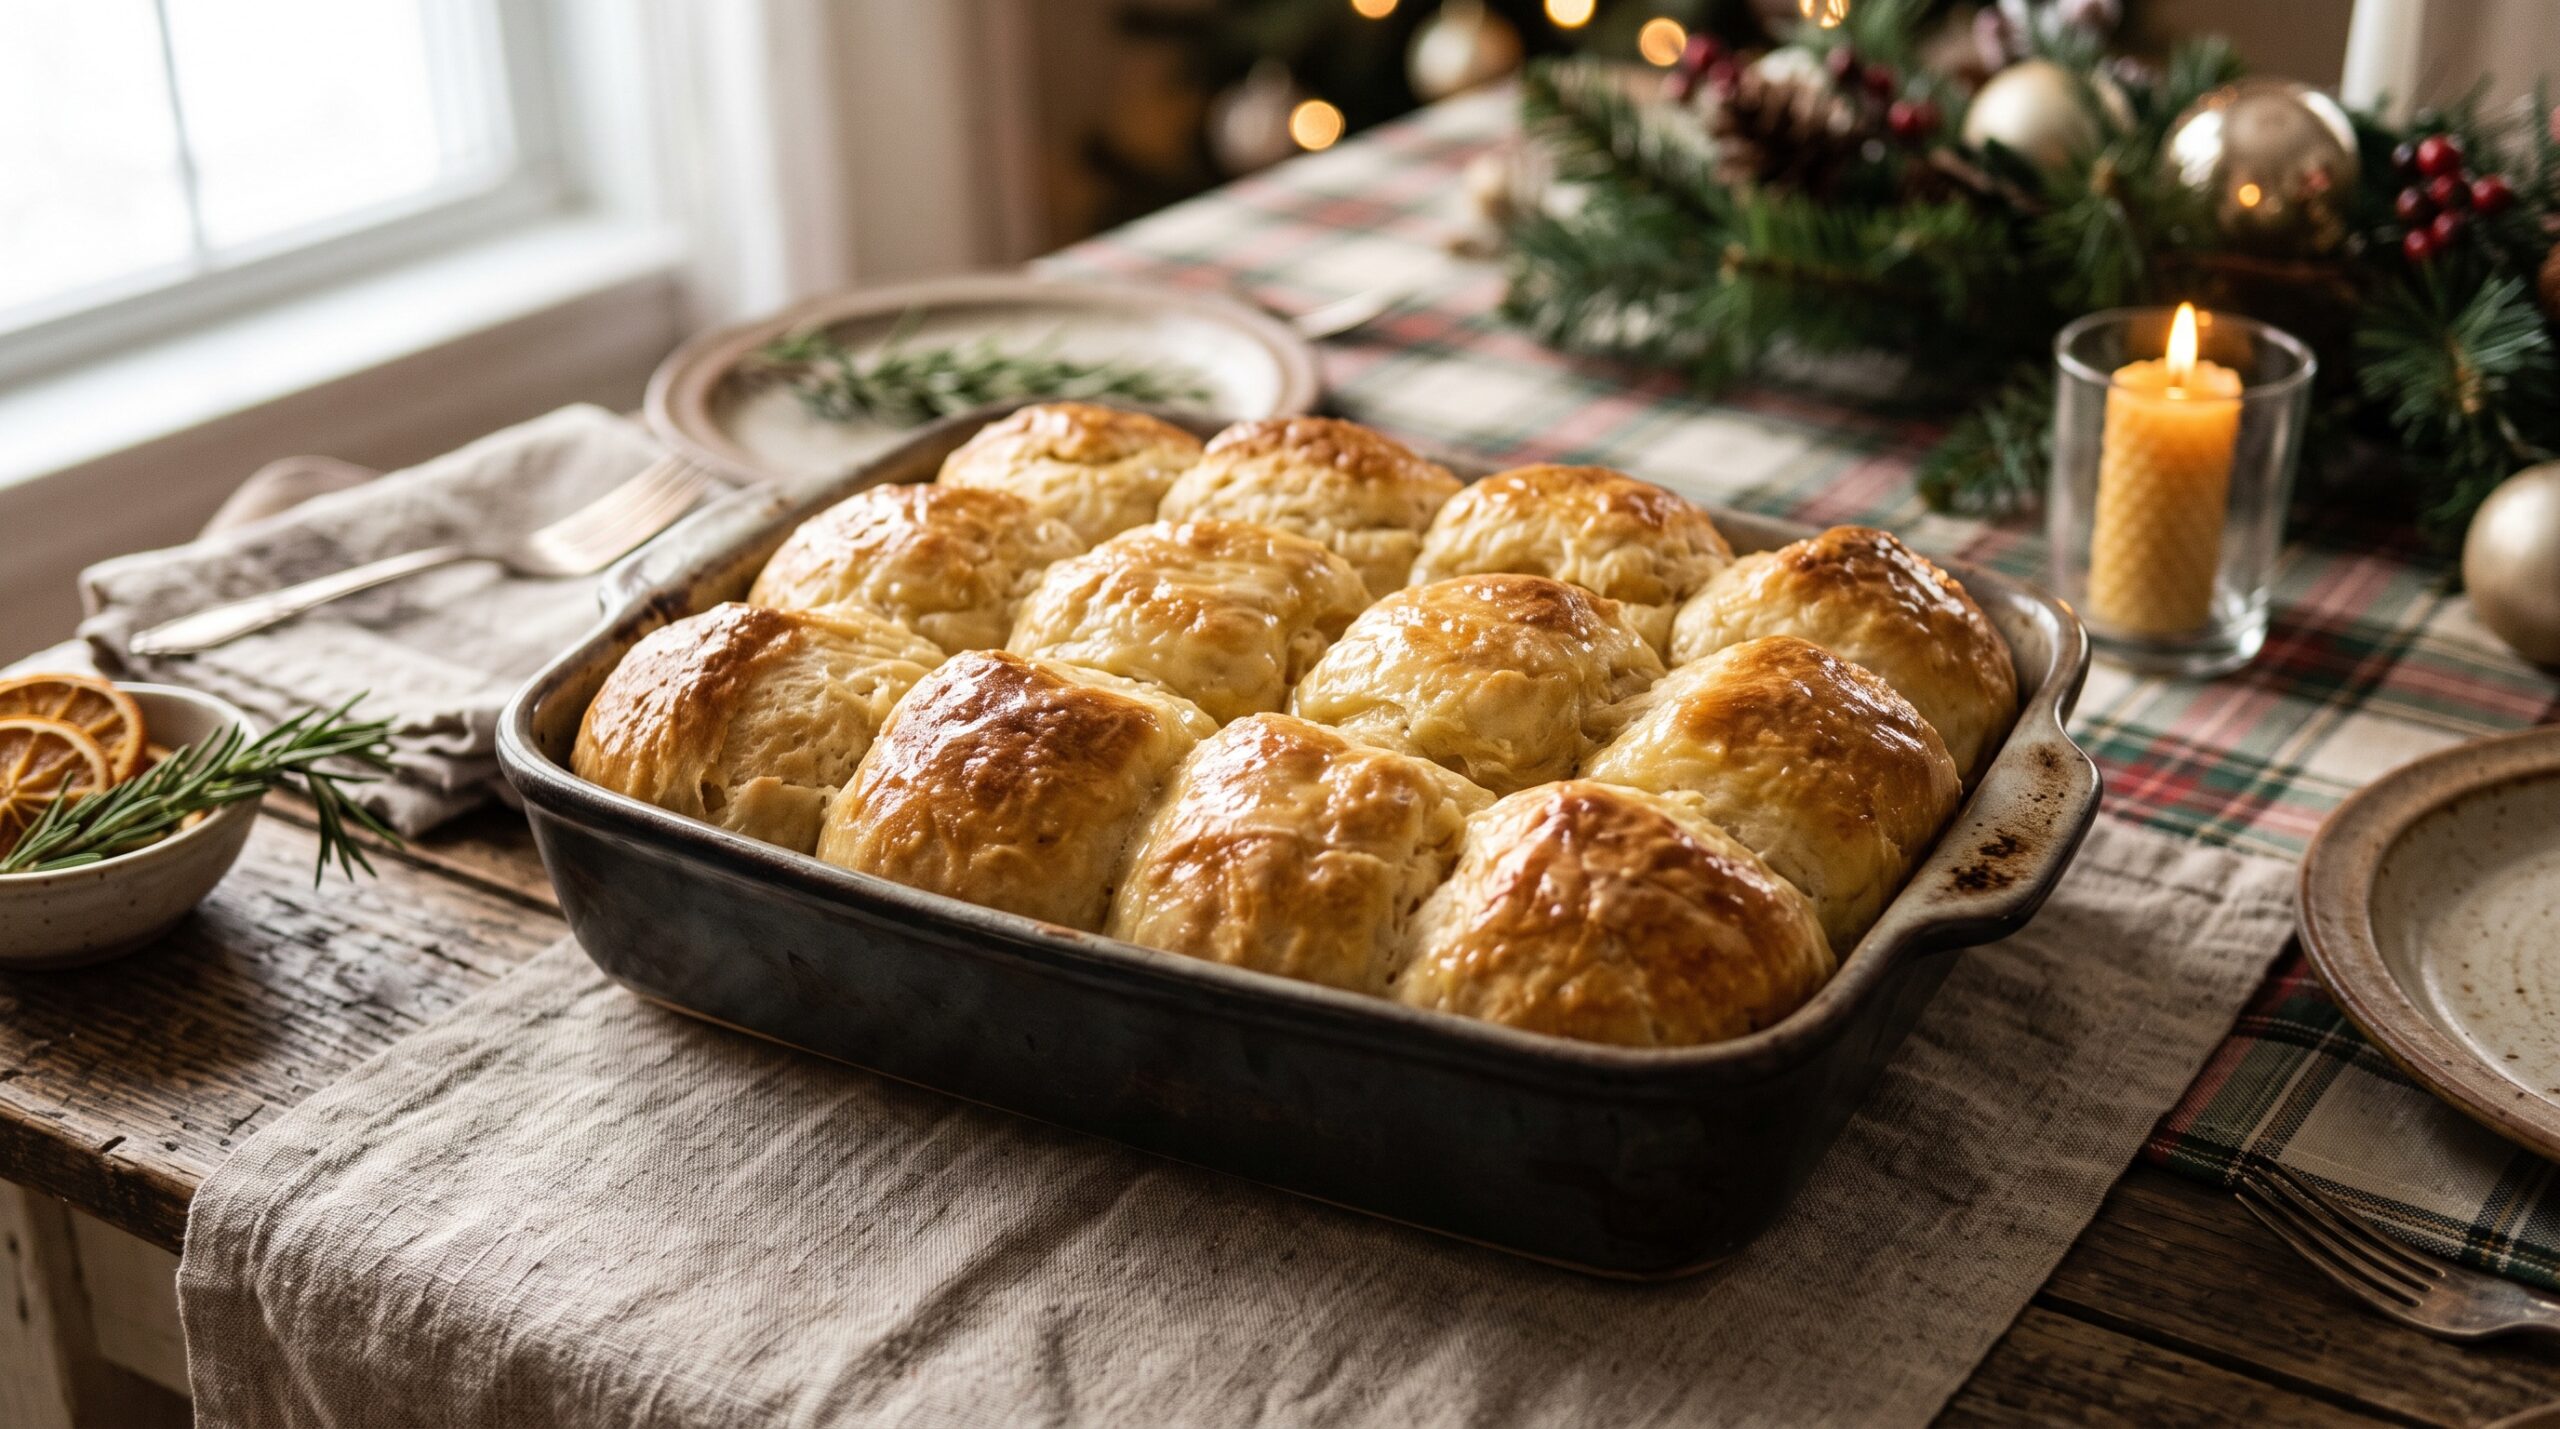
    A pan of golden pull-apart sourdough dinner rolls with buttery tops on a holiday table
    Soft, tall, and tear-apart tender – sourdough dinner rolls that belong next to the gravy.

    Why these rolls are different from your usual loaf

    A normal sourdough loaf is lean – just flour, water, salt, and starter. That builds a chewy, open crumb and a hard crust. Rolls go the other way. You add fat (butter), dairy (milk), a little sugar, and often an egg. Those enrichments coat the gluten, shorten the chew, and give you a soft, fine, cottony crumb instead of big holes. The sugar and milk also help the tops brown into that golden, tender finish.

    So don’t judge this dough by loaf rules. It will feel softer, richer, and tackier than you’re used to, and it won’t blister or crackle. That’s correct.

    A simple roll formula

    This makes about 12 rolls in a 9×13 pan. Weigh if you can – it’s far more forgiving than cups.

    • 100 g active, bubbly starter (fed and at peak)
    • 240 g warm milk (whole milk is best for softness)
    • 1 egg
    • 50 g sugar
    • 500 g bread flour
    • 9 g salt
    • 60 g soft butter, added after the dough comes together

    Mix everything except the butter until shaggy, rest 20 minutes, then work the soft butter in until the dough is smooth and elastic. It will fight you at first and then come together into a soft, slightly shiny ball.
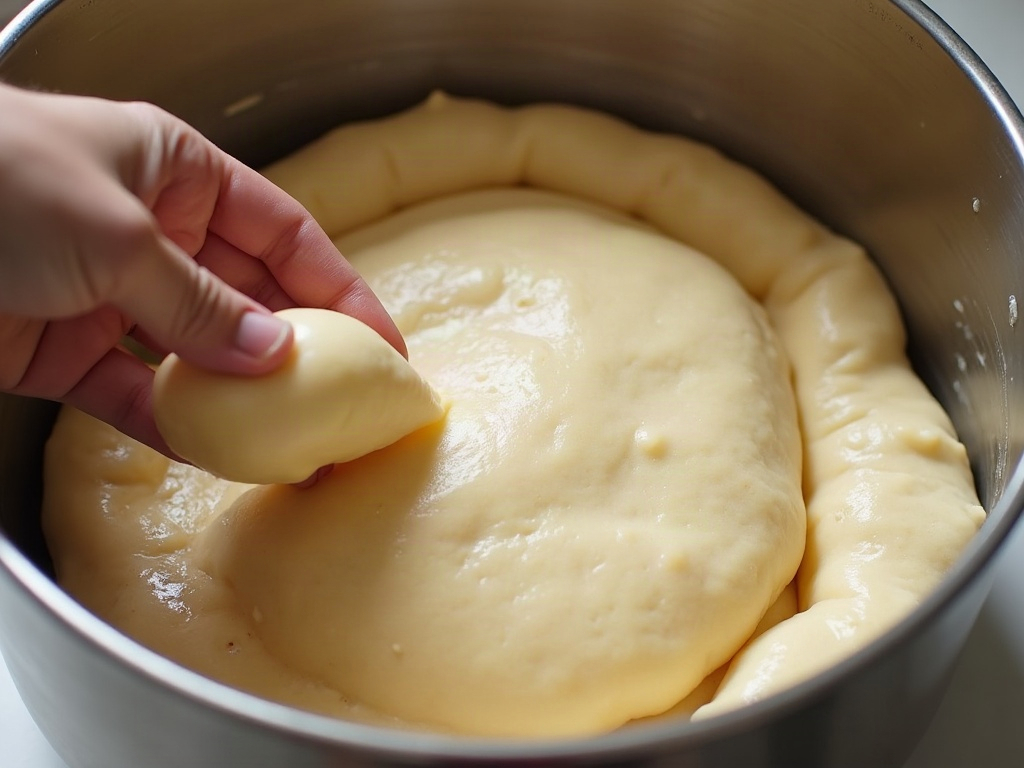
    Soft enriched sourdough dough being stretched to show smooth gluten development
    The dough should feel soft, smooth, and slightly tacky – enriched with butter, milk, and a little sugar.

    Bulk ferment, then the make-ahead move

    Let the dough rise at room temperature until it’s puffy and roughly 50-75% larger. Because it’s enriched and heavier than a lean dough, this is usually slower – think 5 to 8 hours depending on your kitchen and starter strength. Don’t chase a full double; enriched doughs are happy with a bit less.

    Here’s the part that saves your holiday: after bulk ferment, shape the rolls, put them in the pan, cover well, and refrigerate overnight. The cold slows everything down so you can bake fresh in the morning. This is the single best reason to make sourdough rolls instead of same-day yeast rolls – you can do the work the day before and pull a tray of fresh, hot rolls right before dinner.

    Shape tight, set them close

    Divide the dough into even pieces (weigh for uniform rolls – around 75-80 g each). Shape each into a tight, smooth ball by cupping it against the counter and dragging it in small circles to build surface tension. A smooth, taut skin is what gives you a round, high roll instead of a saggy one.
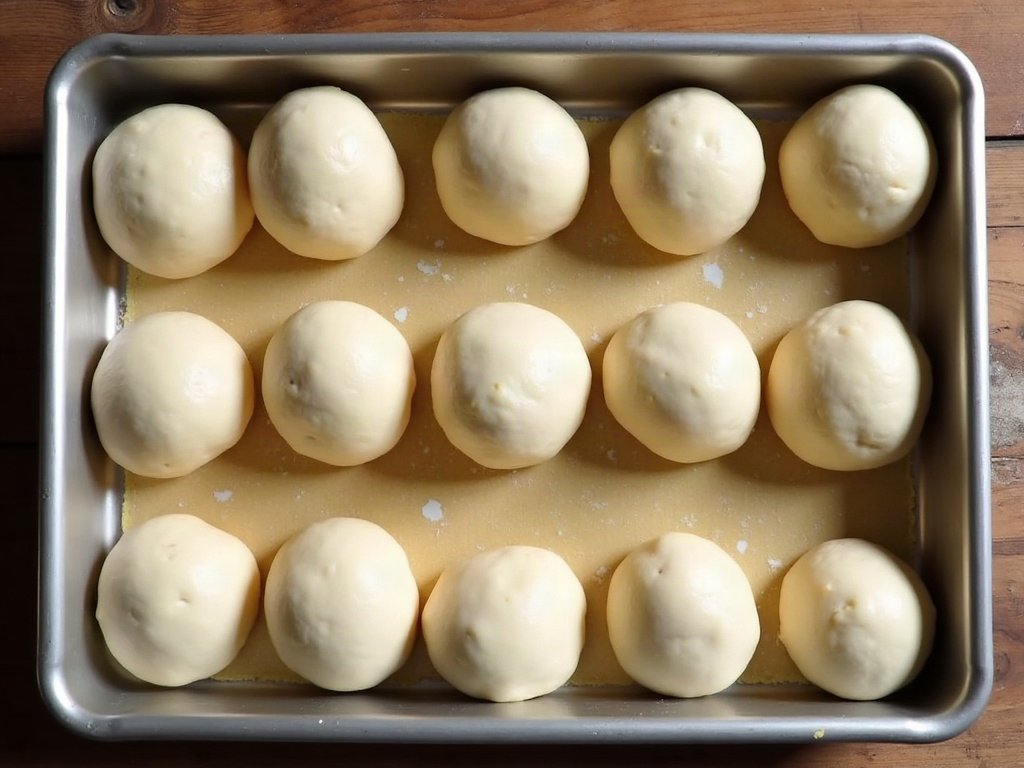
    Evenly shaped dough balls arranged in a baking pan before proofing
    Shape tight, even balls and set them close – they rise into each other for that pull-apart softness.

    Arrange them in a buttered pan with small gaps between – about a finger’s width. As they proof and bake they expand into each other, which is exactly what creates those soft, tear-apart sides. Rolls baked touching stay softer than rolls baked alone.

    The final proof and the bake

    Straight from the fridge, let the shaped rolls come up to room temperature and finish proofing until puffy and pressing gently against each other – usually 1.5 to 3 hours. Underproofed rolls bake up dense and tight, so give them real time; poke one gently and it should spring back slowly, not instantly.

    Brush the tops with egg wash or milk for color, then bake at 375°F (190°C) for about 20-25 minutes until deep golden. The lower temperature (versus a 450°F loaf) keeps them soft and prevents a hard crust.
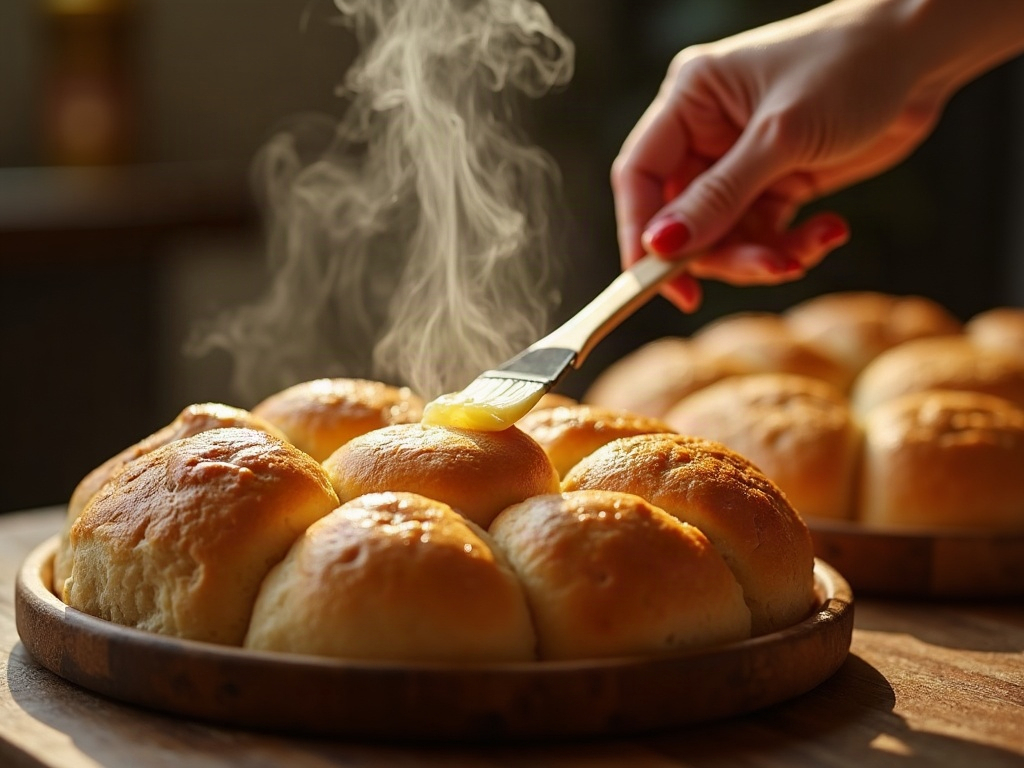
    Melted butter being brushed over warm freshly baked sourdough rolls
    A butter brush straight out of the oven keeps the tops soft and glossy instead of crusty.

    The finishing touch that keeps them soft

    The moment they come out, brush the tops with melted butter. This is not optional if you want that bakery-soft, glossy finish – it keeps the crust from setting hard as the rolls cool and adds a last layer of richness. Let them cool just enough to handle, then serve warm.

    A few quick saves if things go sideways: dense rolls almost always mean underproofing or a sluggish starter – give more time and make sure your starter was at peak. Rolls that spread flat usually weren’t shaped tightly enough. And if the tops brown too fast, tent loosely with foil for the last few minutes.

    A torn-open sourdough dinner roll showing a soft fluffy crumb with melting butter
    The payoff: a fine, cloud-soft crumb that pulls apart in steamy strands.

    That’s the whole game: enrich the dough, shape tight, cold-proof overnight, bake low, and butter the tops. Do that and your starter earns a permanent spot at the holiday table – soft, fluffy, pull-apart rolls, no yeast packet required.

    Want to see the shaping and the overnight fridge trick in action? The full step-by-step walkthrough lives on the LoafLovers YouTube channel – watch the dough and the shaping once and it’ll click for good.
    Related Reading

  • Enriched Sourdough: Why Butter, Milk, and Egg Change Everything About the Bake

    Enriched Sourdough: Why Butter, Milk, and Egg Change Everything About the Bake

    You’ve got a sourdough loaf you can make in your sleep. So one weekend you decide to level up: a soft, golden, brioche-style sourdough, enriched with butter, milk, an egg, and a little sugar. You follow your usual timings. And what comes out of the oven is dense, squat, faintly greasy, and barely risen – nothing like the pillowy loaf you pictured. Nothing was wrong with your technique. The problem is that the moment you add fat, dairy, eggs, and sugar, you’re no longer baking the same kind of bread, and the old rules stop applying.

    Enriched dough isn’t harder than lean sourdough, but it’s genuinely different, and once you understand what each addition does, the fixes are obvious. Let’s take it apart.

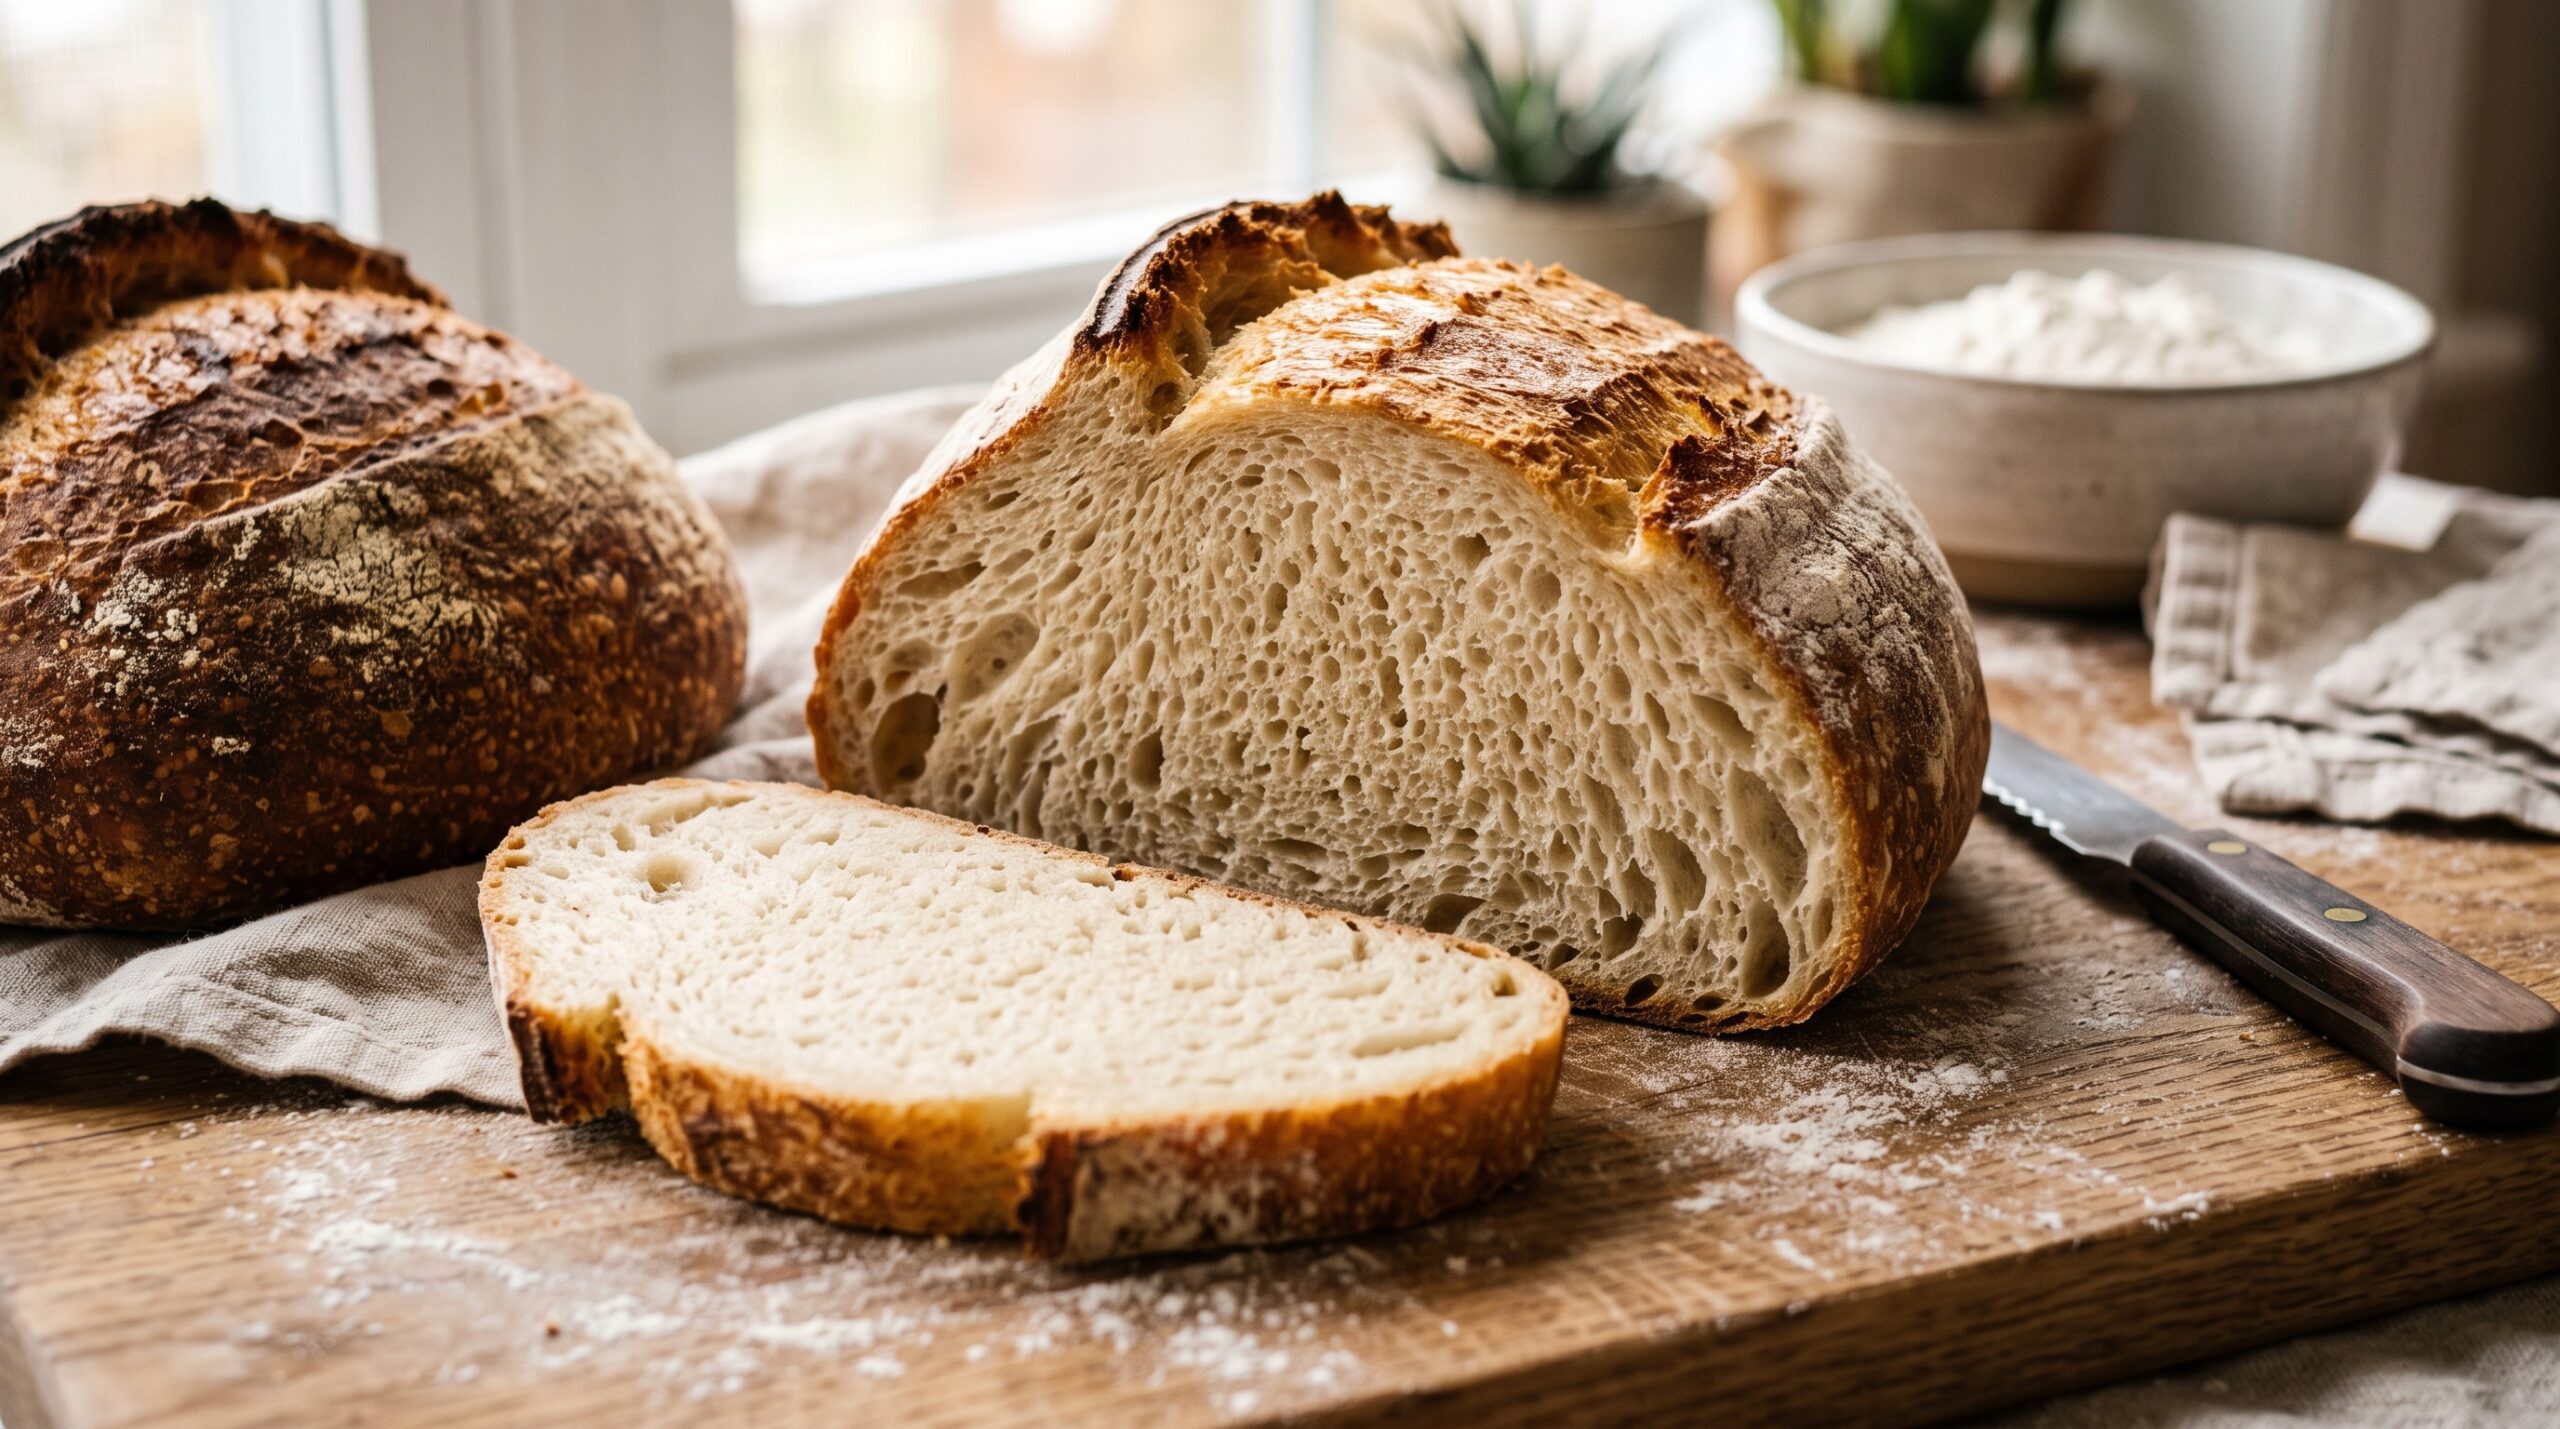
    A soft enriched sourdough loaf sliced to show a fine tender pillowy crumb
    Enriched dough trades the wild open crumb of a lean loaf for a soft, close, tender one.

    What “enriched” actually means

    A lean dough is the classic four ingredients: flour, water, salt, and starter. That’s your everyday crusty boule. An enriched dough adds anything beyond those – fat (butter or oil), dairy (milk), eggs, and sweeteners (sugar or honey). Think sandwich bread, brioche, cinnamon rolls, soft dinner rolls. The payoff is a tender, close crumb, a soft crust, a richer flavor, and bread that stays fresh longer. The cost is that every one of those additions makes the dough behave differently – and usually, more slowly.

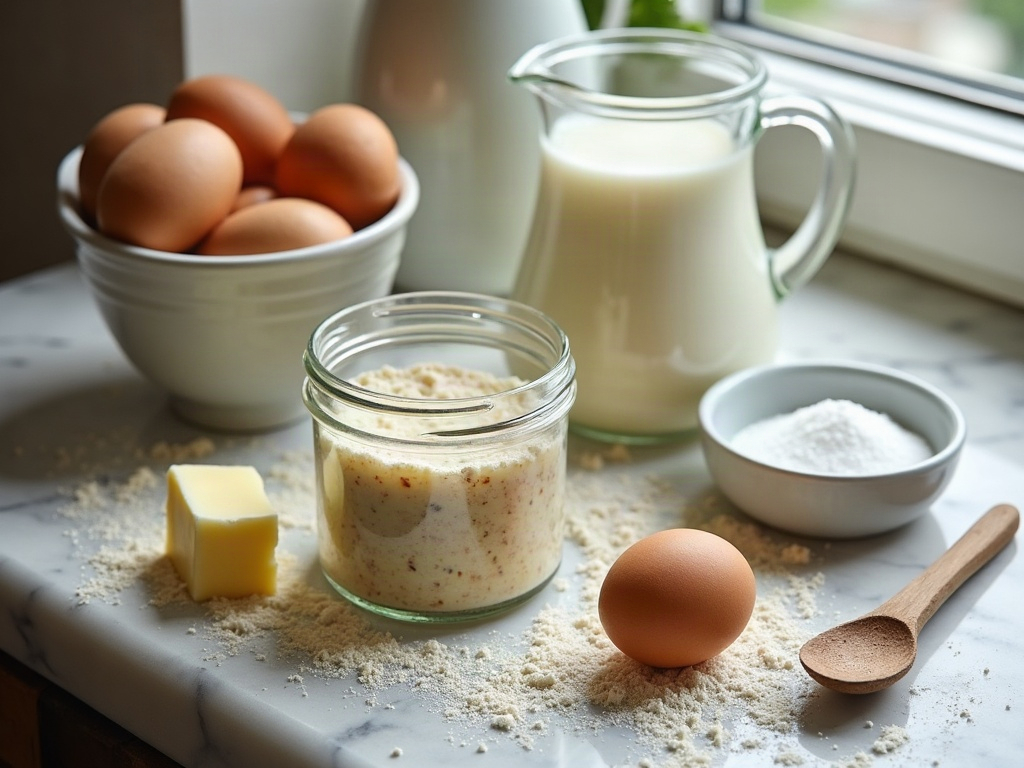
    The ingredients of enriched sourdough laid out: starter, butter, egg, milk, and sugar
    Fat, dairy, egg, and sugar each pull the dough in a different direction.

    Fat: the softness you want, the gluten problem you don’t

    Fat is why enriched bread is so tender – and why it can turn into a brick if you mishandle it. Butter and oil coat the strands of gluten as they form, lubricating them so the crumb comes out soft and short rather than chewy and elastic. That’s exactly the texture you’re after.

    The trouble is that gluten needs water and contact to develop, and fat gets in the way of both. If you dump softened butter in at the very start, it coats the flour before a proper gluten network can form, and you get a dough that never builds enough structure to rise tall – so it bakes dense. The fix is all about order: build your gluten first with the flour, liquid, and starter, let it come together into a strong, stretchy dough, and only then work the softened butter in a little at a time until it’s fully absorbed. It’ll look like it’s falling apart for a minute; keep going and it comes back together smooth and supple.

    Hands working soft butter into a smooth enriched sourdough on a floured counter
    Add the butter after the gluten is built, a little at a time.

    Sugar and dairy: why your starter suddenly drags its feet

    Here’s the surprise that catches most bakers out: sugar and milk both slow down fermentation, which is the opposite of what you’d guess. You’d think sugar would be rocket fuel for the yeast, and in small amounts it is. But in the richer quantities an enriched dough uses, sugar is hygroscopic – it pulls water away from the yeast and bacteria in your starter, leaving them sluggish in a thicker, stickier environment. High-sugar doughs can ferment noticeably slower for exactly this reason.

    Dairy adds its own drag. Milk brings fat and proteins that weigh the dough down and soften the gluten further, and the fats coat the yeast much the way butter coats the flour. The practical consequence is the single most important thing to know about enriched sourdough: it rises more slowly than lean dough, often a lot more slowly. If you give an enriched loaf the same bulk ferment you’d give a plain boule, you’ll under-proof it every time – and under-proofing is the number-one reason a rich loaf bakes dense and heavy. When you’re diagnosing a gummy, tight crumb, the thinking is the same as with any dense, underbaked loaf: more often than not, it simply needed more time.

    Eggs: richness, color, and a little extra lift

    Eggs are the friendliest addition. The yolks bring fat and emulsifiers that make the crumb rich and tender and help everything stay mixed; the whites bring protein and water that add a touch of structure and lift. They also deepen the color and give that classic golden, slightly cakey crumb. The one thing to watch is your overall liquid: an egg is mostly water, so count it toward your hydration or the dough will come out wetter and slacker than you intended.

    How to adjust your whole process

    Put it together and a few clear changes fall out. Give it more time. Expect bulk fermentation to run longer than your lean-dough routine – watch the dough, not the clock, and look for a genuine, confident rise before you shape. A warm spot helps enormously here, since the extra fat and sugar already have fermentation fighting uphill.

    Mix in the right order. Flour, liquid, egg, and starter first; salt and sugar next; soft butter last, worked in gradually once the gluten is strong. Mind your hydration. Milk and egg are liquids – fold them into your total water so you don’t end up with a soup. And bake cooler. All that sugar and dairy browns fast, so an enriched loaf baked at your usual high crusty-boule temperature will be mahogany outside and raw inside. Drop the oven temperature and bake a little longer and more gently; because the crust stays soft, this is one case where a loaf pan often suits enriched dough better than a Dutch oven.

    A dense under-risen enriched loaf beside a tall, golden, well-risen one
    Same ingredients, different process: the fix is almost always time and temperature.

    Set your expectations for the crumb, too

    One last mental adjustment: stop chasing the wild, open, hole-filled crumb you prize in a lean loaf. Enriched bread is supposed to have a fine, tight, even crumb – that’s what makes it soft and sliceable and perfect for toast or a sandwich. A brioche riddled with big irregular holes would be a failure, not a triumph. So when your enriched loaf comes out with a close, tender, uniform texture, that’s not a flat crumb – that’s the whole point.

    Enriched sourdough asks for patience and a slightly different order of operations, but it rewards you with the softest, richest bread in your repertoire. Build the gluten, add the fat last, give it the long rise it’s quietly begging for, and bake it gentle. Your first tender, golden loaf is closer than that dense first attempt made it feel.

    Want to see the mixing order and the butter-incorporation step in motion? The full walkthrough lives on the LoafLovers YouTube channel, and our free sourdough troubleshooting guide covers the dense-loaf fixes in one place.

    Related Reading