Tag: sluggish starter

  • Is Tap Water Killing Your Sourdough Starter? Chlorine, Chloramine, and What to Use

    Is Tap Water Killing Your Sourdough Starter? Chlorine, Chloramine, and What to Use

    You did everything right. You fed your starter on schedule, kept it warm, used good flour – and it still sits there, flat and sulking, with a few sad bubbles and no real rise. Before you toss it and start over, look at the one ingredient almost nobody suspects: the water coming out of your tap.

    Sourdough is a living culture of wild yeast and bacteria, and municipal tap water is treated specifically to keep microbes from growing in it. That is wonderful for drinking water and quietly unhelpful for a jar of fermenting flour. Here is exactly how your water can stall a starter, a two-minute way to prove whether it’s the culprit, and the fixes – ranked from easiest to most thorough.
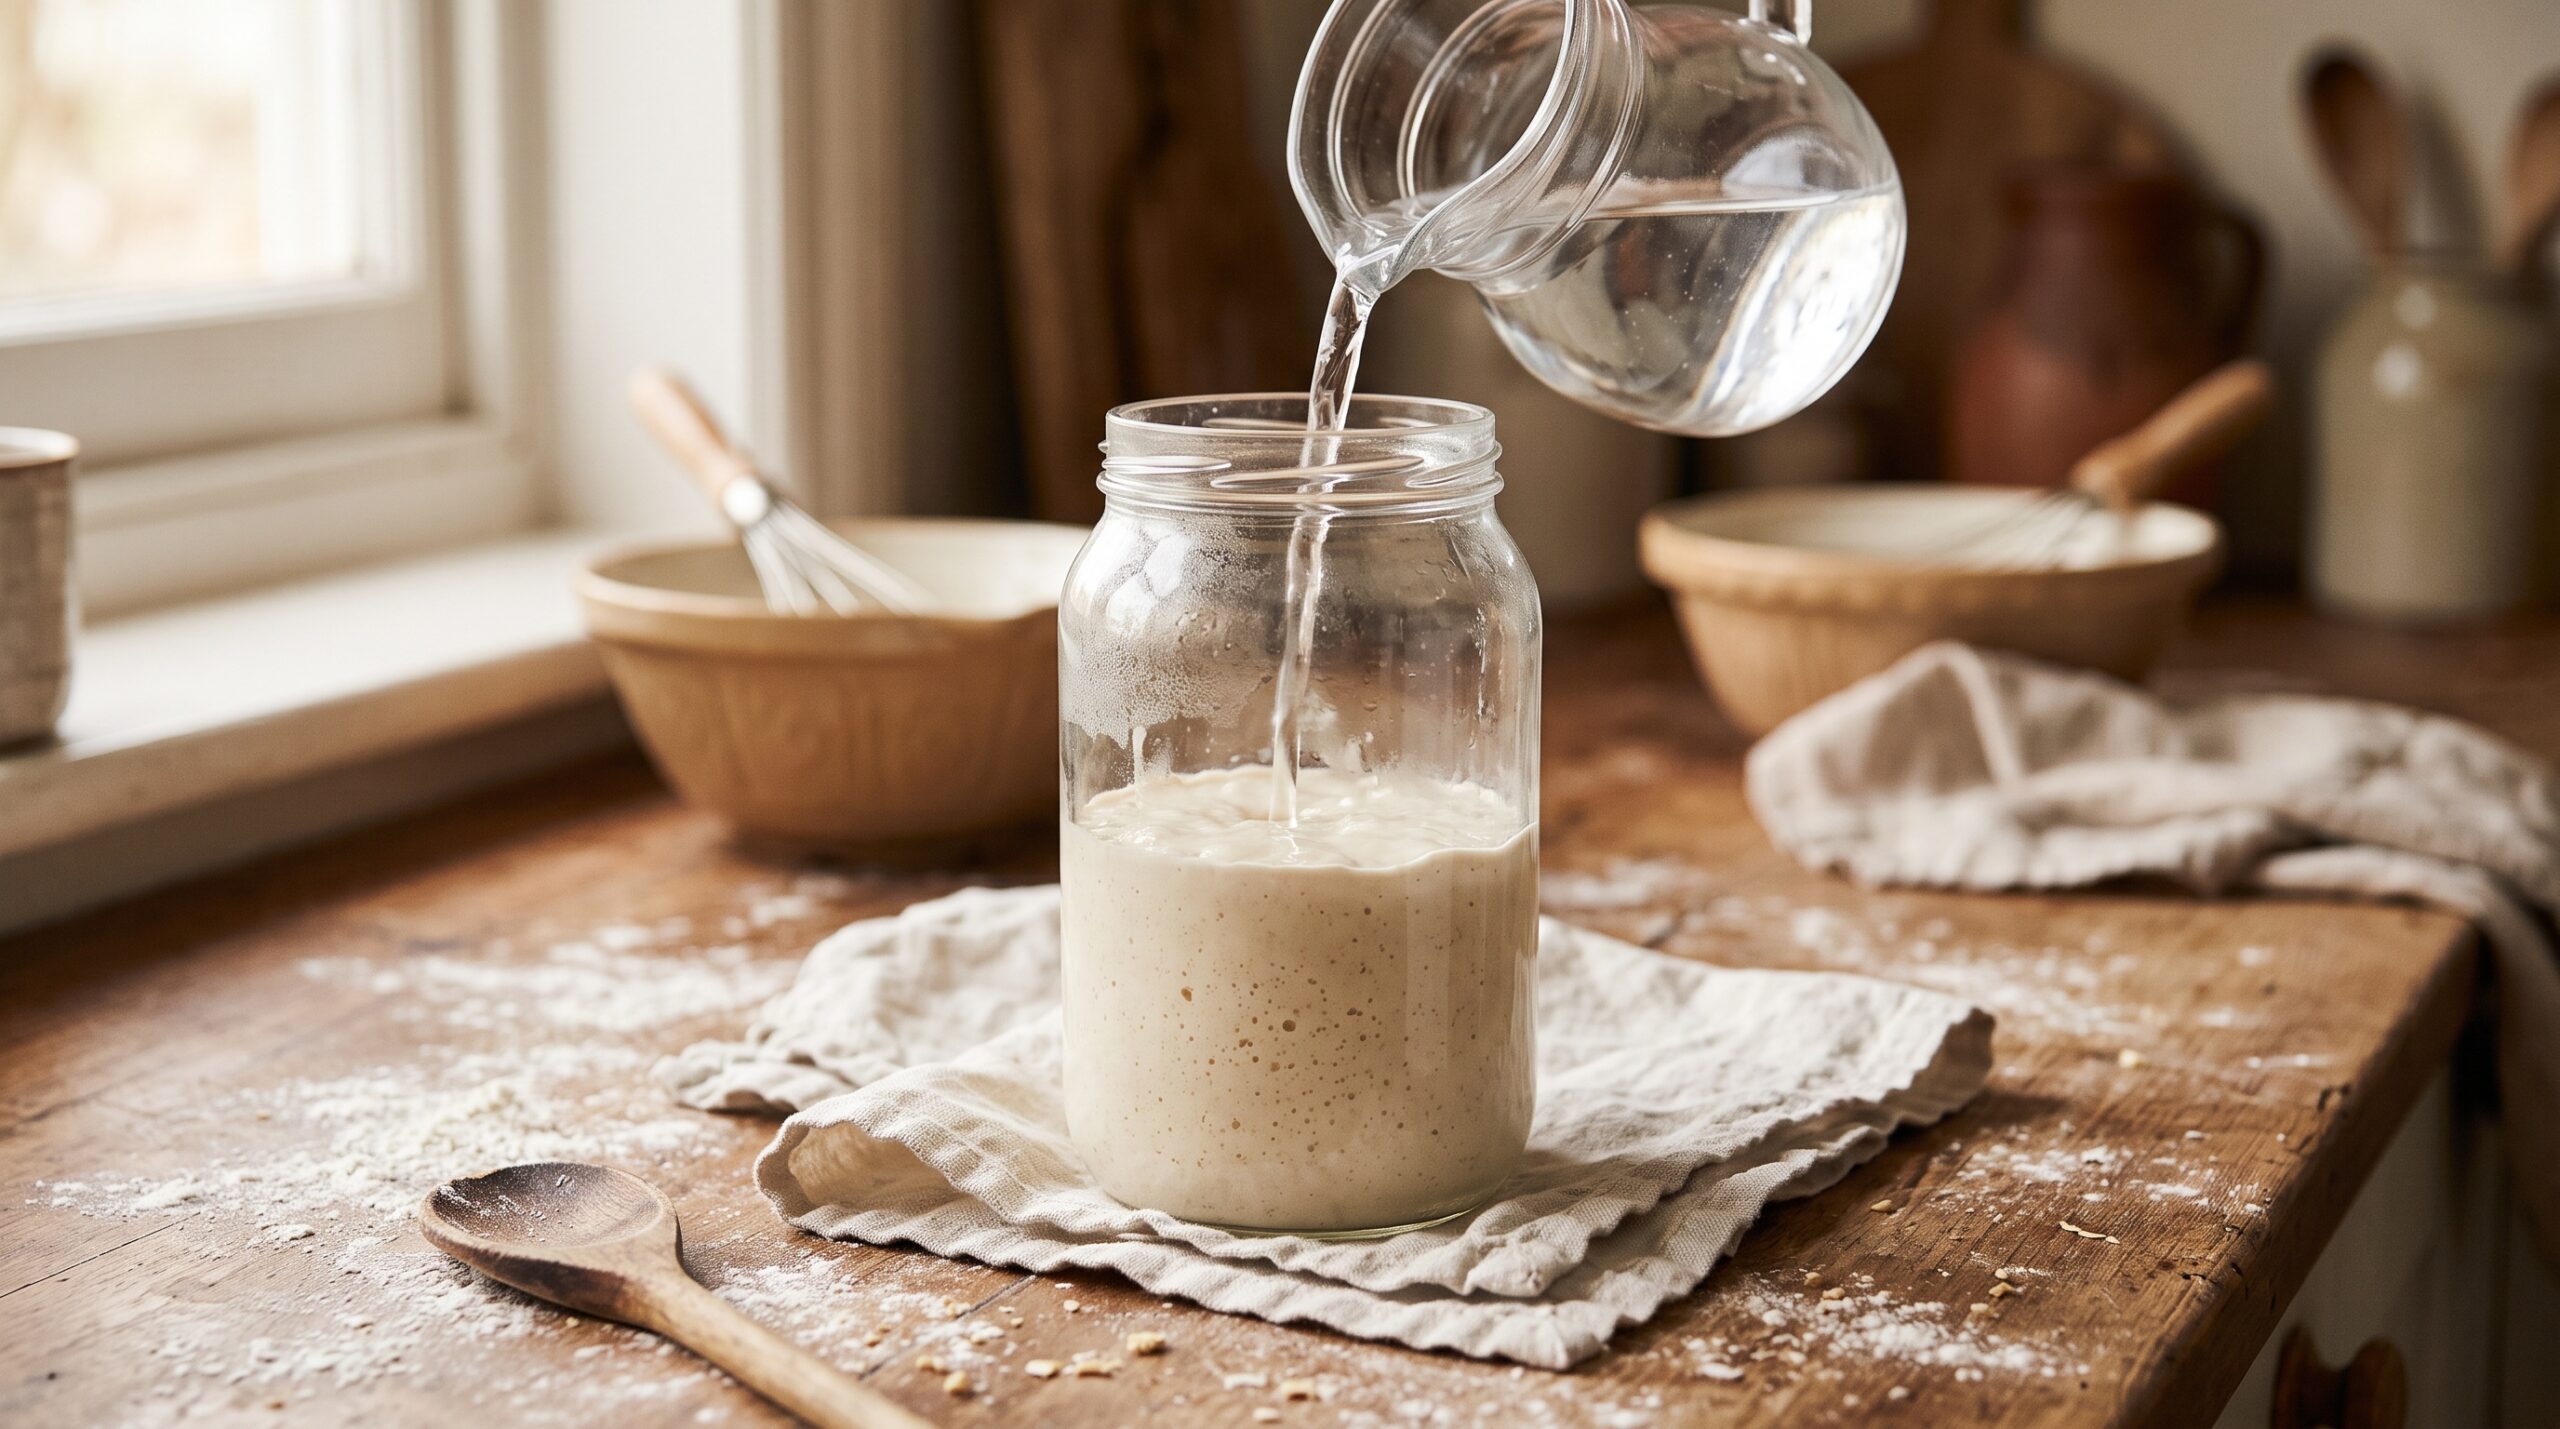
    Water being poured into a jar of pale, sluggish sourdough starter on a floured wooden counter
    The water you feed your starter is an ingredient too – and the wrong water can quietly hold it back.

    The symptom: a starter that just stalls

    A water problem rarely looks dramatic. Your starter isn’t moldy, it doesn’t reek of acetone, and it hasn’t died. It simply underperforms. The classic signs: it takes forever to show life after each feed, it never quite doubles, the bubbles are small and sparse instead of a lively dome, and the rise it does manage is sluggish and slow to arrive. New starters are the most vulnerable – a young culture doesn’t yet have the microbial numbers to shrug off a dose of sanitizer.

    The frustrating part is that every other box is ticked. That’s the tell. When temperature, flour, and feeding rhythm all look fine and the starter is still lazy, the water is one of the few variables left.

    First, rule out the usual suspects

    Water gets blamed a lot more often than it’s actually guilty, so be honest with yourself before you change anything. Most stalled starters are cold, hungry, or misread rather than poisoned. If your kitchen has dipped below about 21C / 70F, that alone will slow fermentation to a crawl – warmth is usually the real fix. If you’re feeding infrequently or with too little fresh flour, the culture runs out of food and goes quiet.

    Work through our full checklist of reasons a sourdough starter won’t rise first, and make sure you’re not just missing the peak – a starter can rise and fall between feeds while you’re asleep. If you’ve genuinely corrected temperature and feeding and it’s still flat, water becomes the prime suspect. That order matters: fix the free things first.

    What chlorine and chloramine actually do

    Two chemicals are the concern, and they behave very differently. Chlorine is the older, simpler disinfectant. It’s volatile, which means it evaporates out of standing water on its own within a day or so. Chloramine – chlorine bonded with ammonia – is what many municipalities have switched to precisely because it’s more stable and longer-lasting in the pipes. That stability is the problem: chloramine does not off-gas by sitting out, so the old advice to “just leave the water on the counter overnight” quietly stopped working for a lot of people.

    Both work by disrupting microbial cell membranes – that’s how they keep your drinking water safe. In a starter, at the low concentrations found in tap water, they usually don’t wipe out an established culture. Instead they suppress it: they knock back the wild yeast and the lactic acid bacteria enough to blunt the rise and drag out the timeline. Think of it as friction, not a kill switch. A mature, well-populated starter can often power through it; a fragile young one may never get off the ground.
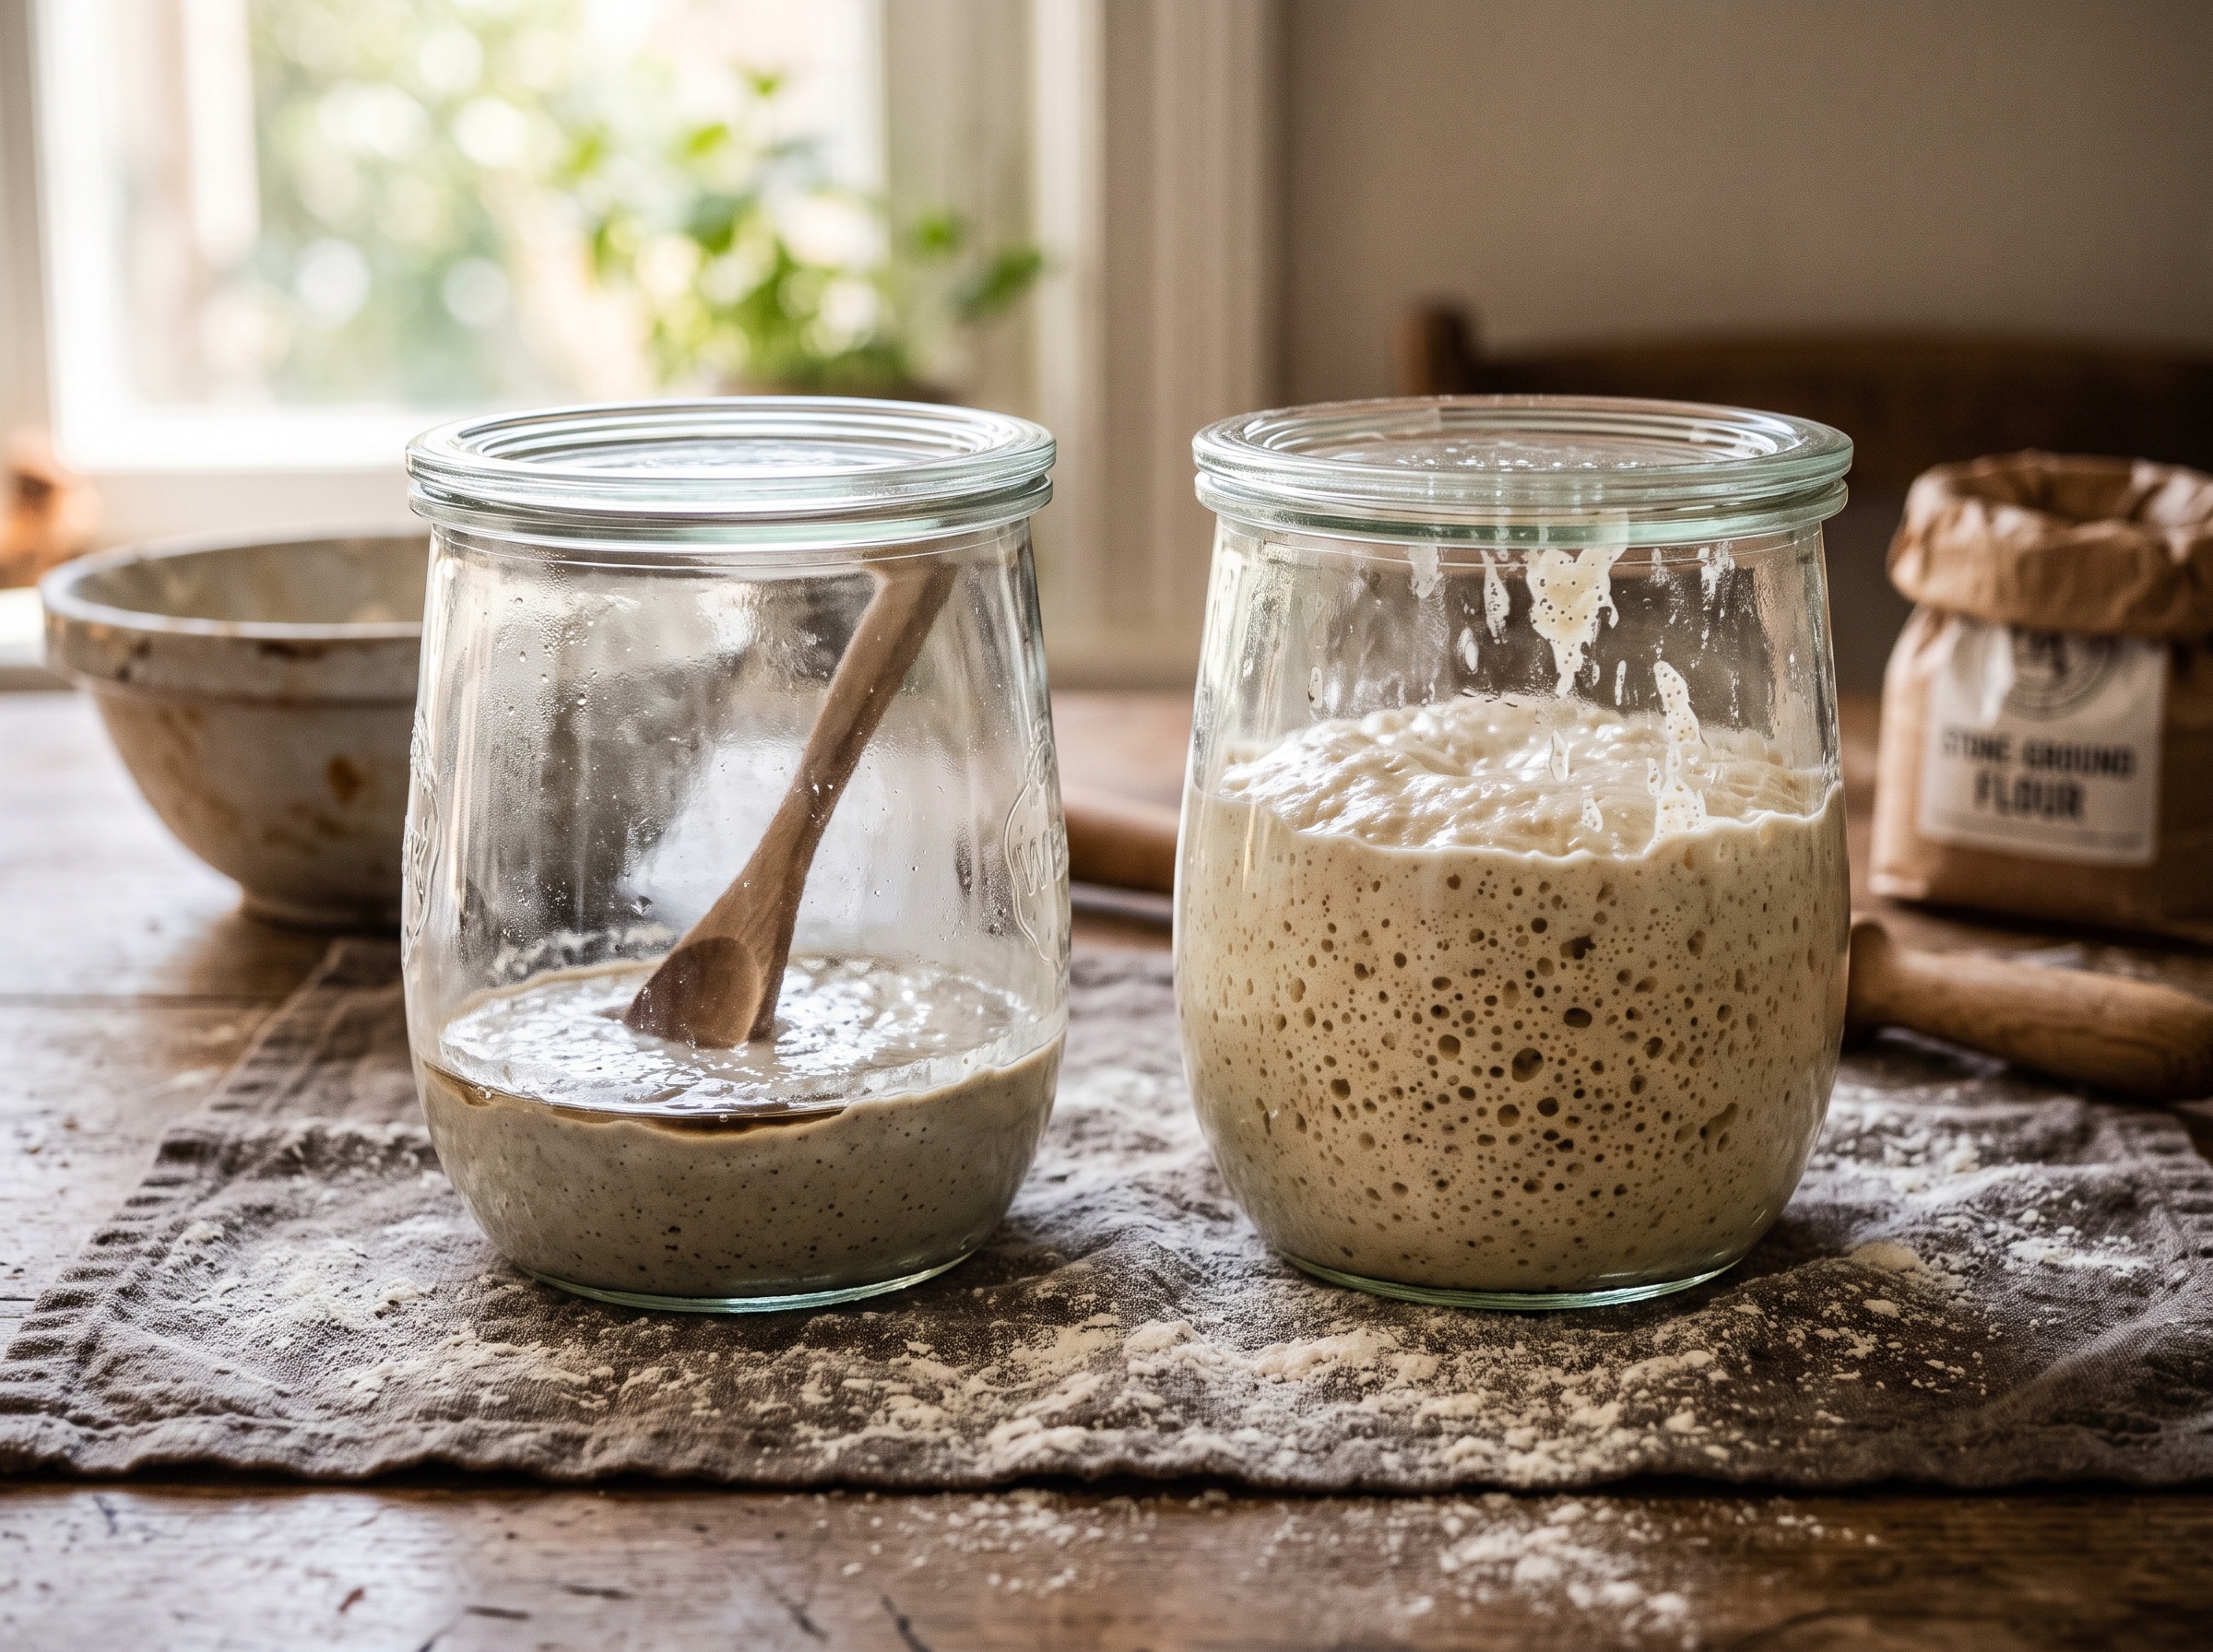
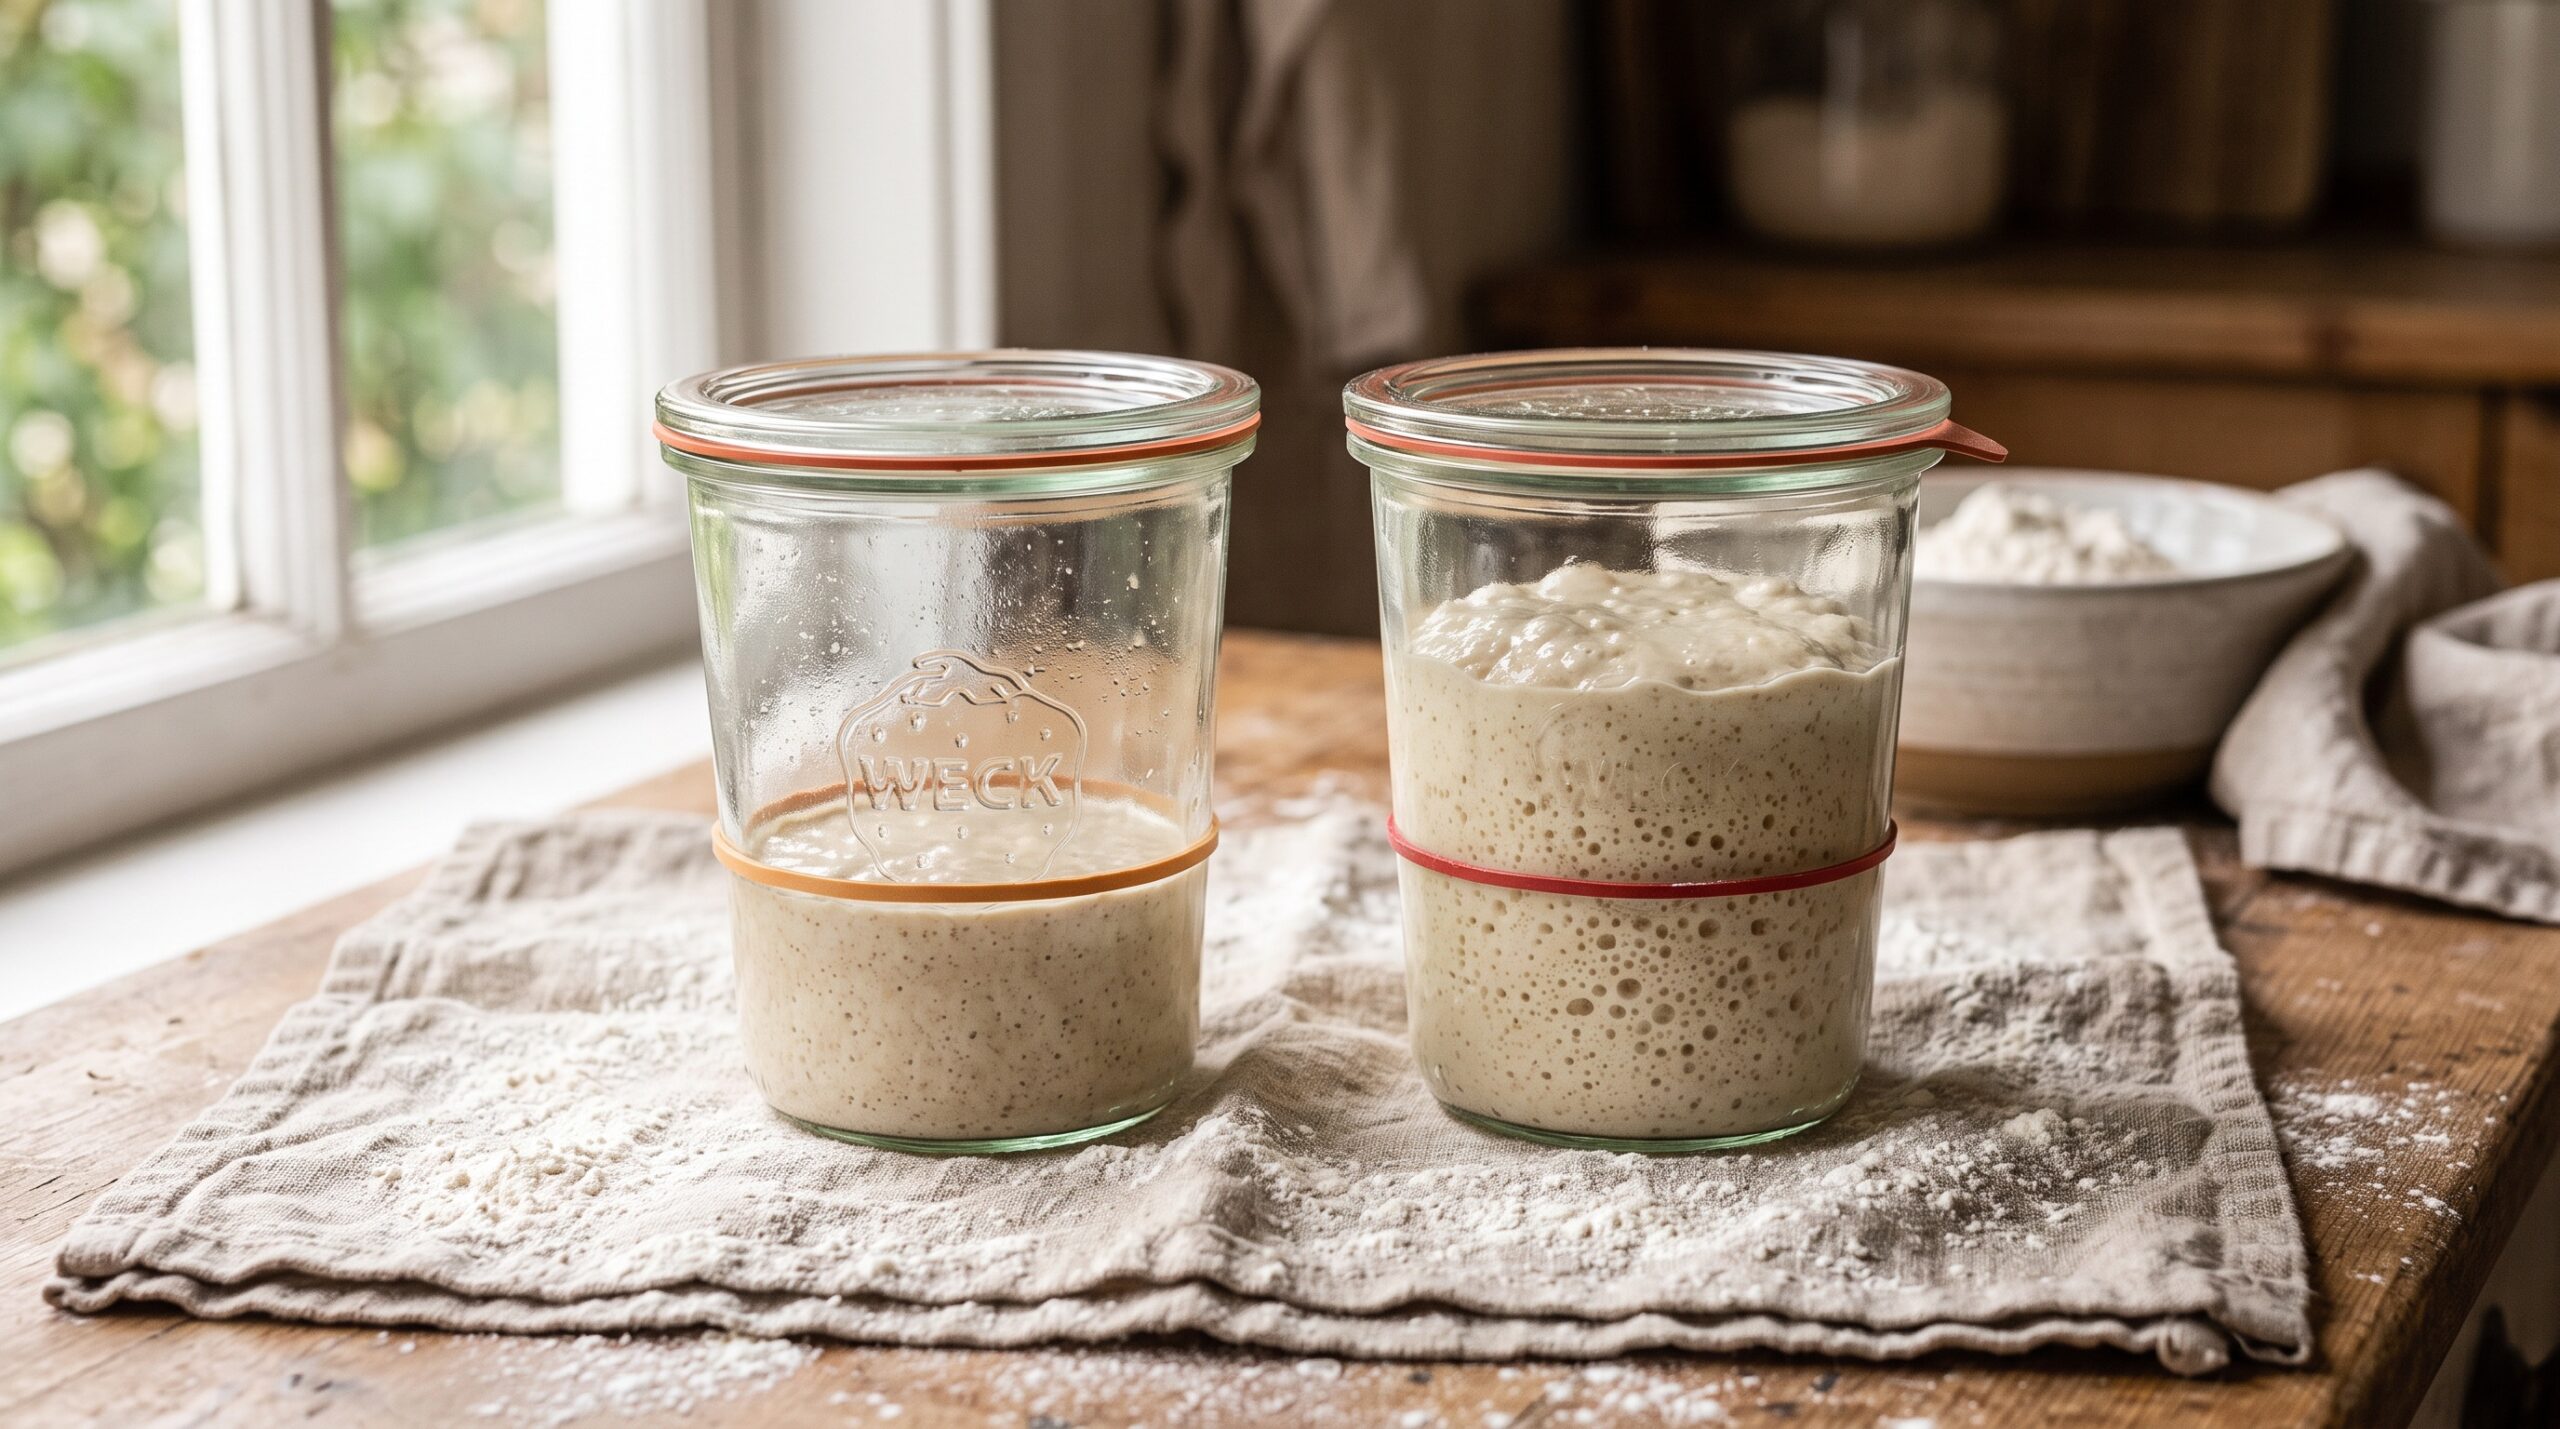
    Two jars of sourdough starter compared - one flat and lifeless, one bubbly and risen
    Same flour, same schedule – different water. A stalled starter (left) versus one fed with dechlorinated water (right).

    The two-minute test: prove it’s the water

    Don’t guess – run a side-by-side. At your next feeding, split your starter into two clean jars and feed them identically: same flour, same ratio, same spot on the counter. Feed one with your normal tap water and the other with bottled spring water or filtered water. Mark the level on both with a rubber band and watch.

    If the filtered-water jar rises noticeably faster, higher, or with a livelier crumb of bubbles while the tap jar lags, you’ve found your answer. If both behave the same, your water is fine and you can stop worrying about it – the problem is elsewhere. This little experiment is the honest way to settle it, and it costs you nothing but one extra jar for a day.

    The fixes, ranked

    Once you know water is the issue, you have several fixes. Match the fix to your water:

    1. Let it stand (chlorine only). Pour tap water into an open container and leave it uncovered on the counter for 24 hours. The chlorine off-gasses and you’re done – free and effortless. The catch: this does nothing for chloramine, so it only works if your utility still uses plain chlorine. Not sure which you have? Your water provider’s annual quality report says so, or you can just move to a method that handles both.

    2. Filter it. A quality activated-carbon filter – a common pour-through pitcher or a good faucet filter – reduces both chlorine and chloramine, though effectiveness varies by cartridge and how fresh it is. For most home bakers this is the sweet spot: cheap, convenient, and you probably drink the water anyway. Keep the cartridge current; a spent filter does little.

    3. Boil for chlorine. Boiling for a few minutes drives off chlorine, but again it’s weak against chloramine and you have to wait for the water to cool to lukewarm before feeding – never feed a starter hot water, which will cook the very microbes you’re trying to protect.

    4. Bottled spring or filtered water. The zero-effort route: buy a jug. Reach for spring or purified water rather than distilled – distilled and reverse-osmosis water is stripped of the trace minerals a culture likes, so if you use it, feed a mineral-rich whole-grain flour like rye or whole wheat to make up for it.
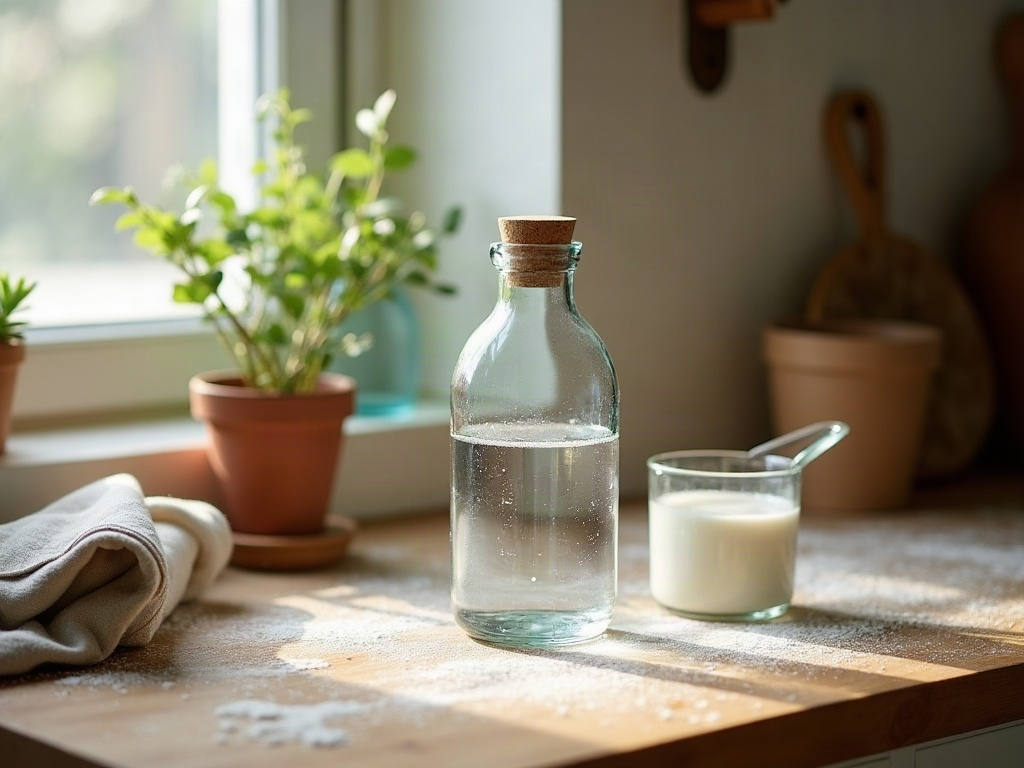
    A jug of water resting beside a filter pitcher to remove chlorine before feeding a starter
    Two easy fixes on one counter: let water stand to off-gas chlorine, or run it through a filter.

    You don’t need lab-grade water. Room-temperature, dechlorinated, with a few minerals in it is all a starter asks for. And you only need the good water for the starter itself and for mixing dough – washing your hands and bowls with tap water is completely fine.

    Building or reviving a starter with better water

    If you’re starting a brand-new culture from scratch, use dechlorinated water from day one. This is when the culture is at its most fragile and most easily suppressed, and clean water removes one big variable while the wild yeast establishes itself. It’s the difference between a starter that’s lively by day five and one that leaves you wondering if you did something wrong.

    Already have a starter that’s been limping along on tap water? Switch to filtered or bottled water and give it two or three days of consistent feedings in a warm spot. Most cultures bounce back quickly once the friction is removed. If yours has been badly neglected – separated, hoochy, or smelling sharp – pair the water change with our step-by-step guide to reviving a neglected starter, which walks through the feeding rhythm that rebuilds strength. And once it’s healthy again, storing it properly between bakes keeps it that way; here’s how to store your starter for short breaks and long ones.

    A healthy sourdough starter risen well past its rubber-band mark, full of bubbles
    A starter fed with clean water rewards you fast: past the mark, domed, and hungry.

    When it wasn’t the water after all

    Sometimes you’ll run the side-by-side and both jars behave identically – which means your water was never the problem, and that’s genuinely good news. It sends you back to the two things that stall far more starters than chlorine ever does: temperature and timing. A cool kitchen slows everything; a starter fed too rarely simply runs out of fuel.

    And make sure you’re actually judging the rise correctly. If you’re not sure whether your starter is peaking and falling before you check it, the float test and better ways to read your starter will keep you from misdiagnosing a healthy culture as a dead one. The goal isn’t to chase a perfect variable – it’s to eliminate them one at a time until your starter climbs the jar the way it should.

    The bottom line

    Tap water won’t usually kill an established starter, but chlorine and especially chloramine can quietly hold back a young or struggling one – suppressing the rise, stretching the timeline, and leaving you convinced you’re doing something wrong when you aren’t. The test is free, the fixes are cheap, and clean water is one of the easiest wins in all of sourdough. Rule out temperature and feeding first, run the two-jar test, and if the water’s the culprit, filter it or let it stand.

    Want to see a sluggish starter come back to life on camera? The full walkthrough – including what a healthy rise looks like hour by hour – lives on the LoafLovers YouTube channel, and you can grab our free sourdough troubleshooting guide to keep the whole diagnostic checklist by your jar. Trust the process, fix one thing at a time, and your starter will tell you when you’ve got it right.
    Related Reading

  • Sourdough Starter Not Rising? 7 Reasons It’s Sluggish (and How to Fix Each One)

    Sourdough Starter Not Rising? 7 Reasons It’s Sluggish (and How to Fix Each One)

    You stir the jar, screw the lid down loose, and set it on the counter with real hope this time. Hours later it looks exactly the same: flat, dense, maybe a few sad bubbles clinging to the glass. No dome. No doubling. Just a pale paste that refuses to do the one thing sourdough starters are supposed to do. Before you tip it down the drain and mutter that you are simply not a bread person, take a breath. A starter that will not rise is almost never dead. It is sluggish, and sluggish has causes you can fix, usually within a day or two. Here are the seven real reasons your starter is stalling, and exactly what to do about each one.

    First, though: your starter is almost certainly not dead. Wild yeast and the lactic bacteria that make sourdough work are astonishingly hardy. They survive weeks of neglect, cold fridges, and being ignored under a layer of grey liquid. What looks like death is nearly always dormancy – the organisms are there, they just do not have the warmth, the food, or the time to show off. This is also where the famous float test leads people astray. Dropping a spoonful in water and hoping it floats is a rough gas check, not a life-or-death verdict; a healthy starter past its peak will sink, and a gassy but weak one can float. Ignore it as a pass-fail exam. The real signal of a thriving starter is simpler: it reliably doubles in volume and smells pleasantly tangy within a set window after feeding. If it is not doing that yet, work through the reasons below rather than starting over.

    Two starter jars compared: a flat sluggish starter on the left and a bubbly doubled starter on the right
    Sluggish versus alive: a flat jar that never moved on the left, a starter risen to the rubber band on the right.

    Reason 1: Your kitchen is too cold

    This is the single most common culprit, and the most overlooked. Wild yeast is temperature-driven. In a 65F (18C) kitchen a starter might crawl to a rise over 12 hours; at 78F (25-26C) the same starter can double in four to six. If your loaves stall in a cold season, your starter stalls first.

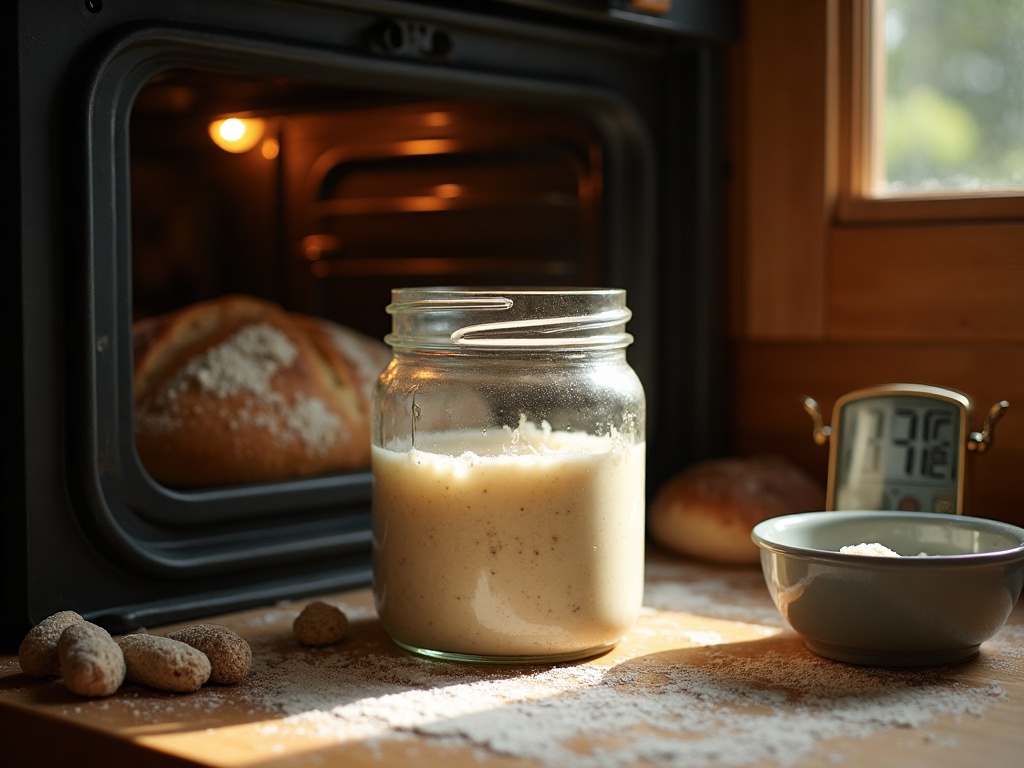
    The fix is to find a warm nook. A turned-off oven with only the interior light on often holds a gentle 75 to 80F. So does the top of the fridge, a shelf near a warm appliance, or a cupboard with a mug of just-boiled water tucked beside the jar. A cheap probe thermometer takes the guessing out of it. Do not cook the starter, though; anything above about 90F starts to stress the culture. You are aiming for cozy, not hot.

    A starter jar warming inside an oven next to a bowl of warm water and a thermometer showing about 78 degrees
    A cool kitchen is the number one cause of a stalled starter. A turned-off oven with the light on makes a perfect warm nook.

    Reason 2: You are not feeding it enough

    A starter is a colony that eats flour. If you feed a big jar of mature starter a tiny pinch of fresh flour, the population burns through it in an hour and then sits hungry and acidic for the rest of the day, going nowhere. People often mistake this for weakness when it is really starvation.

    Feed by weight, and give it more food than you think. A reliable ratio for waking a slow starter is 1:5:5 – one part starter to five parts flour to five parts water. In practice, keep a small amount, say 20 grams, and feed it 100 grams of flour and 100 grams of water. Discarding down to that small amount is not waste; it is the whole point. A little starter with a lot of fresh food rises higher, faster, and more predictably than a big jar you keep topping up.

    Reason 3: Your flour and water are working against you

    Two ingredients quietly sabotage more starters than any technique problem. The first is water. Heavily chlorinated tap water can suppress the very microbes you are trying to grow. If your tap is strongly chlorinated, leave the water out uncovered overnight so the chlorine dissipates, or use filtered water. It is a small change that sometimes flips a stubborn starter overnight.

    The second is the flour itself. Plain bleached white flour is clean and low in the wild yeast and minerals a young culture craves. Whole grain flours – whole wheat, and especially rye – are packed with them. If your starter is dragging, swap in 25 to 50 percent whole wheat or rye at the next feeding. Rye in particular is rocket fuel for a tired starter; many bakers keep a bag purely as a revival tool. Once it is lively again you can taper back to mostly white flour if you prefer a milder loaf.

    Overhead view of starter feeding tools: a jar of starter, bowls of flour, filtered water and a digital scale
    Feed by weight, not by eye. A bigger flour ratio and a spoonful of whole grain wakes a slow starter fast.

    Reason 4: You are judging it on the wrong timeline

    Two timing mistakes masquerade as a dead starter. The first is impatience with a young culture. Building a starter from scratch takes time, and days three through five are notoriously flat – often the culture surges early on the wrong bacteria, then goes quiet and seemingly lifeless before the real yeast establishes. If your starter is under two weeks old and stalling mid-week, that is normal. Keep feeding on schedule and wait it out; the rise usually returns around day seven to ten.

    The second mistake is checking at the wrong moment. A mature starter might peak four hours after feeding in a warm kitchen, then quietly deflate back down. If you only ever look 12 hours later, you will swear it never rose at all – you simply missed the party. Mark the jar’s start level with a rubber band or a dry-erase line, then check every hour or two through the first several hours after a feed. You may find it is doubling beautifully and you were just late to the show.

    A sourdough starter at its bubbly domed peak, risen well above the rubber band marking its start line
    Peak is a moving target. Watch for the domed, bubble-packed high point rather than checking at a fixed time.

    Reason 5: Hooch, sour smells, and over-acidity

    Sometimes the starter is not underfed but over-fermented. A dark or grey liquid on top – hooch – is alcohol the yeast produced when it ran out of food. A sharp acetone, nail-polish, or vinegary smell tells the same story: the culture has gone too acidic, and high acidity slows the yeast down until it can barely lift the batter.

    The fix is to reset the balance with fresh food and less waiting. Pour off or stir in the hooch (pouring off gives a milder starter), discard most of what is in the jar, and feed the small remainder generously with that 1:5:5 ratio. Then feed more often – every 12 hours, or even every 8 in a warm kitchen – so the yeast never sits starving in its own acid long enough to sour. Within a couple of days the smell mellows to something tangy and clean, and the rise comes back.

    Reason 6: It has been neglected – and the 3-day reset

    If your starter has languished in the fridge for weeks or months, it is not dead; it is deeply asleep and probably very acidic. The revival routine is the same in spirit as above, just with patience baked in. Pour off any hooch, then run three days of consistent care. Take a small spoonful into a clean jar, feed it 1:5:5 with warm filtered water and a whole-grain boost, and keep it in a warm spot. Repeat every 12 hours. Discard down to a spoonful each time – this is what dilutes the built-up acidity and concentrates the fresh food.

    Expect little on day one, small bubbles by day two, and a genuine rise by day three. If a stubborn culture is still lagging after that, keep going; some just need a fourth or fifth day of the same rhythm. Consistency and warmth do the work. When it reliably doubles within four to eight hours of a feeding, smells pleasantly tangy, and looks domed and bubbly, it is ready to bake with again.

    A neglected starter with grey hooch on top beside a refreshed, clean, bubbling revived starter
    Even a stinky, hooch-topped starter usually comes back. Pour off the liquid and start the reset routine.

    Reason 7: You are asking too much of a small, young starter

    Last, a mindset fix. A brand-new or freshly revived starter is not yet strong enough to raise a big, heavy loaf, and when the bread flops, people blame the starter and start feeding it frantically. Give a young culture a week or two of steady doubling before you build a full levain, and when you do bake, use it at its peak – domed, bubbly, at its high point – not on the way down. A starter that doubles on the counter but seems to fail in bread is often just being used too early or past its window, not a starter that cannot rise.

    Work through these one at a time – warmth first, then a bigger feed, then better flour and water, then timing – and the vast majority of stalled starters come roaring back to life. The full step-by-step revival, with the daily photos of what a recovering starter should look like, lives over on the LoafLovers YouTube channel, and you can grab our free sourdough troubleshooting guide to keep the whole diagnostic checklist by your jar. Your starter is not broken. It is just waiting for the right conditions – and now you know how to give them.


    Sources & further reading:

    Related Reading