You did everything right. You fed your starter on schedule, kept it warm, used good flour – and it still sits there, flat and sulking, with a few sad bubbles and no real rise. Before you toss it and start over, look at the one ingredient almost nobody suspects: the water coming out of your tap.
Sourdough is a living culture of wild yeast and bacteria, and municipal tap water is treated specifically to keep microbes from growing in it. That is wonderful for drinking water and quietly unhelpful for a jar of fermenting flour. Here is exactly how your water can stall a starter, a two-minute way to prove whether it’s the culprit, and the fixes – ranked from easiest to most thorough.
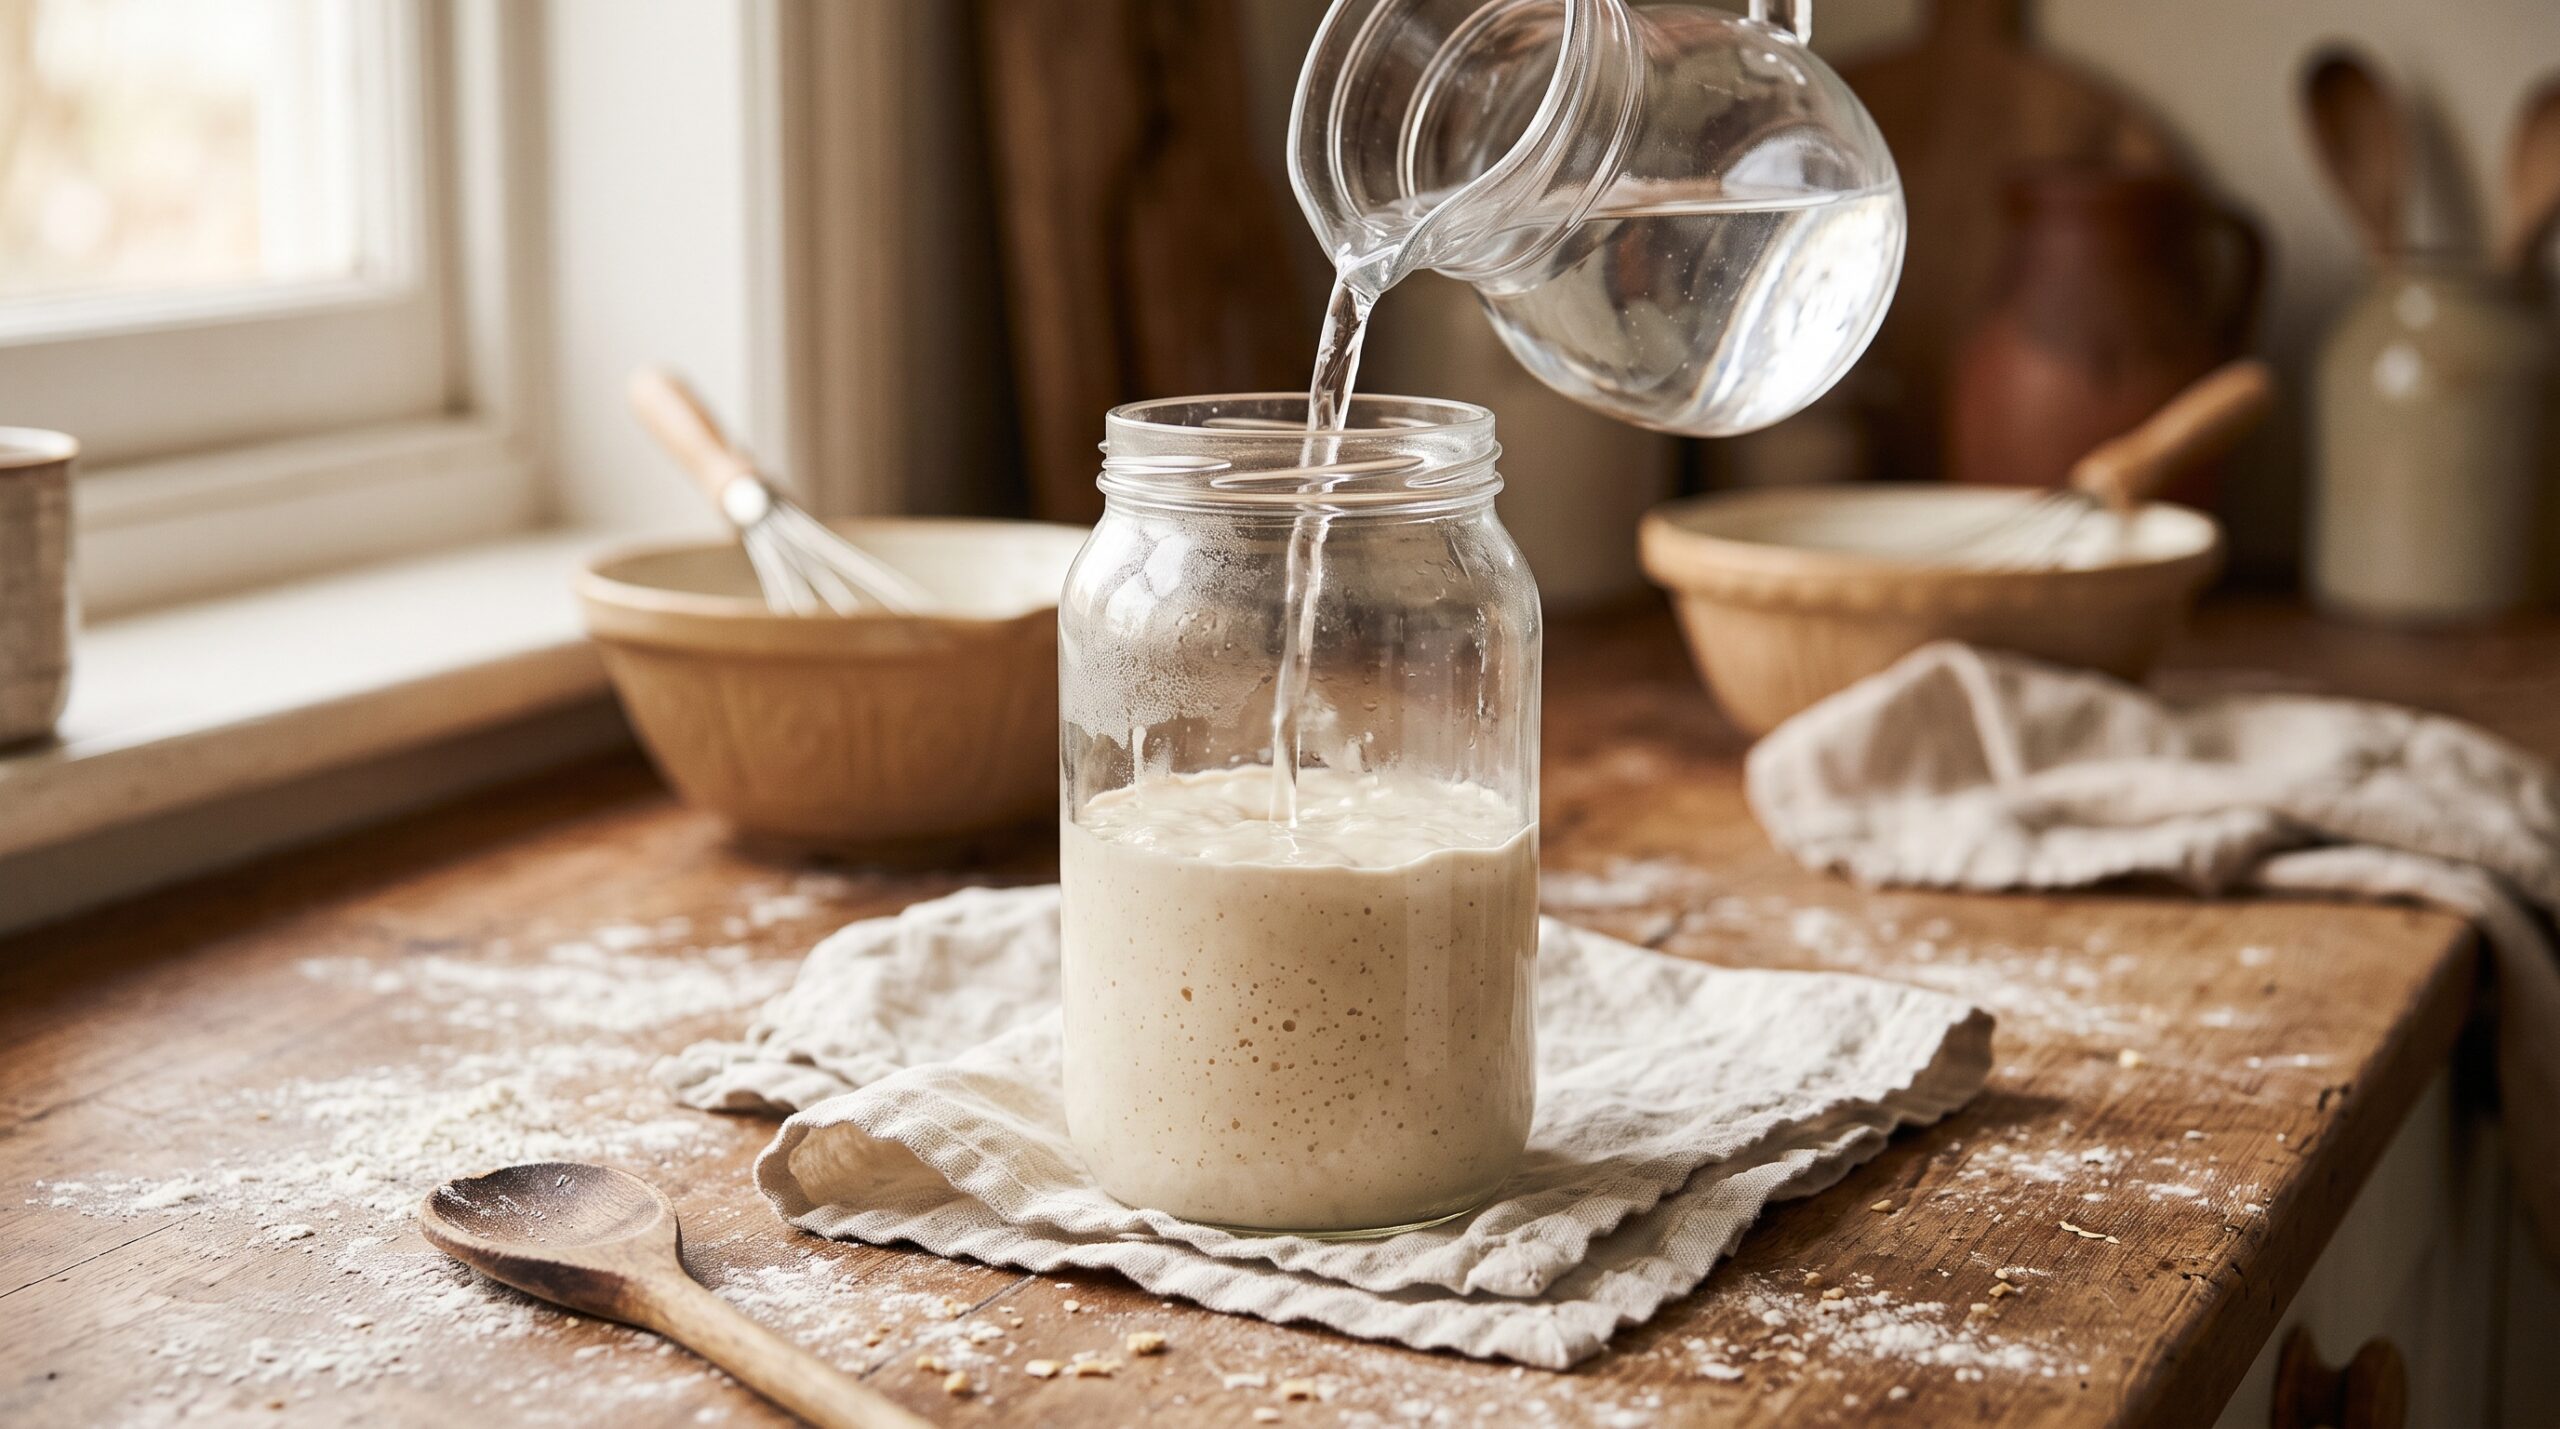
The symptom: a starter that just stalls
A water problem rarely looks dramatic. Your starter isn’t moldy, it doesn’t reek of acetone, and it hasn’t died. It simply underperforms. The classic signs: it takes forever to show life after each feed, it never quite doubles, the bubbles are small and sparse instead of a lively dome, and the rise it does manage is sluggish and slow to arrive. New starters are the most vulnerable – a young culture doesn’t yet have the microbial numbers to shrug off a dose of sanitizer.
The frustrating part is that every other box is ticked. That’s the tell. When temperature, flour, and feeding rhythm all look fine and the starter is still lazy, the water is one of the few variables left.
First, rule out the usual suspects
Water gets blamed a lot more often than it’s actually guilty, so be honest with yourself before you change anything. Most stalled starters are cold, hungry, or misread rather than poisoned. If your kitchen has dipped below about 21C / 70F, that alone will slow fermentation to a crawl – warmth is usually the real fix. If you’re feeding infrequently or with too little fresh flour, the culture runs out of food and goes quiet.
Work through our full checklist of reasons a sourdough starter won’t rise first, and make sure you’re not just missing the peak – a starter can rise and fall between feeds while you’re asleep. If you’ve genuinely corrected temperature and feeding and it’s still flat, water becomes the prime suspect. That order matters: fix the free things first.
What chlorine and chloramine actually do
Two chemicals are the concern, and they behave very differently. Chlorine is the older, simpler disinfectant. It’s volatile, which means it evaporates out of standing water on its own within a day or so. Chloramine – chlorine bonded with ammonia – is what many municipalities have switched to precisely because it’s more stable and longer-lasting in the pipes. That stability is the problem: chloramine does not off-gas by sitting out, so the old advice to “just leave the water on the counter overnight” quietly stopped working for a lot of people.
Both work by disrupting microbial cell membranes – that’s how they keep your drinking water safe. In a starter, at the low concentrations found in tap water, they usually don’t wipe out an established culture. Instead they suppress it: they knock back the wild yeast and the lactic acid bacteria enough to blunt the rise and drag out the timeline. Think of it as friction, not a kill switch. A mature, well-populated starter can often power through it; a fragile young one may never get off the ground.
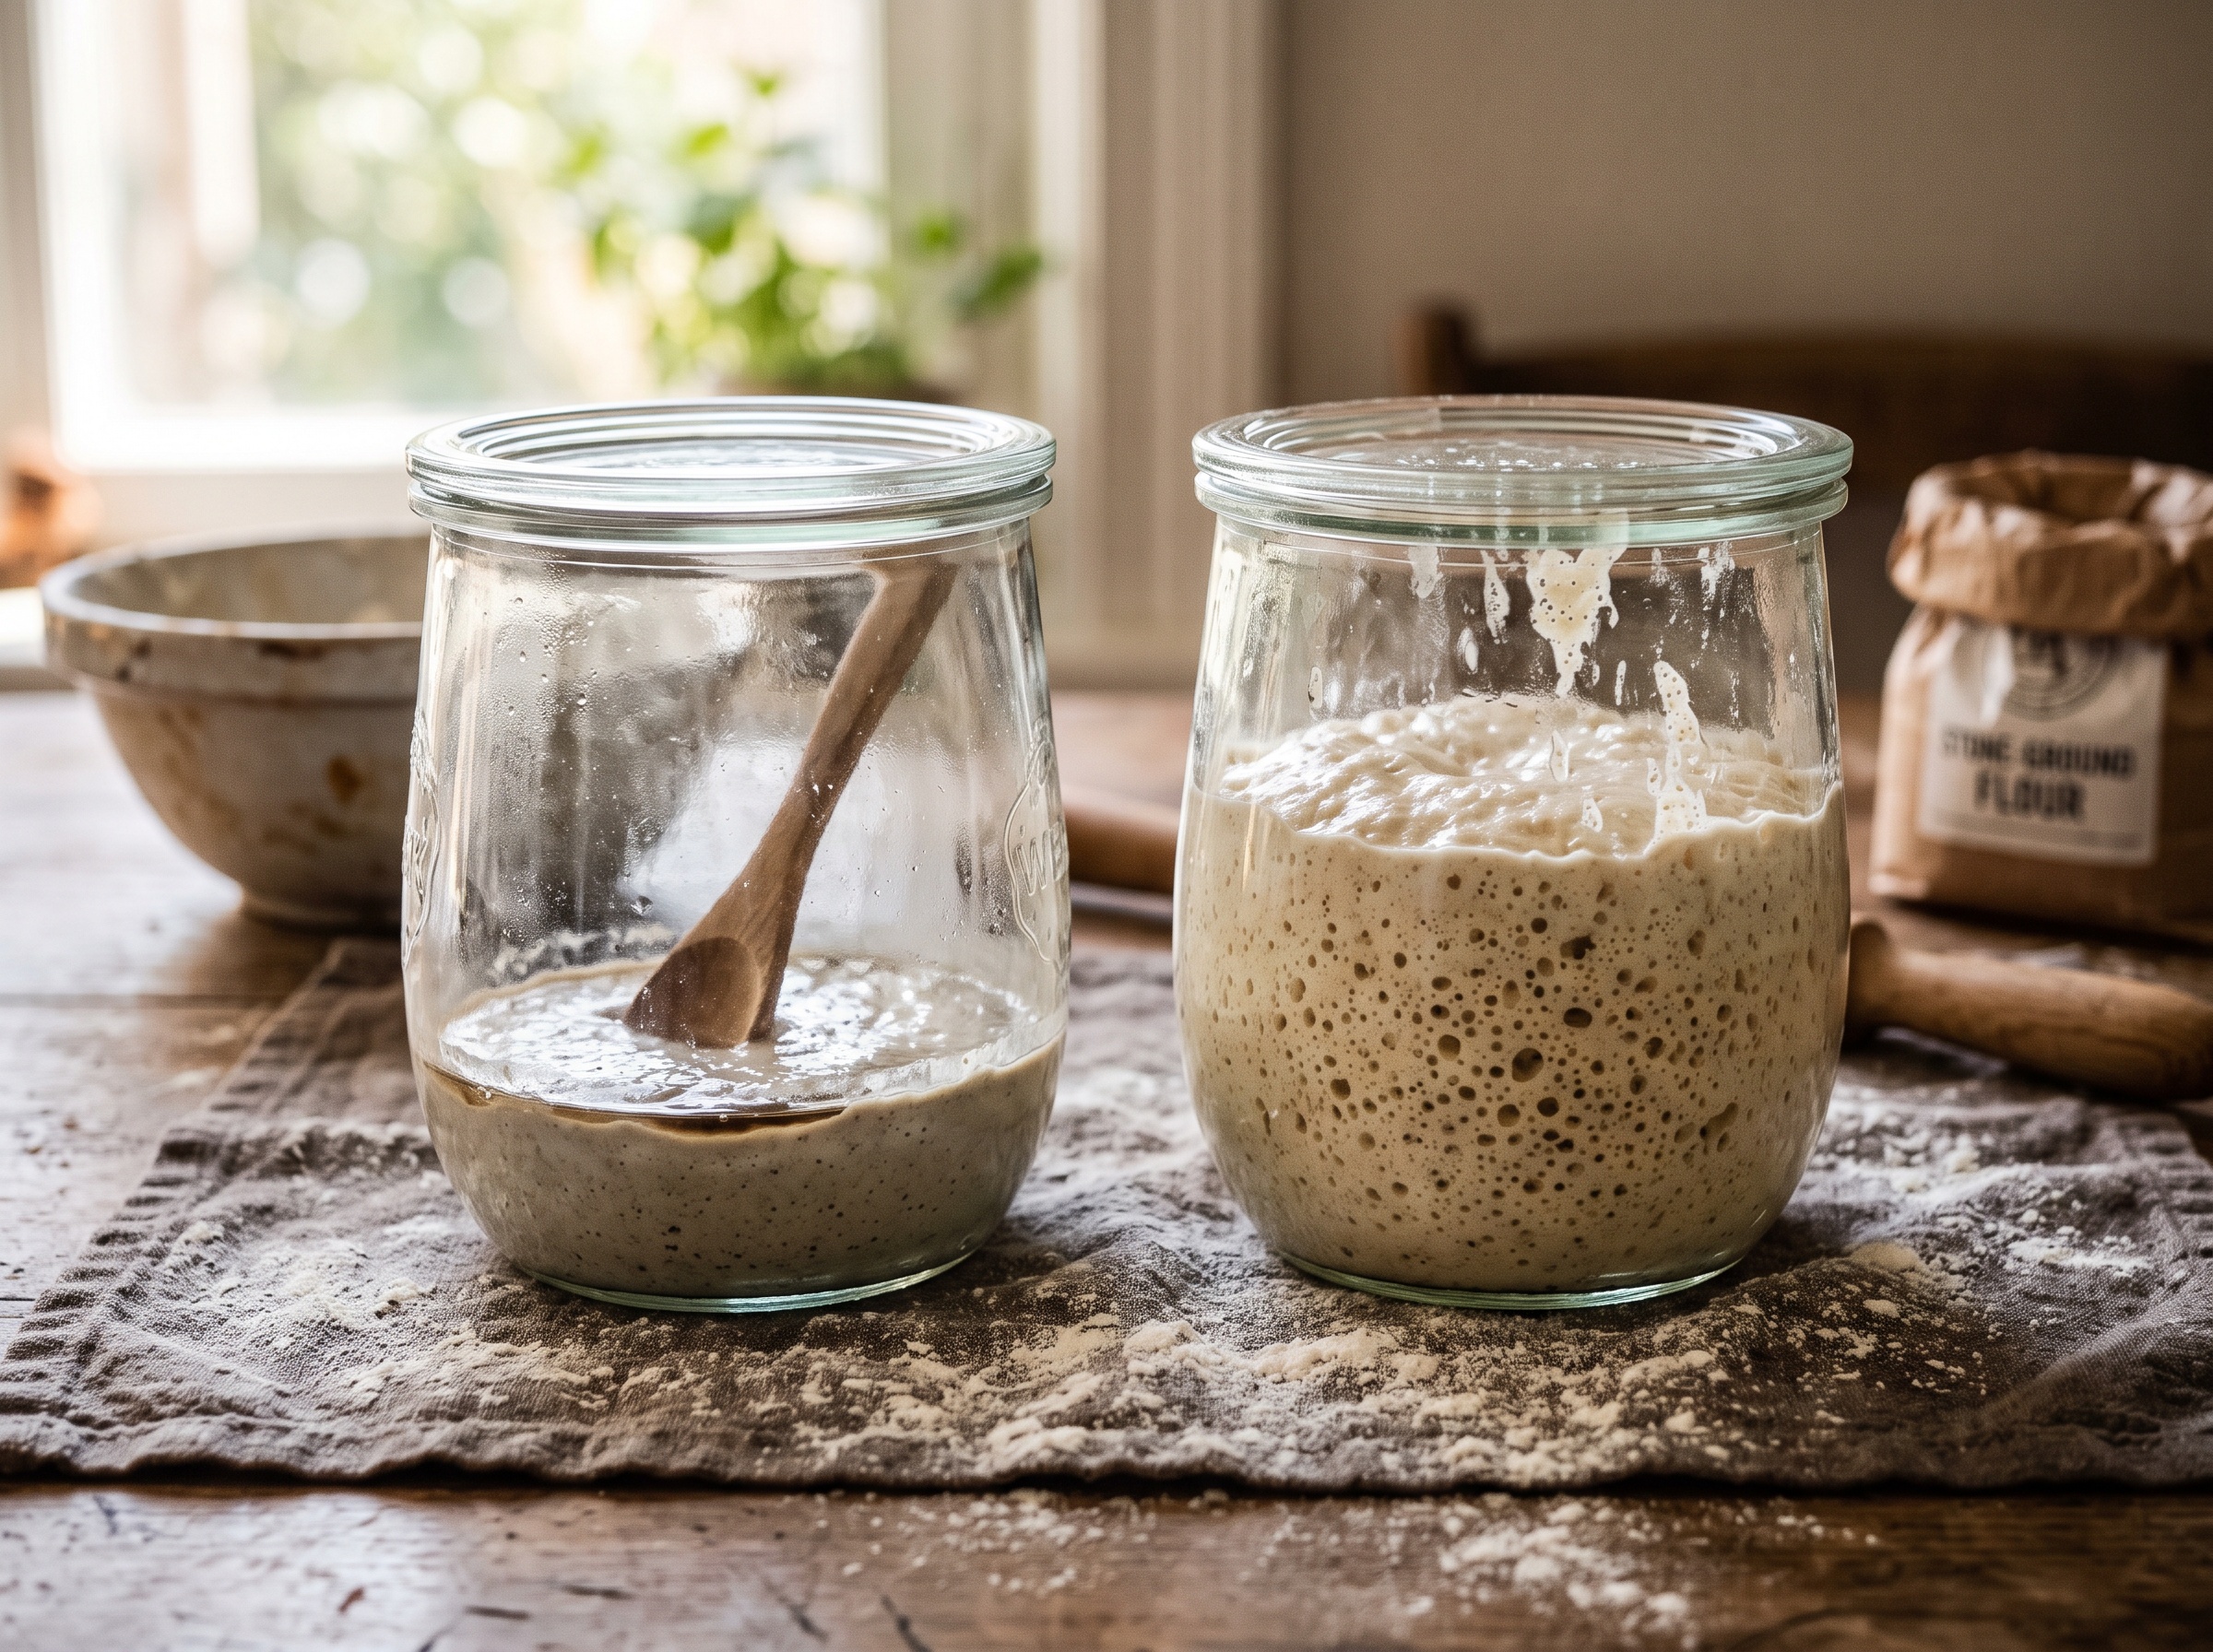
The two-minute test: prove it’s the water
Don’t guess – run a side-by-side. At your next feeding, split your starter into two clean jars and feed them identically: same flour, same ratio, same spot on the counter. Feed one with your normal tap water and the other with bottled spring water or filtered water. Mark the level on both with a rubber band and watch.
If the filtered-water jar rises noticeably faster, higher, or with a livelier crumb of bubbles while the tap jar lags, you’ve found your answer. If both behave the same, your water is fine and you can stop worrying about it – the problem is elsewhere. This little experiment is the honest way to settle it, and it costs you nothing but one extra jar for a day.
The fixes, ranked
Once you know water is the issue, you have several fixes. Match the fix to your water:
1. Let it stand (chlorine only). Pour tap water into an open container and leave it uncovered on the counter for 24 hours. The chlorine off-gasses and you’re done – free and effortless. The catch: this does nothing for chloramine, so it only works if your utility still uses plain chlorine. Not sure which you have? Your water provider’s annual quality report says so, or you can just move to a method that handles both.
2. Filter it. A quality activated-carbon filter – a common pour-through pitcher or a good faucet filter – reduces both chlorine and chloramine, though effectiveness varies by cartridge and how fresh it is. For most home bakers this is the sweet spot: cheap, convenient, and you probably drink the water anyway. Keep the cartridge current; a spent filter does little.
3. Boil for chlorine. Boiling for a few minutes drives off chlorine, but again it’s weak against chloramine and you have to wait for the water to cool to lukewarm before feeding – never feed a starter hot water, which will cook the very microbes you’re trying to protect.
4. Bottled spring or filtered water. The zero-effort route: buy a jug. Reach for spring or purified water rather than distilled – distilled and reverse-osmosis water is stripped of the trace minerals a culture likes, so if you use it, feed a mineral-rich whole-grain flour like rye or whole wheat to make up for it.
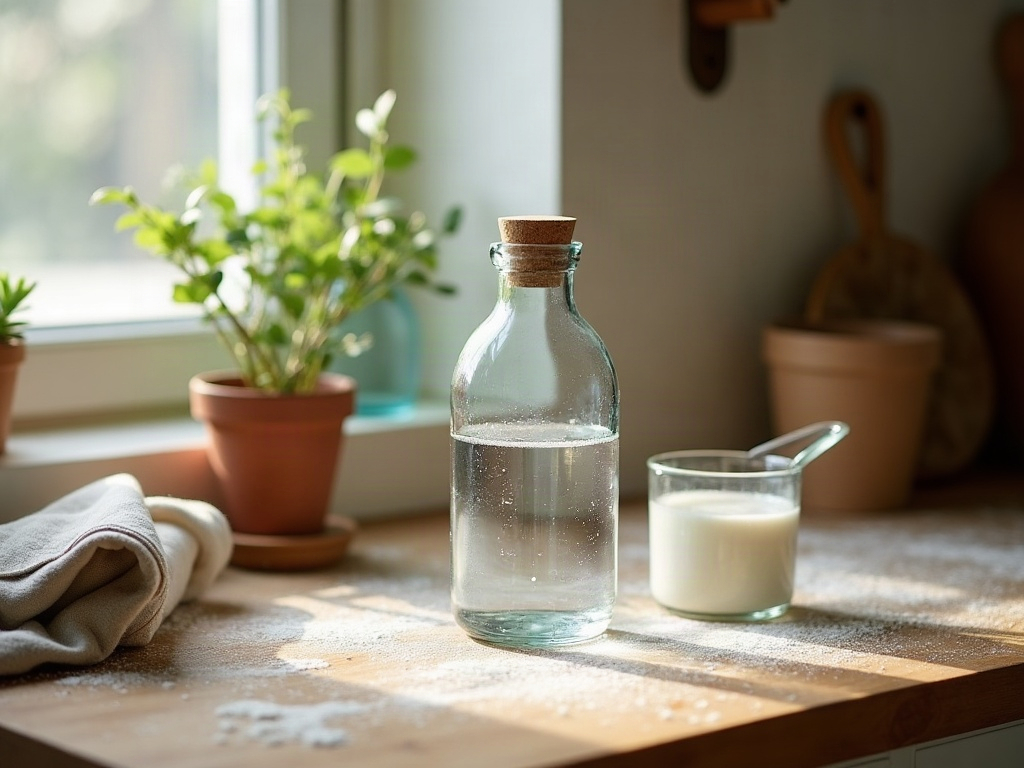
You don’t need lab-grade water. Room-temperature, dechlorinated, with a few minerals in it is all a starter asks for. And you only need the good water for the starter itself and for mixing dough – washing your hands and bowls with tap water is completely fine.
Building or reviving a starter with better water
If you’re starting a brand-new culture from scratch, use dechlorinated water from day one. This is when the culture is at its most fragile and most easily suppressed, and clean water removes one big variable while the wild yeast establishes itself. It’s the difference between a starter that’s lively by day five and one that leaves you wondering if you did something wrong.
Already have a starter that’s been limping along on tap water? Switch to filtered or bottled water and give it two or three days of consistent feedings in a warm spot. Most cultures bounce back quickly once the friction is removed. If yours has been badly neglected – separated, hoochy, or smelling sharp – pair the water change with our step-by-step guide to reviving a neglected starter, which walks through the feeding rhythm that rebuilds strength. And once it’s healthy again, storing it properly between bakes keeps it that way; here’s how to store your starter for short breaks and long ones.

When it wasn’t the water after all
Sometimes you’ll run the side-by-side and both jars behave identically – which means your water was never the problem, and that’s genuinely good news. It sends you back to the two things that stall far more starters than chlorine ever does: temperature and timing. A cool kitchen slows everything; a starter fed too rarely simply runs out of fuel.
And make sure you’re actually judging the rise correctly. If you’re not sure whether your starter is peaking and falling before you check it, the float test and better ways to read your starter will keep you from misdiagnosing a healthy culture as a dead one. The goal isn’t to chase a perfect variable – it’s to eliminate them one at a time until your starter climbs the jar the way it should.
The bottom line
Tap water won’t usually kill an established starter, but chlorine and especially chloramine can quietly hold back a young or struggling one – suppressing the rise, stretching the timeline, and leaving you convinced you’re doing something wrong when you aren’t. The test is free, the fixes are cheap, and clean water is one of the easiest wins in all of sourdough. Rule out temperature and feeding first, run the two-jar test, and if the water’s the culprit, filter it or let it stand.
Want to see a sluggish starter come back to life on camera? The full walkthrough – including what a healthy rise looks like hour by hour – lives on the LoafLovers YouTube channel, and you can grab our free sourdough troubleshooting guide to keep the whole diagnostic checklist by your jar. Trust the process, fix one thing at a time, and your starter will tell you when you’ve got it right.
Leave a Reply