Tag: starter maintenance

  • Stiff Starter vs Liquid Starter: Which Should You Keep, and Why?

    Stiff Starter vs Liquid Starter: Which Should You Keep, and Why?

    If you’ve spent any time in sourdough forums, you’ve seen the debate: some bakers swear by a firm, dough-like stiff starter, while most of the internet keeps a loose, pancake-batter liquid starter. It’s easy to assume one must be right and the other a mistake. It isn’t. They’re the same culture kept at different hydrations, and each one behaves in a way that solves a specific set of problems.

    The question isn’t which is better. It’s which one fits your kitchen, your schedule, and the bread you want. Let’s break down exactly how each behaves so you can choose on purpose instead of by default.

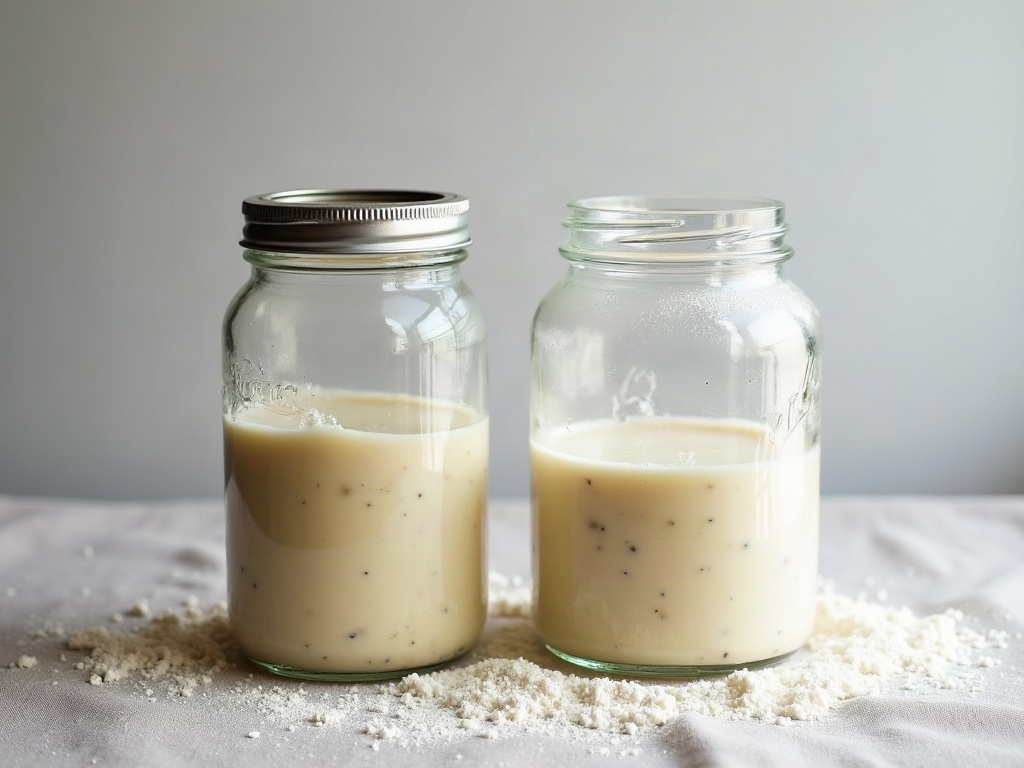
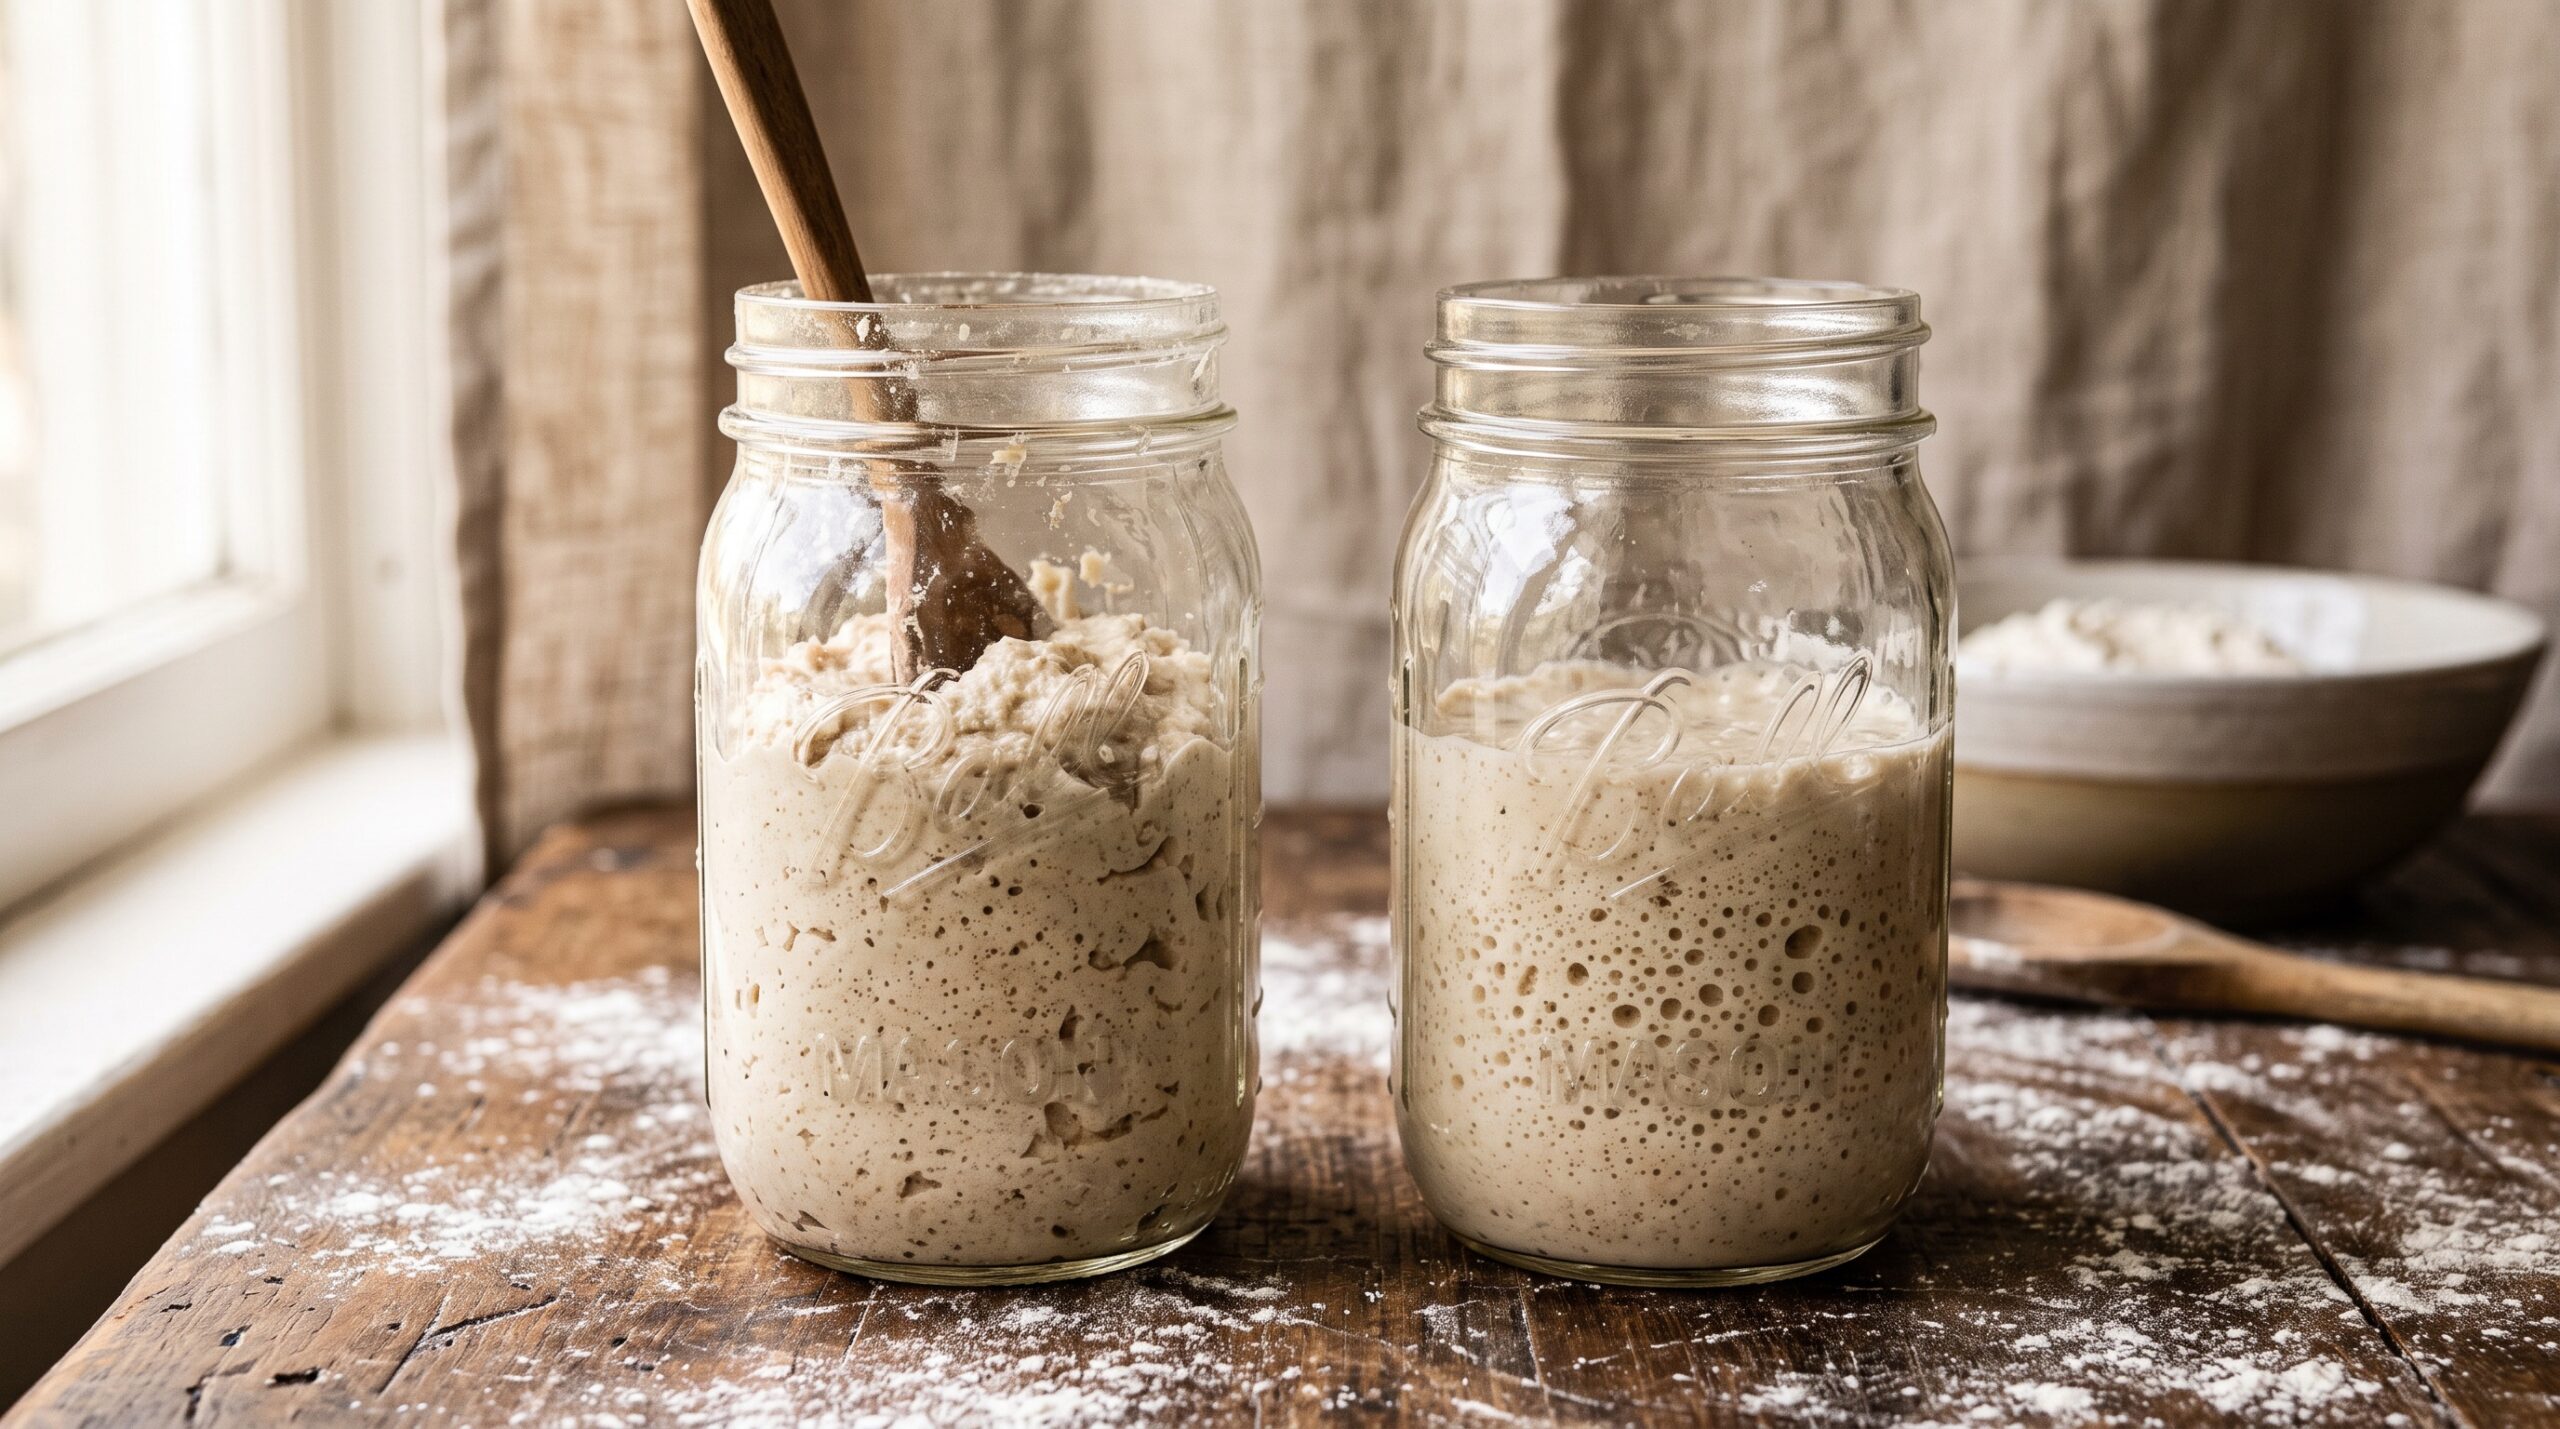
    A stiff dough-like starter beside a loose bubbly liquid starter in two glass jars
    Same culture, two textures: a stiff starter on the left, a 100% hydration liquid starter on the right.

    The Only Real Difference: Water

    Hydration is just the ratio of water to flour, by weight. A liquid starter is almost always kept at 100% hydration, meaning equal weights of flour and water. Feed it 50g flour and 50g water and you get that familiar thick-batter consistency you can stir and pour.

    A stiff starter is kept much drier, usually somewhere between 50% and 60% hydration. That means for every 100g of flour you add only 50 to 60g of water. The result isn’t a batter at all. It’s a firm, kneadable little ball of dough.

    Same flour, same wild yeast and bacteria, same jar. The only thing you’ve changed is how much water is in the mix. But that one change ripples out into flavor, speed, storage, and how forgiving the starter is, which is where the real decision lives.

    How a Liquid Starter Behaves

    A 100% hydration starter is the default for good reason. It’s easy to stir, easy to mix into dough, and above all, easy to read. In a wetter environment the yeast is very active, so the starter rises fast, bubbles enthusiastically, and gives you an unmistakable peak. That readability is a genuine advantage when you’re still learning to time your bake, and if you’ve ever struggled with a starter that just won’t rise, the fast, visible action of a liquid starter makes diagnosing the problem far simpler.

    The trade-offs are real, though. More water means the bacteria that produce acid are more active too, so a liquid starter tends toward a sharper, tangier, more acetic flavor, especially if you let it go a little too long. It also moves quickly, which means it runs out of food faster and can slip past its peak and collapse if you’re not watching. It’s fast and expressive, but it’s also a bit demanding.

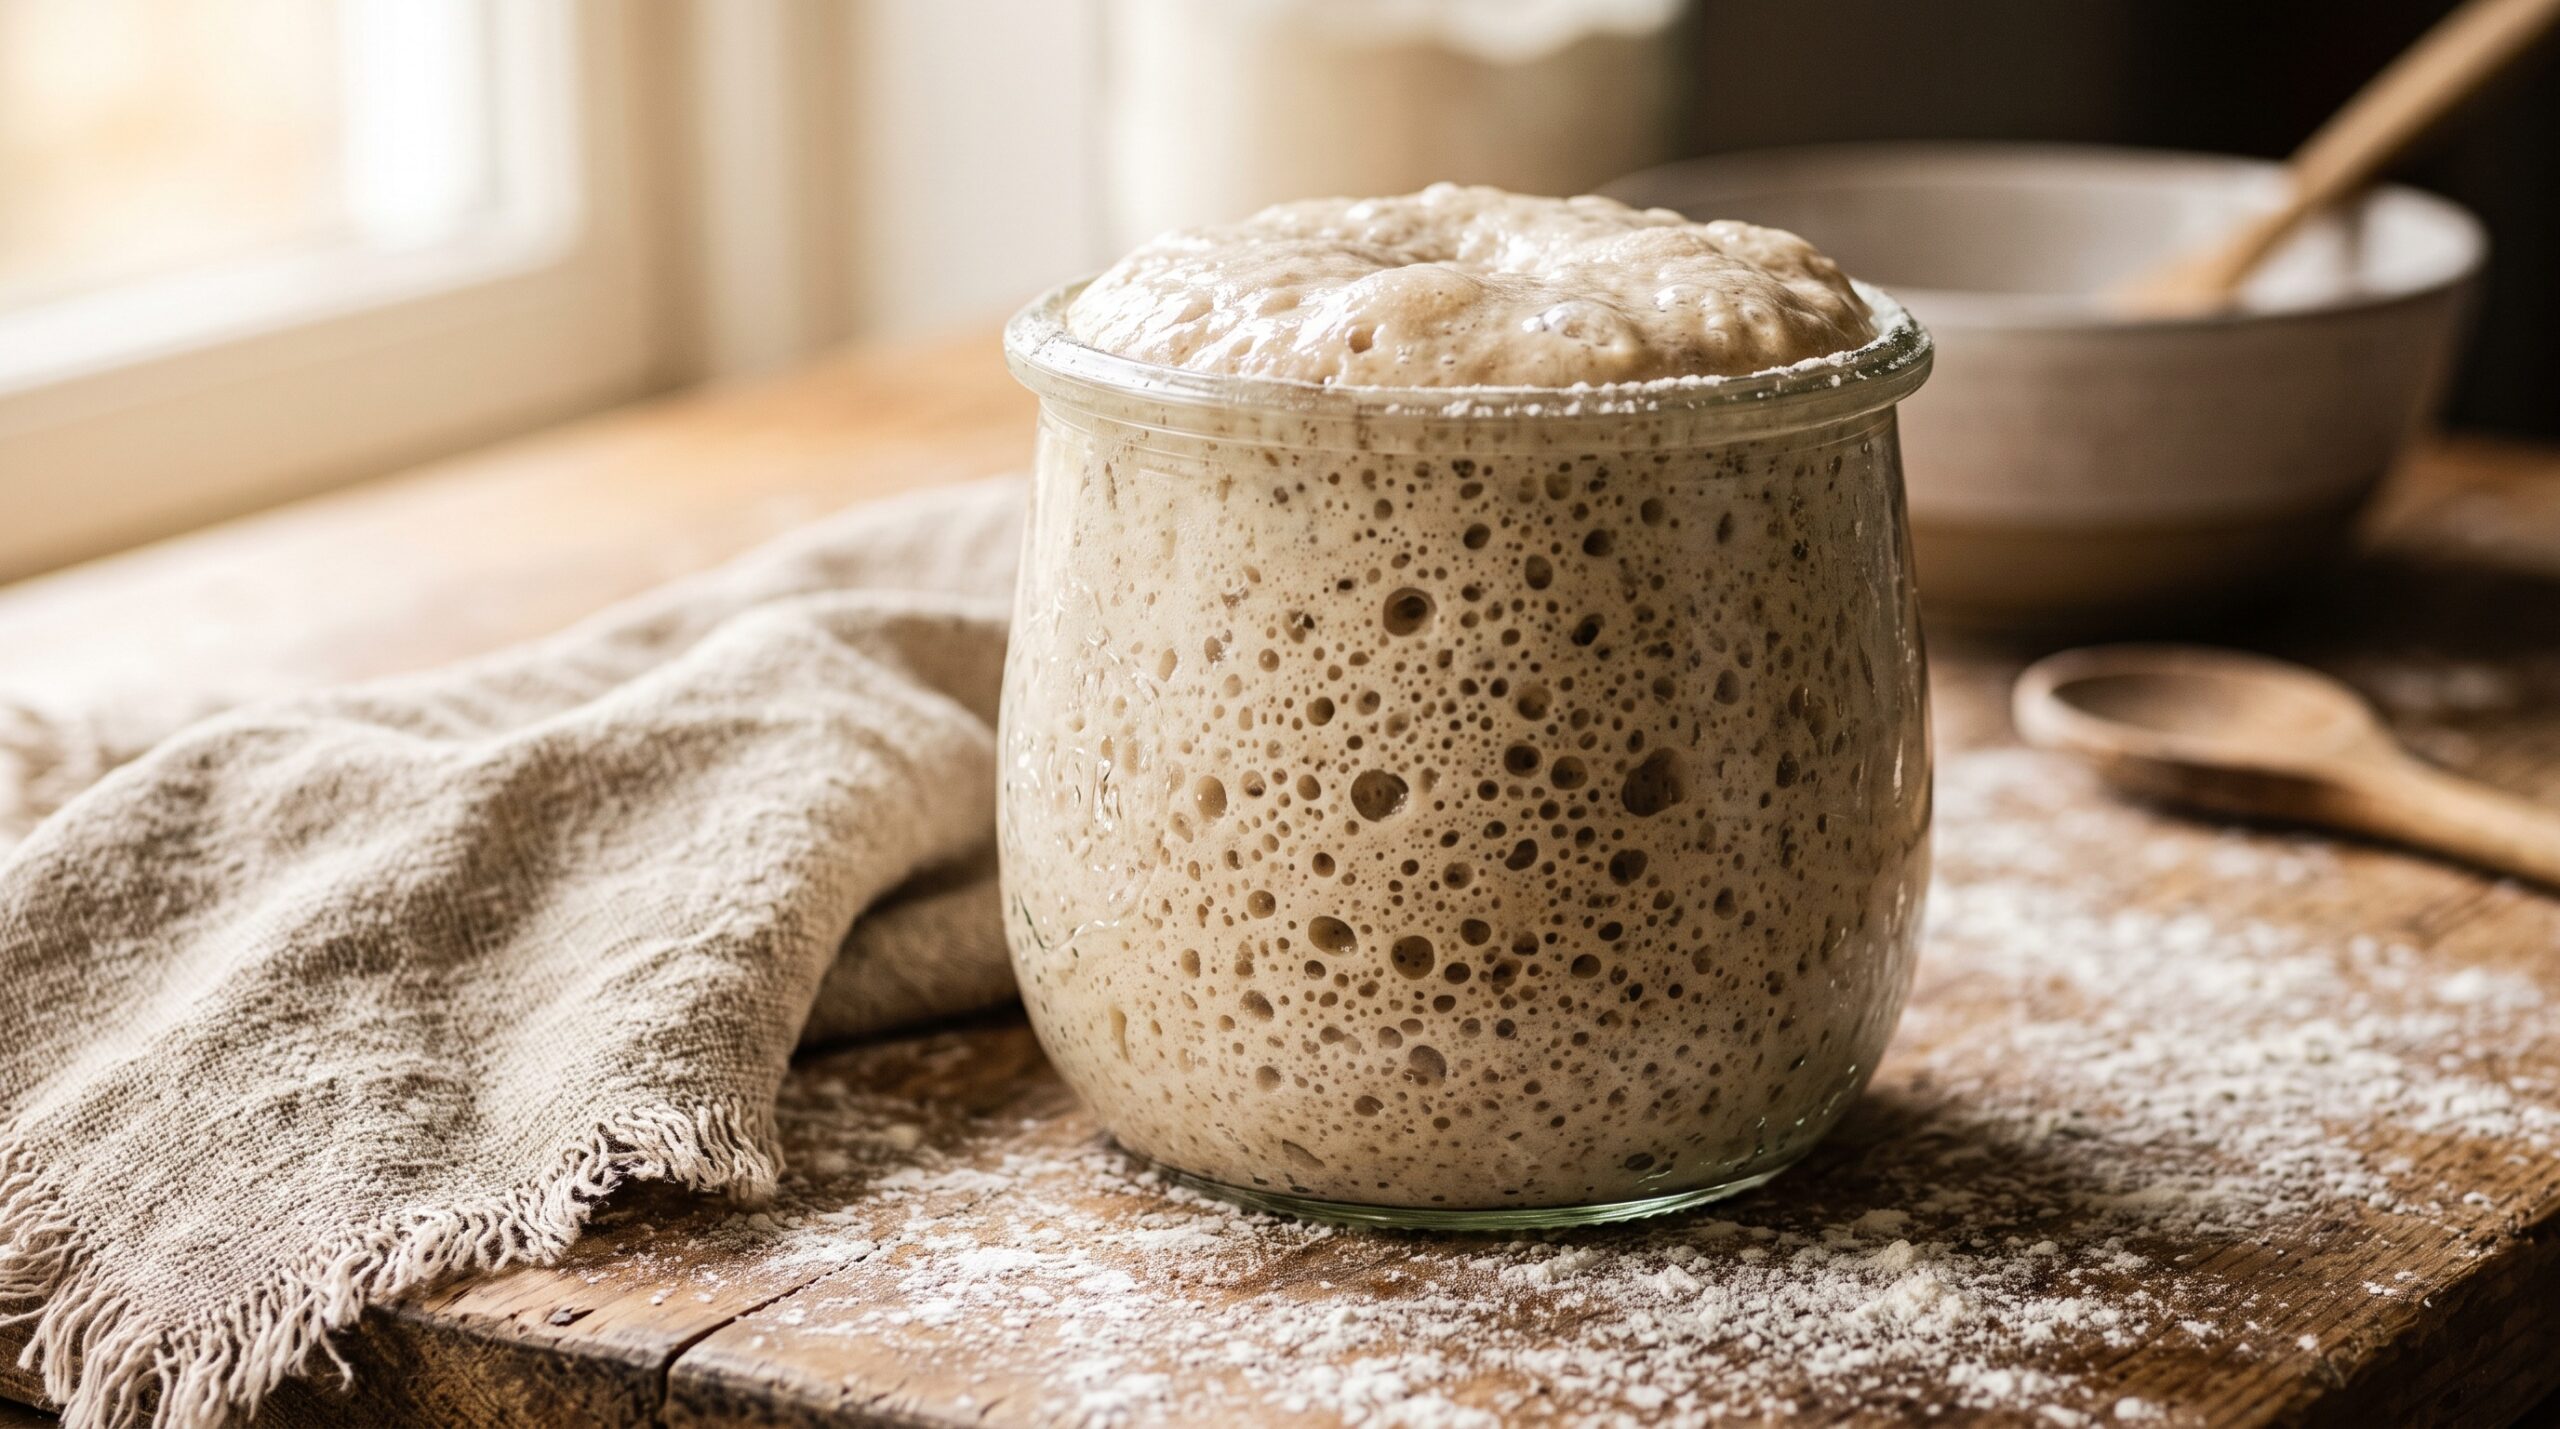
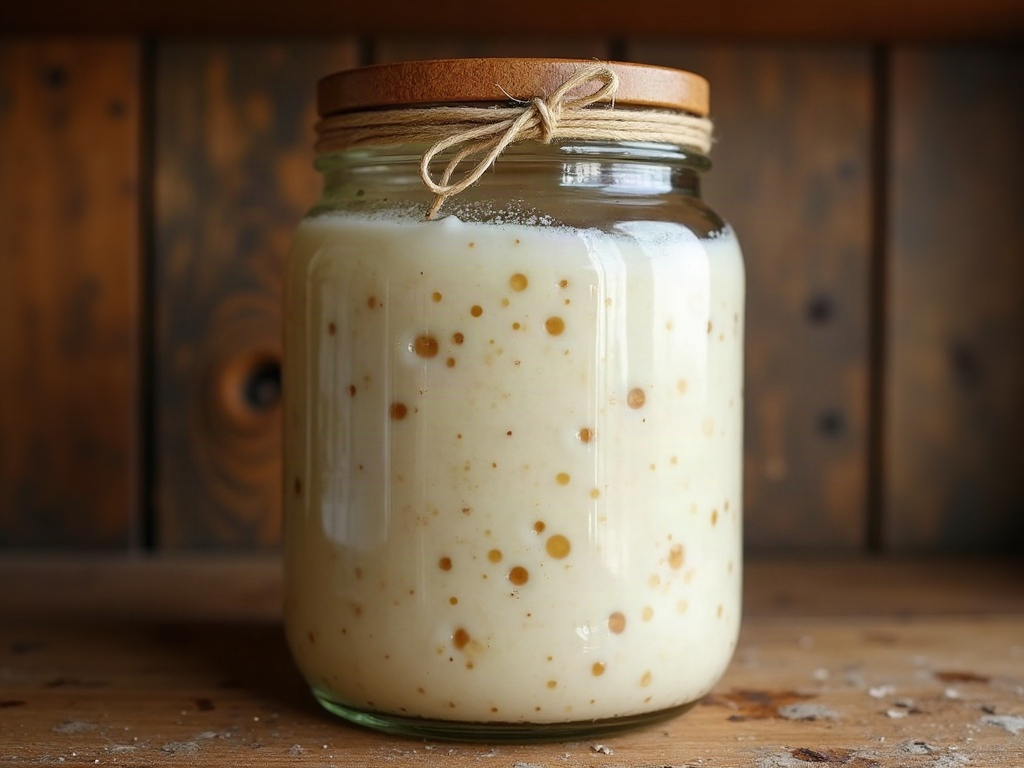
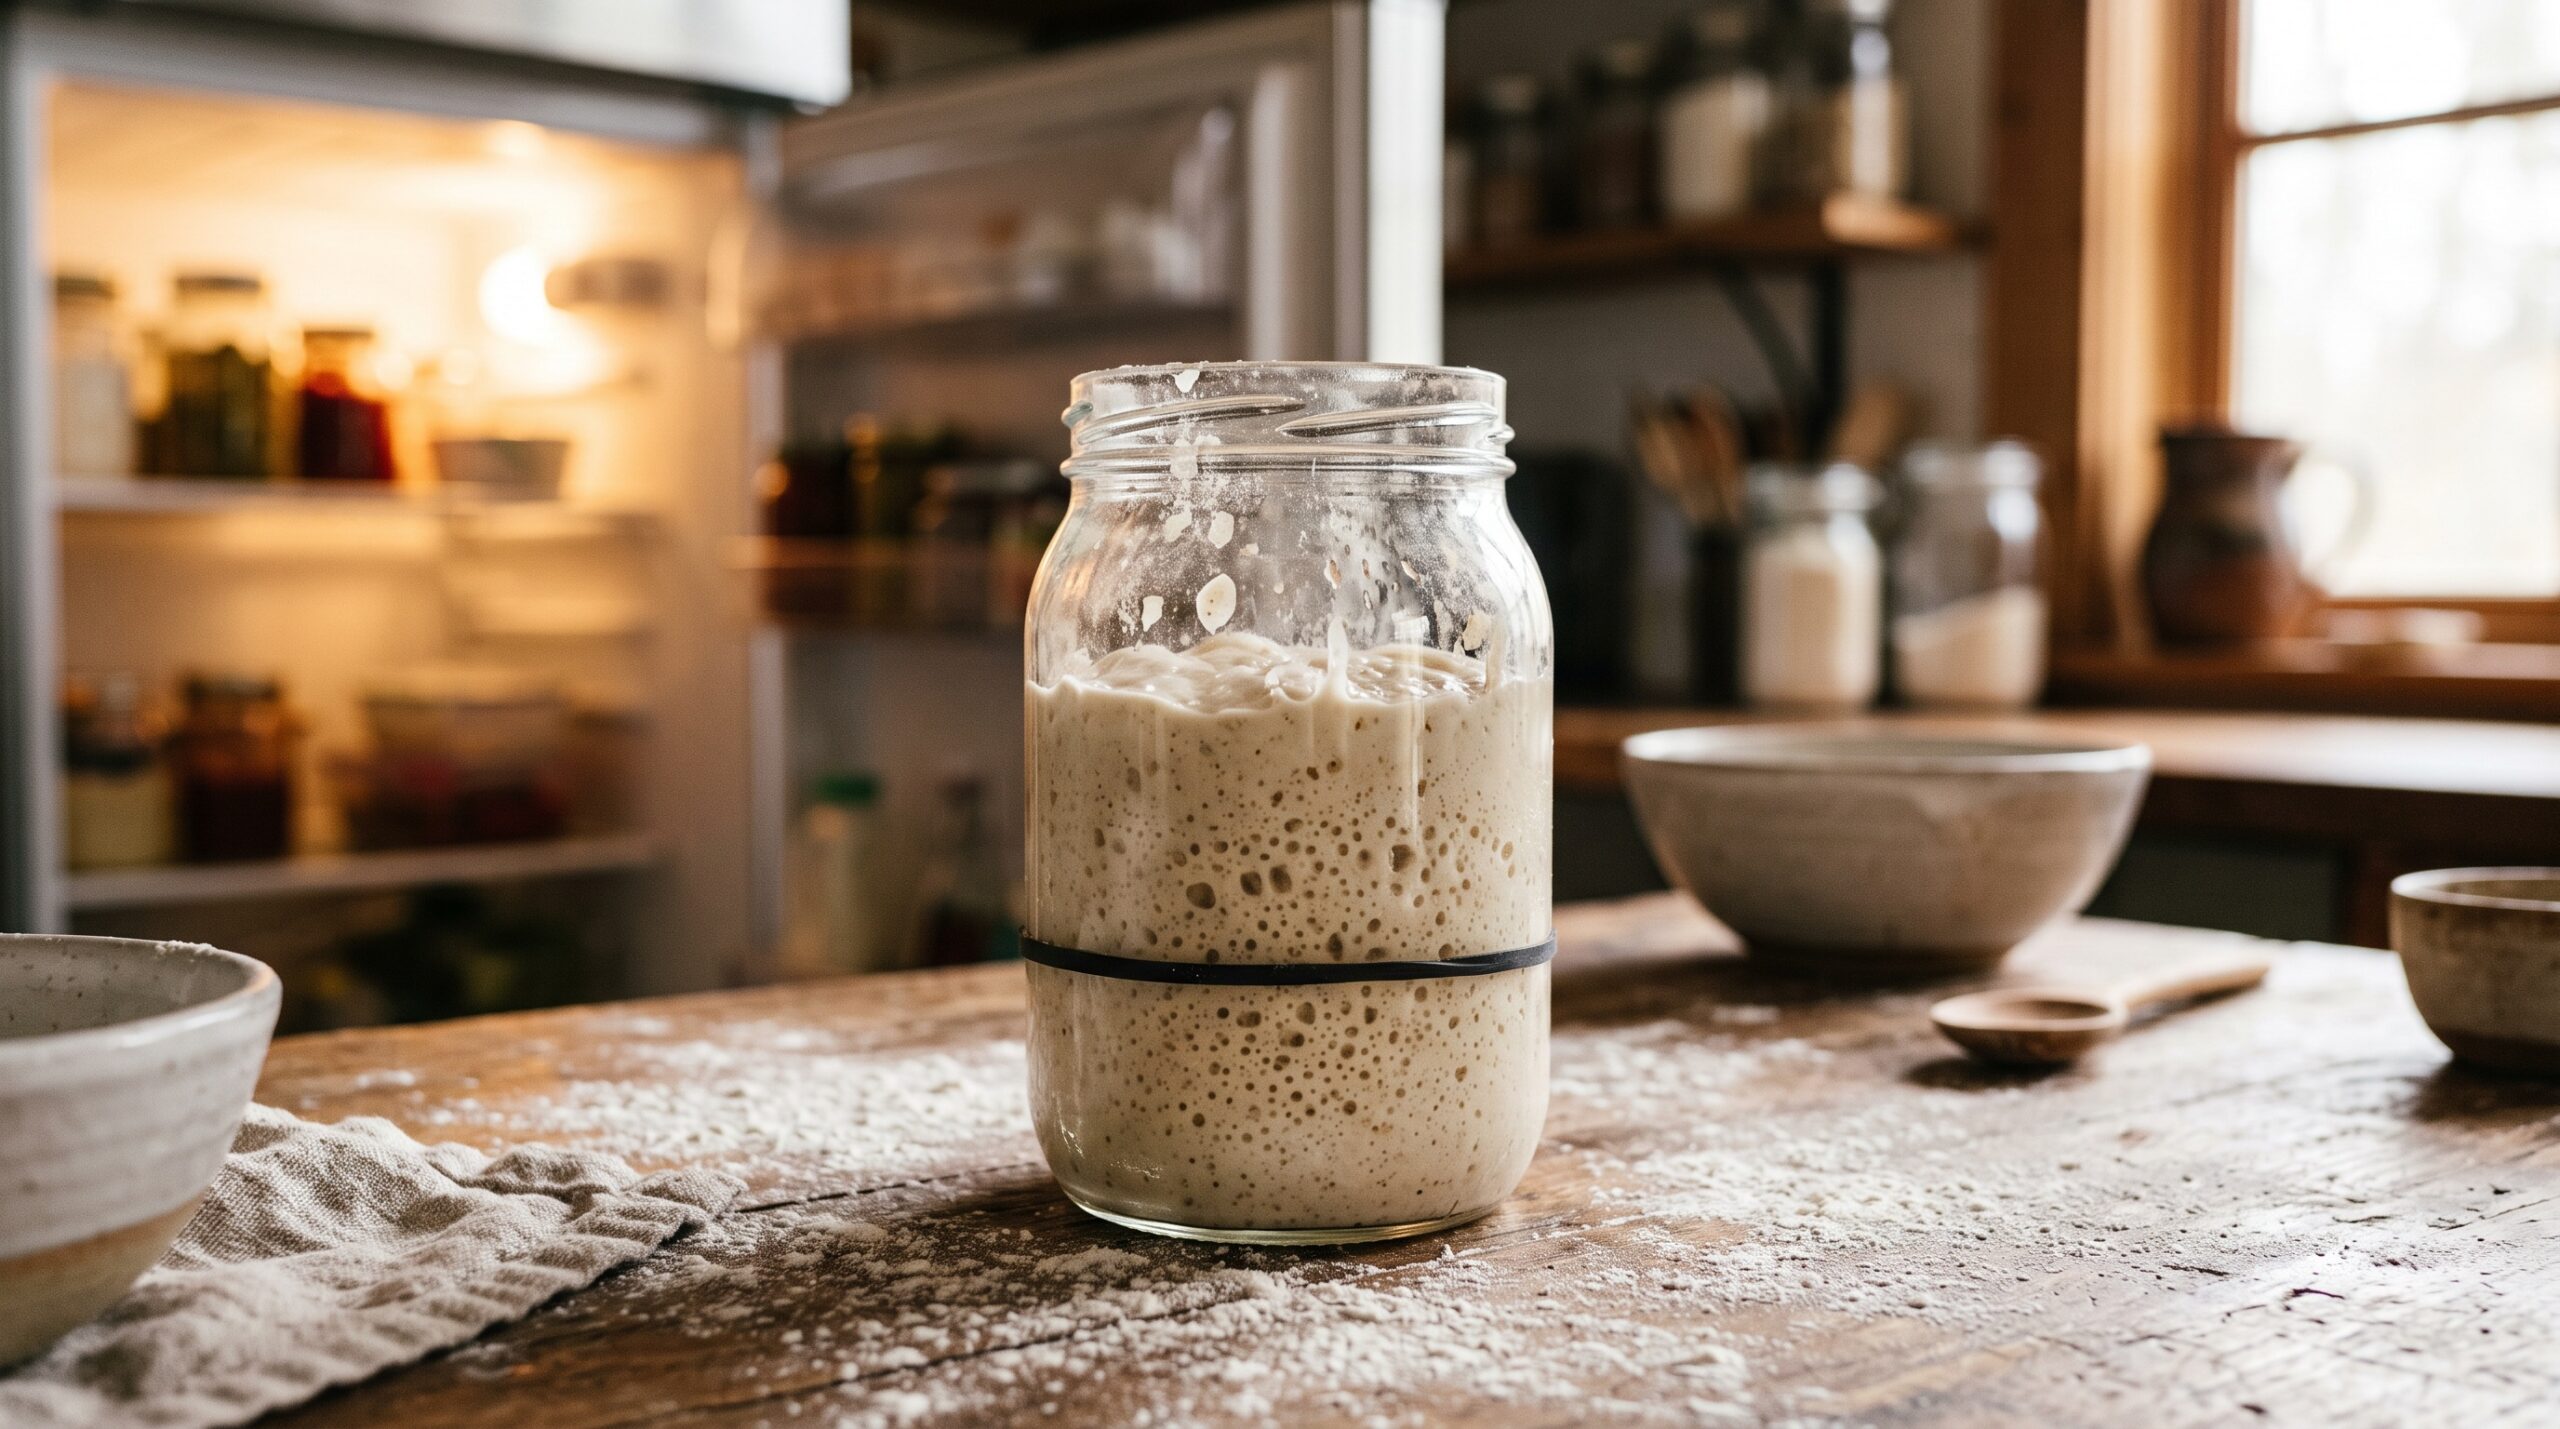
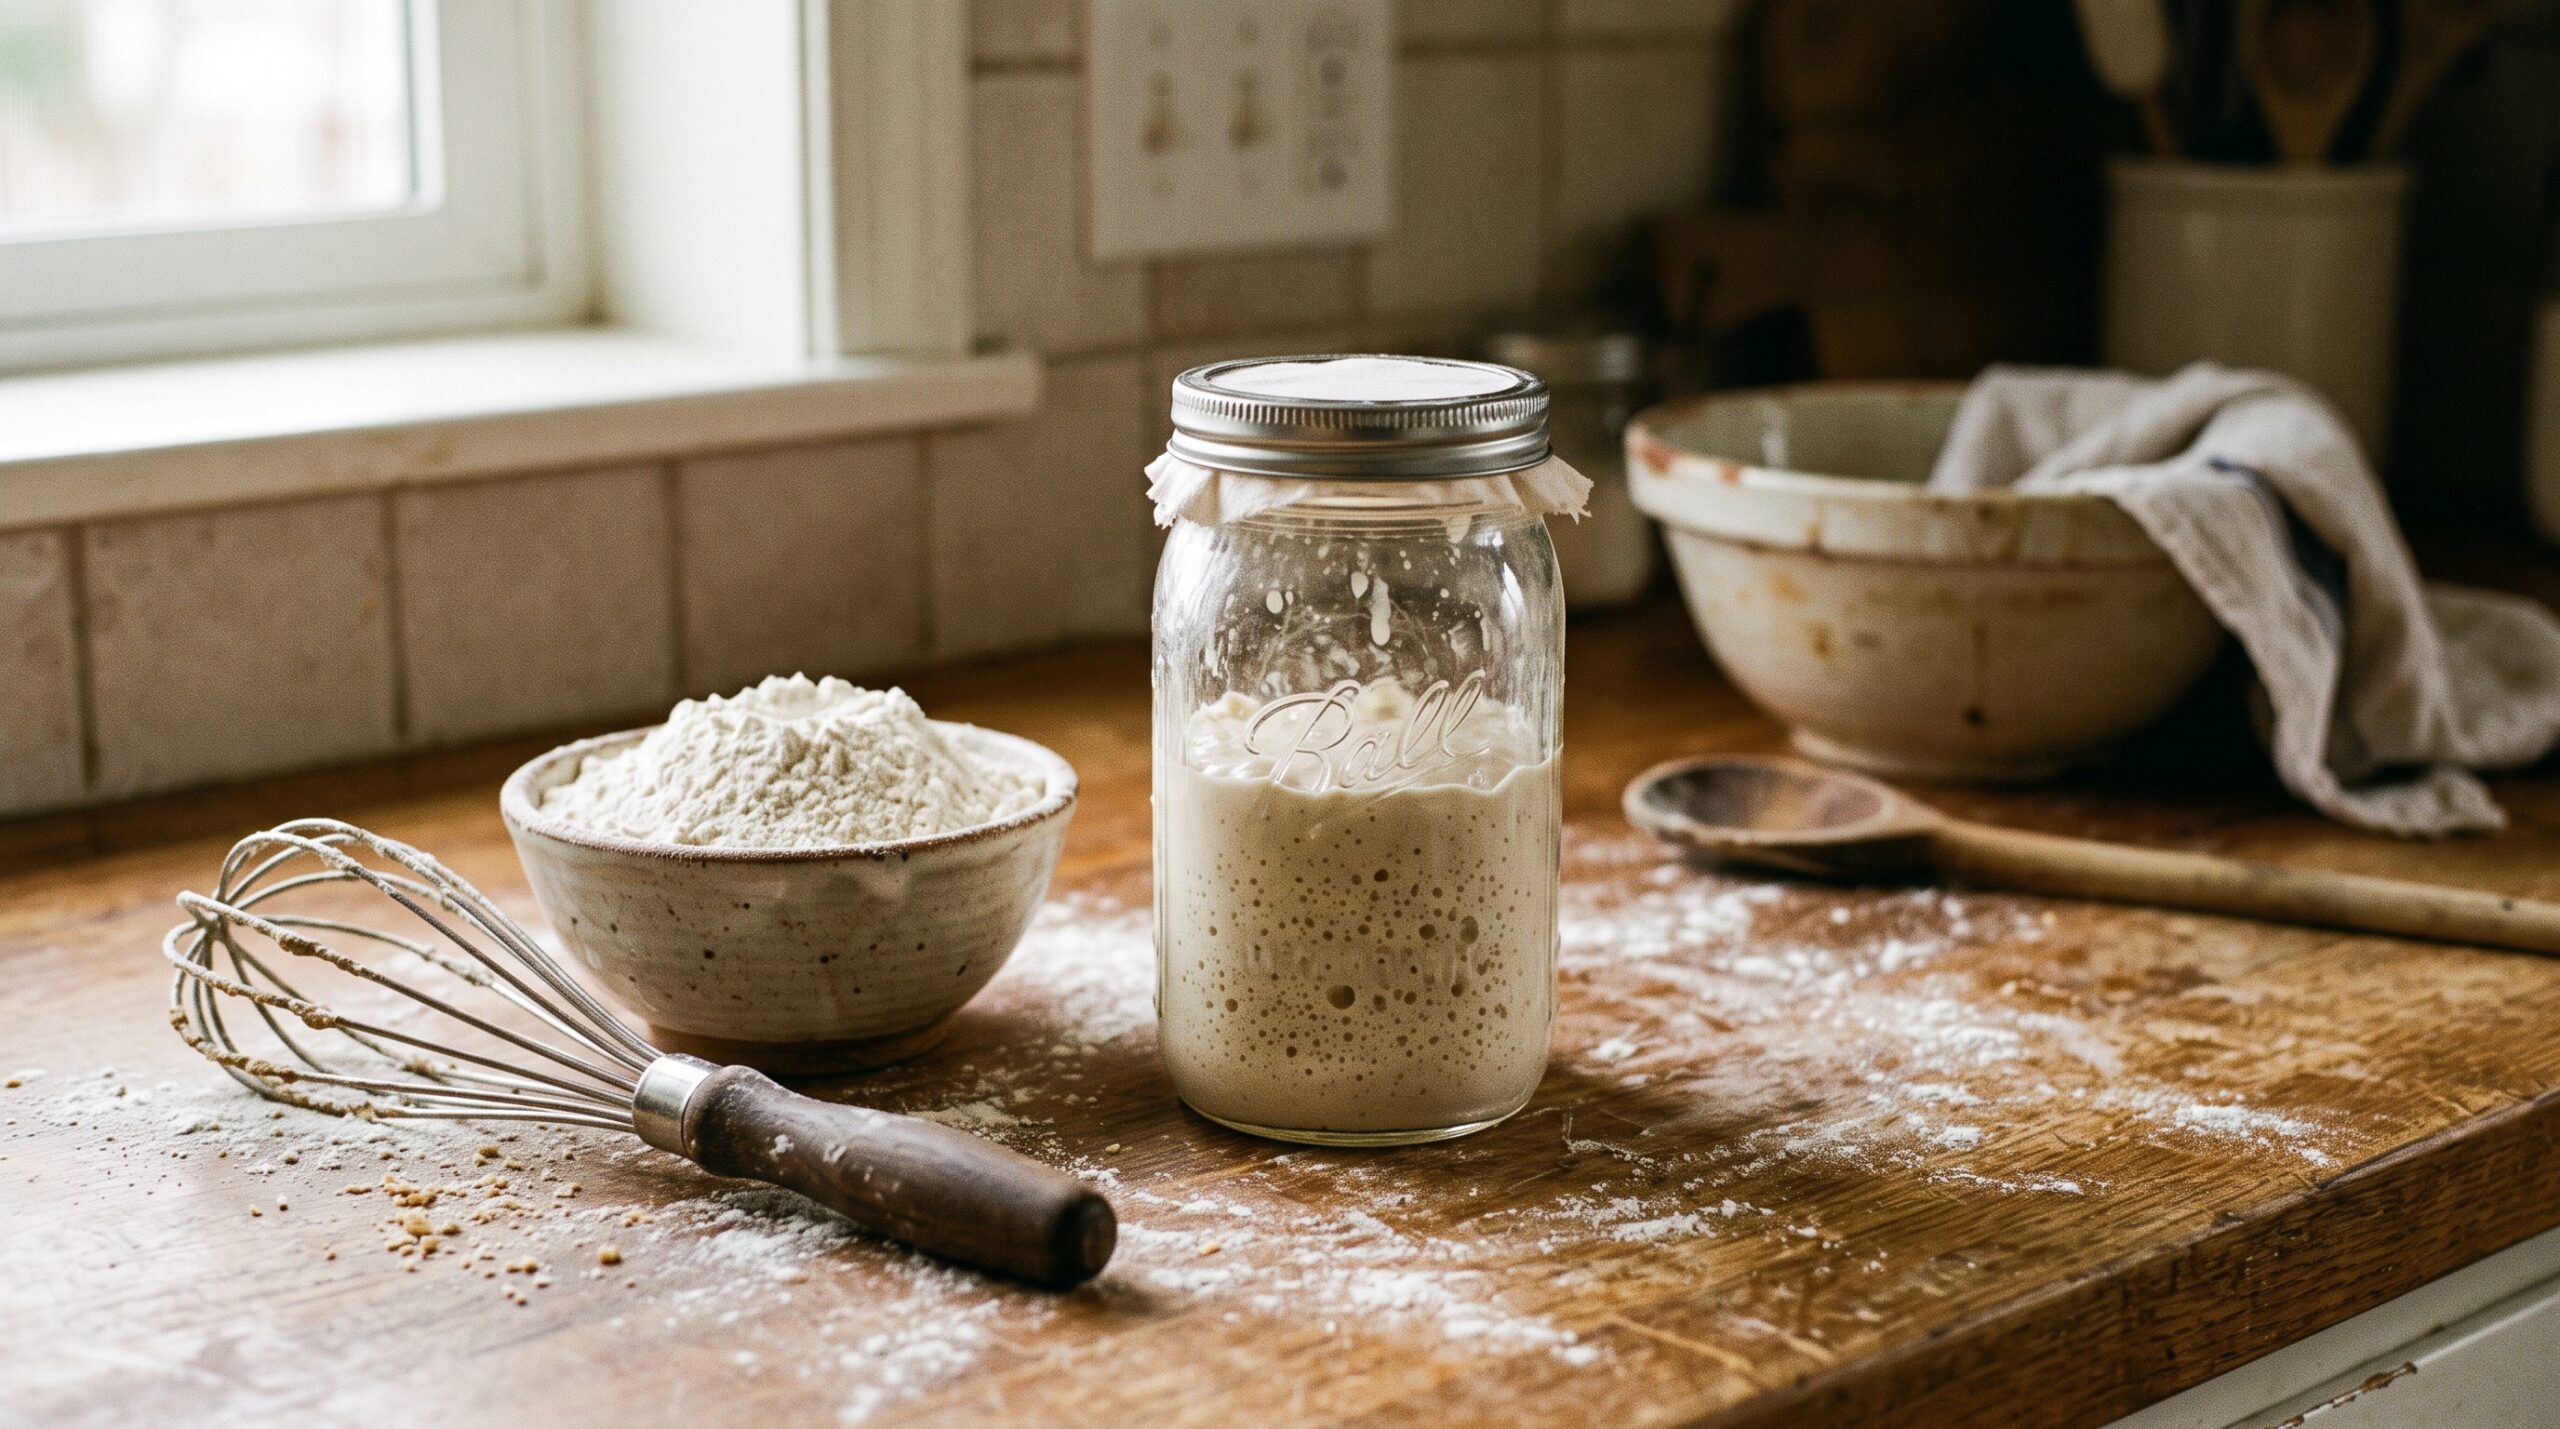
    A bubbly liquid sourdough starter at peak rise in a glass jar
    A liquid starter is quick to read: big bubbles, fast rise, a clear peak.

    How a Stiff Starter Behaves

    Take the water down and everything slows and calms. In a firm, low-hydration environment the acid-producing bacteria are held back more than the yeast, so a stiff starter ferments toward a milder, sweeter, more mellow flavor. If you’ve ever pulled a loaf from the oven and found it too sharp or aggressively sour, switching to a stiff starter is one of the most reliable ways to tame that tang at the source.

    It’s also far more patient. Because it moves slowly and holds its structure, a stiff starter is much more forgiving of an inconsistent feeding schedule. It doesn’t race to its peak and crash; it rises gently and holds there longer, giving you a wider window to actually use it. That same slowness makes it store beautifully, which we’ll come back to.

    The catch is that a stiff starter is harder to read. It won’t slosh with bubbles or dramatically double in a see-through way. You learn to judge it by a gentle dome and by tearing a piece open to check for a fine, webby honeycomb inside, rather than by watching a waterline climb a jar. And because it’s a firm dough, you have to knead your feeds together rather than stir them, which is a small extra bit of hands-on work each time.

    Side by Side: Which Solves Your Problem?

    Strip away the folklore and it comes down to what you actually need.

    • Choose a liquid starter if: you’re still learning to time your bakes and want an easy-to-read culture, you like a pronounced sour tang, you bake often enough to feed it regularly, and you want the simplest possible mix-in when building dough.
    • Choose a stiff starter if: you find your bread too sour and want a milder, sweeter crumb, your schedule is irregular and you need a culture that tolerates being neglected, you bake less frequently, or you want a starter that survives long gaps in the fridge without fuss.

    Notice that neither list is about quality. Both make outstanding bread. The lists are about your temperament and your timetable.

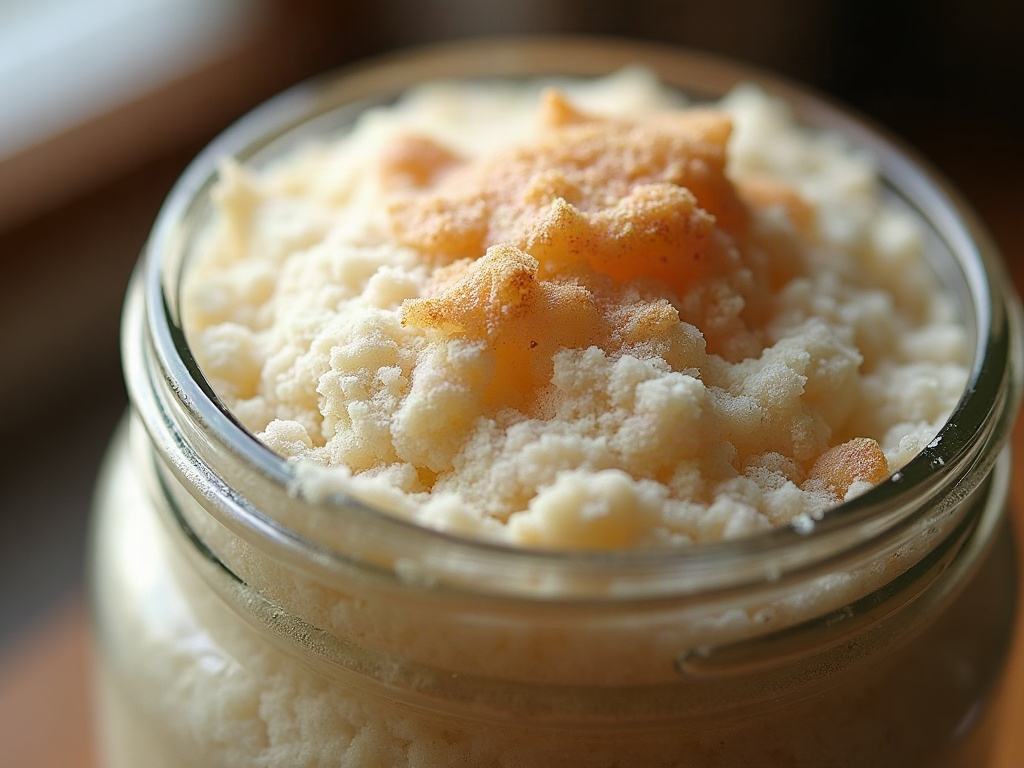
    Hands tearing a stiff starter open to show a webby honeycomb interior
    A ripe stiff starter tears open like a small dough, laced with a fine honeycomb.

    The Storage Advantage Nobody Mentions

    Here’s the practical reason many experienced and less-frequent bakers keep a stiff starter: it stores like a champion. Because there’s less water and the fermentation is slower, a stiff starter goes dormant gracefully in the fridge and can sit for a week or two, sometimes longer, without collapsing into a puddle of hooch or turning punishingly acidic.

    A liquid starter can be refrigerated too, but it tends to exhaust its food and separate faster, so it usually needs more frequent attention. If you’d like the full rundown on keeping either type alive through breaks, our guide to storing your starter through fridge stints and vacations walks through it step by step. For a baker who fires up the oven every other weekend rather than daily, a stiff starter simply asks less of you between bakes.

    Can You Switch Between Them? Yes, Easily

    The best news is that you’re never locked in. Because it’s all one culture, you can convert a starter from one hydration to the other over just a couple of feedings.

    To go from liquid to stiff, simply feed with less water. Take a spoonful of your existing starter and feed it, say, 100g flour to 55g water, kneading it into a firm ball. To go the other way, feed a piece of your stiff starter with equal parts flour and water and stir it into a batter. Give it two or three feeds at the new hydration to fully settle in and you’re done. Many bakers even keep both: a stiff starter as the resilient, low-maintenance mother in the fridge, and a small liquid offshoot built up when they want fast, readable action before a bake.

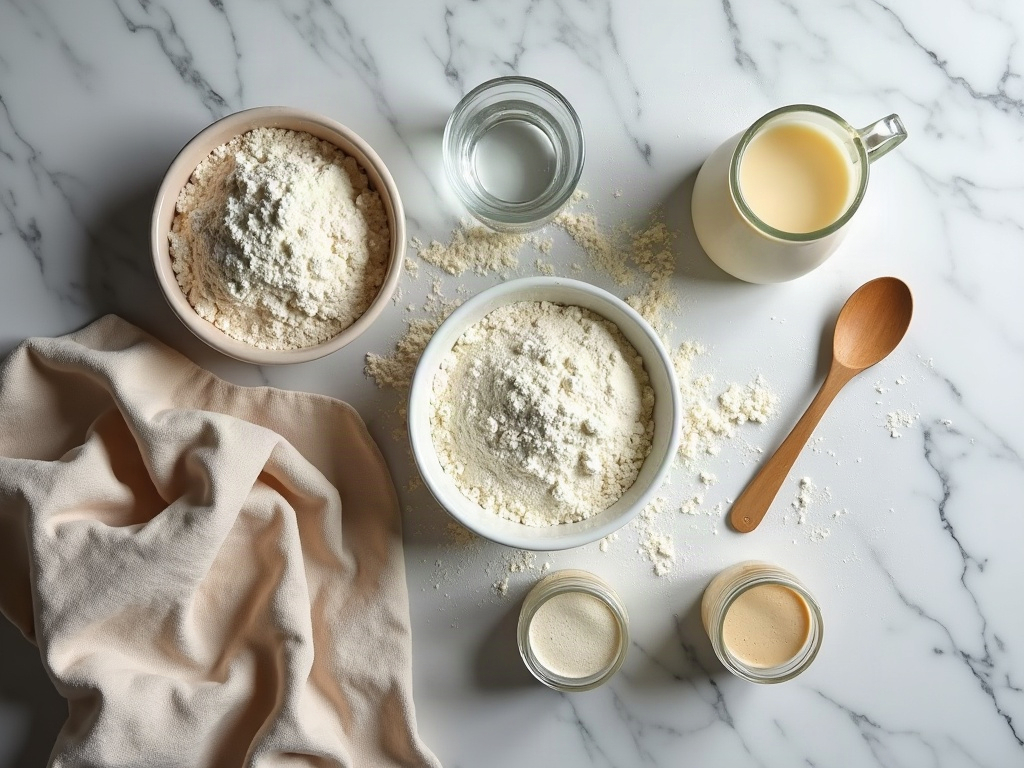
    Flat lay of flour, water, and two jars showing thick and thin starter for feeding
    The only real difference is the ratio of water to flour when you feed.

    How to Tell When Either One Is Ready

    Whichever you choose, the skill that matters most is knowing when it’s at peak and ready to build into dough. For a liquid starter the classic signs are a domed, bubbly surface at maximum rise just before it starts to recede. For a stiff starter you’re watching for a gentle swell and that honeycomb interior when you tear it. In both cases, the popular float test is a rough guide at best, not gospel; our breakdown of whether the float test really works covers the more reliable cues to trust instead.

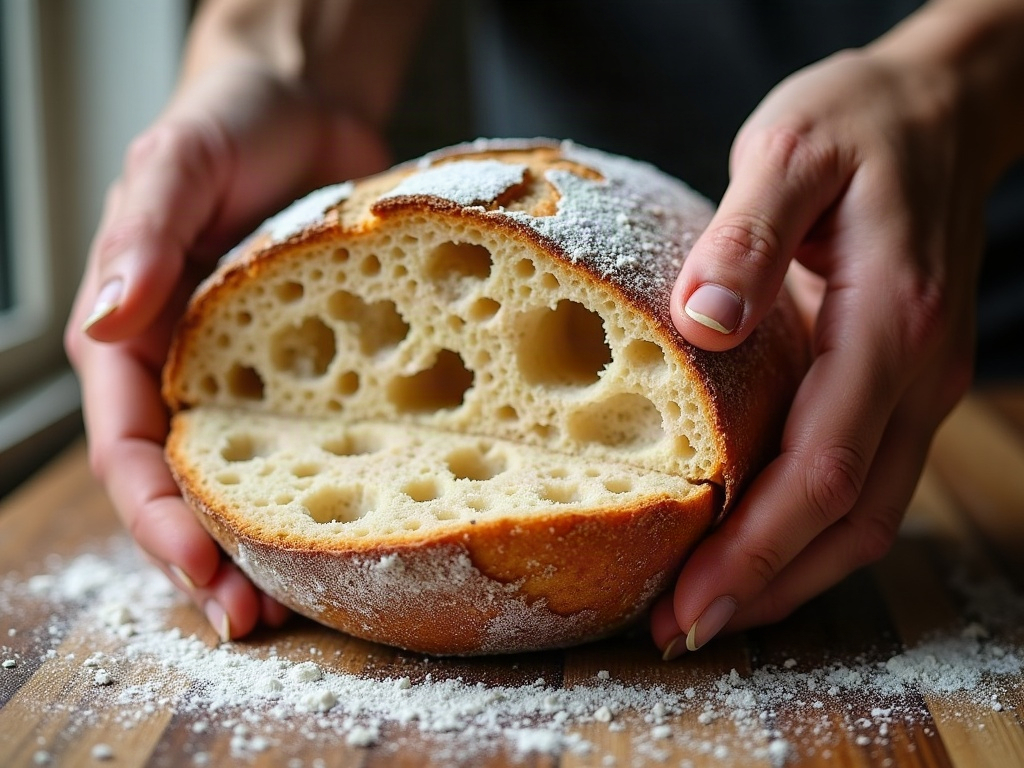
    A golden blistered sourdough boule cooling beside a jar of starter
    Both starters bake beautiful bread. The right one is the one that fits your week.

    The Bottom Line

    Stiff versus liquid isn’t a contest with a winner. A liquid starter is fast, expressive, easy to read, and a little demanding. A stiff starter is slow, mild, forgiving, and built to be left alone. Match the one you keep to the baker you actually are, not the one you think you should be, and starter maintenance stops feeling like a chore.

    If you want to see the difference in action, the full side-by-side, including how each one looks at peak and how to convert between them, lives on the LoafLovers YouTube channel. And if you’re still fighting your starter more than baking with it, grab our free sourdough troubleshooting guide, and we’ll walk you from a temperamental jar to a culture you can count on.

    Related Reading

  • How to Store Your Sourdough Starter: Fridge, Long Breaks, and Vacations

    How to Store Your Sourdough Starter: Fridge, Long Breaks, and Vacations

    One of the quiet anxieties of keeping a sourdough starter is the feeling that you’ve adopted a needy pet — that if you skip a day, or go away for a weekend, you’ll come home to a dead jar and have to start the whole seven-day ritual over again. It’s the reason a lot of people give up on sourdough entirely. So let’s put the worry to rest: you do not have to feed a healthy starter every single day, and it is much harder to kill than you think. The trick is simply knowing how to store it for the length of break you’re taking.

    A mature starter is a robust little ecosystem of wild yeast and lactic acid bacteria. Cold slows it down; drying pauses it; neither one kills it outright. Once you understand the three storage modes — everyday fridge, a couple of weeks off, and a long month-plus break — you can put your starter down and pick it back up on your schedule instead of its own.

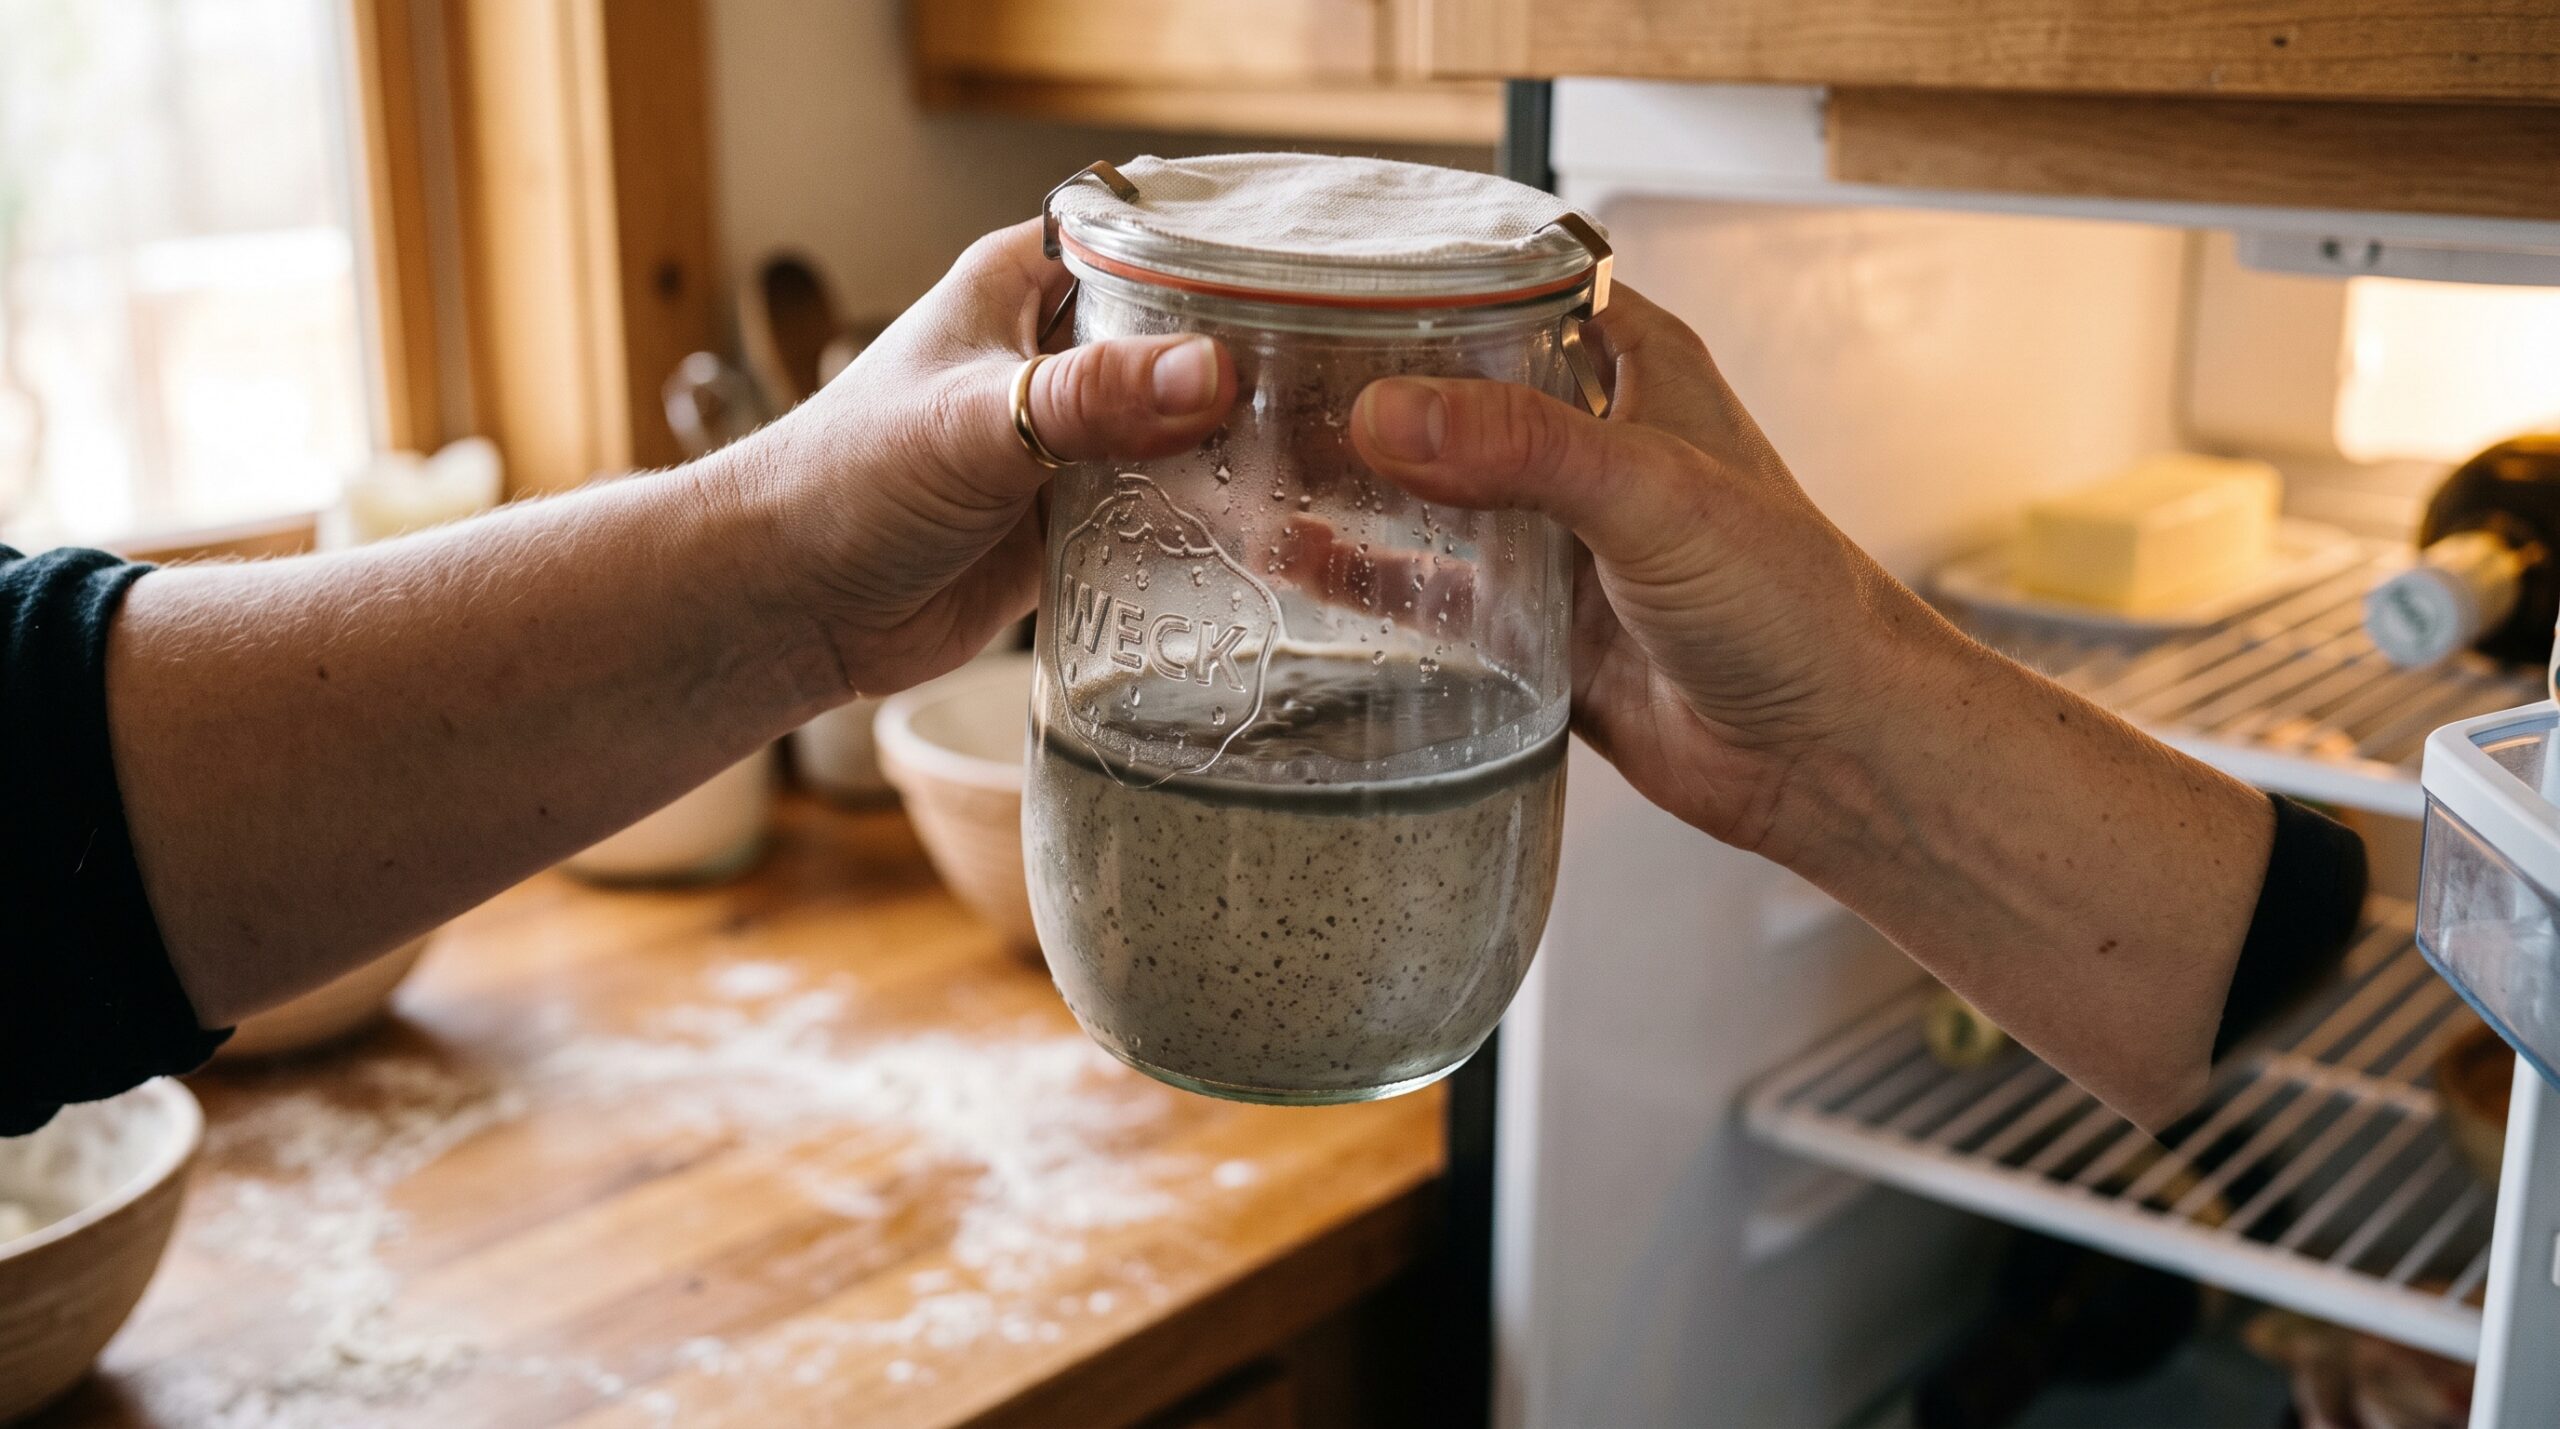
    A jar of bubbly sourdough starter on a wooden counter next to an open fridge, ready to be chilled
    The everyday move: feed your starter, let it get lively, then park it in the fridge. You do not have to feed it every day to keep it alive.

    First, know this: your starter is tougher than it looks

    Before the how-to, the mindset. An established starter (say, a few weeks old or more) has built up a large, competitive population of yeast and bacteria that fend off spoilage organisms. That acidity is a shield. Left alone, it will get hungry, throw off a layer of liquid, smell sharp, and look sad — but “hungry and neglected” is a totally different state from “dead.” Genuinely dead is rare, and usually means fuzzy mold or a pink/orange streak, not just a funky smell or dark liquid.

    So as you read the storage methods below, don’t treat them as life support. Think of them as a pause button. The worst that usually happens after a break is that your starter needs a feed or two to get its strength back before it’s ready to raise a loaf — and that’s a routine wake-up, not a resurrection.

    Everyday storage: the fridge method

    If you bake roughly once a week or every couple of weeks, the fridge is your home base, not the counter. Cold drops the metabolism of the yeast and bacteria to a crawl, which means instead of feeding daily you feed weekly — or even stretch a bit longer.

    The routine is simple. Keep your starter in a jar with a lid that’s on but not airtight (a screw-top rested on, or a jar with a little vent, so gas can escape). Once a week or so, take it out, discard most of it, feed what’s left with fresh flour and water, let it sit out for an hour or two to start waking up, then return it to the fridge. That’s it. Many bakers happily go 10–14 days between feeds this way. The starter will separate and develop hooch between feedings — that’s expected and fine.

    How much to keep is up to you. A small starter (a tablespoon or two fed up to maybe half a cup) wastes less flour and is easy to store; you just build it up to the amount your recipe needs a day or two before you bake.

    The timing that actually matters: feed, then chill

    Here’s the single most useful detail, and the one people get wrong: don’t refrigerate a hungry starter. If you feed your starter and immediately shove it into the cold, the yeast never really gets going and it can come out of the fridge weak. If you let it sit out too long and go completely flat and starving before chilling, you’re storing it on empty.

    The sweet spot is to feed it, let it sit at room temperature until it’s clearly active and beginning to rise — bubbly and on its way up, not yet collapsed — and then put it in the fridge. You’re banking it with a full tank and live, active organisms. This one habit is the difference between a starter that bounces back from the fridge in a single feed and one that sputters for days. If yours tends to come out of the cold sluggish and slow to rise, this timing fix — plus the warm wake-up below — is usually the cure, and our guide to a starter that won’t rise covers the other culprits.

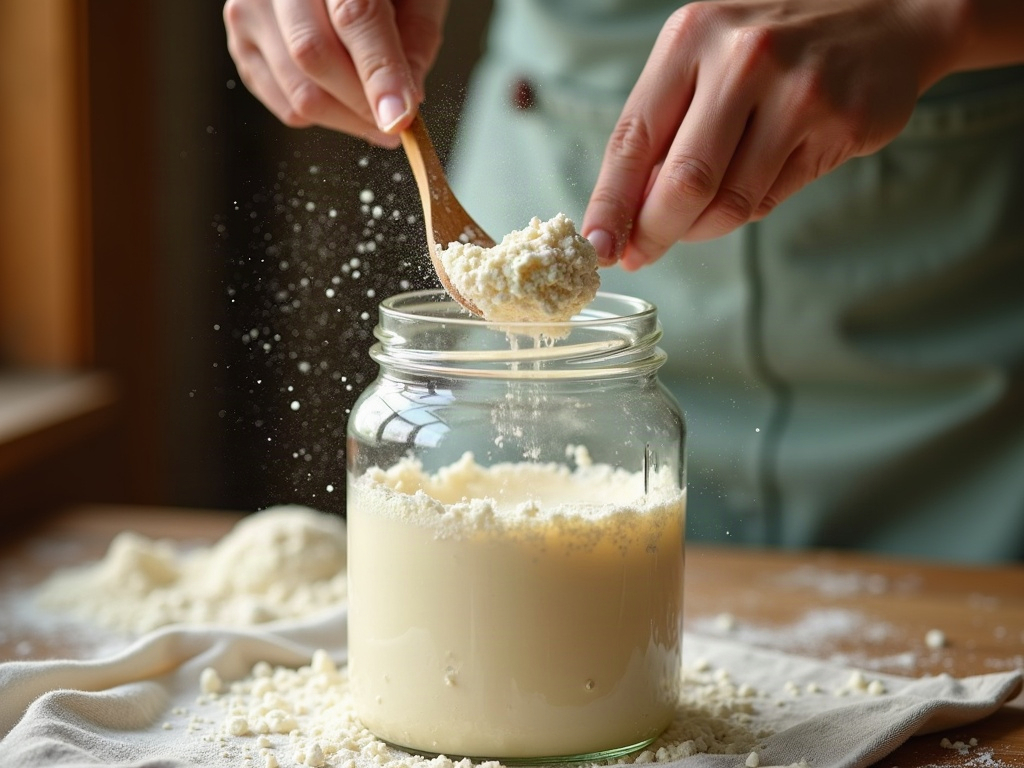
    Hands feeding a sourdough starter with flour and water before refrigerating it
    Feed first, chill second. A starter that goes into the cold with fresh food in the tank keeps far better than a hungry one.

    Coming back from a week or two: the wake-up routine

    You’ve had it in the fridge and now you want to bake. Don’t try to use it straight from the cold — a fridge starter is dormant and won’t have the lift to raise a loaf yet. It needs waking up.

    Pull it out the day before you plan to bake. You’ll often find a layer of liquid on top and a boozy, sharp smell. Stir the liquid back in or pour it off, discard most of the starter, and give it a fresh feed at room temperature. Within 4–8 hours it should be bubbly and rising; give it a second feed if it’s still slow. The classic readiness check is the float test — drop a small spoonful in water, and if it floats, the yeast has produced enough gas to leaven bread. Once it’s passing that and roughly doubling in a few hours, it’s back to full strength and ready to build into a levain.

    If it comes out looking rough, that’s normal for a couple of weeks in the cold. One or two warm feeds fixes almost everything.

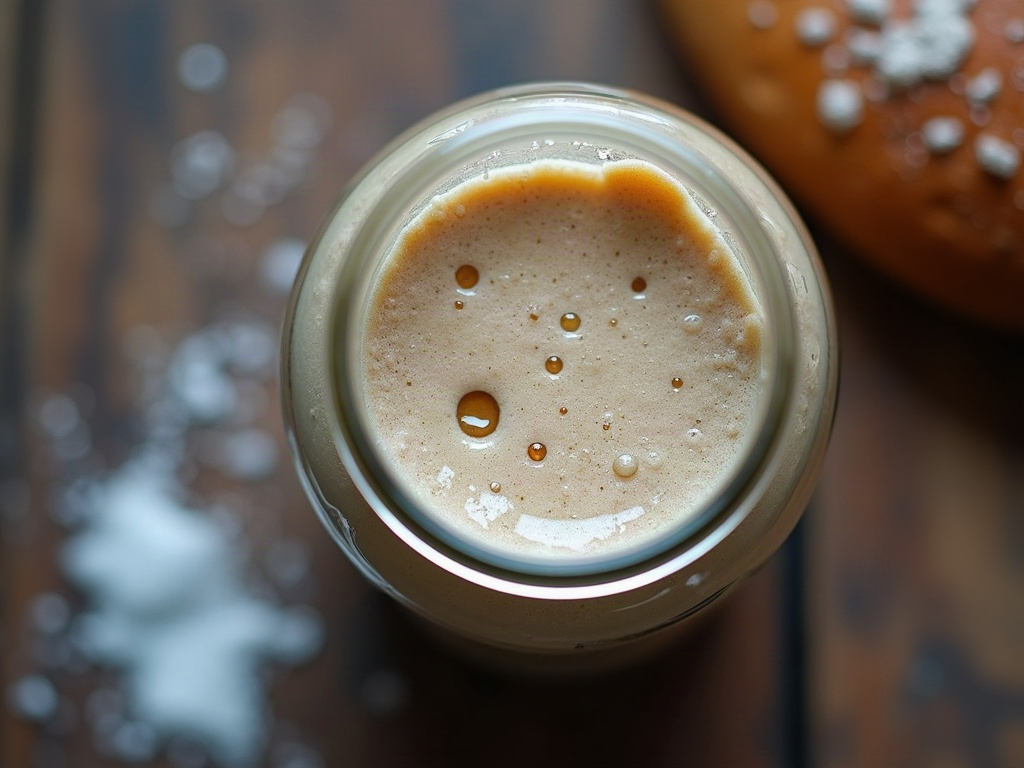
    A cold jar of sourdough starter with a layer of dark hooch liquid on top after time in the fridge
    A dark liquid on a chilled starter is hooch — a sign it got hungry, not that it died. Stir it in or pour it off, then feed.

    What hooch and smells mean while it’s stored

    Storage always comes with some drama on the surface of the jar, and it’s worth knowing what’s harmless. That thin layer of gray-to-brown liquid is hooch — alcohol and water the starter releases when it’s hungry. It’s a message that says “feed me,” not a death notice. You can stir it in for a slightly tangier starter or pour it off for a milder one, then feed as normal. We break down exactly what the liquid on your starter is telling you if you want the full picture.

    Smell follows the same logic. A stored starter that goes sharp, vinegary, or acetone-like (think nail-polish remover) is simply very hungry and heavy on acid and alcohol — a few feeds will mellow it right back to a pleasant yogurty tang. What you’re watching for instead is real spoilage: fuzzy mold in any color, or pink/orange streaks. Those mean discard and start over. A funky smell and dark liquid do not.

    Long breaks: a month or more (and a vacation backup)

    Going away for several weeks, or want a safety net in case life gets busy? You have a couple of reliable options beyond the fridge.

    Just leave it in the fridge. A well-established starter can survive a surprisingly long stretch cold and unfed — several weeks, sometimes more — and revive with patience. It’ll build up a lot of hooch and get sharp, but it’s usually recoverable with two or three days of feeding. This is the no-effort choice for a long vacation: feed it, chill it, walk away.

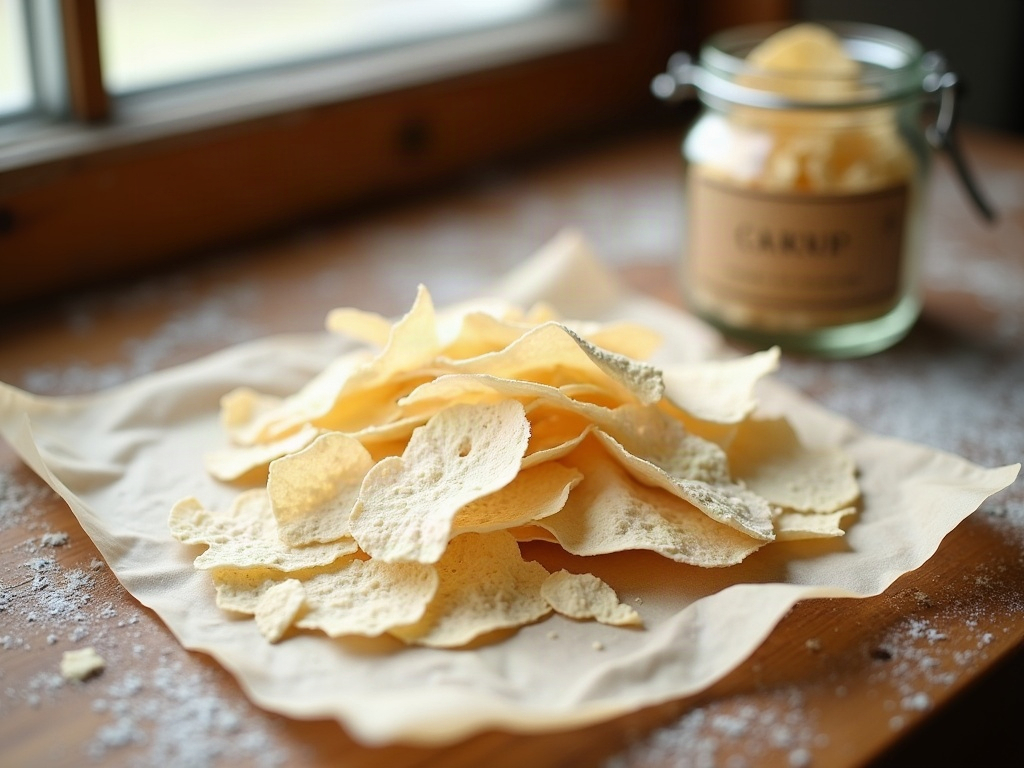
    Dry it for shelf-stable insurance. The safest long-term move is to dry some starter. Smear a thin layer of active starter on parchment, let it dry completely into brittle flakes, then crack it into pieces and store them sealed in a cool, dark spot — they keep for months, even years. To bring it back, rehydrate the flakes with water and flour and feed over a few days. Because these flakes are a dormant backup, drying a little starter whenever yours is thriving is smart insurance against ever losing your culture. You can also freeze a portion of starter; it survives freezing well and thaws back into service with feeding.

    Dried sourdough starter cracked into flakes on parchment beside a small storage jar
    For a long pause, dry a thin layer of starter into flakes. Sealed and stored cool, they are shelf-stable insurance you can rehydrate months later.

    When it’s truly neglected — and when to start over

    Sometimes a break turns into months you didn’t plan, and you open the fridge to a jar of dark liquid over a gray, lifeless paste that smells aggressively of solvent. Don’t panic and don’t bin it on sight. Pour off the hooch, scoop out a spoonful of the least-sad starter from the middle, and start a rescue: feed it small amounts once or twice a day in a warm spot and give it several days. Most neglected starters claw their way back — our full walkthrough on reviving a neglected starter takes it step by step.

    The genuine start-over cases are narrow: visible fuzzy mold, pink or orange discoloration, or a starter that shows zero activity after a solid week of consistent warm feeding. Short of those, storage problems are almost always fixable with time and flour. And if you did keep a jar of dried flakes as backup, this is exactly the moment they earn their keep.

    The quick starter-storage cheat-sheet

    • Baking weekly? Keep it in the fridge, feed roughly once a week, no daily feeding needed.
    • Always feed then chill — refrigerate an active, rising starter, never a hungry, collapsed one.
    • Back from 1–2 weeks off? Discard, feed warm, wait for bubbles and a float test before baking; feed twice if slow.
    • Hooch or a sharp smell? Harmless hunger — stir in or pour off, then feed.
    • Away a month or more? Leave it chilled, or dry a thin layer into flakes (or freeze some) for shelf-stable backup.
    • Mold or pink/orange streaks? That’s the one time to discard and start fresh.

    Once you’ve got these three modes in hand, a starter stops being a daily obligation and becomes what it should be: a tool that waits patiently for you. Store it right and you can bake on your schedule, take a vacation without guilt, and always have a lively culture ready when the mood strikes.

    A sourdough starter risen and domed with healthy bubbles after being woken up from storage
    Back to life: after one or two warm feeds, a well-stored starter wakes up domed, bubbly, and ready to bake.

    Want to see the feed-then-chill timing and the wake-up feed in real time — including exactly what an active, ready-to-store starter looks like versus a hungry one? The full walkthrough lives on the LoafLovers YouTube channel, and our free sourdough troubleshooting guide lays out the storage and revival routines side by side. Grab it, park your starter with confidence, and come back to bake whenever you’re ready.


    Sources & further reading:

    Related Reading

  • What to Do With Sourdough Discard: How to Use It Up Instead of Throwing It Away

    What to Do With Sourdough Discard: How to Use It Up Instead of Throwing It Away

    There’s a jar in your fridge you feel a little guilty about. Every time you feed your starter, you scoop out a portion and, if you’re like most home bakers, you either dump it down the drain or add it to a growing pot of pale, tangy sludge you keep meaning to “do something with.” That something rarely happens, and eventually the jar gets tipped into the bin anyway.

    Here’s the reframe that fixes it: sourdough discard isn’t waste. It’s fermented flour and water – an ingredient with real flavor – that just isn’t lively enough to raise a loaf on its own. Once you stop treating it as garbage and start treating it as a pantry staple, that guilt jar becomes one of the most useful things in your kitchen. Let’s clear up what discard actually is, whether it’s safe, how long it keeps, and the easiest ways to turn it into something worth eating.

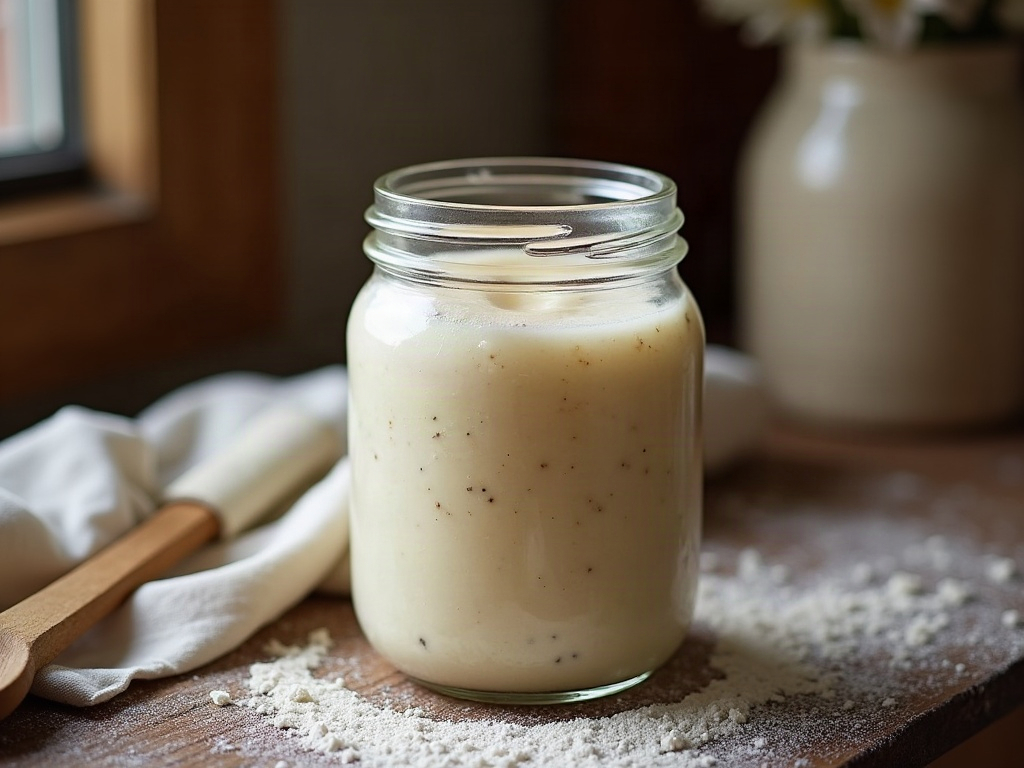
    A glass jar of sourdough discard on a floured wooden counter beside a whisk and flour
    The discard jar most bakers feel guilty about – and the ingredient hiding inside it.

    What Sourdough Discard Actually Is

    Discard is simply the portion of starter you remove before a feeding. When you feed a starter, you keep a small amount and add fresh flour and water so the yeast and bacteria have something new to eat. If you never removed any, your starter would grow to an absurd volume and, worse, the ratio of old acidic culture to fresh food would stay so high that the starter would struggle to get strong. Discarding keeps the culture healthy and manageable – the cast-off portion is the discard.

    Crucially, discard is the same stuff as your active starter, just hungry. It’s flour and water that’s been fermented by wild yeast and lactic-acid bacteria. That fermentation gives it a pleasant sour tang and a bit of pre-digested, easy-to-work flour. What it has lost is oomph: an unfed discard doesn’t have enough active, well-fed yeast to reliably lift a loaf. That’s why we bake bread with active starter and cook other things with discard – the flavor is welcome, but we don’t rely on it for rise.

    Is Discard Safe to Use? How to Read the Jar

    For a healthy, established starter, discard is safe to use – and the acidity that builds up in it actually makes it inhospitable to most things you’d worry about. But you should still give the jar a quick, honest look before you bake with it. The good signs: it smells sour, tangy, yeasty, maybe sharply boozy or a little like nail-polish remover when it’s very hungry. A thin layer of grey or brown liquid on top, called hooch, is completely normal – it’s just alcohol and water the culture produced, and you can stir it back in or pour it off. None of that means the discard has gone bad.

    What does mean throw it out: any sign of actual mold – fuzzy spots in white, black, green, pink, or orange, whether on the surface or creeping up the sides of the jar – or a smell that’s genuinely rotten or foul rather than sharply sour. Streaks of pink or orange are a hard stop. When you see any of that, discard the whole jar, wash it well, and if it was your active starter that molded, it’s safer to start fresh. When in doubt, throw it out; a jar of discard isn’t worth a gamble.

    A jar of unfed sourdough discard with a thin grey layer of hooch on top
    Unfed and a little flat, sometimes with hooch on top – discard is just hungry starter, not spoiled food.

    The Lowest-Effort Way to Use It: Crackers

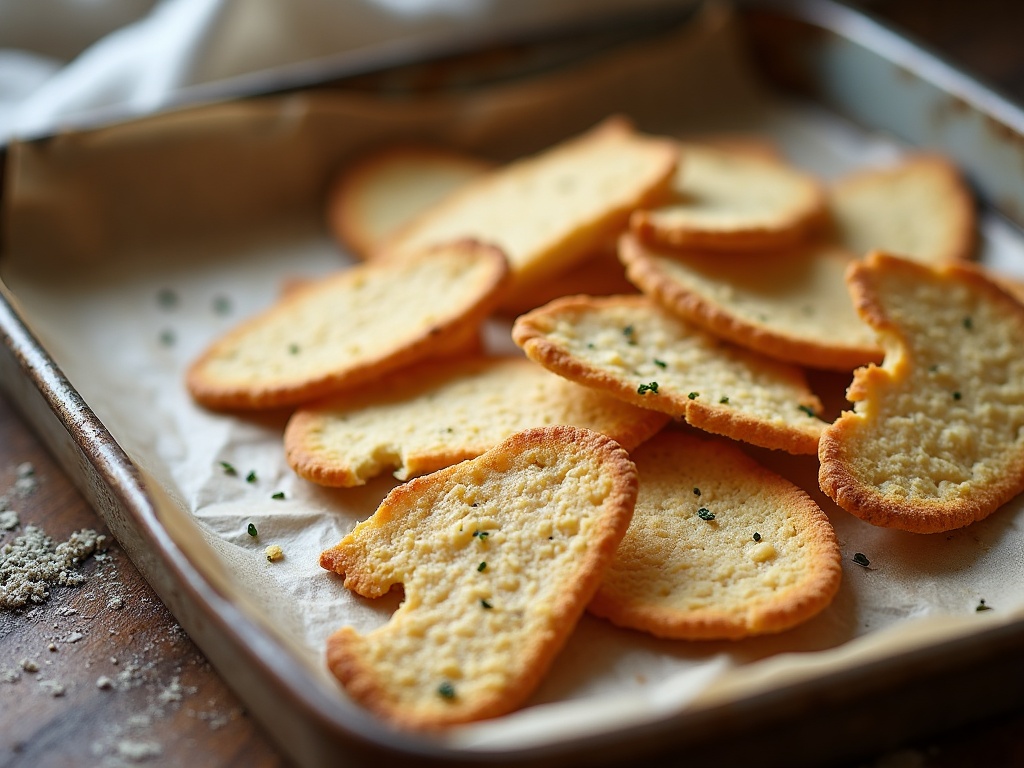
    If you only ever make one discard recipe, make crackers. They’re forgiving, they don’t care how old or flat your discard is, and they turn a jar of “I should really use this” into a snack in about half an hour. The formula is barely a recipe: stir discard together with roughly equal weights of flour, a good glug of olive oil, and a pinch of salt until you have a stiff paste, then spread it as thin as you possibly can on parchment, sprinkle with flaky salt, herbs, or seeds, and bake at around 175 C / 350 F until deeply golden and crisp. Score it into squares before baking so it snaps into neat pieces, or just crack the whole sheet into rustic shards.

    The thinner you spread the batter, the crispier and better the crackers – a slightly uneven, blistered sheet is the goal, not a perfect uniform one. This is the recipe to reach for when your discard has been sitting a while, because the long bake and the added flour completely mask any extreme sourness.

    The Best Breakfast You’ll Cook: Pancakes and Waffles

    Discard pancakes and waffles are, for a lot of bakers, the recipe that converts them from dumping discard to hoarding it. The tang plays beautifully against maple syrup, and the fermented flour gives a tenderness and depth that a straight batter can’t match. You can make a same-morning version by whisking discard into a normal pancake batter, but the standout method is an overnight one: the night before, mix your discard with flour, milk, and a little sugar and let it sit on the counter. By morning it’s bubbly and even more flavorful; you just whisk in egg, melted butter, a pinch of salt, and the leaveners – baking soda and a touch of baking powder – right before cooking.

    The baking soda is doing something clever here: it reacts with the acid in the discard to give you lift and, as a bonus, neutralizes some of the sourness so the pancakes taste balanced rather than aggressively tangy. Waffles work identically and get shatteringly crisp. This is genuinely one of the best uses for discard, not a consolation prize.

    A tray of thin crisp sourdough discard crackers broken into shards on parchment
    Discard crackers: flour, discard, oil, salt – the lowest-effort way to use up a jar.

    Beyond Crackers and Pancakes: Savory and Sweet

    Once you’re comfortable, discard slots into a surprising range of everyday cooking. On the savory side, it makes excellent quick flatbreads and a fast, tangy pizza-style crust when you’re not in the mood for a full dough – stir it with flour, a little oil, and salt, rest it briefly, and stretch it out. It thickens and adds flavor to savory batters, too: think discard-battered fritters, crumpets, or a splash stirred into a cheese-cracker dough. Because discard is essentially thin flour paste, it can stand in for some of the flour and liquid in many batter recipes.

    On the sweet side, it disappears beautifully into banana bread, muffins, quick cakes, and brownies, where it adds moisture and a subtle background tang without anyone knowing there’s “leftover starter” in their dessert. A good rule of thumb: discard works best where you already have chemical leavening (baking soda or powder) doing the lifting and a batter or dough that welcomes a little extra flour and moisture. It’s not going to raise a boule, but it makes almost everything else taste a little more interesting. If you’ve ever ended up with a dense, gummy crumb in your actual loaf, discard bakes are a low-stakes place to keep your hands busy while you troubleshoot the bigger bake.

    How Long Discard Keeps – and How to Store It

    Kept in a lidded jar in the fridge, discard stays good for about one to two weeks, and honestly often longer if it still smells sharply sour rather than off. It will get more acidic and more alcoholic (more hooch) the longer it sits, which is fine for crackers and other robust bakes but a bit much for delicate ones – so use older discard in the strongly flavored recipes and fresher discard where you want a milder tang.

    The smartest move if you feed your starter often is to build up a stash: keep a dedicated “discard jar” in the fridge and add each day’s cast-off to it, stirring it in, until you have enough for a proper batch of crackers or a double batch of pancakes. Label the jar with the date so you’re not guessing. And if it’s piling up faster than you can bake, freeze it – portion discard into a lidded container or even ice-cube trays, and it keeps for months. Thaw it in the fridge overnight before using; it works perfectly well in any cooked or baked discard recipe once thawed.

    One habit that quietly reduces discard in the first place: if you’re not baking for a while, keep a smaller starter and store it in the fridge, feeding it less often. You’ll generate far less discard, and the discard you do get will be exactly the ingredient you now know how to use. If your starter has been sluggish and you’ve been feeding it hard to revive it, that’s a season of extra discard – our guide to reviving a starter that won’t rise pairs well with a few batches of crackers to soak up the surplus.

    From Guilt Jar to Pantry Staple

    Discard only feels like waste when you don’t have a plan for it. Give it one – a default recipe you reach for without thinking, a labeled jar you top up through the week, and a bag of frozen portions for later – and the guilt disappears entirely. Start with crackers this week because they’re impossible to get wrong, graduate to the overnight pancakes when you want to be genuinely impressed, and you’ll never tip a jar down the drain again.

    Want to see the cracker spread, the overnight pancake batter, and how to read a discard jar in real time? The full walkthrough – with close-ups of every step – lives on the LoafLovers YouTube channel. And if you’d like our one-page discard cheat sheet with the base ratios to keep on the fridge, grab it free when you join the email list. No hard sell, just something useful for your next jar. While you’re troubleshooting your bakes, our guide to telling overproofed from underproofed dough is a good next read.


    Sources & further reading:

    Related Reading