Sourdough bagels have a reputation for being fussy. Between the stiff dough, the shaping, the overnight wait, and the pot of boiling water, they feel like a project reserved for people with a lot of free time and no fear of failure. So most home bakers who already have a starter never quite get around to them – which is a shame, because a real sourdough bagel, chewy and glossy and faintly tangy, is one of the most satisfying things you can pull out of a home oven.
Here’s the reassuring truth: bagels are more forgiving than a boule. There’s no delicate open crumb to chase, no agonizing over ear and oven spring. Only two things separate a bagel from ordinary bread, and once you understand both, the whole process stops being intimidating. This is the full method, start to finish, plus honest fixes for the problems that trip people up.
What actually makes a bagel a bagel
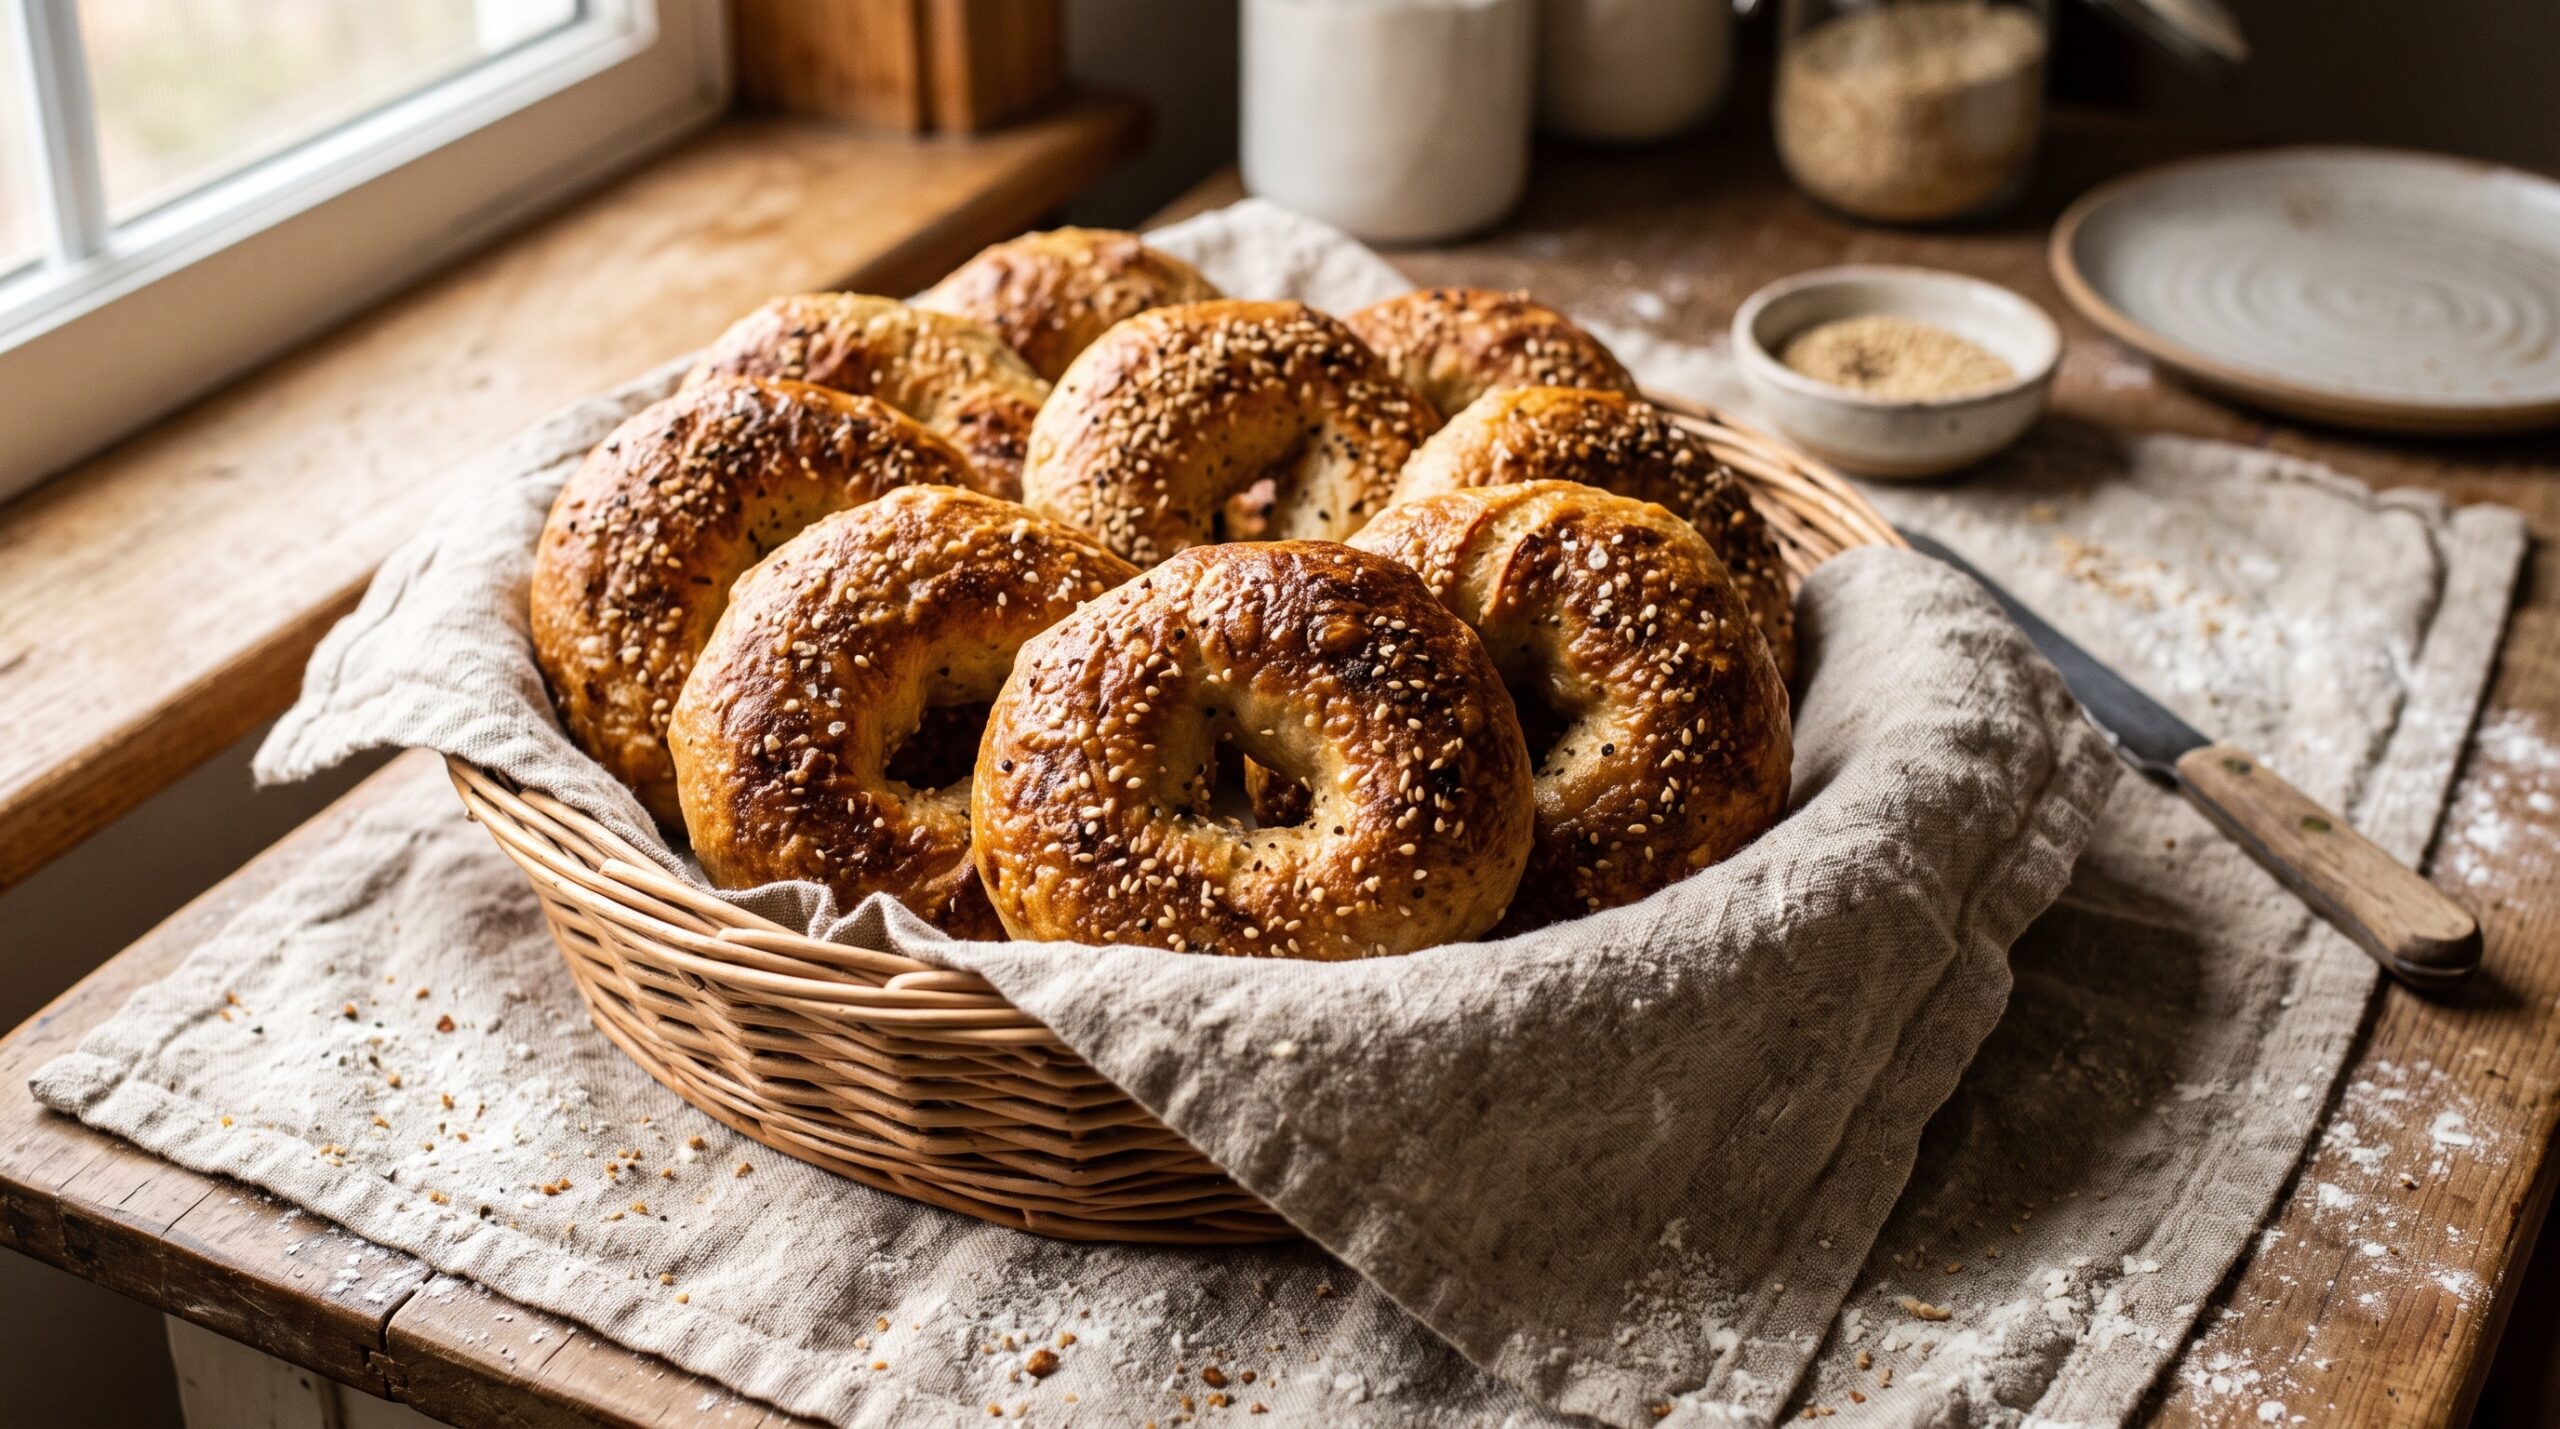
Strip everything else away and a bagel is defined by two things: a stiff, low-hydration dough and a quick boil before baking. That’s it. The dense chew comes from a dough far drier than you’d ever use for a loaf. The shiny, set crust and the signature crust-to-crumb contrast come from the boil, which gelatinizes the surface starches and locks the shape before the oven ever touches it.
Everything else – the sourdough tang, the overnight schedule, the toppings – is flavor and convenience layered on top. If you nail the stiff dough and the boil, you’ll get a real bagel even if the rest is imperfect. Keep those two anchors in mind and the rest of these steps will make sense.
The dough: think dry and firm
Loaf dough is soft, slack, and extensible. Bagel dough is the opposite – firm, tight, and a little stubborn. A good starting hydration is around 55 to 60 percent, meaning the water is only a bit more than half the weight of the flour. For a batch of eight bagels, a workable formula is roughly 500g bread flour, about 275g water, 100g active starter, 10g salt, and a tablespoon of a sweetener like barley malt syrup or honey for color and flavor.
Use bread flour, not all-purpose. Bagels live and die on chew, and chew comes from strong gluten – the higher protein of bread flour is doing real work here. When you mix, the dough will feel dry and shaggy and you’ll be tempted to add water. Resist. A stiff dough is correct; it just takes more effort to bring together. Knead it until it’s smooth and very firm – this is a workout, and unlike a slack loaf dough, bagel dough genuinely benefits from thorough kneading to build that tight structure.
An overnight schedule that fits real life
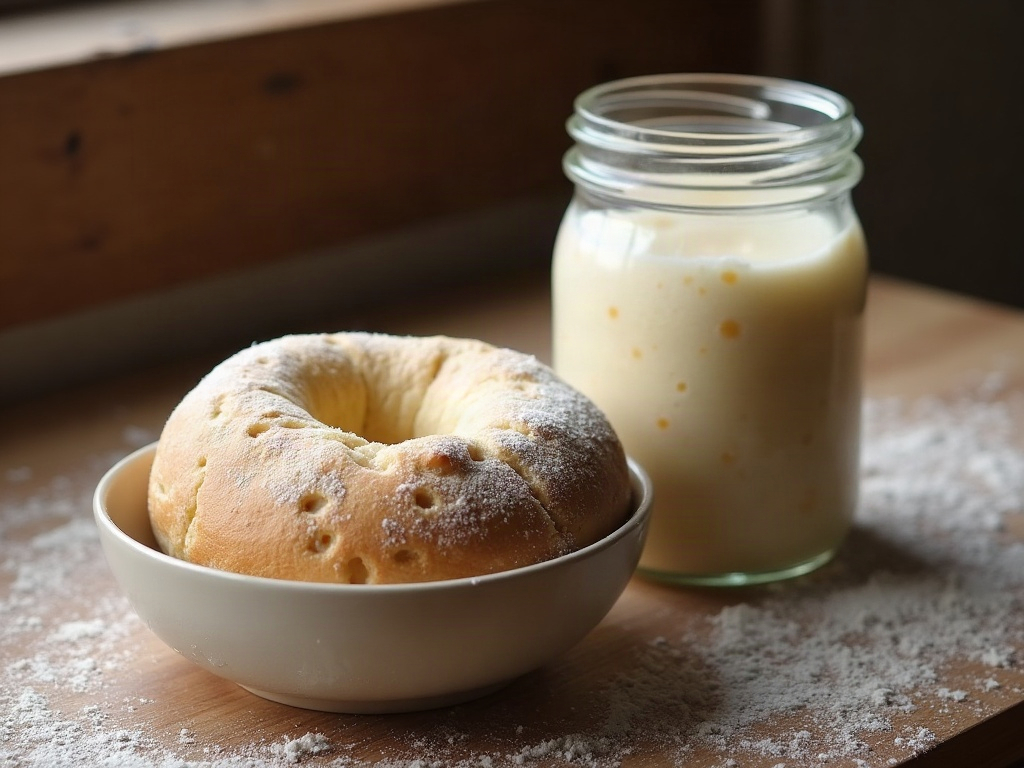
Sourdough bagels are ideal for the cold-retard rhythm most home bakers already use. A simple timeline:
Evening: Mix and knead the dough. Let it bulk ferment at room temperature for a few hours until it’s grown noticeably – because this is a stiff, low-hydration dough, it will rise more slowly and less dramatically than a loaf, so judge it by a moderate increase in size rather than a doubling.
Before bed: Divide and shape the bagels (see below), place them on a parchment-lined, cornmeal-dusted tray, cover well, and put the whole tray in the fridge overnight.
Morning: Boil and bake straight from the fridge. The cold overnight retard develops flavor, deepens the sourdough tang, and firms the shaped bagels so they hold their form in the boiling water. It also means fresh bagels for breakfast without a pre-dawn start.
To check they’re ready to bake, use a cold version of the float test: drop one shaped bagel into a bowl of water. If it floats within a few seconds, they’re proofed and ready. If it sinks, give them more time at room temperature before boiling.
Shaping the ring
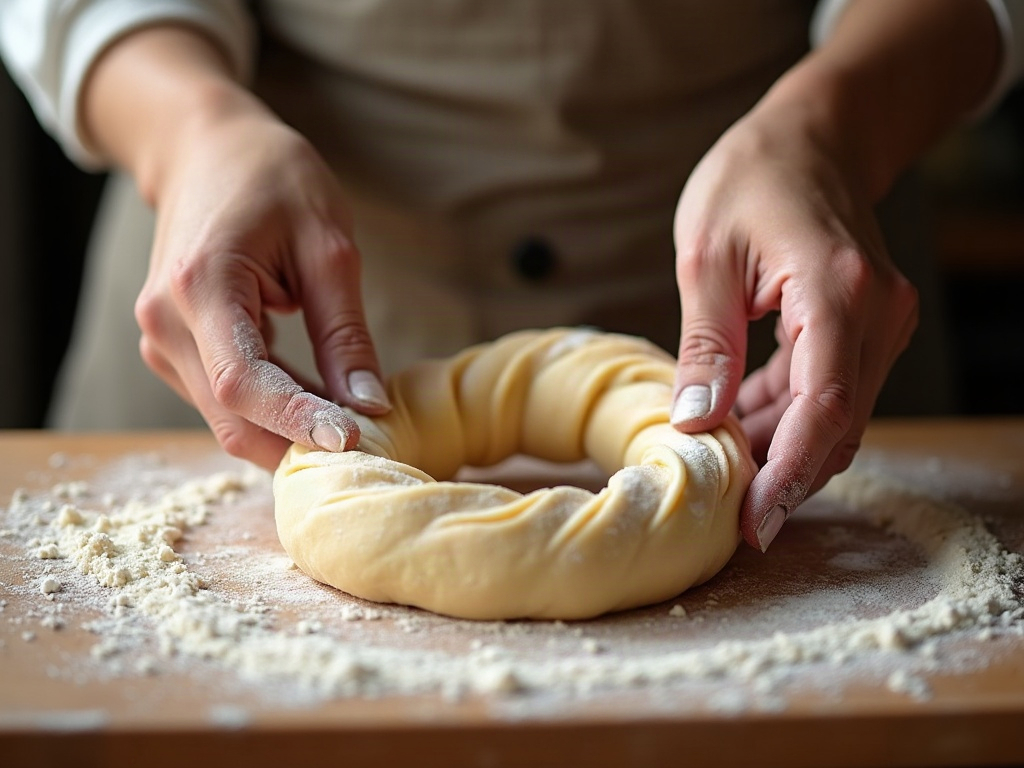
There are two common methods, and both work. The first: divide the dough into equal pieces (about 100g each), roll each into a smooth ball, then poke a thumb through the center and gently stretch the hole open – make it bigger than you think, because it will close up during proofing and boiling. The second, which gives a more even ring: roll each piece into a rope about eight inches long, wrap it around the base of your fingers so the ends overlap in your palm, then roll that overlap on the counter to seal the seam.
Whichever you choose, the key is a fully sealed seam. A ring that isn’t properly closed will unravel or split in the boiling water. Take the extra few seconds to roll the join smooth.
The boil: the step you can’t skip
Bring a wide pot of water to a gentle, rolling boil and add your alkaline agent. Traditional bagels use lye, but at home, baking soda is safe and effective – about a tablespoon per pot. A spoonful of barley malt syrup or honey in the water adds color and a subtle sweetness to the crust. The alkaline water is what gives bagels their deep-brown, glossy, slightly chewy skin.
Boil the bagels a few at a time so you don’t crowd the pot. A good default is 30 to 60 seconds per side. Longer boiling gives a thicker, chewier crust and a slightly denser interior; a shorter boil keeps things a touch lighter. Don’t overload the pot – the water temperature drops when you add cold bagels, and crowded bagels stick together and boil unevenly. Lift each one out with a slotted spoon, let it drain for a second, and place it back on the tray. This is the moment to press on any toppings – sesame, poppy, everything seasoning, flaky salt – because they stick best to the wet, freshly boiled surface.

Baking
Bake in a hot oven, around 425 to 450 degrees F (220 to 230 C), until deeply golden – usually 20 to 25 minutes. Resist pulling them early; a pale bagel is an underbaked, gummy bagel. You want real color and a firm, glossy crust. If your oven runs uneven, rotate the tray halfway through. Let them cool on a rack for at least 15 to 20 minutes before slicing – like all bread, the crumb is still setting as they cool, and a bagel cut too soon can feel doughy inside when it’s actually fine.
Troubleshooting your bagels
Dense and heavy (in a bad way): Some density is the point, but a hockey puck means underproofing. Give the dough more time in bulk, or let the shaped, cold bagels sit at room temperature for 30 to 60 minutes before boiling. A sluggish starter is often the real culprit – make sure yours is lively and recently fed before you mix.
Flat, spread-out bagels: Usually overproofing or a dough that was too wet. Trust the stiff hydration, don’t let them over-ferment, and make sure your shaping created real surface tension. The cold overnight retard helps here by firming everything up.
Wrinkled or shriveled crust: This is the classic sign of overproofing – the surface collapses in the boil. Pull back on proofing time next batch. A very long or too-vigorous boil can also pucker the skin, so keep it to a gentle roll and the times above.
Dull, pale crust with no shine: You skimped on the boil or the alkaline water. Make sure the baking soda is in the pot, give a full boil per side, and bake until genuinely deep golden. The gloss is built in the pot and the color in the oven – both matter.
Bagels that unravel in the water: The seam wasn’t sealed. Roll the join smooth during shaping and make sure the ring is fully closed before it proofs.

Worth the effort
Sourdough bagels reward you out of all proportion to their difficulty. Once you internalize the two rules – stiff dough, real boil – the process becomes a comfortable weekend rhythm: mix and shape at night, boil and bake in the morning, eat something better than any store can sell you. And unlike a temperamental boule, a bagel forgives a lot. Slightly off on proofing? Still delicious. Uneven rings? Rustic charm.
Start with one batch this weekend and treat it as a calibration run – note how your dough felt, how long you boiled, how they came out – then adjust from there. If you’d like to see the shaping, the boil, and the float test in real time, the full step-by-step is on the LoafLovers YouTube channel, and you can grab our free sourdough troubleshooting guide to keep by the counter for your first few batches. You’ve already got the starter. The bagels are closer than you think.
Leave a Reply