Tag: sourdough starter

  • Stiff Starter vs Liquid Starter: Which Should You Keep, and Why?

    Stiff Starter vs Liquid Starter: Which Should You Keep, and Why?

    If you’ve spent any time in sourdough forums, you’ve seen the debate: some bakers swear by a firm, dough-like stiff starter, while most of the internet keeps a loose, pancake-batter liquid starter. It’s easy to assume one must be right and the other a mistake. It isn’t. They’re the same culture kept at different hydrations, and each one behaves in a way that solves a specific set of problems.

    The question isn’t which is better. It’s which one fits your kitchen, your schedule, and the bread you want. Let’s break down exactly how each behaves so you can choose on purpose instead of by default.

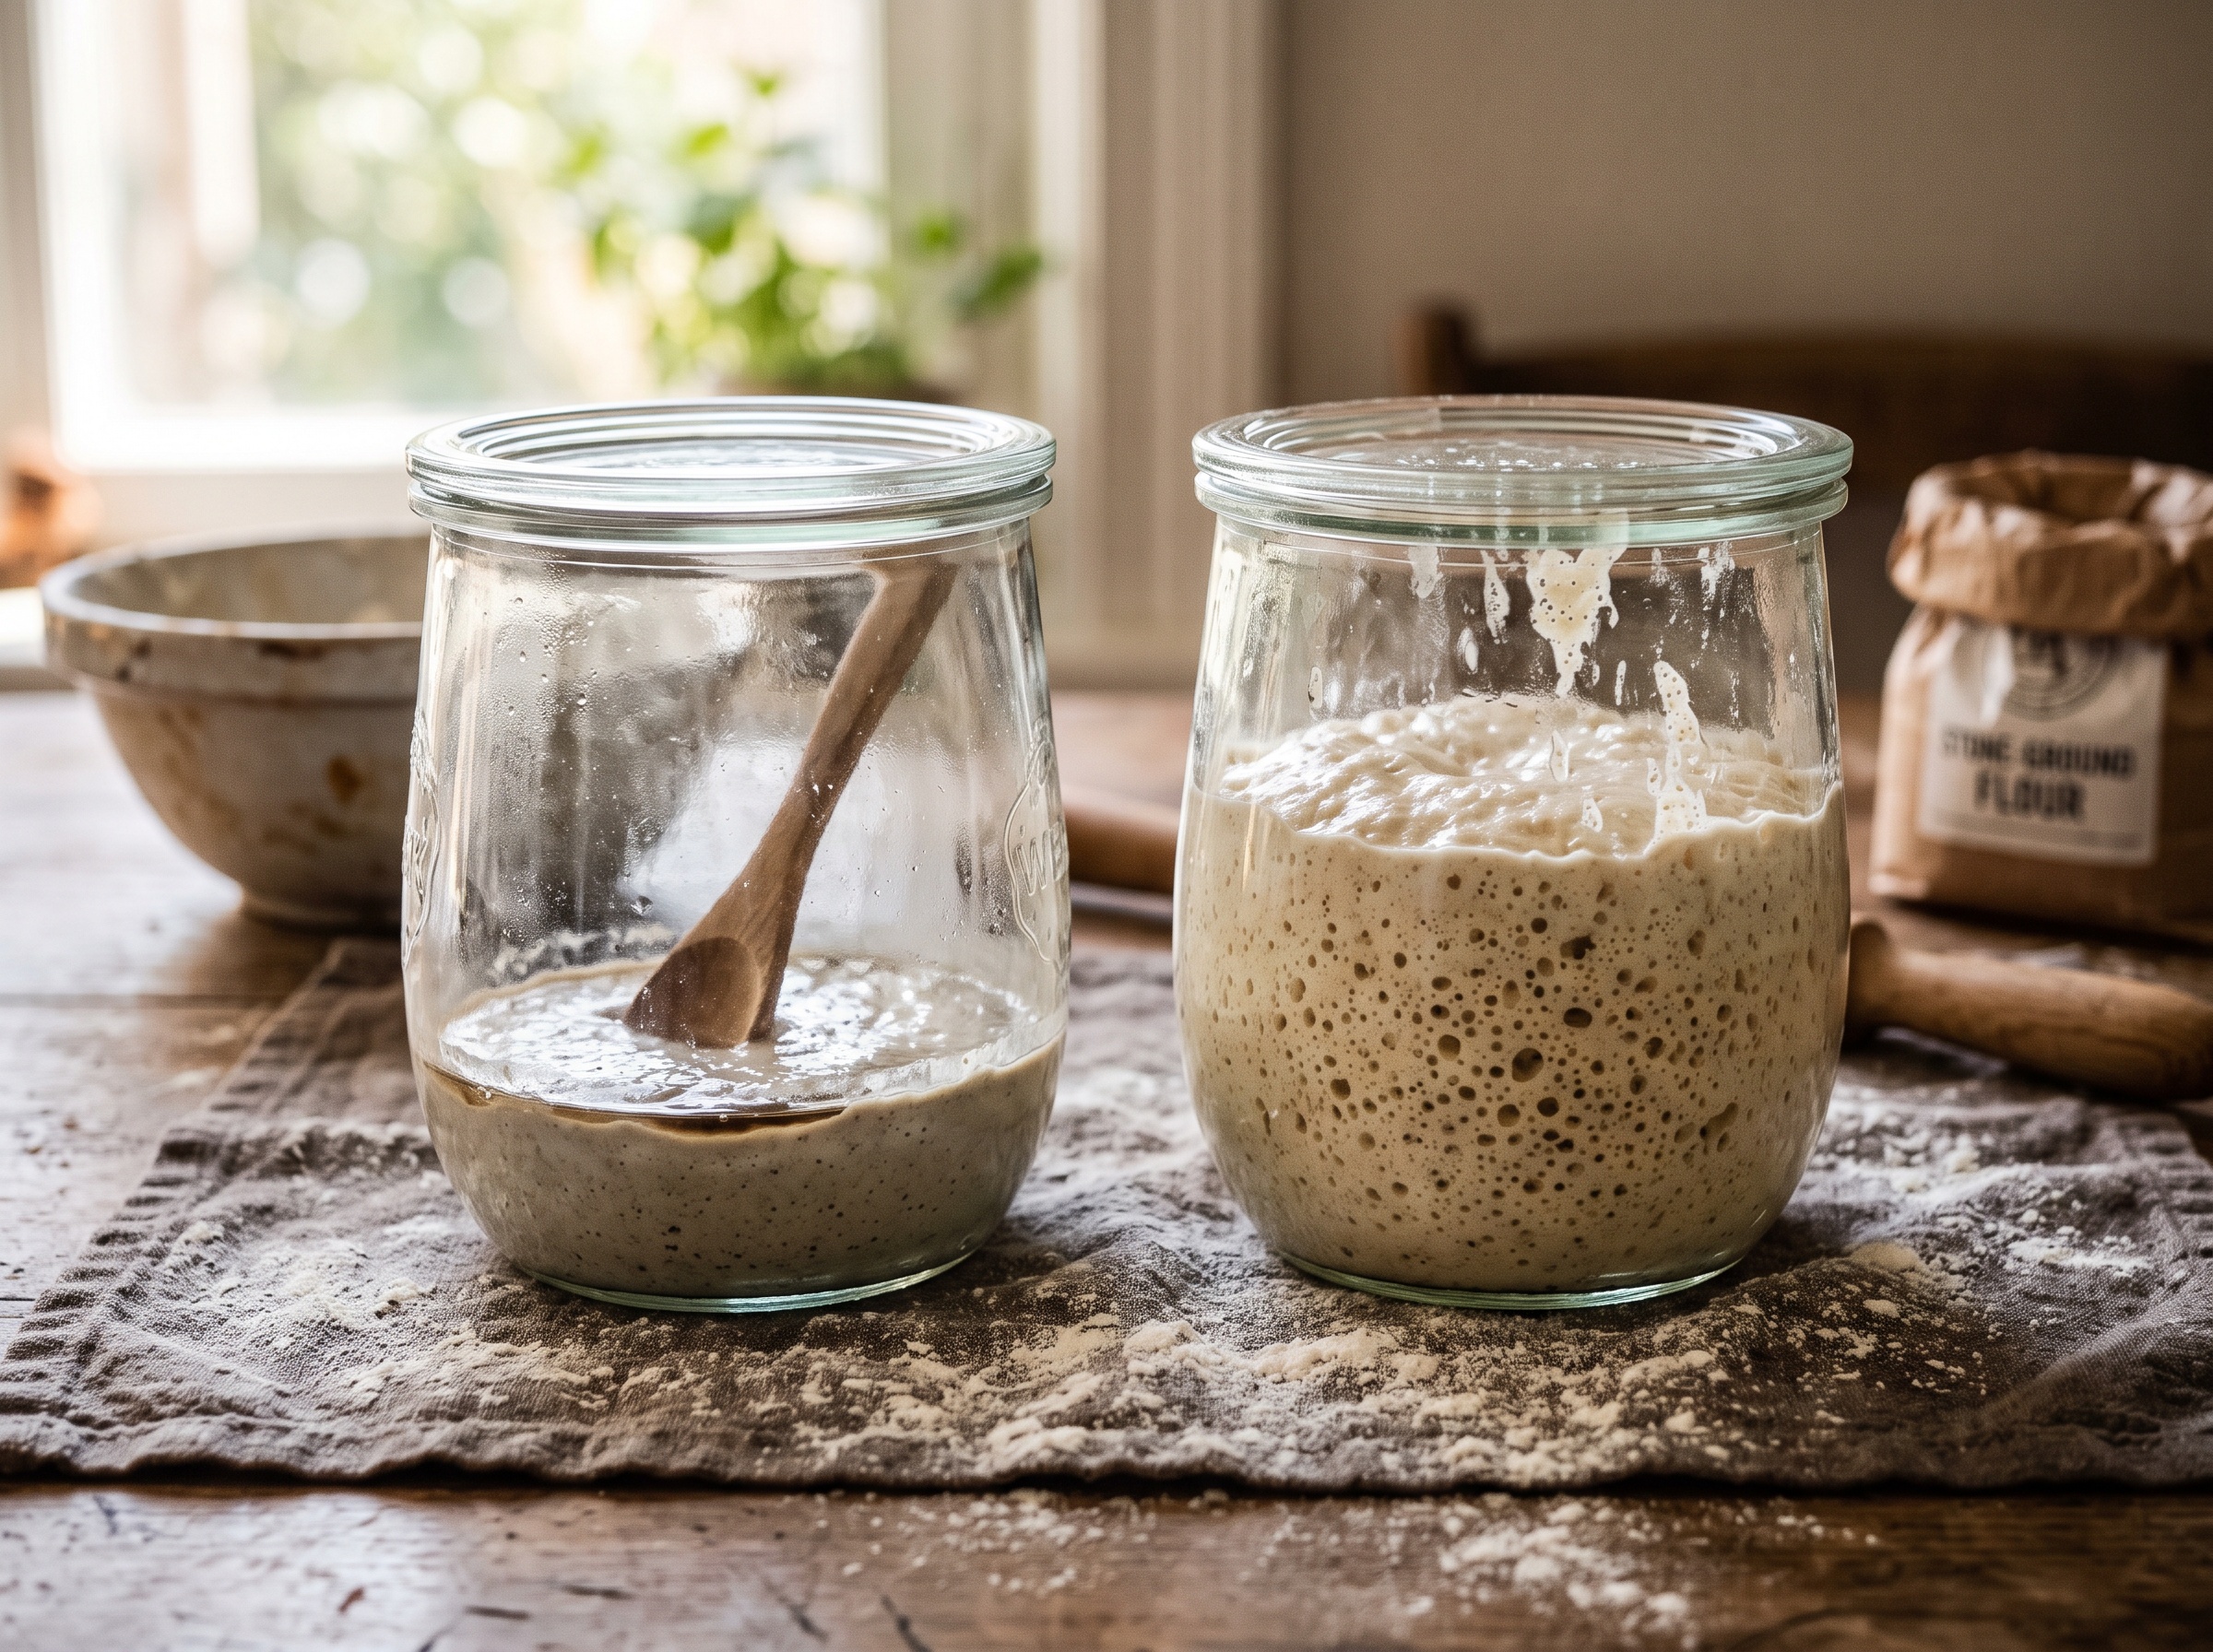
    A stiff dough-like starter beside a loose bubbly liquid starter in two glass jars
    Same culture, two textures: a stiff starter on the left, a 100% hydration liquid starter on the right.

    The Only Real Difference: Water

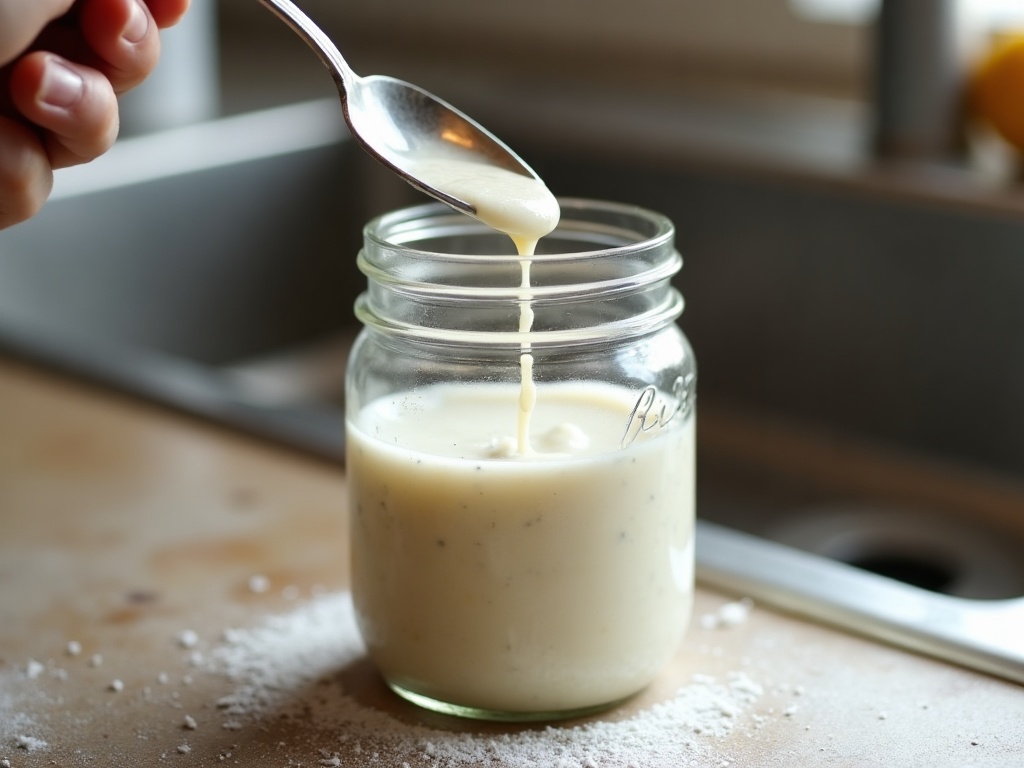
    Hydration is just the ratio of water to flour, by weight. A liquid starter is almost always kept at 100% hydration, meaning equal weights of flour and water. Feed it 50g flour and 50g water and you get that familiar thick-batter consistency you can stir and pour.

    A stiff starter is kept much drier, usually somewhere between 50% and 60% hydration. That means for every 100g of flour you add only 50 to 60g of water. The result isn’t a batter at all. It’s a firm, kneadable little ball of dough.

    Same flour, same wild yeast and bacteria, same jar. The only thing you’ve changed is how much water is in the mix. But that one change ripples out into flavor, speed, storage, and how forgiving the starter is, which is where the real decision lives.

    How a Liquid Starter Behaves

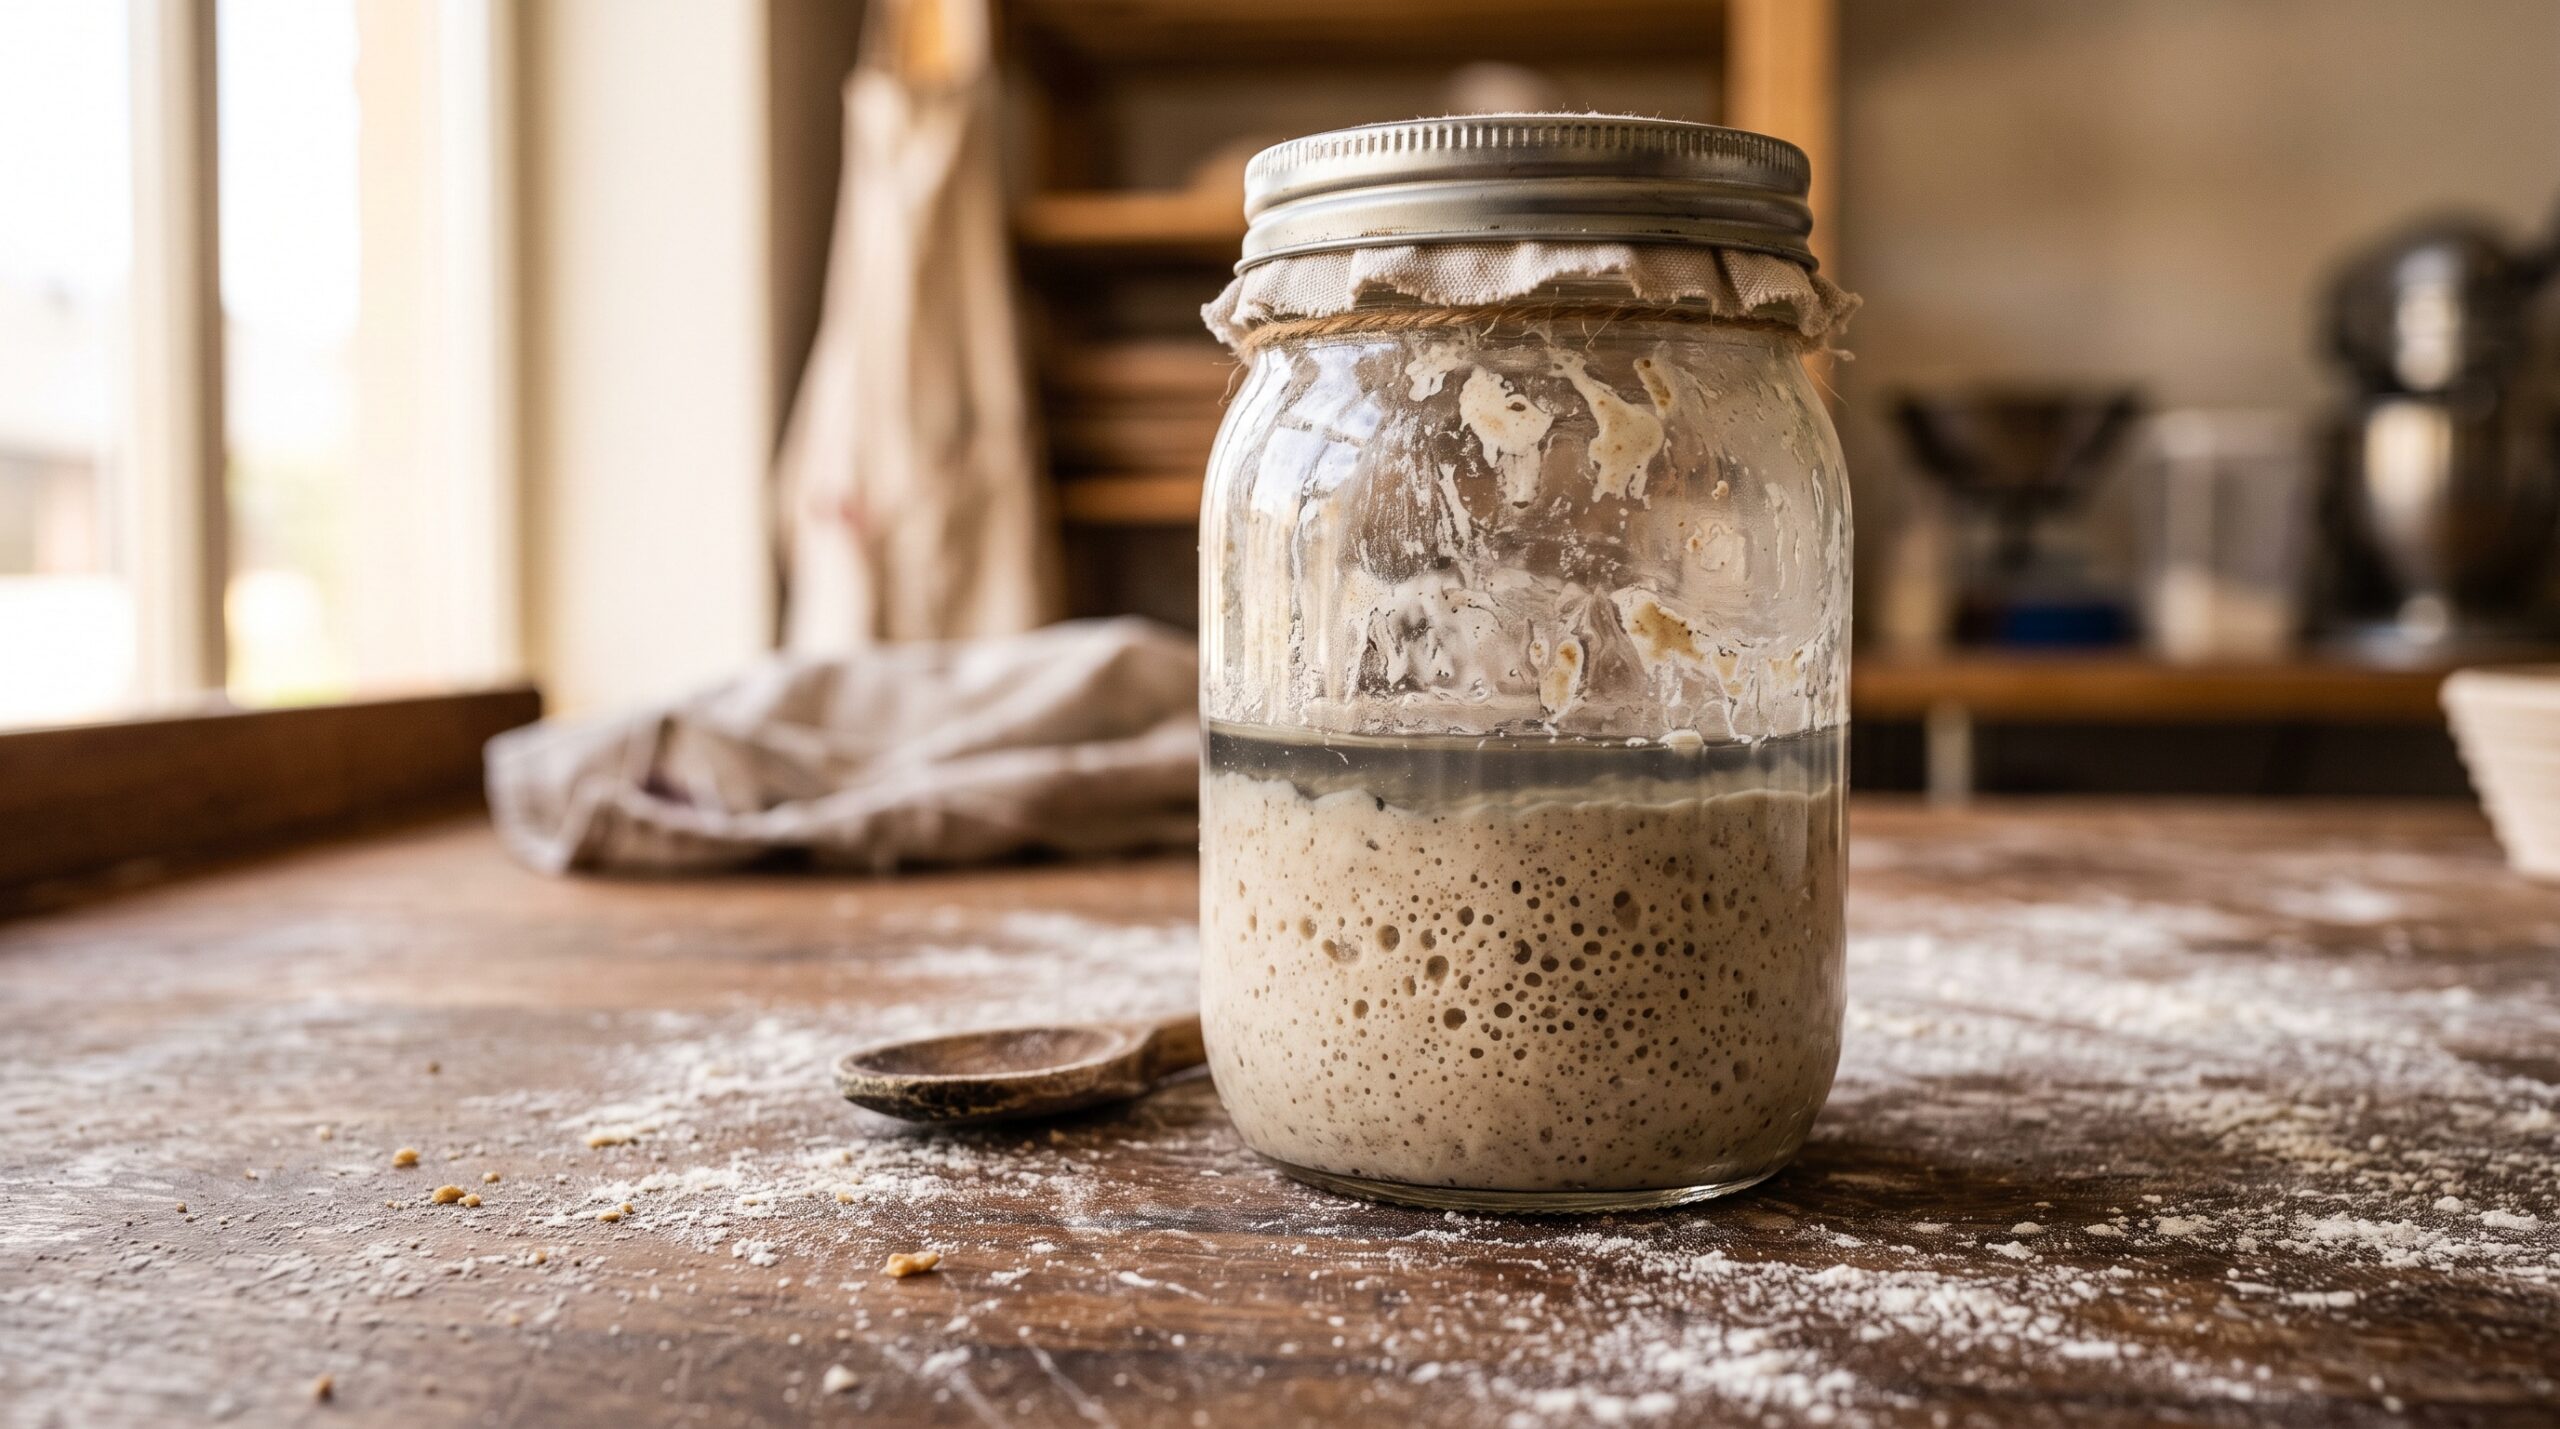
    A 100% hydration starter is the default for good reason. It’s easy to stir, easy to mix into dough, and above all, easy to read. In a wetter environment the yeast is very active, so the starter rises fast, bubbles enthusiastically, and gives you an unmistakable peak. That readability is a genuine advantage when you’re still learning to time your bake, and if you’ve ever struggled with a starter that just won’t rise, the fast, visible action of a liquid starter makes diagnosing the problem far simpler.

    The trade-offs are real, though. More water means the bacteria that produce acid are more active too, so a liquid starter tends toward a sharper, tangier, more acetic flavor, especially if you let it go a little too long. It also moves quickly, which means it runs out of food faster and can slip past its peak and collapse if you’re not watching. It’s fast and expressive, but it’s also a bit demanding.

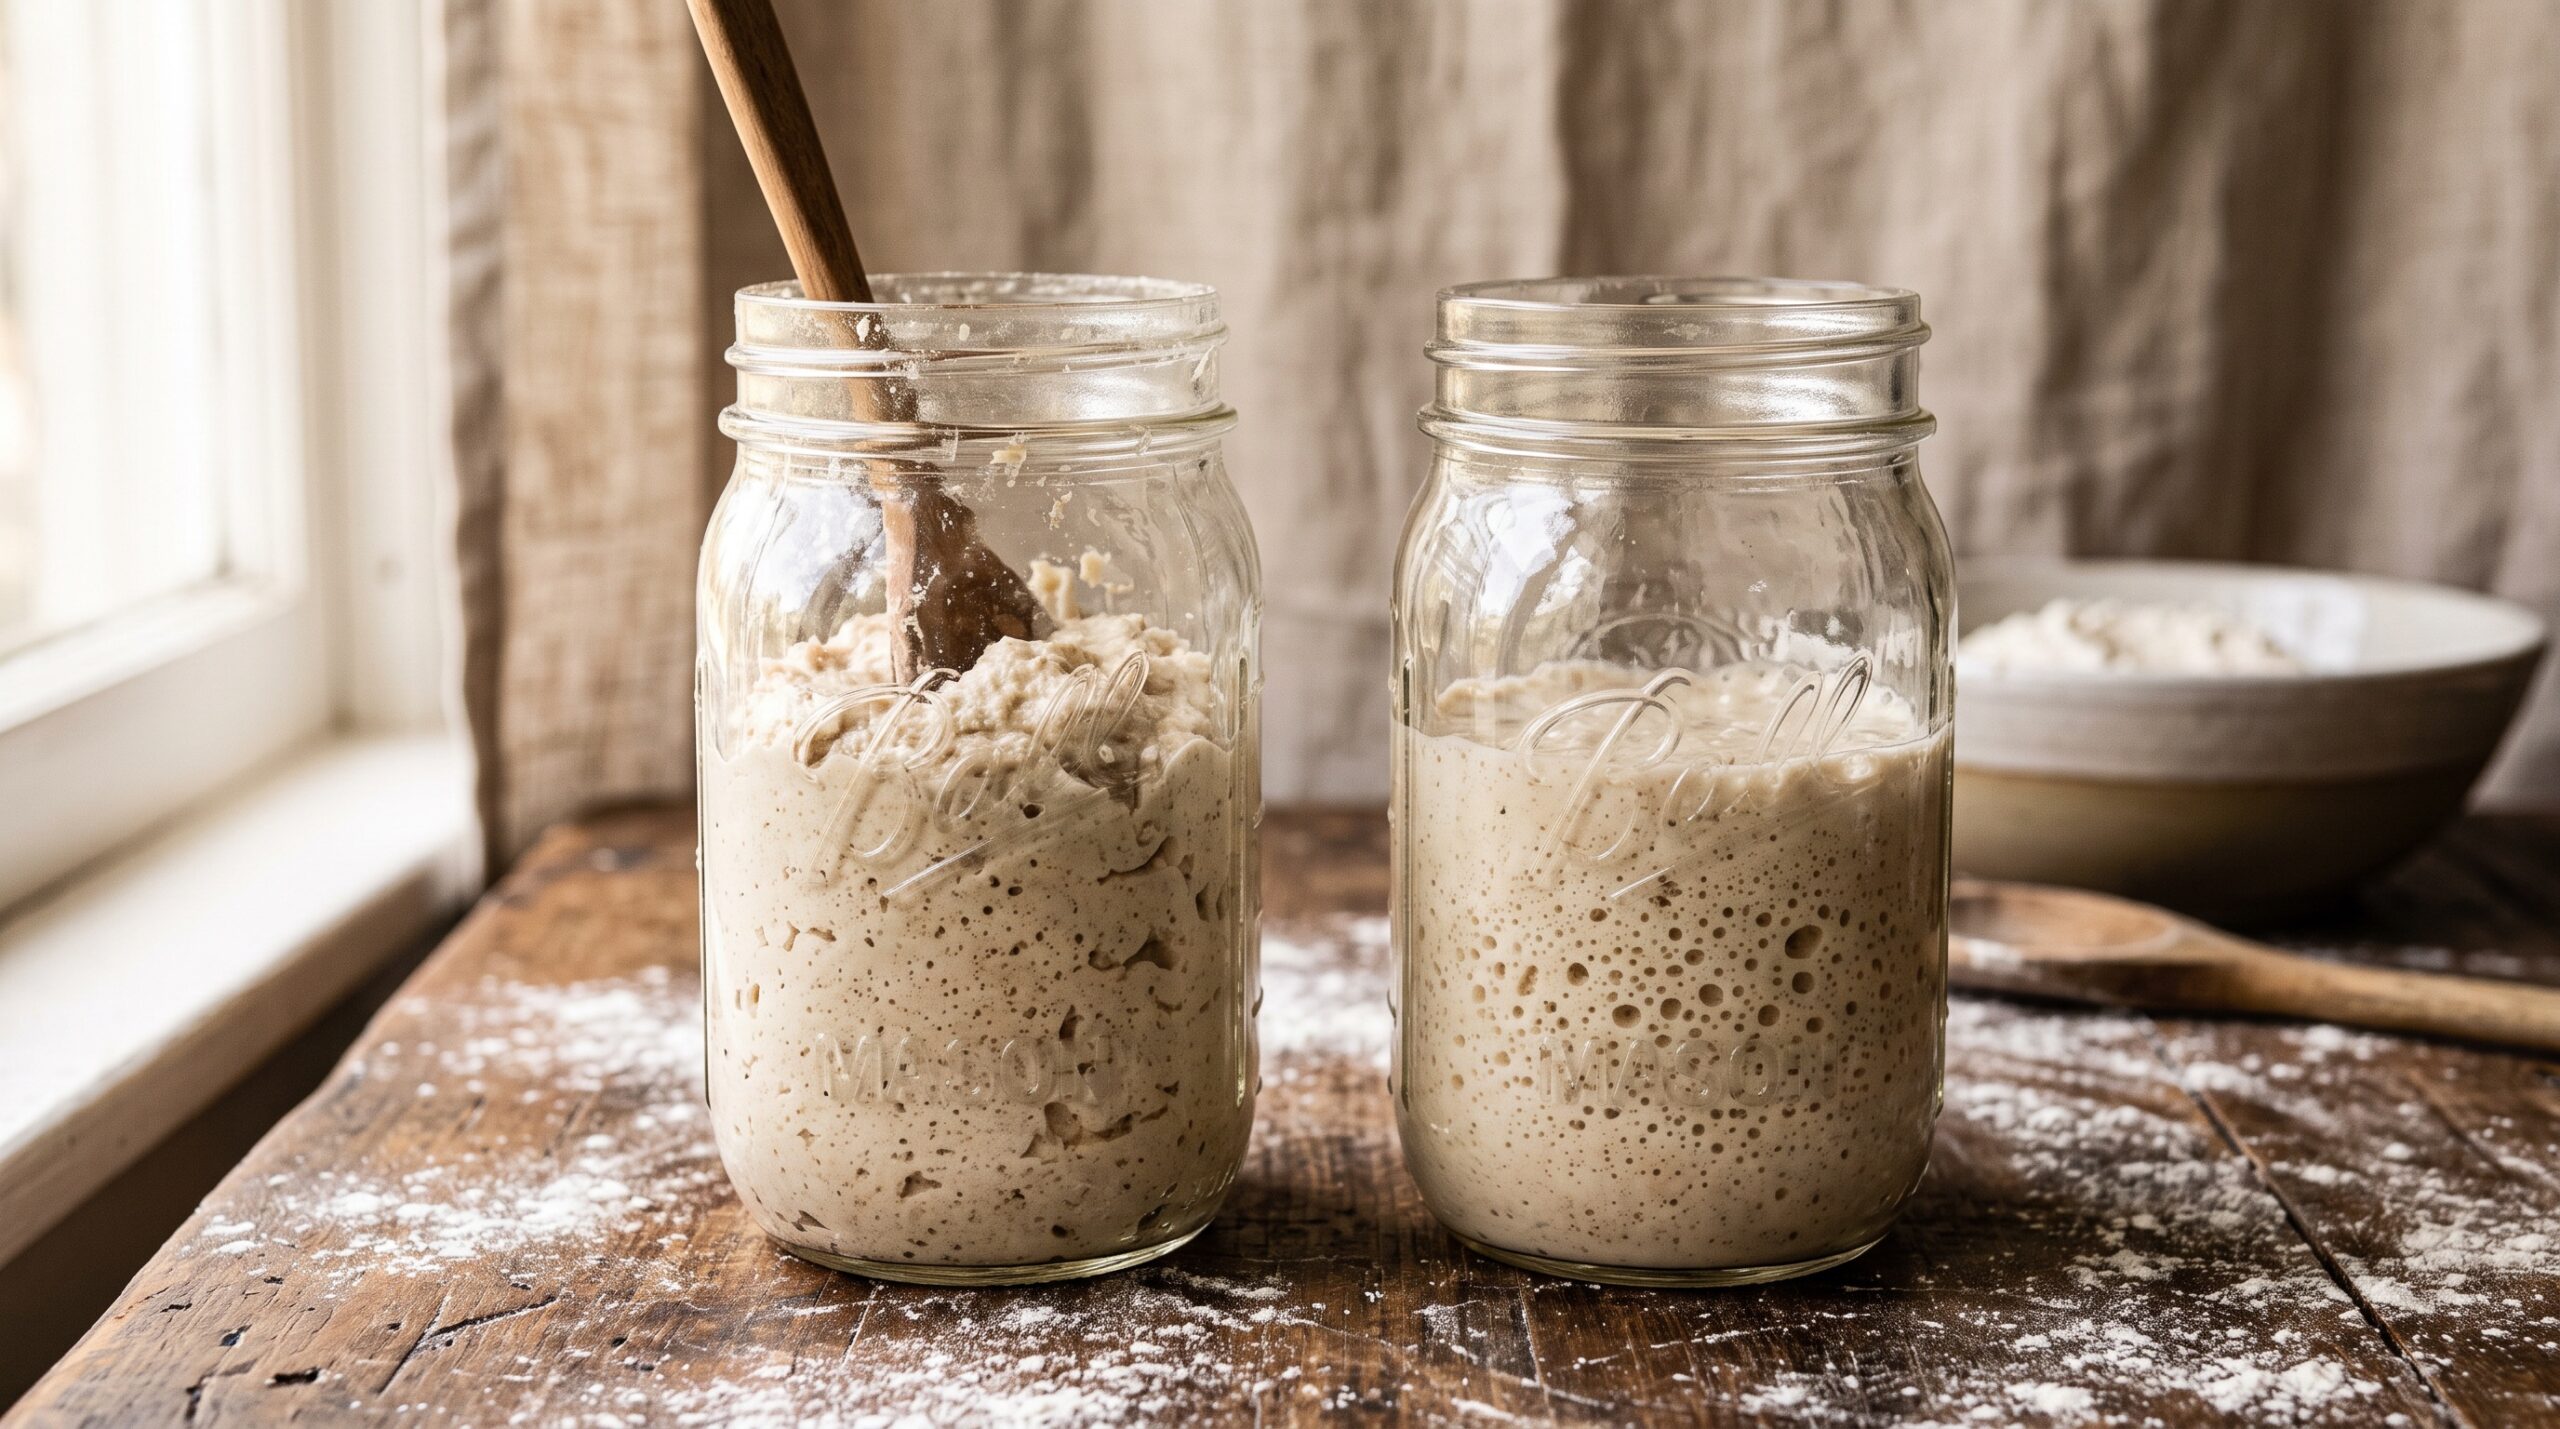
    A bubbly liquid sourdough starter at peak rise in a glass jar
    A liquid starter is quick to read: big bubbles, fast rise, a clear peak.

    How a Stiff Starter Behaves

    Take the water down and everything slows and calms. In a firm, low-hydration environment the acid-producing bacteria are held back more than the yeast, so a stiff starter ferments toward a milder, sweeter, more mellow flavor. If you’ve ever pulled a loaf from the oven and found it too sharp or aggressively sour, switching to a stiff starter is one of the most reliable ways to tame that tang at the source.

    It’s also far more patient. Because it moves slowly and holds its structure, a stiff starter is much more forgiving of an inconsistent feeding schedule. It doesn’t race to its peak and crash; it rises gently and holds there longer, giving you a wider window to actually use it. That same slowness makes it store beautifully, which we’ll come back to.

    The catch is that a stiff starter is harder to read. It won’t slosh with bubbles or dramatically double in a see-through way. You learn to judge it by a gentle dome and by tearing a piece open to check for a fine, webby honeycomb inside, rather than by watching a waterline climb a jar. And because it’s a firm dough, you have to knead your feeds together rather than stir them, which is a small extra bit of hands-on work each time.

    Side by Side: Which Solves Your Problem?

    Strip away the folklore and it comes down to what you actually need.

    • Choose a liquid starter if: you’re still learning to time your bakes and want an easy-to-read culture, you like a pronounced sour tang, you bake often enough to feed it regularly, and you want the simplest possible mix-in when building dough.
    • Choose a stiff starter if: you find your bread too sour and want a milder, sweeter crumb, your schedule is irregular and you need a culture that tolerates being neglected, you bake less frequently, or you want a starter that survives long gaps in the fridge without fuss.

    Notice that neither list is about quality. Both make outstanding bread. The lists are about your temperament and your timetable.

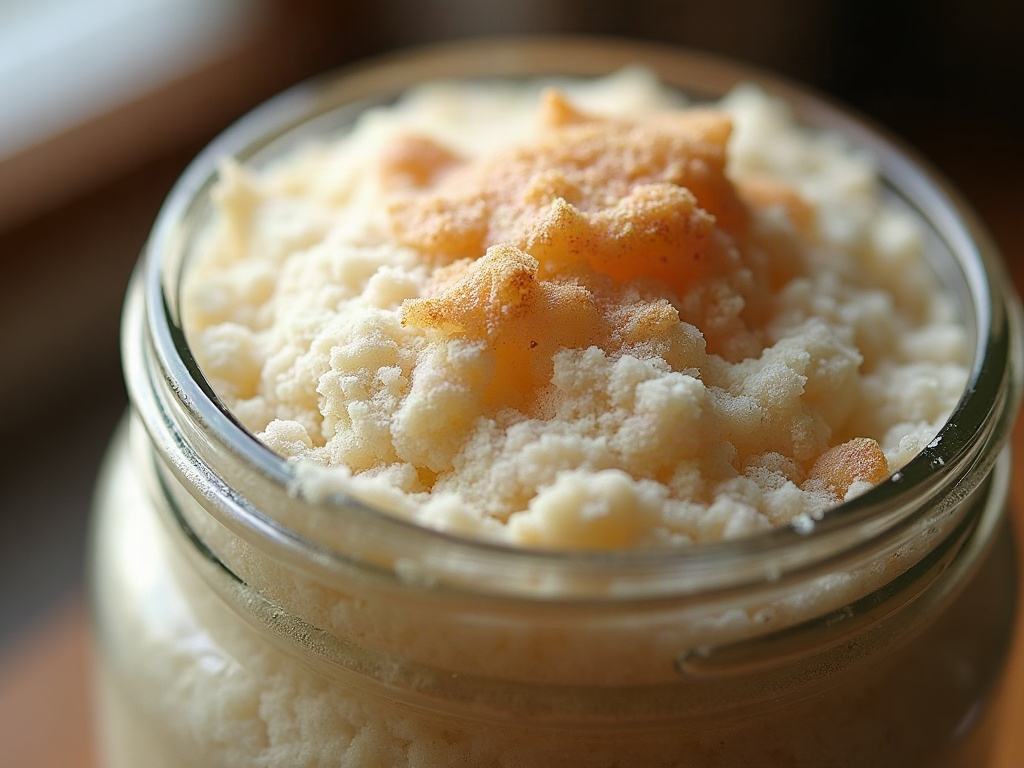
    Hands tearing a stiff starter open to show a webby honeycomb interior
    A ripe stiff starter tears open like a small dough, laced with a fine honeycomb.

    The Storage Advantage Nobody Mentions

    Here’s the practical reason many experienced and less-frequent bakers keep a stiff starter: it stores like a champion. Because there’s less water and the fermentation is slower, a stiff starter goes dormant gracefully in the fridge and can sit for a week or two, sometimes longer, without collapsing into a puddle of hooch or turning punishingly acidic.

    A liquid starter can be refrigerated too, but it tends to exhaust its food and separate faster, so it usually needs more frequent attention. If you’d like the full rundown on keeping either type alive through breaks, our guide to storing your starter through fridge stints and vacations walks through it step by step. For a baker who fires up the oven every other weekend rather than daily, a stiff starter simply asks less of you between bakes.

    Can You Switch Between Them? Yes, Easily

    The best news is that you’re never locked in. Because it’s all one culture, you can convert a starter from one hydration to the other over just a couple of feedings.

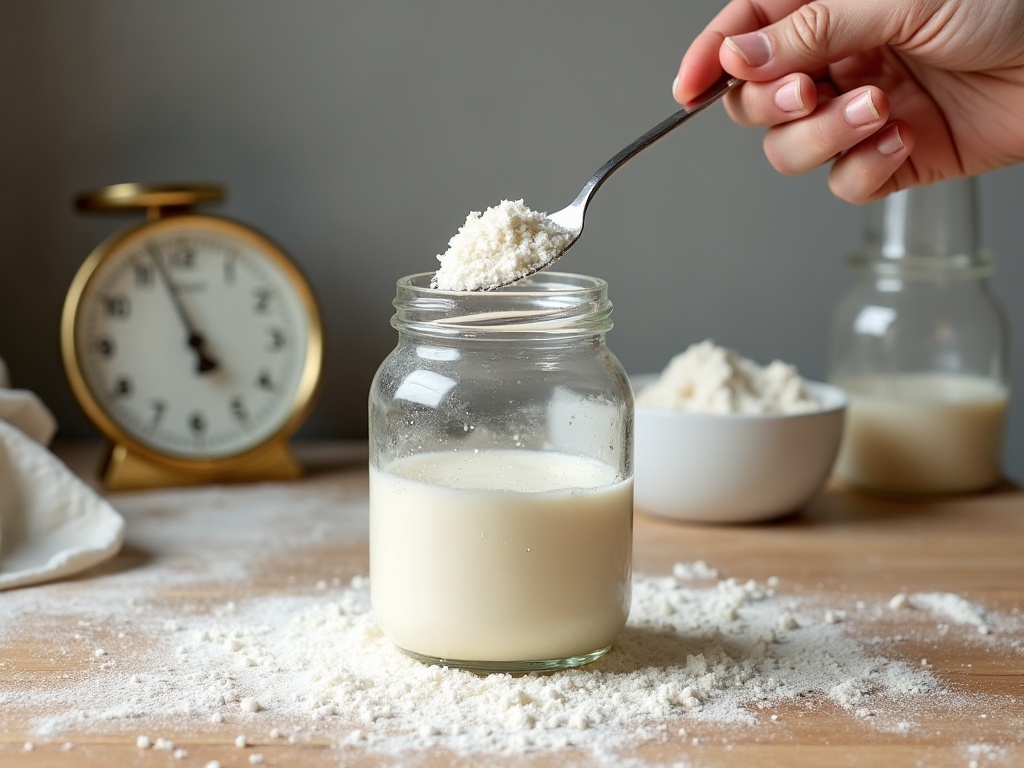
    To go from liquid to stiff, simply feed with less water. Take a spoonful of your existing starter and feed it, say, 100g flour to 55g water, kneading it into a firm ball. To go the other way, feed a piece of your stiff starter with equal parts flour and water and stir it into a batter. Give it two or three feeds at the new hydration to fully settle in and you’re done. Many bakers even keep both: a stiff starter as the resilient, low-maintenance mother in the fridge, and a small liquid offshoot built up when they want fast, readable action before a bake.

    Flat lay of flour, water, and two jars showing thick and thin starter for feeding
    The only real difference is the ratio of water to flour when you feed.

    How to Tell When Either One Is Ready

    Whichever you choose, the skill that matters most is knowing when it’s at peak and ready to build into dough. For a liquid starter the classic signs are a domed, bubbly surface at maximum rise just before it starts to recede. For a stiff starter you’re watching for a gentle swell and that honeycomb interior when you tear it. In both cases, the popular float test is a rough guide at best, not gospel; our breakdown of whether the float test really works covers the more reliable cues to trust instead.

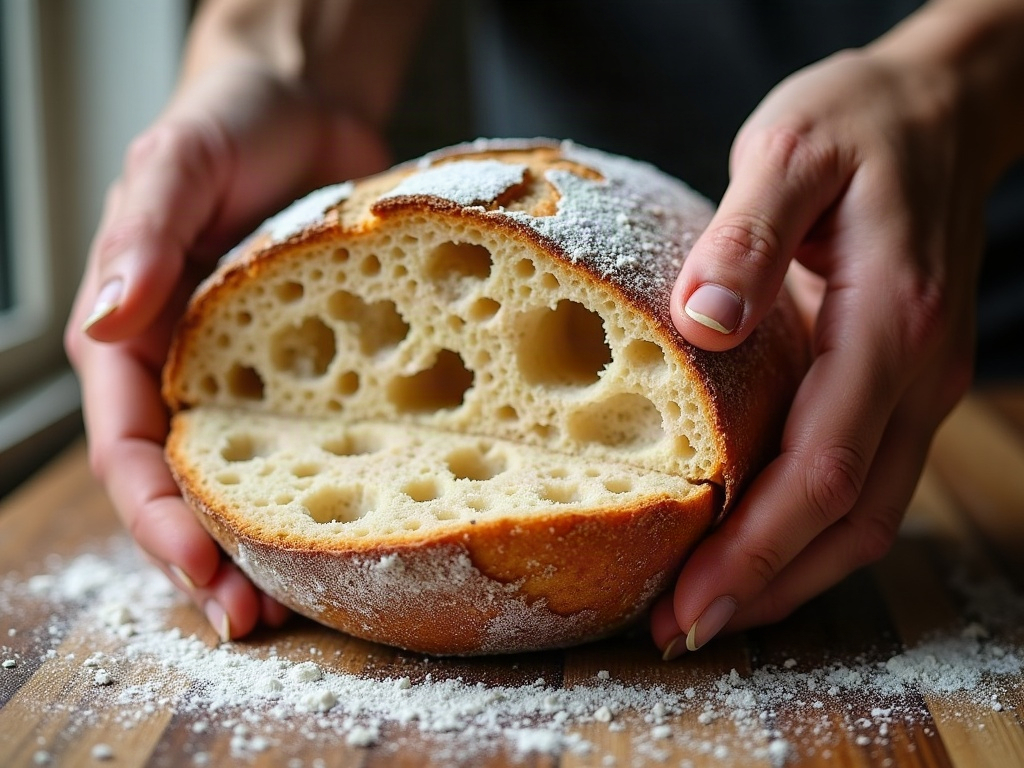
    A golden blistered sourdough boule cooling beside a jar of starter
    Both starters bake beautiful bread. The right one is the one that fits your week.

    The Bottom Line

    Stiff versus liquid isn’t a contest with a winner. A liquid starter is fast, expressive, easy to read, and a little demanding. A stiff starter is slow, mild, forgiving, and built to be left alone. Match the one you keep to the baker you actually are, not the one you think you should be, and starter maintenance stops feeling like a chore.

    If you want to see the difference in action, the full side-by-side, including how each one looks at peak and how to convert between them, lives on the LoafLovers YouTube channel. And if you’re still fighting your starter more than baking with it, grab our free sourdough troubleshooting guide, and we’ll walk you from a temperamental jar to a culture you can count on.

    Related Reading

  • Sourdough Starter Float Test: Does It Really Work — and Better Ways to Tell It’s Ready to Bake

    Sourdough Starter Float Test: Does It Really Work — and Better Ways to Tell It’s Ready to Bake

    You fed your starter this morning, and now you’re standing over the jar with a spoon and a glass of water, trying to answer the one question that stalls every bake: is it ready yet? Somewhere along the way you were taught the float test — drop a little starter in water, and if it floats, you’re good to go. It feels scientific and satisfyingly binary. The trouble is, plenty of bakers have floated a spoonful, mixed their dough with full confidence, and still ended up with a flat, dense loaf. Others have watched a perfectly healthy starter sink like a stone and panicked for no reason.

    So let’s clear this up. The float test isn’t useless, but it’s a rough, easily-fooled signal — not the reliable green light it’s made out to be. Once you understand what it actually measures, you can stop leaning on it and start reading the handful of signs that genuinely tell you a starter is at peak and ready to raise bread.

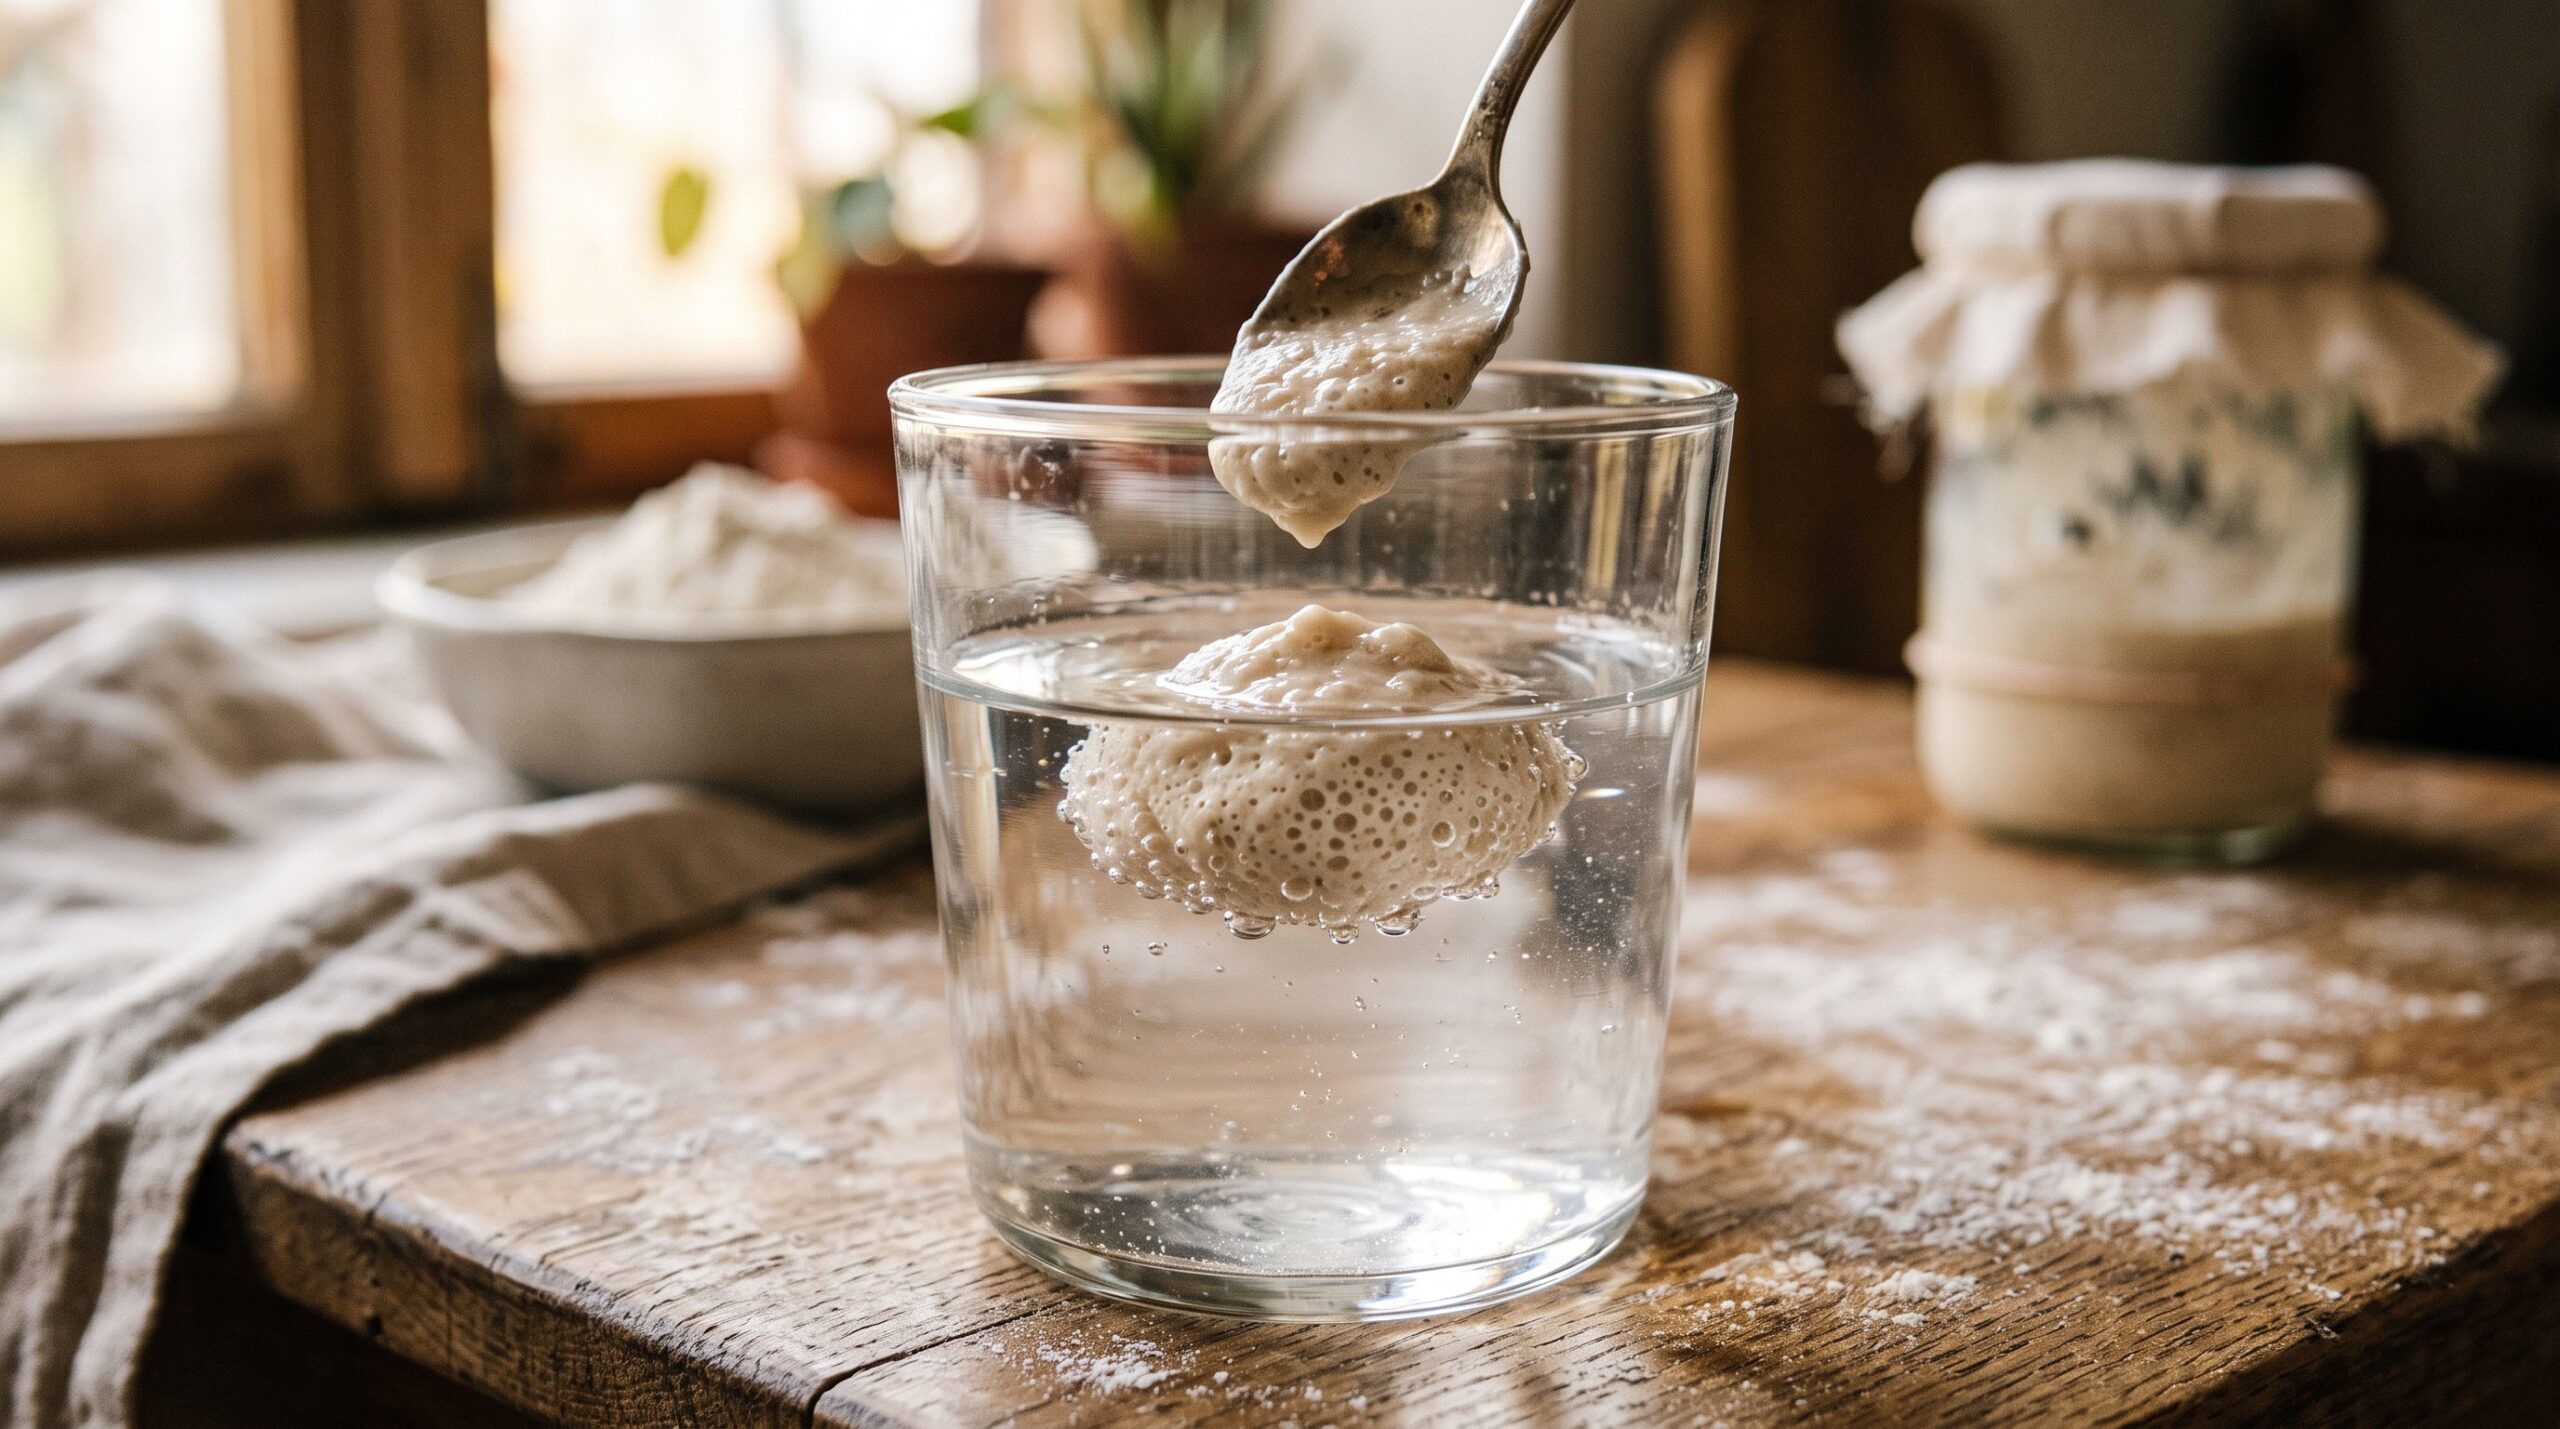
    A spoonful of sourdough starter floating in a glass of water during the float test
    The float test: a spoonful of starter dropped in water. It floats when the starter is full of gas — but a float alone doesn’t guarantee it’s at its best moment to bake.

    What the float test actually measures

    The idea behind the float test is simple physics. A healthy, active starter is full of carbon dioxide produced by the wild yeast. Gas is lighter than water, so a scoop of gassy starter traps enough of it to float. That’s the whole mechanism: the float test measures buoyancy, which is a proxy for how much trapped gas is in the starter right now.

    And that’s genuinely useful information — up to a point. A starter so lively it floats clearly has active yeast producing gas, which is exactly what you need to leaven a loaf. If your starter reliably floats when it looks bubbly and risen, there’s nothing wrong with using it as a quick confidence check.

    The problem is everything the test doesn’t tell you, and the surprisingly common ways it gives you the wrong answer.

    Why the float test fails as often as it works

    Here are the four situations where the float test quietly lies to you:

    1. A stiff or low-hydration starter can sink even at peak. The test was designed with a fairly loose, liquid starter in mind. If you keep a stiffer starter (less water, more flour), it’s denser and can sink straight to the bottom even when it’s bubbling happily and fully ready. These bakers ‘fail’ a test their starter was never built to pass.

    2. An overripe, past-peak starter can still float. This is the dangerous one. A starter that peaked hours ago and has started to collapse can still hold enough residual gas to float — while its yeast is tired, its acidity is high, and its raising power is fading. You float it, trust it, and get a sluggish rise. A float tells you gas is present; it says nothing about whether the starter is on its way up or already on its way down.

    Two jars of sourdough starter side by side, one risen and domed at peak, one collapsed past peak
    Left: a starter at peak — domed, tall, and airy. Right: the same starter past peak, collapsed and slack. Both can pass a float test, but only one is at its best for baking.

    3. Scooping degasses the sample. How you take the spoonful matters enormously. If you stir or dig down and knock the gas out of the blob before you drop it in, you can sink a starter that would otherwise float. Two bakers can test the same jar and get opposite results based purely on how gently they scooped.

    4. It tells you nothing about timing. Even a clean float only tells you about this single moment. It can’t tell you the starter peaked an hour ago, or that it’ll be even stronger in another 45 minutes. And timing — catching the starter near its peak — is the single biggest factor in whether it has the muscle to raise a loaf.

    None of this means throw the test out. It means demote it from verdict to hint, and lean on signals that actually track readiness.

    The signs that really tell you a starter is ready

    Forget the water glass for a second and just look at the jar. A starter that’s ready to bake with shows a cluster of signs together:

    • It has roughly doubled to tripled in volume. This is the headline signal. A ready starter has visibly, dramatically risen since its feed — not crept up 20%, but climbed to two or three times where it started.
    • The top is domed, then just barely flattening. As it climbs it pushes up into a dome. The very peak is when that dome is at its tallest, right before the center starts to sink. That moment is the sweet spot.
    • The surface and sides are webbed with bubbles. Look through the glass: you want an airy network of small and large bubbles throughout, not just a few lonely ones. A gassy, foamy structure means the yeast is working hard.
    • The smell has turned tangy. Fresh after feeding it smells mild and sweet, almost like raw dough. At peak it shifts to pleasantly sour and yeasty — like tangy yogurt or ripe fruit, not sharp nail-polish (that sharpness means it’s gone too far and is hungry).
    • It’s the right amount of time since feeding. A healthy room-temperature starter usually peaks somewhere around 4 to 8 hours after a feed, depending on temperature, ratio, and how strong it is. Learn your own starter’s clock and you’ll barely need any test at all.

    When most of those line up — doubled, domed, bubbly, tangy, and at its usual peak time — your starter is ready, whether or not a scoop happens to float. If those signs aren’t showing up even after a full feed cycle, that’s a different problem, and our guide to a starter that won’t rise walks through the usual culprits.

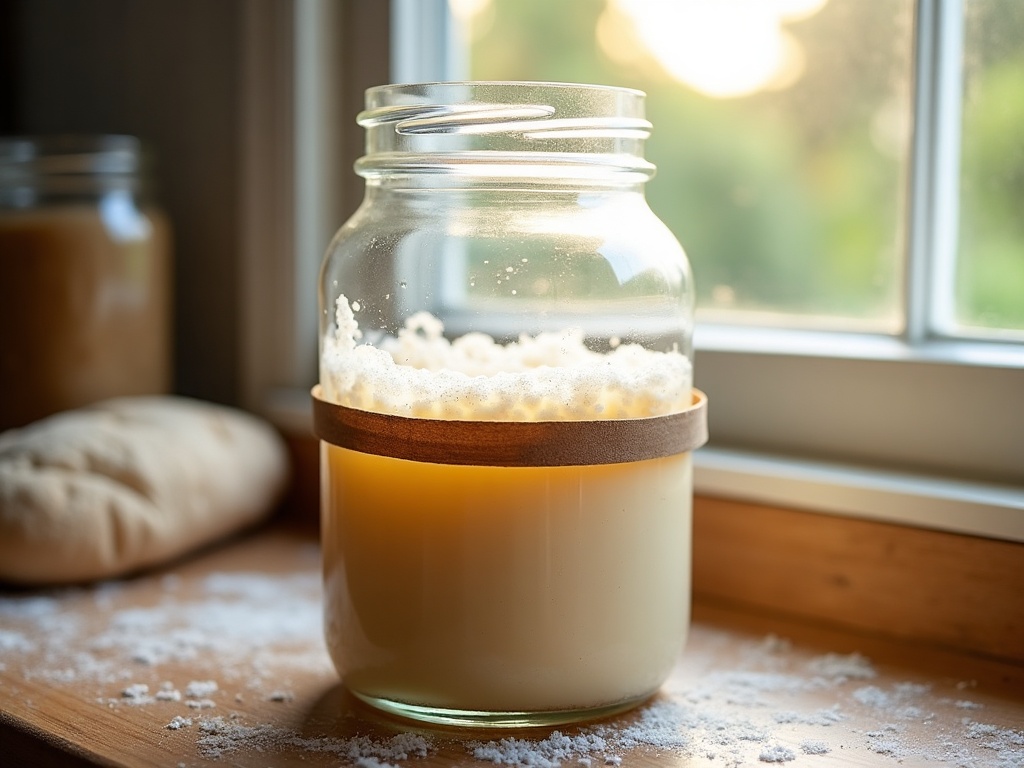
    A jar of sourdough starter risen above a rubber band that marks its post-feeding level
    The rubber-band trick: mark the level right after feeding, then watch. When the starter has clearly doubled and domed above the band, it’s near peak.

    The rubber-band method: reading rise objectively

    Eyeballing ‘doubled’ is harder than it sounds when you’re staring at the same jar all day. The fix is almost embarrassingly low-tech: a rubber band.

    Right after you feed and stir your starter, wrap a rubber band (or mark the glass with a marker or piece of tape) around the jar at the starter’s level. Now you have an objective starting line. As the hours pass, you can see exactly how far it’s climbed — no guessing. When it reaches roughly double the band and domes over, you’ve caught peak.

    This one habit teaches you your starter’s personality faster than anything else. After a few bakes you’ll know ‘it doubles the band in about six hours at my kitchen temperature,’ and you can plan around it instead of hovering. It also makes the tricky past-peak stage obvious: once the starter rises well above the band and then starts sinking back down toward it, you’ve missed the peak and it’s fading.

    Timing your feed so it peaks when you want to mix

    Here’s where readiness becomes a scheduling tool rather than a waiting game. Because a starter peaks a fairly predictable number of hours after feeding, you can work backwards. Want to mix your dough at 9 a.m.? If your starter usually peaks around six hours after a feed at room temperature, feed it around 3 a.m. — or, more realistically, feed it the night before and use a cooler spot or a smaller ratio (more flour and water relative to old starter) to slow it down so it peaks in the morning rather than overnight.

    Warmer kitchen, bigger proportion of ripe starter, or a looser mix all make it peak faster; a cooler spot, a smaller seed of starter, or a stiffer mix make it peak slower. You have real control here. Dialing in this timing is the same instinct you’ll use when judging the dough itself later — our guide on telling when bulk fermentation is done is the loaf-stage sibling to reading your starter’s peak.

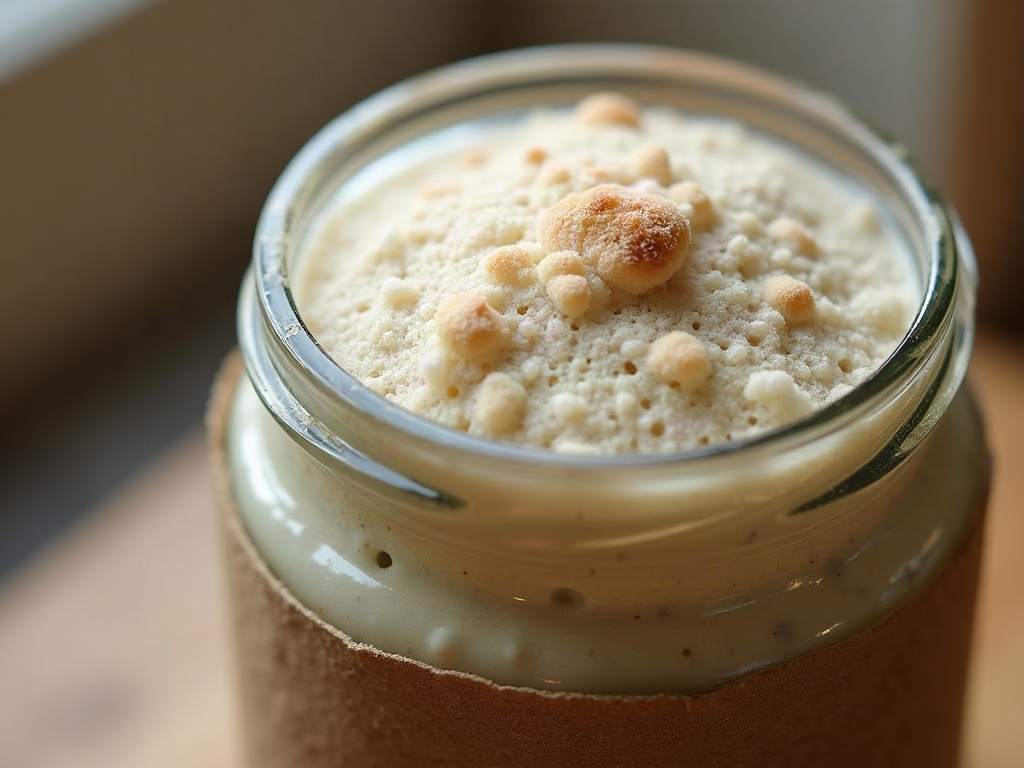
    Overhead view into a jar of peak sourdough starter showing a dense web of bubbles
    Look at the surface, not just the height. A ready starter is webbed with bubbles from edge to center — a sign the culture is gassy and active.

    Not-yet, at-peak, past-peak: reading the jar

    Once you’re watching rise and timing instead of floating spoonfuls, three clear stages emerge:

    Not yet ready. Still close to the band, only a few scattered bubbles, smells mild and sweet. It hasn’t built enough gas or population to raise a loaf well. Give it more time — impatience here is a leading cause of dense bread.

    At peak — go. Doubled to tripled, domed at its tallest, thoroughly bubbly, smell turned pleasantly tangy. This is the window. Build your levain or mix your dough now, or within the next hour or so.

    Past peak. The dome has collapsed into a dip, the surface looks slack or wet, and it may be starting to smell sharper. It’s not ruined — you can often still bake with a just-past-peak starter, and it’ll simply be a touch weaker and tangier. But if it’s fallen a long way and thrown off liquid, it’s hungry. That liquid is hooch, and it’s telling you the starter needs feeding before it’s baking-strong again; here’s exactly what the liquid on your starter means and what to do about it.

    When your starter never seems to get there

    If you’re doing all of this and the starter still won’t reliably double, dome, and get bubbly, the issue isn’t your testing method — it’s the starter’s health or its environment. The usual fixes are warmth (most home kitchens are cooler than a starter wants; aim for the mid-70s°F / low-20s°C), consistency (feed on a regular schedule with a good ratio so the yeast population stays strong), and patience with a young or recently-stored culture that simply needs a few vigorous feeds to hit full strength. A starter coming out of the fridge, in particular, is dormant and needs a warm feed or two before it’s ready — which is why our guide to storing your starter ends every long break with a wake-up routine, not a straight-to-bake shortcut.

    The quick starter-readiness cheat-sheet

    • Float test: a hint, not a verdict — a float means gas is present, nothing more. Don’t bake on it alone.
    • The real green light: doubled-to-tripled, domed at its tallest, bubbly throughout, smell turned tangy, at its usual peak time.
    • Use a rubber band to mark the post-feed level so ‘doubled’ is a fact, not a guess.
    • Catch it near peak — on the way up and domed, not fallen and slack.
    • Time the feed backwards from when you want to mix; adjust with temperature and ratio.
    • Never ready? Warmer spot, consistent feeding, and a couple of strength-building feeds — not a better float test.

    The float test isn’t the enemy; over-trusting it is. Once you learn to read the rise, the dome, the bubbles, the smell, and the clock, you’ll know your starter is ready with a glance — no water glass required — and you’ll catch that peak window that makes the difference between a proud, open loaf and a dense, disappointing one.

    Hands lifting airy, bubbly sourdough starter from a jar with a spoon, ready to build into a levain
    Ready to bake: light, airy, and full of bubbles. When your starter looks and behaves like this near its peak, it has the strength to raise a loaf.

    Want to see the difference between a not-yet, at-peak, and past-peak starter in real time — and watch a float test pass and fail on the very same jar? The full walkthrough lives on the LoafLovers YouTube channel, and our free sourdough troubleshooting guide lays out the readiness signs and feed-timing math side by side. Grab it, mark your jar, and bake the next loaf right on cue.


    Sources & further reading:

    Related Reading

  • How to Store Your Sourdough Starter: Fridge, Long Breaks, and Vacations

    How to Store Your Sourdough Starter: Fridge, Long Breaks, and Vacations

    One of the quiet anxieties of keeping a sourdough starter is the feeling that you’ve adopted a needy pet — that if you skip a day, or go away for a weekend, you’ll come home to a dead jar and have to start the whole seven-day ritual over again. It’s the reason a lot of people give up on sourdough entirely. So let’s put the worry to rest: you do not have to feed a healthy starter every single day, and it is much harder to kill than you think. The trick is simply knowing how to store it for the length of break you’re taking.

    A mature starter is a robust little ecosystem of wild yeast and lactic acid bacteria. Cold slows it down; drying pauses it; neither one kills it outright. Once you understand the three storage modes — everyday fridge, a couple of weeks off, and a long month-plus break — you can put your starter down and pick it back up on your schedule instead of its own.

    A jar of bubbly sourdough starter on a wooden counter next to an open fridge, ready to be chilled
    The everyday move: feed your starter, let it get lively, then park it in the fridge. You do not have to feed it every day to keep it alive.

    First, know this: your starter is tougher than it looks

    Before the how-to, the mindset. An established starter (say, a few weeks old or more) has built up a large, competitive population of yeast and bacteria that fend off spoilage organisms. That acidity is a shield. Left alone, it will get hungry, throw off a layer of liquid, smell sharp, and look sad — but “hungry and neglected” is a totally different state from “dead.” Genuinely dead is rare, and usually means fuzzy mold or a pink/orange streak, not just a funky smell or dark liquid.

    So as you read the storage methods below, don’t treat them as life support. Think of them as a pause button. The worst that usually happens after a break is that your starter needs a feed or two to get its strength back before it’s ready to raise a loaf — and that’s a routine wake-up, not a resurrection.

    Everyday storage: the fridge method

    If you bake roughly once a week or every couple of weeks, the fridge is your home base, not the counter. Cold drops the metabolism of the yeast and bacteria to a crawl, which means instead of feeding daily you feed weekly — or even stretch a bit longer.

    The routine is simple. Keep your starter in a jar with a lid that’s on but not airtight (a screw-top rested on, or a jar with a little vent, so gas can escape). Once a week or so, take it out, discard most of it, feed what’s left with fresh flour and water, let it sit out for an hour or two to start waking up, then return it to the fridge. That’s it. Many bakers happily go 10–14 days between feeds this way. The starter will separate and develop hooch between feedings — that’s expected and fine.

    How much to keep is up to you. A small starter (a tablespoon or two fed up to maybe half a cup) wastes less flour and is easy to store; you just build it up to the amount your recipe needs a day or two before you bake.

    The timing that actually matters: feed, then chill

    Here’s the single most useful detail, and the one people get wrong: don’t refrigerate a hungry starter. If you feed your starter and immediately shove it into the cold, the yeast never really gets going and it can come out of the fridge weak. If you let it sit out too long and go completely flat and starving before chilling, you’re storing it on empty.

    The sweet spot is to feed it, let it sit at room temperature until it’s clearly active and beginning to rise — bubbly and on its way up, not yet collapsed — and then put it in the fridge. You’re banking it with a full tank and live, active organisms. This one habit is the difference between a starter that bounces back from the fridge in a single feed and one that sputters for days. If yours tends to come out of the cold sluggish and slow to rise, this timing fix — plus the warm wake-up below — is usually the cure, and our guide to a starter that won’t rise covers the other culprits.

    Hands feeding a sourdough starter with flour and water before refrigerating it
    Feed first, chill second. A starter that goes into the cold with fresh food in the tank keeps far better than a hungry one.

    Coming back from a week or two: the wake-up routine

    You’ve had it in the fridge and now you want to bake. Don’t try to use it straight from the cold — a fridge starter is dormant and won’t have the lift to raise a loaf yet. It needs waking up.

    Pull it out the day before you plan to bake. You’ll often find a layer of liquid on top and a boozy, sharp smell. Stir the liquid back in or pour it off, discard most of the starter, and give it a fresh feed at room temperature. Within 4–8 hours it should be bubbly and rising; give it a second feed if it’s still slow. The classic readiness check is the float test — drop a small spoonful in water, and if it floats, the yeast has produced enough gas to leaven bread. Once it’s passing that and roughly doubling in a few hours, it’s back to full strength and ready to build into a levain.

    If it comes out looking rough, that’s normal for a couple of weeks in the cold. One or two warm feeds fixes almost everything.

    A cold jar of sourdough starter with a layer of dark hooch liquid on top after time in the fridge
    A dark liquid on a chilled starter is hooch — a sign it got hungry, not that it died. Stir it in or pour it off, then feed.

    What hooch and smells mean while it’s stored

    Storage always comes with some drama on the surface of the jar, and it’s worth knowing what’s harmless. That thin layer of gray-to-brown liquid is hooch — alcohol and water the starter releases when it’s hungry. It’s a message that says “feed me,” not a death notice. You can stir it in for a slightly tangier starter or pour it off for a milder one, then feed as normal. We break down exactly what the liquid on your starter is telling you if you want the full picture.

    Smell follows the same logic. A stored starter that goes sharp, vinegary, or acetone-like (think nail-polish remover) is simply very hungry and heavy on acid and alcohol — a few feeds will mellow it right back to a pleasant yogurty tang. What you’re watching for instead is real spoilage: fuzzy mold in any color, or pink/orange streaks. Those mean discard and start over. A funky smell and dark liquid do not.

    Long breaks: a month or more (and a vacation backup)

    Going away for several weeks, or want a safety net in case life gets busy? You have a couple of reliable options beyond the fridge.

    Just leave it in the fridge. A well-established starter can survive a surprisingly long stretch cold and unfed — several weeks, sometimes more — and revive with patience. It’ll build up a lot of hooch and get sharp, but it’s usually recoverable with two or three days of feeding. This is the no-effort choice for a long vacation: feed it, chill it, walk away.

    Dry it for shelf-stable insurance. The safest long-term move is to dry some starter. Smear a thin layer of active starter on parchment, let it dry completely into brittle flakes, then crack it into pieces and store them sealed in a cool, dark spot — they keep for months, even years. To bring it back, rehydrate the flakes with water and flour and feed over a few days. Because these flakes are a dormant backup, drying a little starter whenever yours is thriving is smart insurance against ever losing your culture. You can also freeze a portion of starter; it survives freezing well and thaws back into service with feeding.

    Dried sourdough starter cracked into flakes on parchment beside a small storage jar
    For a long pause, dry a thin layer of starter into flakes. Sealed and stored cool, they are shelf-stable insurance you can rehydrate months later.

    When it’s truly neglected — and when to start over

    Sometimes a break turns into months you didn’t plan, and you open the fridge to a jar of dark liquid over a gray, lifeless paste that smells aggressively of solvent. Don’t panic and don’t bin it on sight. Pour off the hooch, scoop out a spoonful of the least-sad starter from the middle, and start a rescue: feed it small amounts once or twice a day in a warm spot and give it several days. Most neglected starters claw their way back — our full walkthrough on reviving a neglected starter takes it step by step.

    The genuine start-over cases are narrow: visible fuzzy mold, pink or orange discoloration, or a starter that shows zero activity after a solid week of consistent warm feeding. Short of those, storage problems are almost always fixable with time and flour. And if you did keep a jar of dried flakes as backup, this is exactly the moment they earn their keep.

    The quick starter-storage cheat-sheet

    • Baking weekly? Keep it in the fridge, feed roughly once a week, no daily feeding needed.
    • Always feed then chill — refrigerate an active, rising starter, never a hungry, collapsed one.
    • Back from 1–2 weeks off? Discard, feed warm, wait for bubbles and a float test before baking; feed twice if slow.
    • Hooch or a sharp smell? Harmless hunger — stir in or pour off, then feed.
    • Away a month or more? Leave it chilled, or dry a thin layer into flakes (or freeze some) for shelf-stable backup.
    • Mold or pink/orange streaks? That’s the one time to discard and start fresh.

    Once you’ve got these three modes in hand, a starter stops being a daily obligation and becomes what it should be: a tool that waits patiently for you. Store it right and you can bake on your schedule, take a vacation without guilt, and always have a lively culture ready when the mood strikes.

    A sourdough starter risen and domed with healthy bubbles after being woken up from storage
    Back to life: after one or two warm feeds, a well-stored starter wakes up domed, bubbly, and ready to bake.

    Want to see the feed-then-chill timing and the wake-up feed in real time — including exactly what an active, ready-to-store starter looks like versus a hungry one? The full walkthrough lives on the LoafLovers YouTube channel, and our free sourdough troubleshooting guide lays out the storage and revival routines side by side. Grab it, park your starter with confidence, and come back to bake whenever you’re ready.


    Sources & further reading:

    Related Reading

  • Hooch on Your Sourdough Starter: What the Liquid Means and Exactly What to Do

    Hooch on Your Sourdough Starter: What the Liquid Means and Exactly What to Do

    You lift the lid, and there it is: a thin layer of grayish liquid sitting on top of your starter, sometimes with a smell somewhere between beer and nail polish. It looks like something has gone wrong. Your first instinct is to panic and assume the starter is dead or spoiled.

    It almost certainly is not. That liquid is called hooch, and it is one of the most common things a starter does. The good news: it is not a crisis, it is a message. Once you can read what it is telling you, you know exactly what to do – and how to stop it happening in the first place.

    A glass jar of sourdough starter with a thin layer of gray hooch liquid pooled on top
    Hooch is that thin liquid layer on top – a hungry starter’s way of telling you it is overdue for a feeding.

    What Hooch Actually Is

    Hooch is a layer of liquid that separates out and rises to the top of a starter (occasionally it sinks or pools in the middle instead). It is mostly water, along with a small amount of alcohol and acids produced by the yeast and bacteria in your starter as they ferment.

    Here is the plain-language version of what happened: your starter ran out of food. The wild yeast and bacteria ate through the available flour, kept fermenting, and as a byproduct released alcohol and acid. That is the sharp, boozy, sometimes acetone-like smell. The liquid is simply the visible sign that fermentation went long and hard without a fresh meal.

    So hooch is not mold. It is not rot. It is not a sign you did something unforgivable. It is a hungry starter telling you it is overdue.

    The One Thing Hooch Almost Always Means

    Ninety percent of the time, hooch means the same thing: your starter is underfed relative to how warm it is and how often you feed it.

    That can happen for a few reasons, and they usually overlap:

    • Too long between feedings. You fed it, life happened, and it sat for a day or three past its window.
    • It is warm. Heat speeds fermentation. A starter that is fine on a 68 degree counter can burn through its food and throw hooch in half the time during a hot week.
    • The feeding ratio is too small. If you feed a big jar of starter a tiny amount of flour, it eats through it fast and gets hungry again quickly.

    A starter kept in the fridge will also form hooch over a week or two – that is completely normal and expected. Cold slows the microbes down, but it does not stop them, so a fridge starter that has been resting for a while will often have a liquid layer when you pull it out. That is not neglect, that is just storage.

    Two jars compared: a healthy risen starter on the left and a flat starter with hooch on the right
    Healthy and hungry, side by side: the flat, liquid-topped jar on the right needs feeding, not rescuing.

    Read the Hooch Before You Act

    Before you decide what to do, look at two things: the color of the liquid and the smell. They tell you how hungry the starter got.

    Thin, light, and slightly tangy or beery. This is a mildly hungry starter. It is in good shape and just wants feeding. The hooch is often clear to pale.

    Darker – gray, brown, or almost black – with a sharp alcohol or acetone smell. This is a very hungry starter that has been left much too long. The starter is still almost always fine and revivable, but the flavor has gone extremely acidic and boozy, and you do not want all of that back in your dough.

    The color is a fuel gauge, not a spoilage alarm. Darker just means hungrier and more acidic. As long as you see no fuzzy mold (pink, orange, or green fuzz) and no truly foul, rotting smell, the starter itself is healthy underneath.

    Pour It Off, or Stir It In?

    This is the question everyone actually wants answered, and the honest answer is: it depends on the hooch you just read.

    Stir it in when the hooch is thin, light-colored, and smells normally tangy. It is mostly water plus a little acid and alcohol, and stirring it back adds a touch of extra sourness and hydration. Many bakers who like a tangier loaf do this on purpose.

    Pour it off when the hooch is dark and smells sharply of alcohol or acetone. In that case you do not want to fold all that harsh acidity back into the culture – pour off the liquid, then feed. You will lose a little sourness and gain a cleaner, more balanced starter.

    Either way, the pour-off-or-stir-in decision changes flavor at the margins. It does not save or kill the starter. The feeding that comes next is what actually matters.

    A hand pouring the hooch liquid off the top of a sourdough starter jar
    Dark hooch and a sharp smell? Pour it off before feeding rather than stirring it back in.

    The Fix: Feed It Back to Health

    Whether you stirred or poured, the recovery is the same simple sequence. If the starter has been badly neglected, you may need to repeat it once or twice.

    1. Discard down to a small amount. Keep only a spoonful or two (roughly 20 to 50 grams). Feeding a smaller amount with a generous ratio is what pulls a hungry starter back fast.
    2. Feed it a strong ratio. A 1:5:5 feeding – one part starter to five parts flour to five parts water by weight – gives it plenty of fresh food. For a very hungry, dark-hooch starter, this generous ratio is exactly what it needs.
    3. Keep it warm. Somewhere around 75 to 80 degrees helps it wake up and rise predictably.
    4. Watch for the rise, then feed again. Once it roughly doubles and looks bubbly and domed, feed it again. Two or three feedings on this rhythm will bring even a sad, hooch-covered starter back to a healthy, reliable rise.


    A spoon stirring a light layer of hooch back into a pale sourdough starter
    A thin, light hooch with a normal tang can simply be stirred back in – it is extra flavor and hydration.

    How to Stop Hooch Coming Back

    Hooch is not something you fix once – it is something you prevent with a rhythm. A few small habits and it stops showing up uninvited:

    • Feed on a schedule that matches your temperature. On a warm counter, that may mean twice a day; cooler, once a day. If you are not baking often, keep the starter in the fridge and feed it roughly once a week.
    • Feed a bigger ratio if you keep forgetting. A 1:5:5 feeding buys the starter far more time before it gets hungry than a 1:1:1 does.
    • Store it cold when you are not baking. The fridge dramatically slows fermentation, so a well-fed starter can rest for a week or two with only mild hooch.
    • Mark the level. A rubber band around the jar at feeding height tells you at a glance whether it rose and fell – so you learn your starter’s real timing instead of guessing.

    Do that, and a liquid layer becomes a rare, no-big-deal event rather than a recurring scare.

    When Hooch Is Not the Whole Story

    Hooch itself is harmless. The only time to actually worry is if you see something else alongside it: fuzzy mold in pink, orange, or green, or a pink or orange streaky slime. Real mold means it is time to throw that starter out and begin again (or fall back to a dried backup).

    Plain hooch, even dark and stinky hooch, is not that. It is a hungry starter with a story to tell, and now you can read it: pour off or stir in based on the smell, feed it strong and warm, and set a rhythm so it does not happen again.
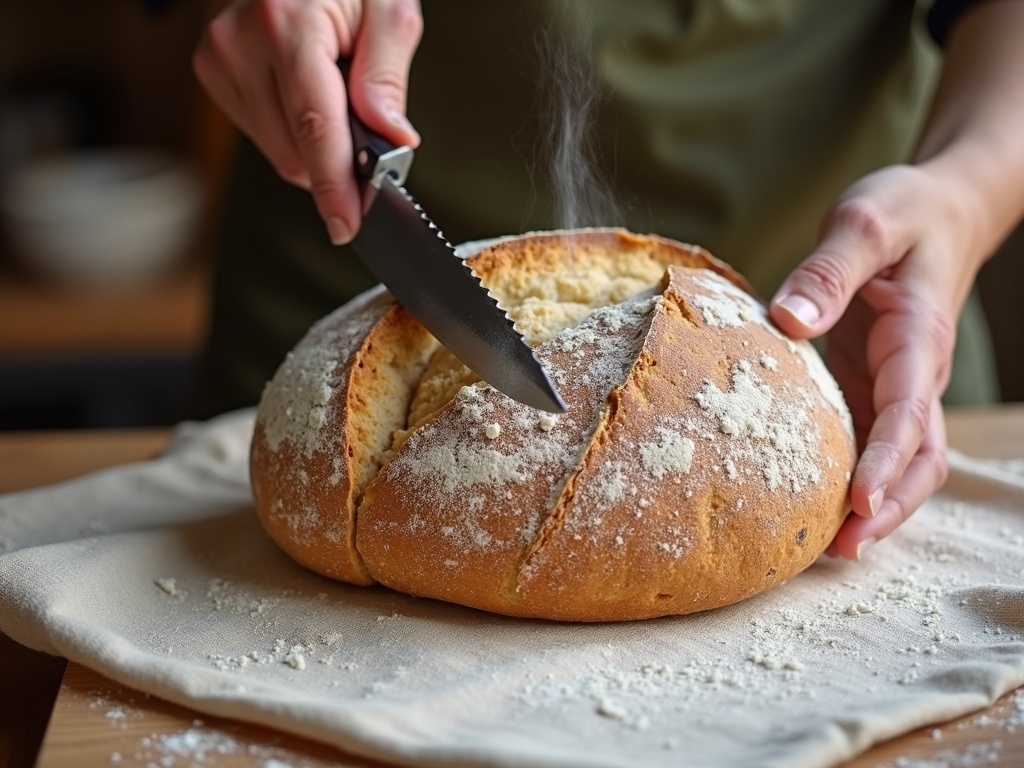
    Because this is genuinely easier to see than to read, the full feeding-and-reviving routine lives on the LoafLovers YouTube channel – and you can grab our free sourdough troubleshooting guide to keep the whole starter-rescue checklist on hand for the next time you lift the lid to a surprise. Feed it, and let it come back to life.

    Related Reading

  • How to Revive a Neglected Sourdough Starter (Even If It Smells Like Nail Polish)

    How to Revive a Neglected Sourdough Starter (Even If It Smells Like Nail Polish)

    We need to talk about the jar in the back of your fridge. You know the one. It was a bubbling, happy starter once, and then life happened – a busy month, a holiday, a stretch where baking bread was the last thing on your mind. Now it is a sullen grey mass under a layer of dark liquid, and every time you open the fridge it stares at you with quiet reproach.

    Here is the good news, and it is genuinely good: you almost certainly have not killed it. Sourdough starters are far tougher than the internet’s fussy feeding schedules make them sound. A neglected starter is not dead – it is dormant and hungry. Unless something has gone truly wrong (and we will cover how to tell), a few days of patient feeding will bring it roaring back. Do not throw it out yet.

    A neglected sourdough starter jar with a layer of dark grey hooch on top

    First, the smell test – and what nail polish means

    Pull the jar out and take a breath. If it smells sharp and boozy, or specifically like nail polish remover – that acetone tang – do not panic. That is one of the most common and most misread signs of a neglected starter, and it means exactly one thing: your starter is starving. The yeast and bacteria have eaten all the available flour and, in their hunger, produced alcohol and acetone-like compounds as byproducts. It is not a death smell. It is a “feed me” smell.

    A sharp, sour, vinegary, or beery smell is all in the normal range for a hungry starter. What you are listening for as a warning is a genuinely rotten, putrid, or off smell paired with visible mold – but we will get to the true red lines below. For now, if it just smells strong and boozy, breathe easy: this one comes back.

    Deal with the hooch

    That dark liquid on top has a name: hooch. It is alcohol the starter produced when it ran out of food, and its color – from pale grey to nearly black – is normal and harmless. Hooch is simply another sign your starter has been hungry for a while.

    Pouring the grey hooch liquid off the top of a starter jar

    You have two choices. You can pour it off for a slightly milder, less sour result, or stir it back in for a tangier one. When you are reviving a neglected starter, pouring it off is usually the cleaner move – it takes some of the accumulated sharpness with it. Tip off the liquid, then look at what is underneath. A grey, unappetizing paste is completely expected. Scrape off any hardened, dried crust around the rim and get down to the softer starter beneath.

    The revival: small, frequent feedings

    Reviving a starter is not about one dramatic rescue feeding – it is about consistency. Here is the routine that works on almost any dormant starter:

    Feeding a small amount of old starter with fresh flour and water in a clean jar

    • Take only a little. Scoop a small spoonful – about a tablespoon – of the old starter into a clean jar. Discard the rest. This matters: a small amount of tired starter fed with a lot of fresh flour recovers far faster than trying to resuscitate the whole sad mass at once. You are diluting the acidity and giving the surviving microbes a fresh, uncrowded buffet.
    • Feed it generously. Add equal weights of fresh flour and lukewarm water – a common ratio is 1 part starter to 5 parts each of flour and water by weight for a neglected jar. Stir to a thick-batter consistency. Cover loosely and leave it somewhere warm, ideally around room temperature or a little warmer.
    • Feed it twice a day. Roughly every 12 hours, repeat: keep a small amount, discard the rest, feed with fresh flour and water. Warmth and regular meals are the whole secret.

    For the first day or two you may see almost nothing – maybe a few shy bubbles. Do not lose faith. Somewhere around day two or three, you will notice it start to dome, bubble, and smell less like acetone and more like pleasant, yeasty bread. That is the turn. Keep feeding.

    How to know it is truly back

    A revived starter is ready to bake with when it does one thing reliably: it doubles in size within about 4 to 8 hours of a feeding, and does it again the next day. Bubbly and risen, then predictably risen again – that consistency is the real test, not a single lucky rise.

    A revived bubbly sourdough starter risen to a rubber band marker on the jar

    A quick confidence check is the float test: drop a small spoonful of active starter into water. If it floats, it is full of gas and ready to leaven a loaf. If it sinks, give it another feeding or two – it is close, just not quite there.

    When to actually let it go

    Almost every neglected starter comes back. There is really only one situation where you should give up on it: visible mold. Fuzzy spots – pink, orange, black, or green fuzz – or streaks of pink or orange on the surface mean it is time to throw the whole thing out, jar and all, and start fresh. That is not hunger; that is contamination, and no amount of feeding fixes it safely.

    Hooch, grey color, a boozy or acetone smell, a hard dried crust, weeks of neglect – none of those are death sentences. Only genuine mold is. If in doubt between “strong smell” and “rotten,” trust that a starving starter smells sharp but not foul.

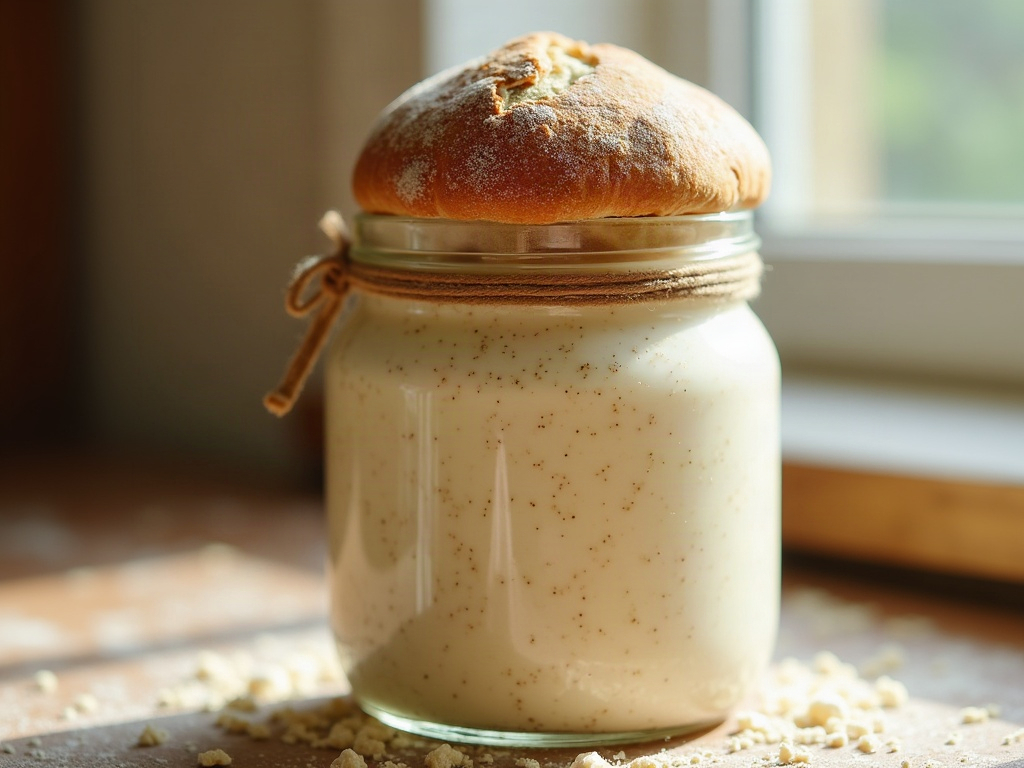
    A golden round sourdough loaf cooling beside a healthy starter jar

    So go rescue the jar in the back of your fridge. Pour off the hooch, take a spoonful, feed it small and often, and give it a warm spot and a few days of patience. Sourdough has survived world wars, migrations, and countless forgetful bakers – yours can survive a busy month. Before long it will be bubbling over the rim again, and you will be back to the far happier problem of what to do with all that discard.

    Related Reading

  • Why Is My Sourdough Gummy? The Real Causes of a Dense, Underbaked Crumb (and How to Fix It)

    Why Is My Sourdough Gummy? The Real Causes of a Dense, Underbaked Crumb (and How to Fix It)

    You did everything right. You fed the starter, timed the folds, watched the loaf dome up golden in the oven. Then you cut into it an hour later and the middle is dense, sticky, almost raw-looking — the knife drags and the crumb smears instead of springing back. That gummy, gluey interior is one of the most common and most demoralizing sourdough problems, and it almost never means you have to start over. It means one specific thing went wrong, and once you can name it, you can fix it on the very next bake.

    This is the fix-it desk. We are going to walk the diagnostic arc: what “gummy” actually is, the real causes ranked from most to least common, and exactly how to correct each one. Grab your last loaf if you still have it — the crumb tells the story.

    Two sourdough loaf halves compared: a gummy dense crumb on the left and an open well-set crumb on the right
    Gummy versus set: a sticky, streaky center on the left, a properly baked open crumb on the right.

    First, What “Gummy” Actually Means

    Bakers throw around three words that get tangled together: gummy, dense, and dry. They are not the same problem, and mixing them up sends you chasing the wrong fix.

    Gummy is a moisture-and-set problem. The crumb feels sticky or pasty, it compresses under the knife instead of tearing cleanly, and it can look translucent or streaky near the center. Dense is a rise problem — a tight, heavy crumb with few holes, but the texture is still cooked and dry to the touch. Dry is the opposite of gummy: crumbly, thirsty, falling apart. You can have a loaf that is both dense and gummy at once, which is why diagnosis matters. For the rest of this guide we are hunting the sticky, unset, gluey interior specifically.

    Cause #1: You Sliced It Too Soon

    This is the single most common reason a perfectly good loaf reads as gummy — and the easiest to fix. When bread comes out of the oven it is still cooking. The interior is full of hot steam and the starches are only partly set. Cutting in while it is warm releases that steam, collapses the delicate structure, and the knife smears the still-gelatinizing crumb into a paste. You did not bake a bad loaf. You interrupted it.

    The fix: cool the loaf completely on a wire rack before slicing — a minimum of two hours for a standard boule, and closer to three to four hours for a large, high-hydration loaf. I know that is agonizing when it smells that good. Set a timer, walk away, and cut it cold. Nine times out of ten the “gummy” crumb was simply an impatient crumb.

    A knife smearing the sticky crumb of a warm sourdough loaf cut too soon
    Cutting in warm releases steam and smears the crumb — often the whole reason it looks gummy.

    Cause #2: It Is Genuinely Underbaked

    If you waited the full cool-down and the center is still sticky, the loaf was undercooked. Home bakers chronically pull bread too early because they judge by color or by the clock, and a dark crust can hide a raw core — especially in enriched or whole-grain doughs that brown fast.

    The fix: stop baking by time and start baking by internal temperature. Slide an instant-read thermometer into the center of the loaf; a lean sourdough is done at roughly 205 to 210 degrees Fahrenheit (about 96 to 99 Celsius). If it reads low, the inside is not set no matter how dark the crust looks. Two habits solve this for good: bake a little longer with the lid off to drive out moisture, and if your crust is racing ahead of the crumb, drop your oven 15 to 25 degrees and extend the bake so the heat has time to reach the middle.

    An instant-read thermometer probed into the center of a sourdough loaf on a cooling rack
    Bake by internal temperature, not the clock — a lean loaf is done around 205 to 210 F in the center.

    Cause #3: The Dough Was Under- or Over-Proofed

    Proof is where gummy crumb is quietly born long before the oven. An underproofed dough has not developed enough gas and structure, so it bakes up tight, damp, and often with a gummy line just above the base. An overproofed dough has exhausted its gluten, collapses in the oven, and can also set into a dense, moist crumb.

    The fix: learn to read the dough, not the recipe’s clock — kitchen temperature changes everything. For underproofing, give the bulk ferment more time and look for a 50 to 75 percent rise, a domed and jiggly surface, and a few bubbles at the edges of the container. Use the poke test: a gentle dimple should spring back slowly and only partway. If it springs back instantly you are underproofed; if it stays fully sunken you have gone too far. When in doubt on a warm day, shorten bulk and let a cold overnight retard in the fridge do the finishing work.

    Cause #4: A Young or Sluggish Starter

    Everything downstream depends on your starter, and a weak one is a hidden cause of gummy loaves. If your starter is not reliably doubling within four to six hours of a feed, it does not have the yeast population to raise a loaf in a sensible window. The dough drags, you either underproof waiting for action that never comes or overproof chasing it, and the crumb pays the price.

    The fix: get the starter strong before you blame the bake. Feed it on a consistent schedule at a 1:5:5 ratio (one part starter to five parts flour and water) in a warm spot, ideally 75 to 80 degrees Fahrenheit. Watch for a confident, predictable doubling with a domed, bubbly surface and a clean, tangy-yogurt smell — not sharp acetone or a layer of grey hooch. Only build your levain and mix a loaf when the starter is at that reliable peak. A lively starter is the cheapest insurance against a gummy crumb.

    A bubbly, doubled sourdough starter at peak in a glass jar
    A strong starter doubles in four to six hours — the cheapest insurance against a gummy loaf.

    Cause #5: More Water Than Your Flour Can Handle

    High hydration gives you that dreamy open crumb — but only if your flour and your technique can carry the water. Push the hydration too high for a lower-protein supermarket flour, or skip the gluten development, and the dough never builds enough structure to trap steam and set cleanly. The result bakes gummy and slack.

    The fix: match hydration to your flour and your skill honestly. If you are fighting gummy loaves, dial hydration back to 68 to 72 percent and get consistent results there before chasing 80 percent open crumb. Use a bread flour with 12 percent protein or higher for reliable strength. And build real gluten: a proper set of stretch-and-folds during bulk, or a short knead, so the dough passes a rough windowpane and holds its shape. Structure, not just extra water, is what gives you an open, well-set crumb.

    Wet hands stretching and folding a strong, elastic sourdough dough in a bowl
    Structure, not just extra water: proper stretch-and-folds build the gluten that sets an open crumb.

    Your Gummy-Crumb Fix-It Checklist

    Next time the center comes out sticky, run down this list in order — it is roughly most to least common:

    • Did you let it cool fully? Two-plus hours, cut it cold. Fix the easy one first.
    • Did you temp it? 205 to 210 F in the center for a lean loaf, or bake longer lid-off.
    • Was crust outrunning crumb? Lower the oven 15 to 25 F and extend the bake.
    • How was the proof? Aim for a 50 to 75 percent rise and a slow, partial poke-test spring-back.
    • Is your starter strong? It should double in four to six hours before you bake.
    • Is your hydration realistic? Drop to 68 to 72 percent and build proper gluten strength.

    Change one variable at a time, keep a short bake log, and the gummy loaf becomes a solved case rather than a recurring mystery. Sourdough is not luck — it is a set of readable signals, and you are learning to read them.

    Want to see each of these fixes in action? The full visual walk-through — cool-down tests, thermometer checks, and the poke test up close — lives on the LoafLovers YouTube channel. Grab our free sourdough troubleshooting guide while you are there, and we will send the next fix straight to your inbox. No hard sell, just better loaves.


    Sources & further reading:

    Related Reading