It’s a demoralizing moment. Your dough rose beautifully in the bowl — puffy, alive, full of promise — and then you tipped it onto the counter to shape it and it fell apart. It spread into a sticky, shapeless puddle. It stuck to everything. Every time you tried to pull it into a tight ball it tore, or just slumped flat again the second you let go. You added more flour in desperation, made it worse, and ended up wrestling a loaf that was never going to hold its shape. If that’s you, you are almost certainly missing one quiet, unglamorous step that nobody put front and center when you were learning: the preshape, and the bench rest that follows it.
It takes about twenty minutes, most of which is just waiting, and it’s the difference between a loaf that rises up and one that oozes out. Let’s walk through exactly what it is, why it works, and how to do it — the way you’d actually do it at the counter.
What preshaping actually is (and why skipping it wrecks shaping)
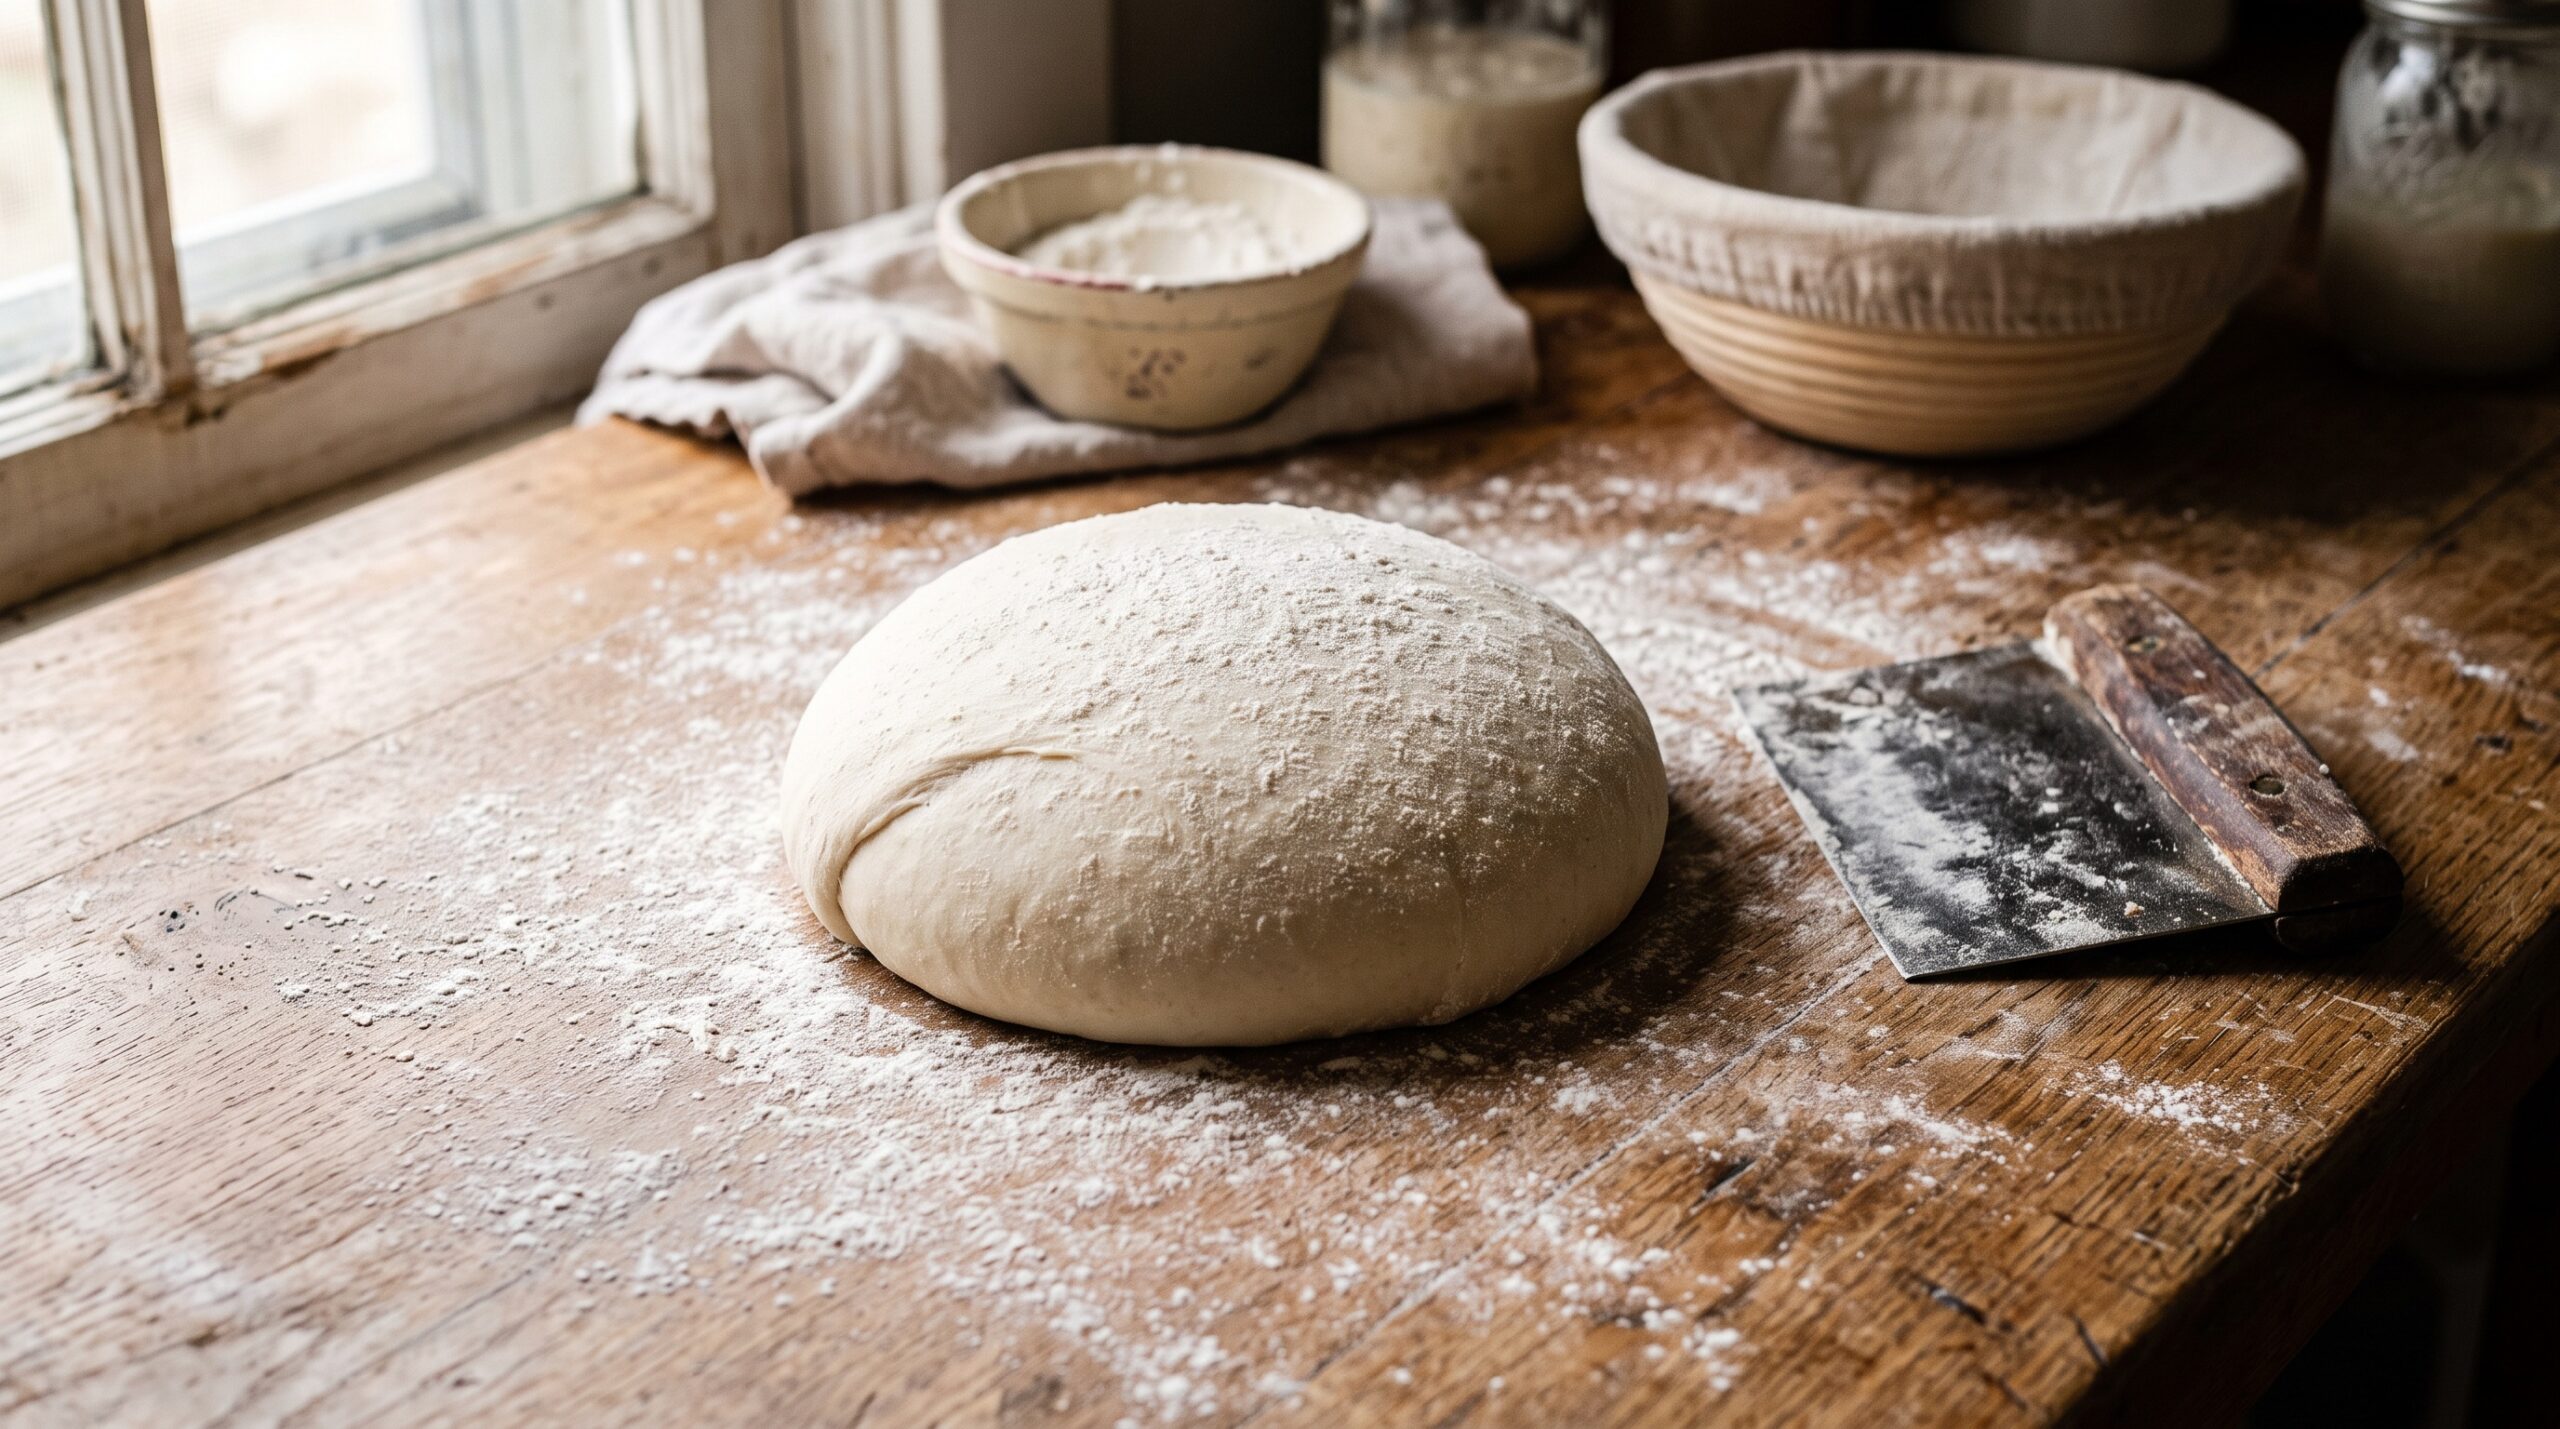
Shaping sourdough well is really a two-stage process, not one. The preshape is stage one: after bulk fermentation, you turn the dough out and gently coax it into a loose, round ball — not tight, not fussy, just a rough round with a smooth top. Then you walk away and let it rest. Only after that rest do you do the real, final shaping.
Here’s why skipping straight to final shaping goes so wrong. Fresh out of the bulk bowl, the dough is a disorganized, slack mass — the gluten strands are tangled and pointing every which way, and there’s no “grain” to work with. Trying to build a tight, structured loaf out of that chaos in one go means fighting the dough, overworking it, and tearing that delicate skin. The preshape does something simple and powerful: it gives the dough a gentle first organization and a rough, even round starting point. It turns a puddle into something with a shape you can then refine.

The bench rest is where the real magic happens
If the preshape sets the stage, the bench rest — that 15-to-30-minute pause afterward — is where the actual problem gets solved. And it solves two things at once.
It lets the gluten relax. Right after you handle it, the dough is tense and springy — pull it and it fights back and tears. That tension is exactly why your final shaping was failing. During the rest, the gluten relaxes and becomes extensible: it will stretch smoothly instead of snapping. When you come back to shape, the dough cooperates. No tearing, no fighting.
It builds a skin. As the preshaped round sits, its surface dries very slightly and sets into a smooth outer skin. That skin is what lets your final shape hold real tension — it’s the taut outer layer that makes a loaf rise up instead of spreading sideways. You literally cannot build good surface tension on a freshly turned-out, skinless blob. The rest creates the surface you need.
So the bench rest isn’t dead time or an optional “nice to have.” It’s the step actively doing the work that makes the next step possible.
How to preshape, step by step
Keep it gentle — this is not where you build tight tension, just a loose round:
- Turn the dough out gently onto a lightly floured counter. You want to preserve the gas and structure you built in bulk, so coax rather than dump.
- Fold it into a loose round. Pull the edges up and into the center a few times to gather it, then flip it seam-side down.
- Round it with a light drag. With cupped hands or a bench knife, drag the round in small motions against the counter. Here’s the trick most beginners miss: round it against a bare, unfloured patch of counter. That slight grip against the surface is what builds the smooth skin — flour underneath makes it slip and you get no tension at all.
- Stop while it’s still loose. You’re aiming for a smooth-topped, roughly round ball that holds together — not a tight, perfect boule. Over-tightening now just means more tension to fight through later.

How long to rest — and how to read it
The clock says 15 to 30 minutes, but the dough is the real guide. You’re waiting for the tense, springy round to relax and spread just slightly, losing a little of its height and its fight. Here’s how to read it:
- Rested enough: the round has settled and relaxed a touch, and when you gently poke the edge it feels soft and extensible, not tight and rubbery. This is your window — shape now.
- Not rested long enough: the dough still feels tight and snaps back fast; try to shape it and it’ll resist and tear. Give it another 10 minutes.
- Rested too long: the round has gone completely flat and slack, spreading into a thin puddle with no structure left. It over-relaxed. Lightly re-round it to rebuild a little tension and shape soon after.
A warm kitchen relaxes dough faster; a cool one slower. On a cold day lean toward the longer end, on a hot day check it sooner. Reading the dough instead of the timer is the whole skill, and the bench rest is a lovely low-stakes place to practice it.
When it’s not only the preshape
The preshape and rest will fix the vast majority of “won’t hold its shape” problems. But be honest about two neighbors, because a preshape can’t rescue a loaf that’s broken upstream:
- Weak dough from the start. If your dough was slack and soupy before you ever tried to shape it, the problem may be underdeveloped gluten or flour that can’t carry your hydration. A rest helps extensibility, but structure has to be built during mixing and folding first — and your flour choice matters more than people think, as we cover in bread flour vs all-purpose for sourdough.
- Over-fermented dough. If bulk went too far, the gluten has already broken down and nothing at the shaping stage will give you back structure you no longer have — it’ll spread and tear no matter how well you preshape. If your loaves keep collapsing the instant you turn them out or score them, read our guide to dough that deflates when you turn it out or score it to catch an over-proof before it reaches the bench.
And one gentle note on handling: whether you’re preshaping a plain dough or one studded with add-ins, the same light touch applies — rough, overworked handling tears the structure you’re trying to protect, exactly as it does when folding inclusions into a loaf.

Put it together and your shaping transforms
Here’s the full rhythm once it clicks: bulk finishes, you turn the dough out and give it a loose, gentle preshape, you let it rest fifteen to thirty minutes until it relaxes and skins over, and then you do your final shape — which now goes smoothly, builds real tension, and holds a tall, even dome. That taut, confident shape is what rises up in the oven instead of melting into a frisbee.
The best part is how little effort it asks. Twenty mostly-idle minutes, slotted between two things you were already doing, quietly solving the single most common shaping frustration in sourdough. Skip it and you fight your dough every time. Add it and the dough starts cooperating — and you stop wondering why your loaves spread.
If you’d like to actually see the preshape-round and the way a rested dough behaves under your hands — it’s one of those things that clicks instantly once you watch it — the full walkthrough lives on the LoafLovers YouTube channel, and our free sourdough troubleshooting guide gathers the shaping fixes in one place. Grab it, give your next bake the quiet twenty minutes, and watch your loaf finally stand up tall.

Leave a Reply