Category: Troubleshooting

  • How to Get a Blistered Sourdough Crust: The Real Reason Those Bubbles Form (and How to Force Them)

    How to Get a Blistered Sourdough Crust: The Real Reason Those Bubbles Form (and How to Force Them)

    You’ve seen them on the bakery loaves and the ones that go viral: a sourdough crust freckled all over with tiny, glassy bubbles, so crisp it looks like it would shatter if you tapped it. Then you pull your own loaf from the oven and the crust is fine — good color, decent crackle — but smooth. No blisters. It’s one of the most-asked questions from home bakers who’ve already got the basics down: my bread tastes great, so why doesn’t it look like that?

    Here’s the honest answer, and it’s more reassuring than you’d think. Blisters aren’t a sign of some secret technique or a professional oven you can’t afford. They’re the visible fingerprint of one specific thing happening to your dough: a long, cold fermentation. Once you understand what’s actually forming those bubbles, you can reproduce them on purpose. Let’s walk through what causes blisters and exactly how to get them on your next bake.
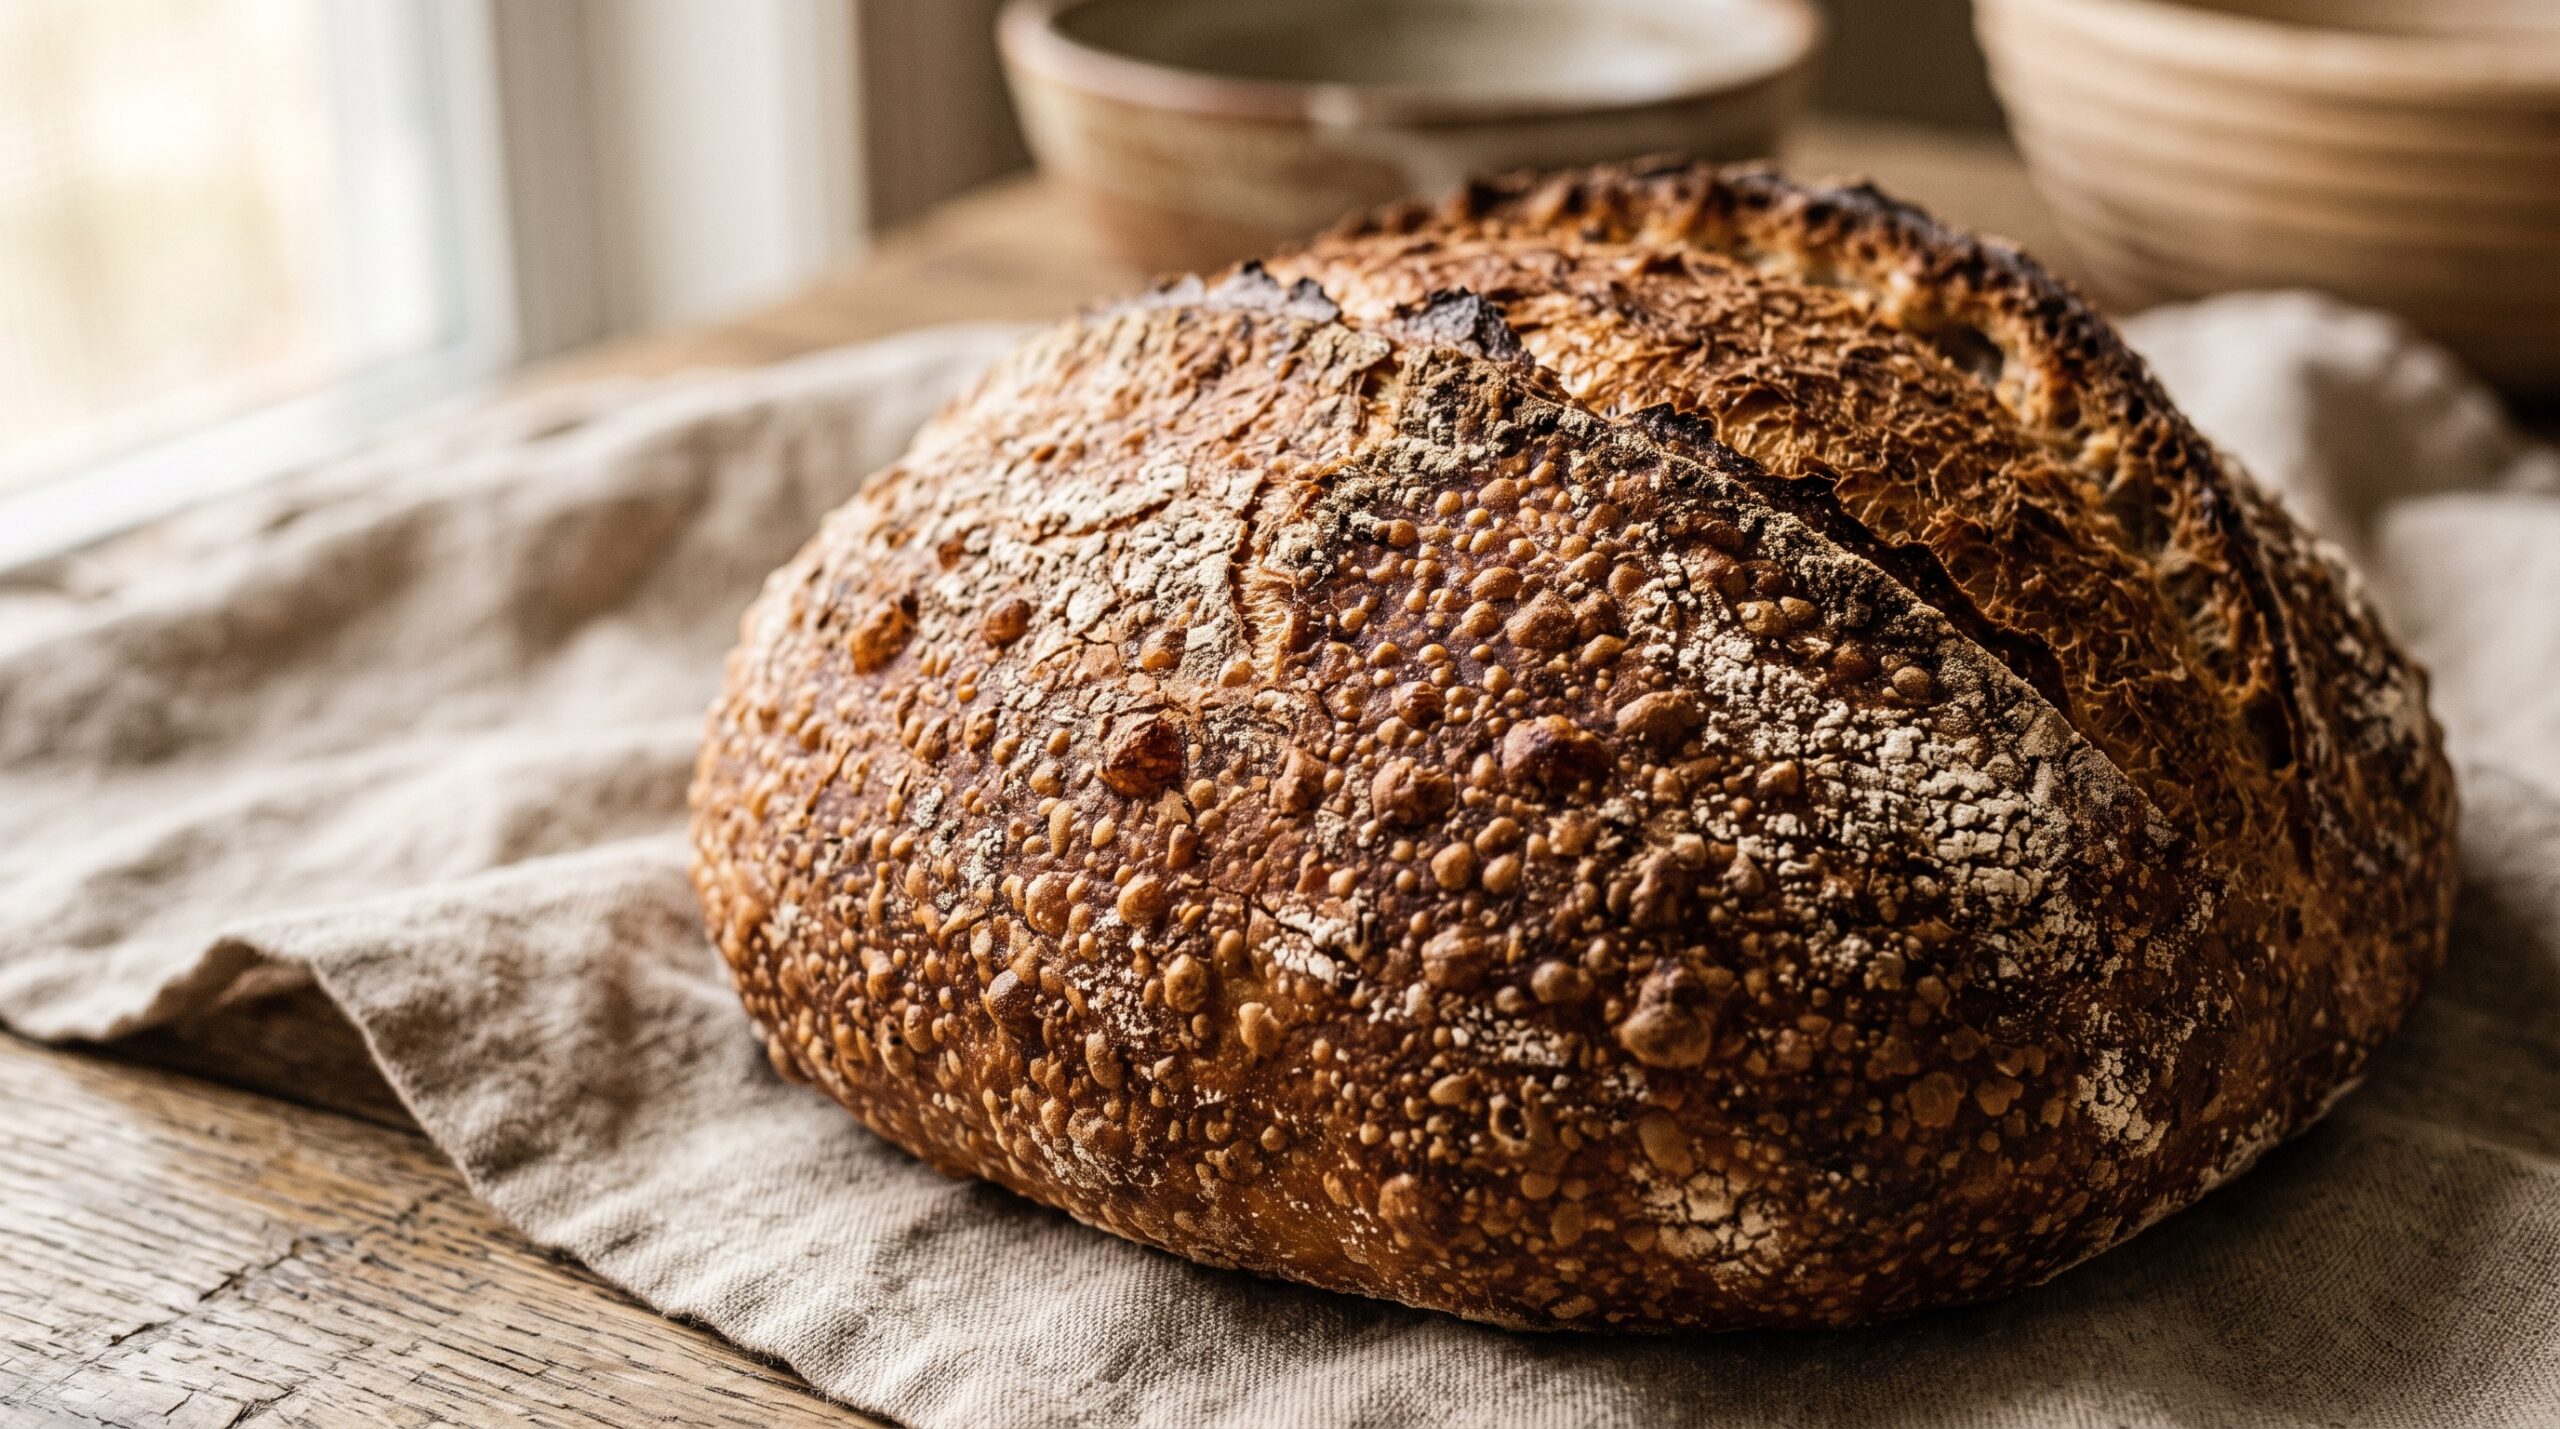
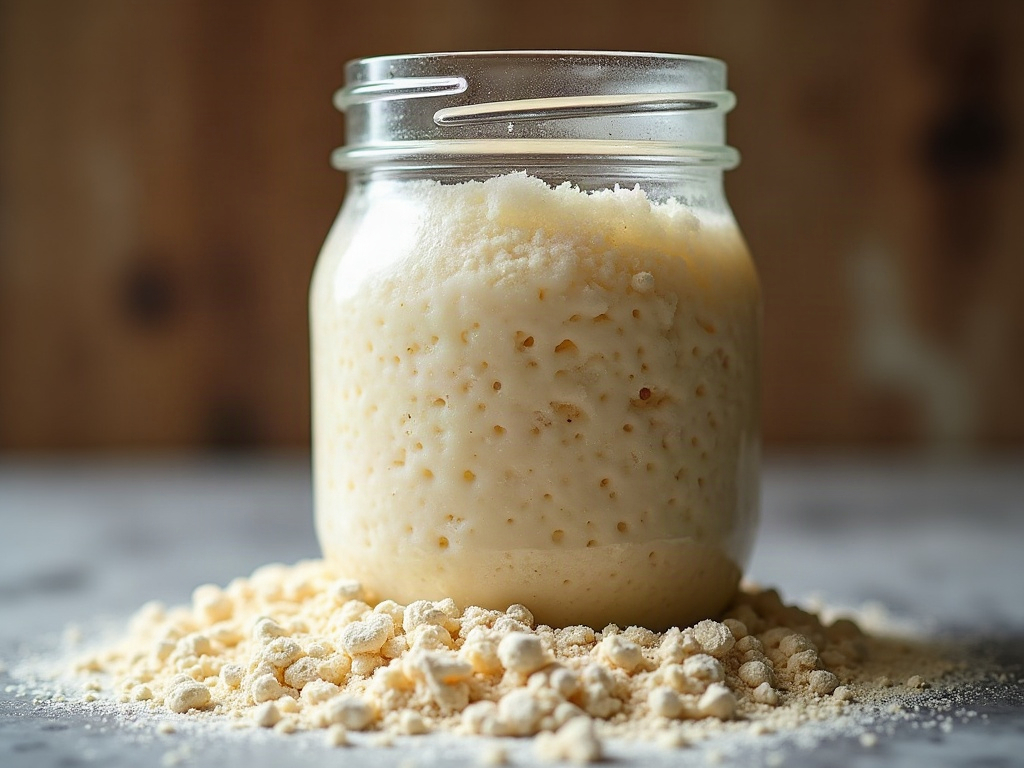
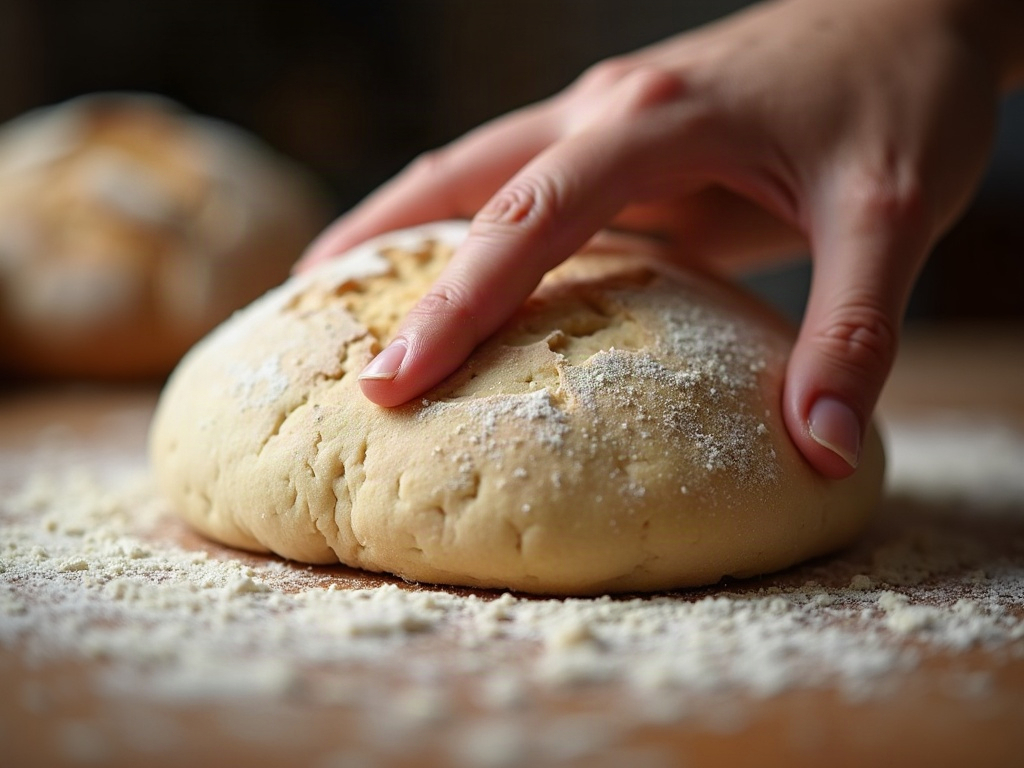
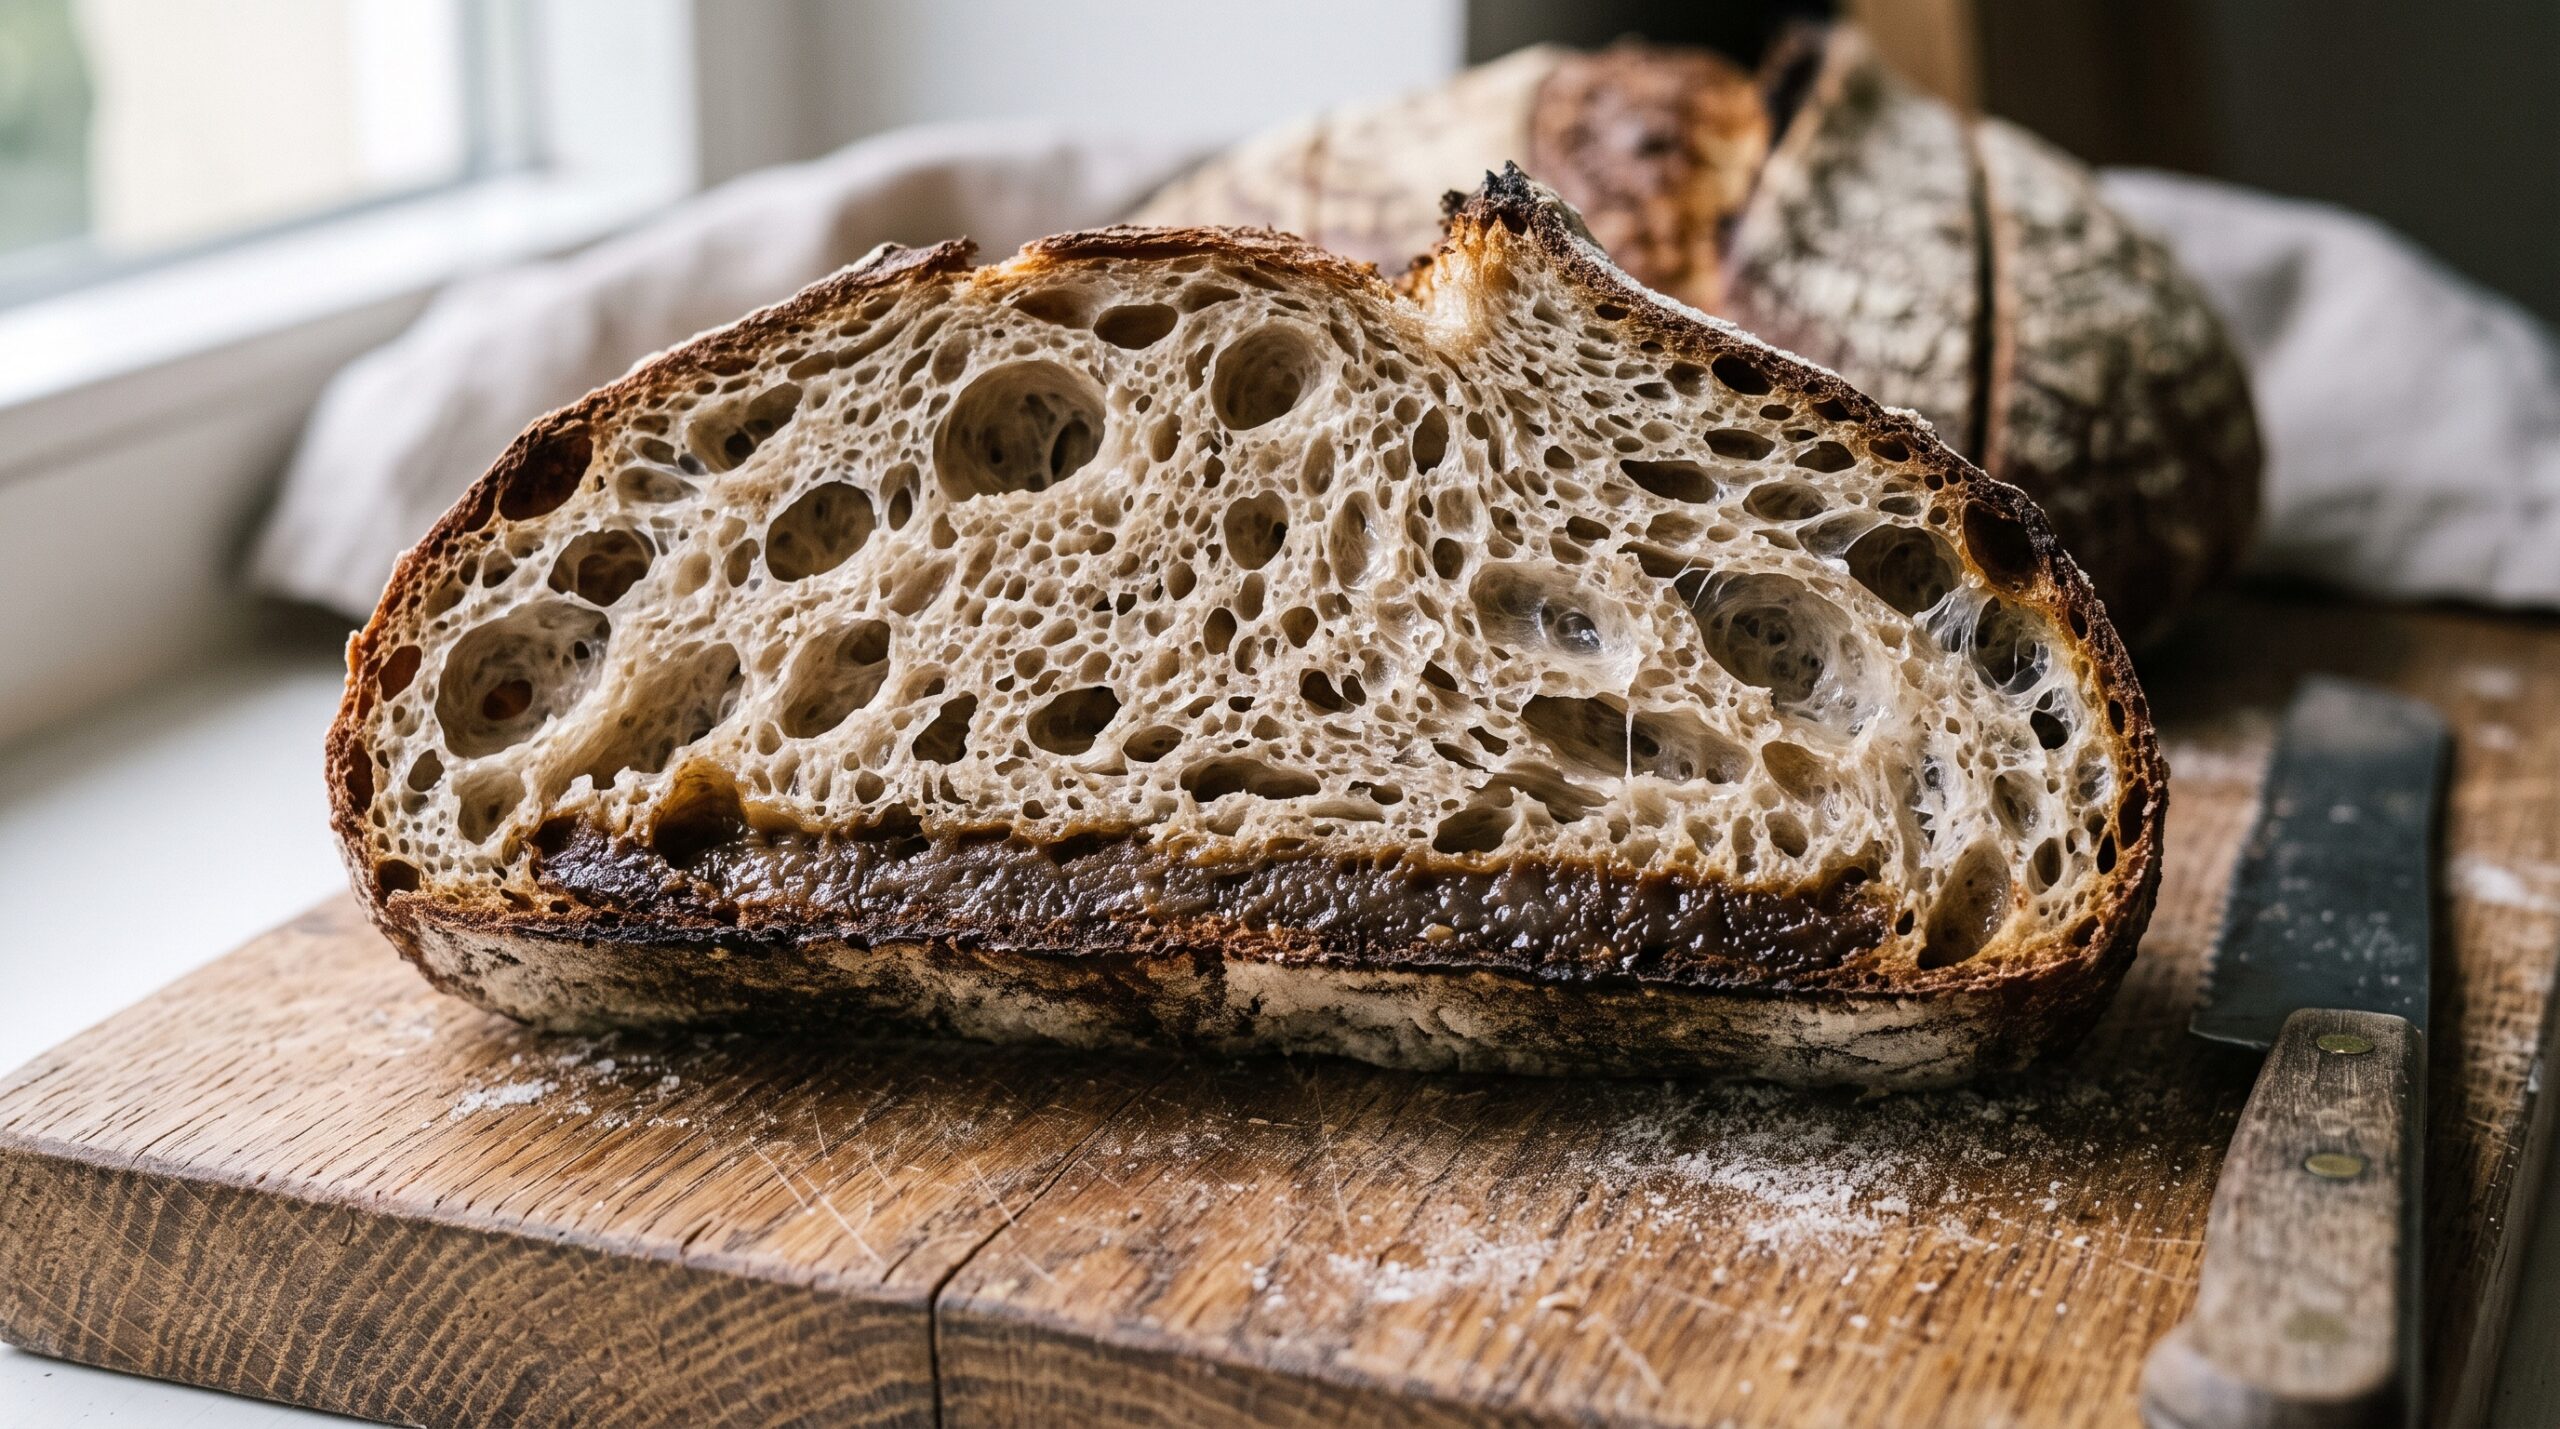
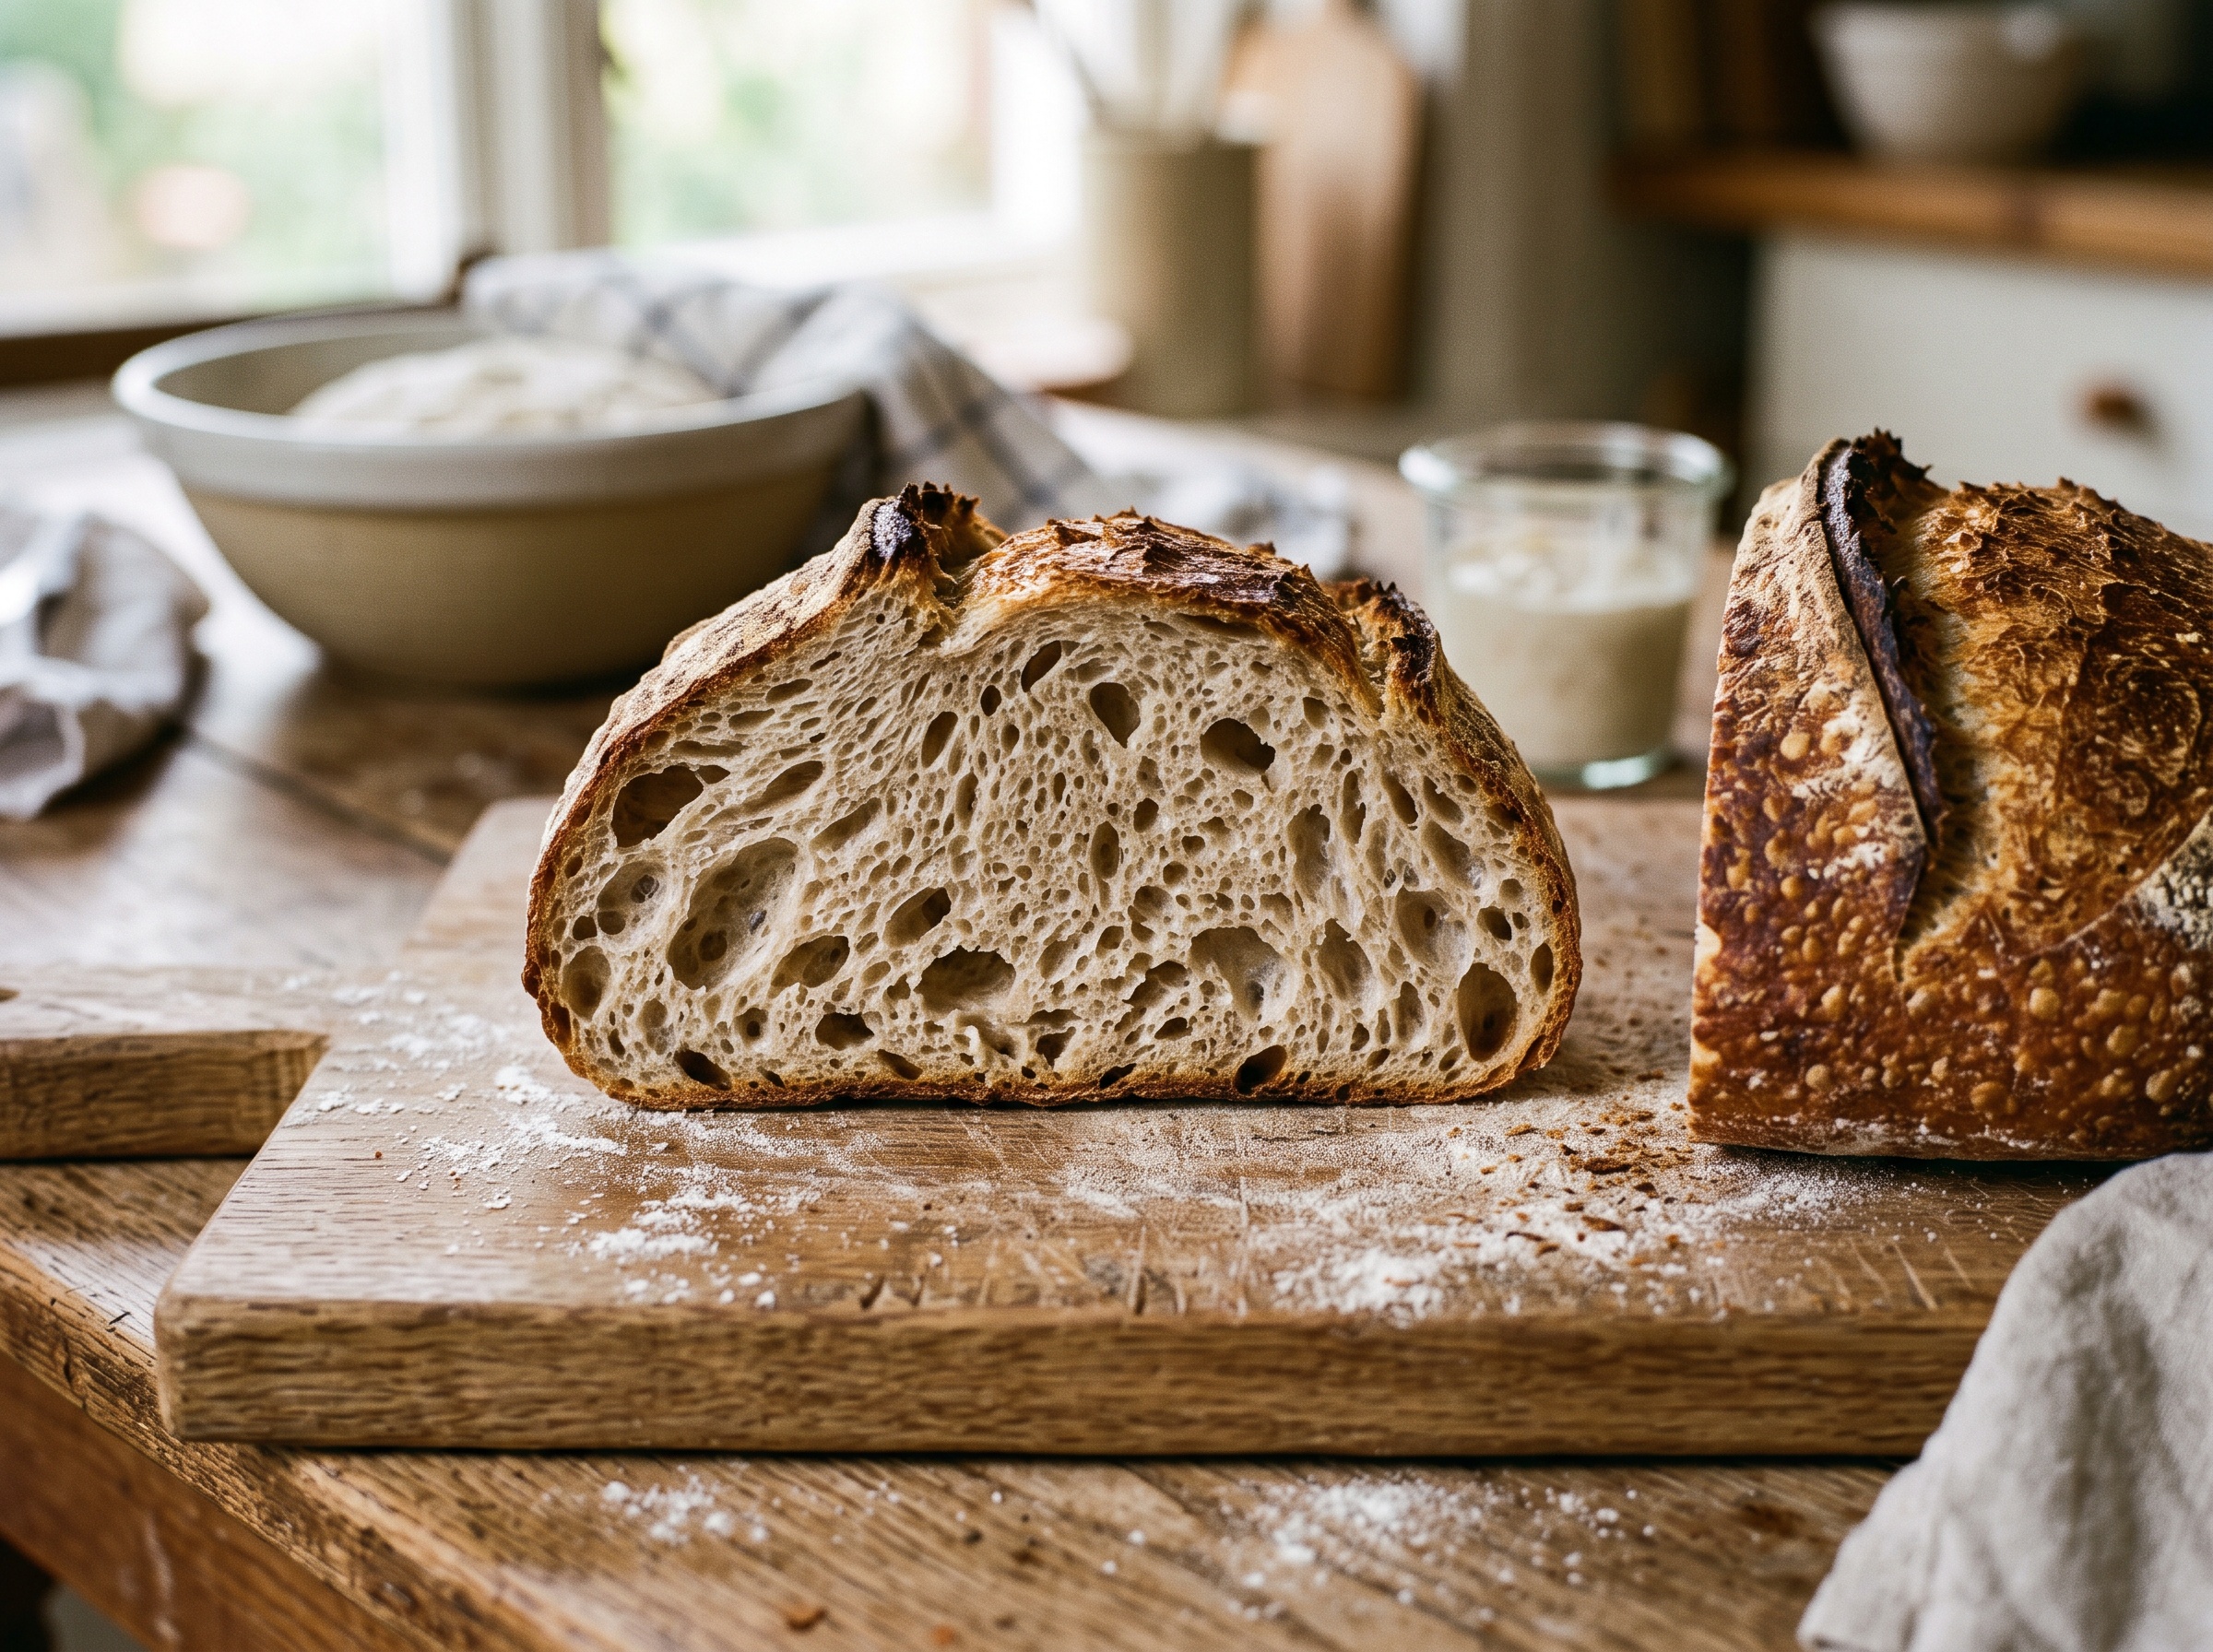
    Macro close-up of a sourdough crust covered in tiny blisters
    Those little bubbles are the signature of a slow, cold fermentation — not luck.

    What a blister actually is

    A blister is a small pocket of gas trapped just beneath the surface skin of your dough that expands in the heat of the oven and pushes up before the crust fully sets. Picture the dough’s outer surface as a thin, slightly dried skin stretched over a mass of fermenting dough that’s still producing carbon dioxide. As that gas migrates toward the surface, it collects in tiny pockets right under the skin. When the loaf hits the oven’s heat, those pockets balloon outward faster than the surface can bake solid — and each one sets into a crisp little dome. Multiply that across the whole loaf and you get that beautifully blistered, crackly crust.

    So blisters need two things at once: plenty of small gas pockets sitting near the surface, and a surface skin that’s the right texture to let them dome up rather than collapse or tear. The single technique that reliably produces both is a cold retard.

    The real cause: a long, cold fridge proof

    If you take one thing from this article, take this: blisters come from cold-proofing your shaped loaf in the fridge, uncovered or loosely covered, overnight. This is the cold retard, and it does two jobs at the same time.

    First, the cold slows fermentation to a crawl but doesn’t stop it. Over eight to forty-eight hours in the fridge, yeast keeps producing gas, slowly, and that gas has time to accumulate in countless tiny bubbles right up near the surface of the dough — exactly where you want them for blistering. A warm, fast proof rushes this and gives you fewer, larger, deeper bubbles. The slow cold proof gives you many fine ones near the skin.

    Second, the dry air of the fridge lightly dries the very surface of the dough, forming a thin, taut skin. That skin is what holds the bubble shapes and lets them dome up crisply in the oven instead of smoothing out. A wet, slack surface just bakes flat. A slightly dried, tight one blisters. This is why bakers who cold-proof consistently get blisters and those who proof warm and bake same-day usually don’t — regardless of how good the loaf tastes.

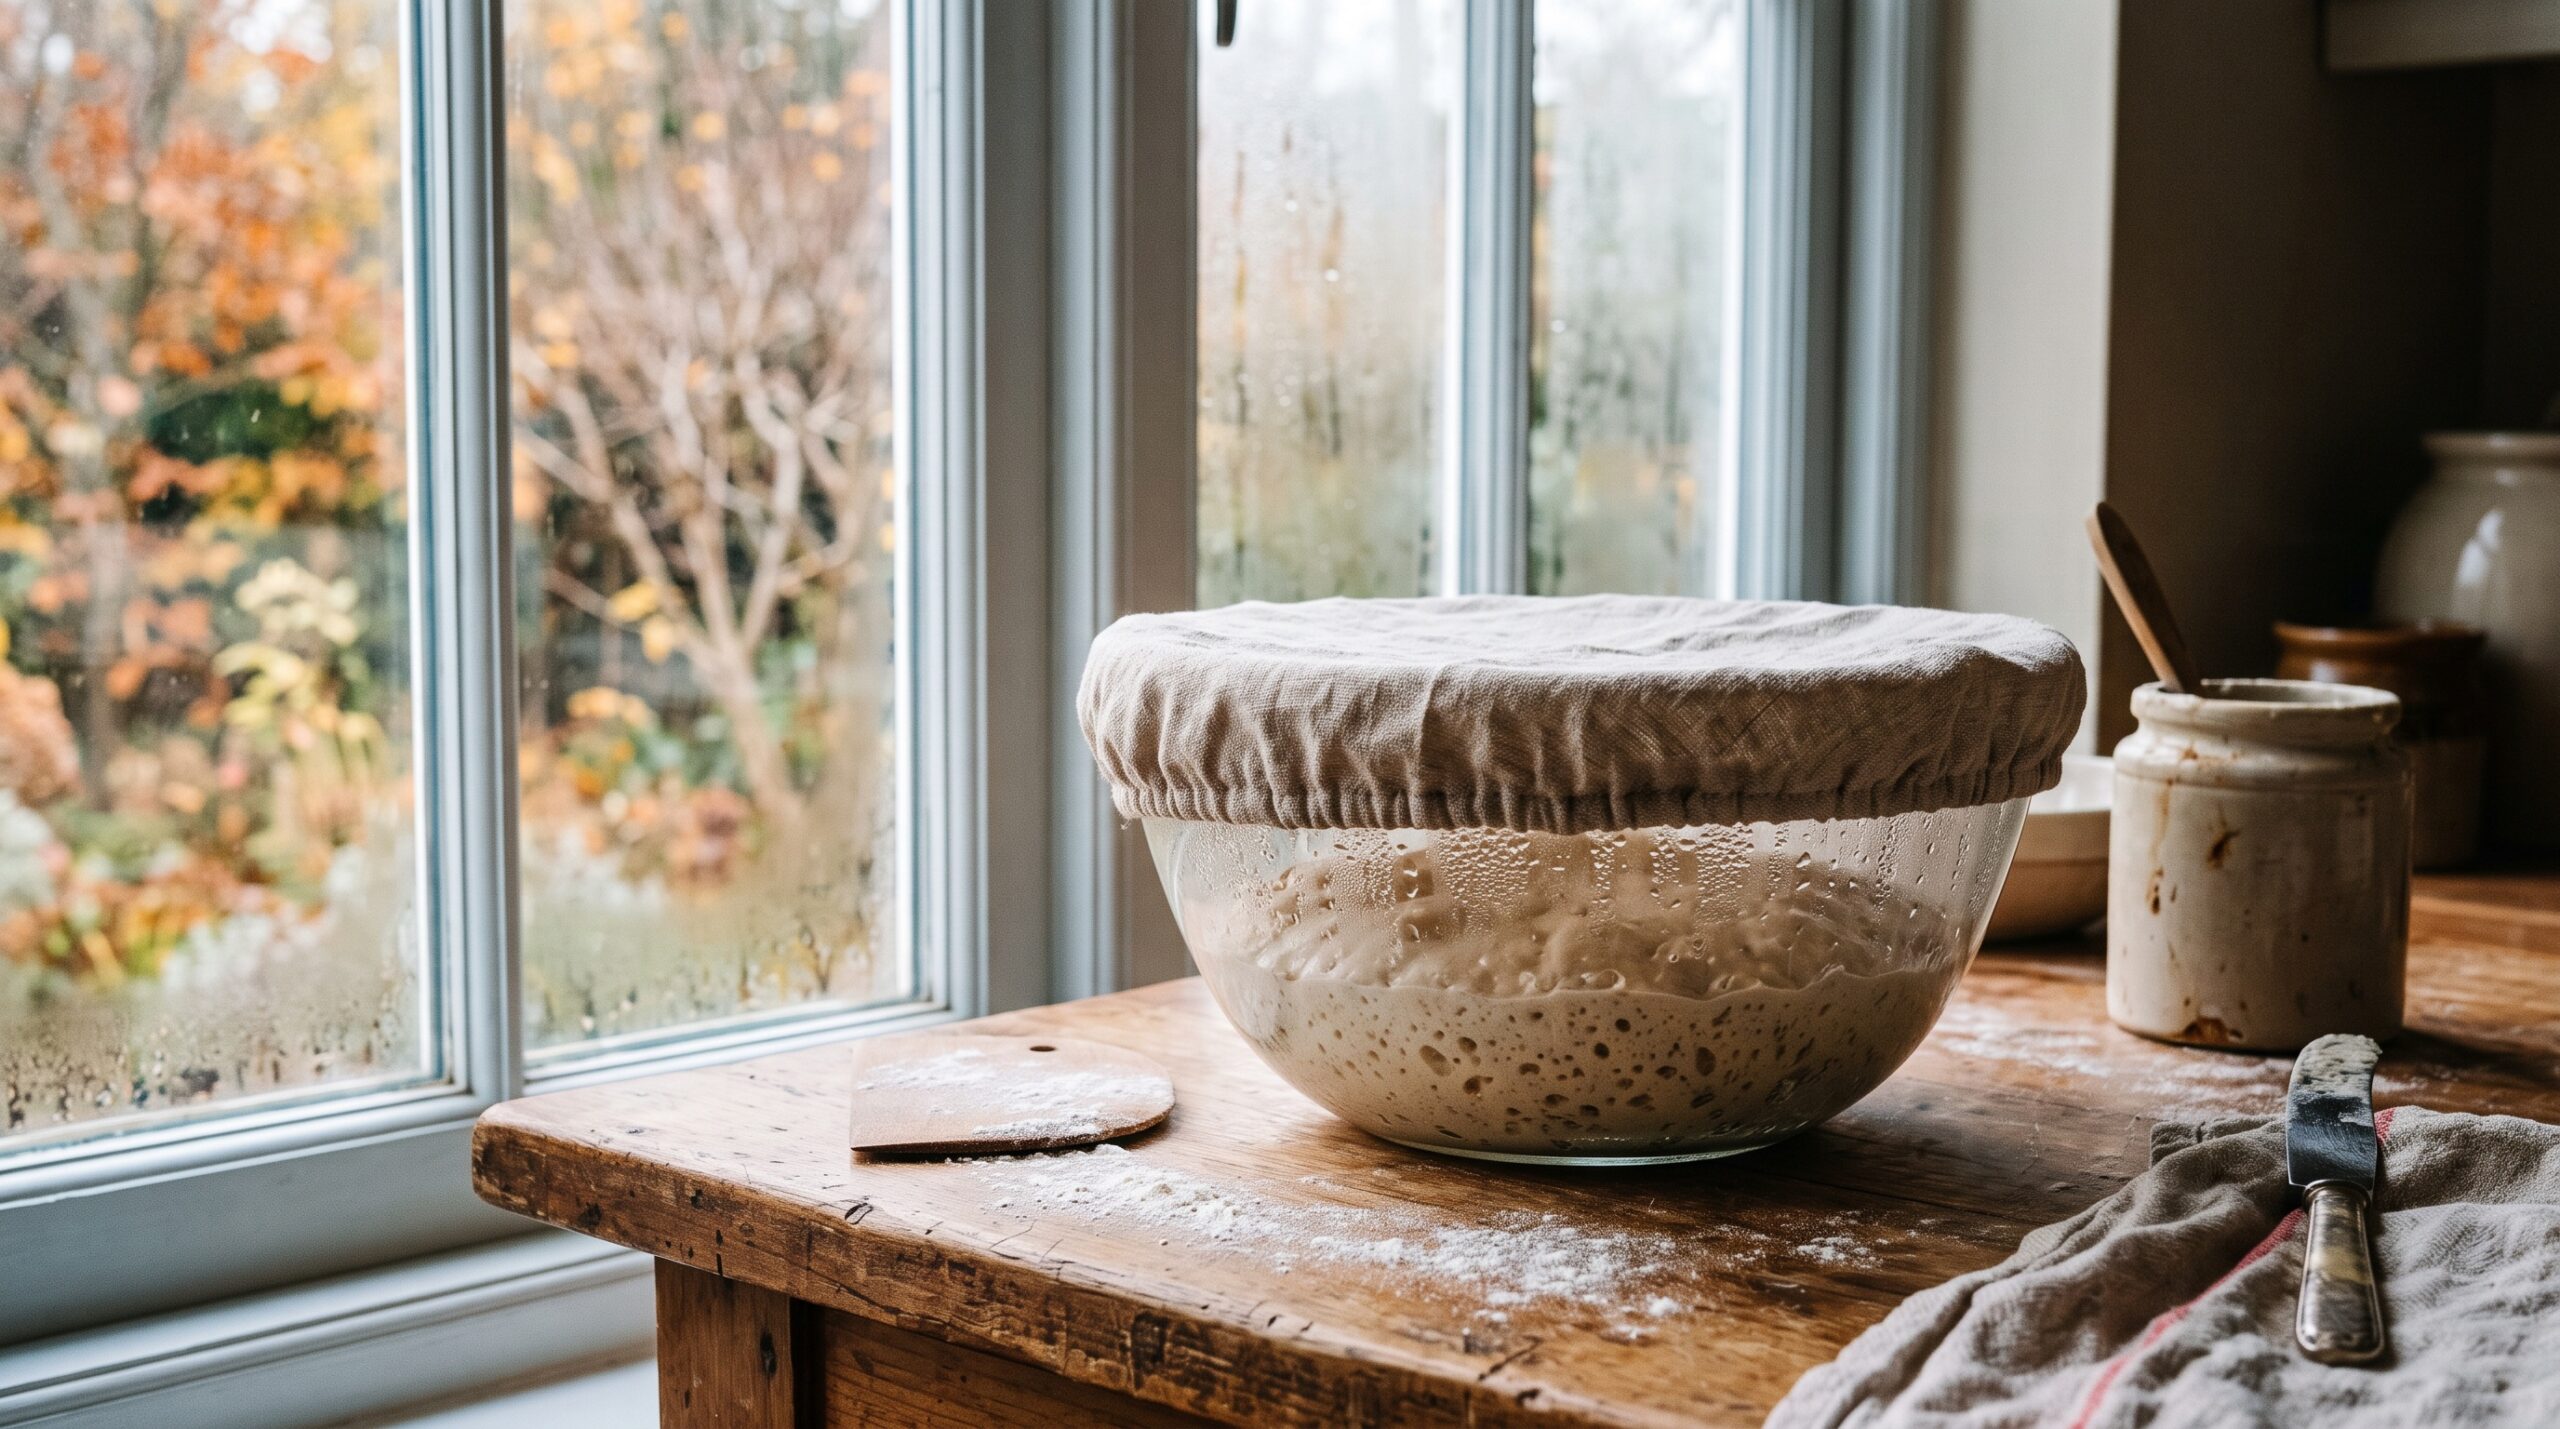
    A shaped loaf resting in a banneton in the fridge during a cold retard
    The overnight cold proof is where blisters are actually born — slow gas, chilled skin.

    How to force blisters, step by step

    Here’s the practical playbook. None of this changes your recipe — it changes your timing and handling at the end.

    1. Proof cold, and proof long. After shaping, put your loaf in its banneton straight into the fridge for a minimum of 8 hours, and ideally 12 to 24. Longer generally means more blistering, up to a point. This overnight retard is doing the real work.

    2. Let the surface dry a little. Don’t seal the dough in an airtight bag or a tightly wrapped, wet-covered container. You want the fridge’s dry air to gently firm up the surface. A loose cover, a container with a bit of airflow, or an uncovered banneton (if your fridge isn’t full of strong smells) all encourage that thin skin to form. This is the step most no-blister bakers are missing — they wrap the dough airtight and keep the surface wet.

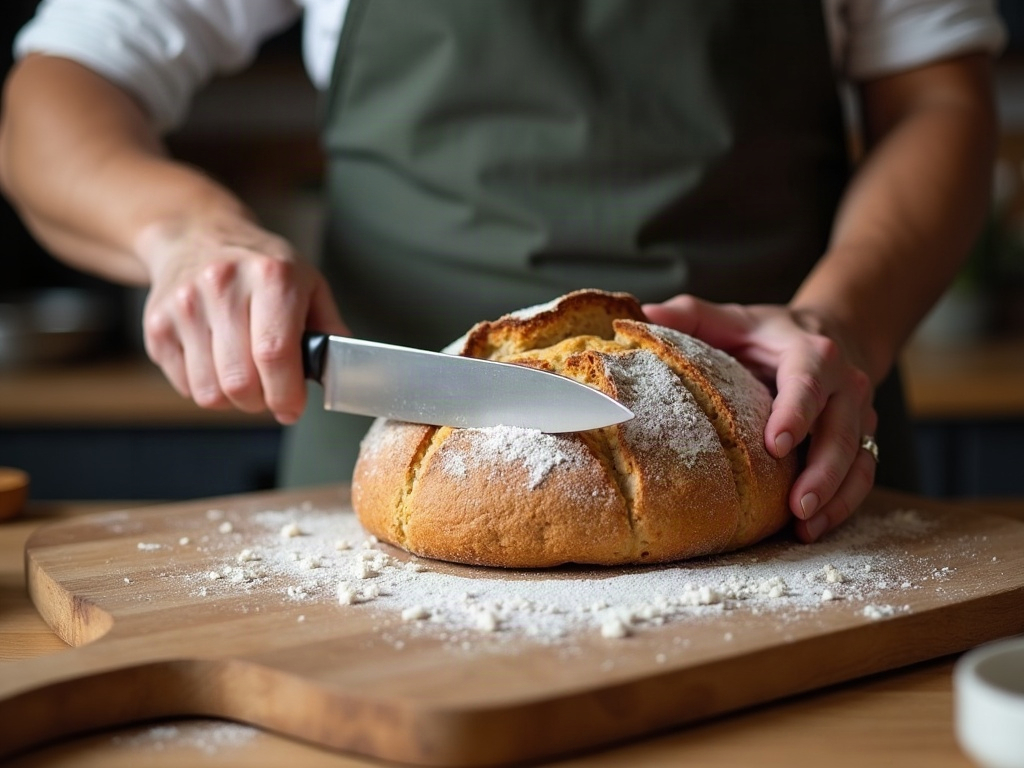
    3. Bake it cold, straight from the fridge. Don’t let the loaf warm up on the counter first. Score it while it’s cold and taut and get it into the hot oven immediately. A cold, firm surface blisters far better than a room-temperature slack one, and cold dough scores more cleanly too.

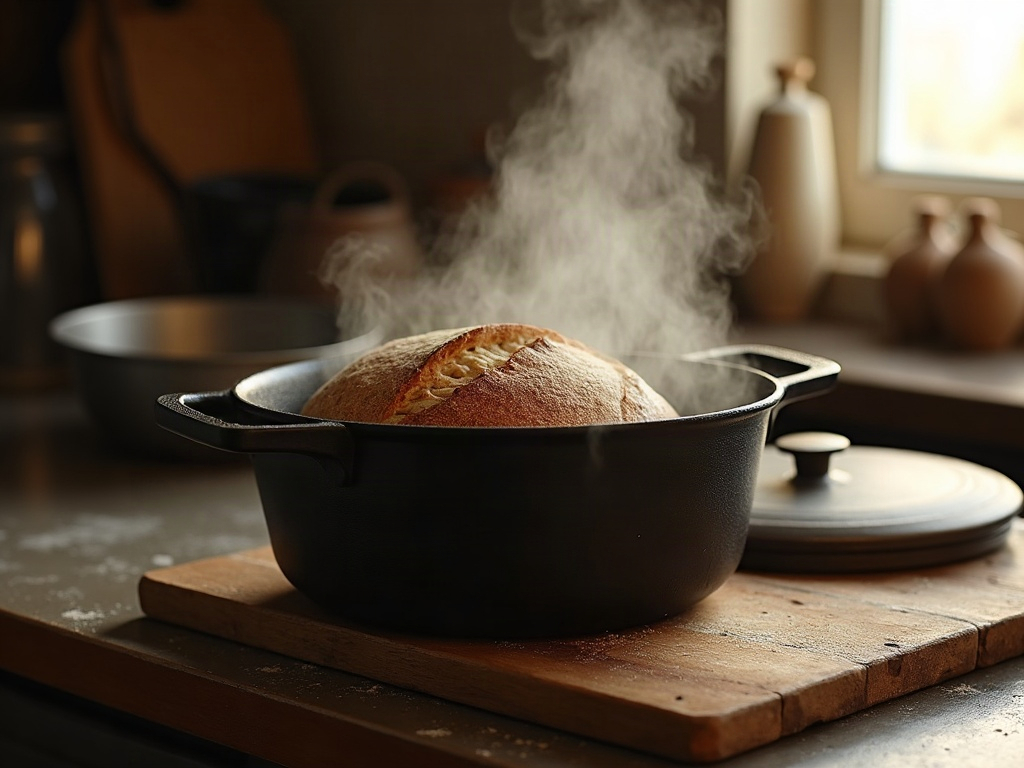
    4. Steam early, then dry out. Bake with strong steam for the first portion (a preheated Dutch oven with the lid on is the easiest way, or a tray of boiling water and a cloche). The steam keeps the surface flexible just long enough for the bubbles to expand and dome before setting. Then remove the lid or steam for the back half so the crust can dry, crisp, and lock those blisters in place.

    Dialing it in when blisters still won’t show

    If you’re cold-proofing and still not getting blisters, run down this short list:

    Your proof is too short or too warm. A 3-hour fridge stint won’t do it. Give it a full overnight. And check your fridge isn’t running warm — a fridge on the warmer side ferments too fast to build fine surface bubbles.

    Your surface is staying too wet. If you’re bagging the dough airtight or your banneton liner is holding moisture against the skin, you’re preventing the taut skin blisters need. Loosen up the cover and let it breathe.

    You’re warming the loaf before baking. Letting it come to room temperature undoes the cold, firm surface. Bake it straight from the fridge.

    Not enough steam, or steam for too long. Too little steam and the crust sets before bubbles can dome; too much for the whole bake and they never crisp. Strong steam early, dry heat late.

    Hydration and flour play a role too. Very stiff, low-hydration doughs blister less readily; a moderately high hydration dough with a well-developed gluten structure holds those near-surface bubbles best. If everything else is right and you want more, a touch more hydration and a longer cold proof usually pushes it.

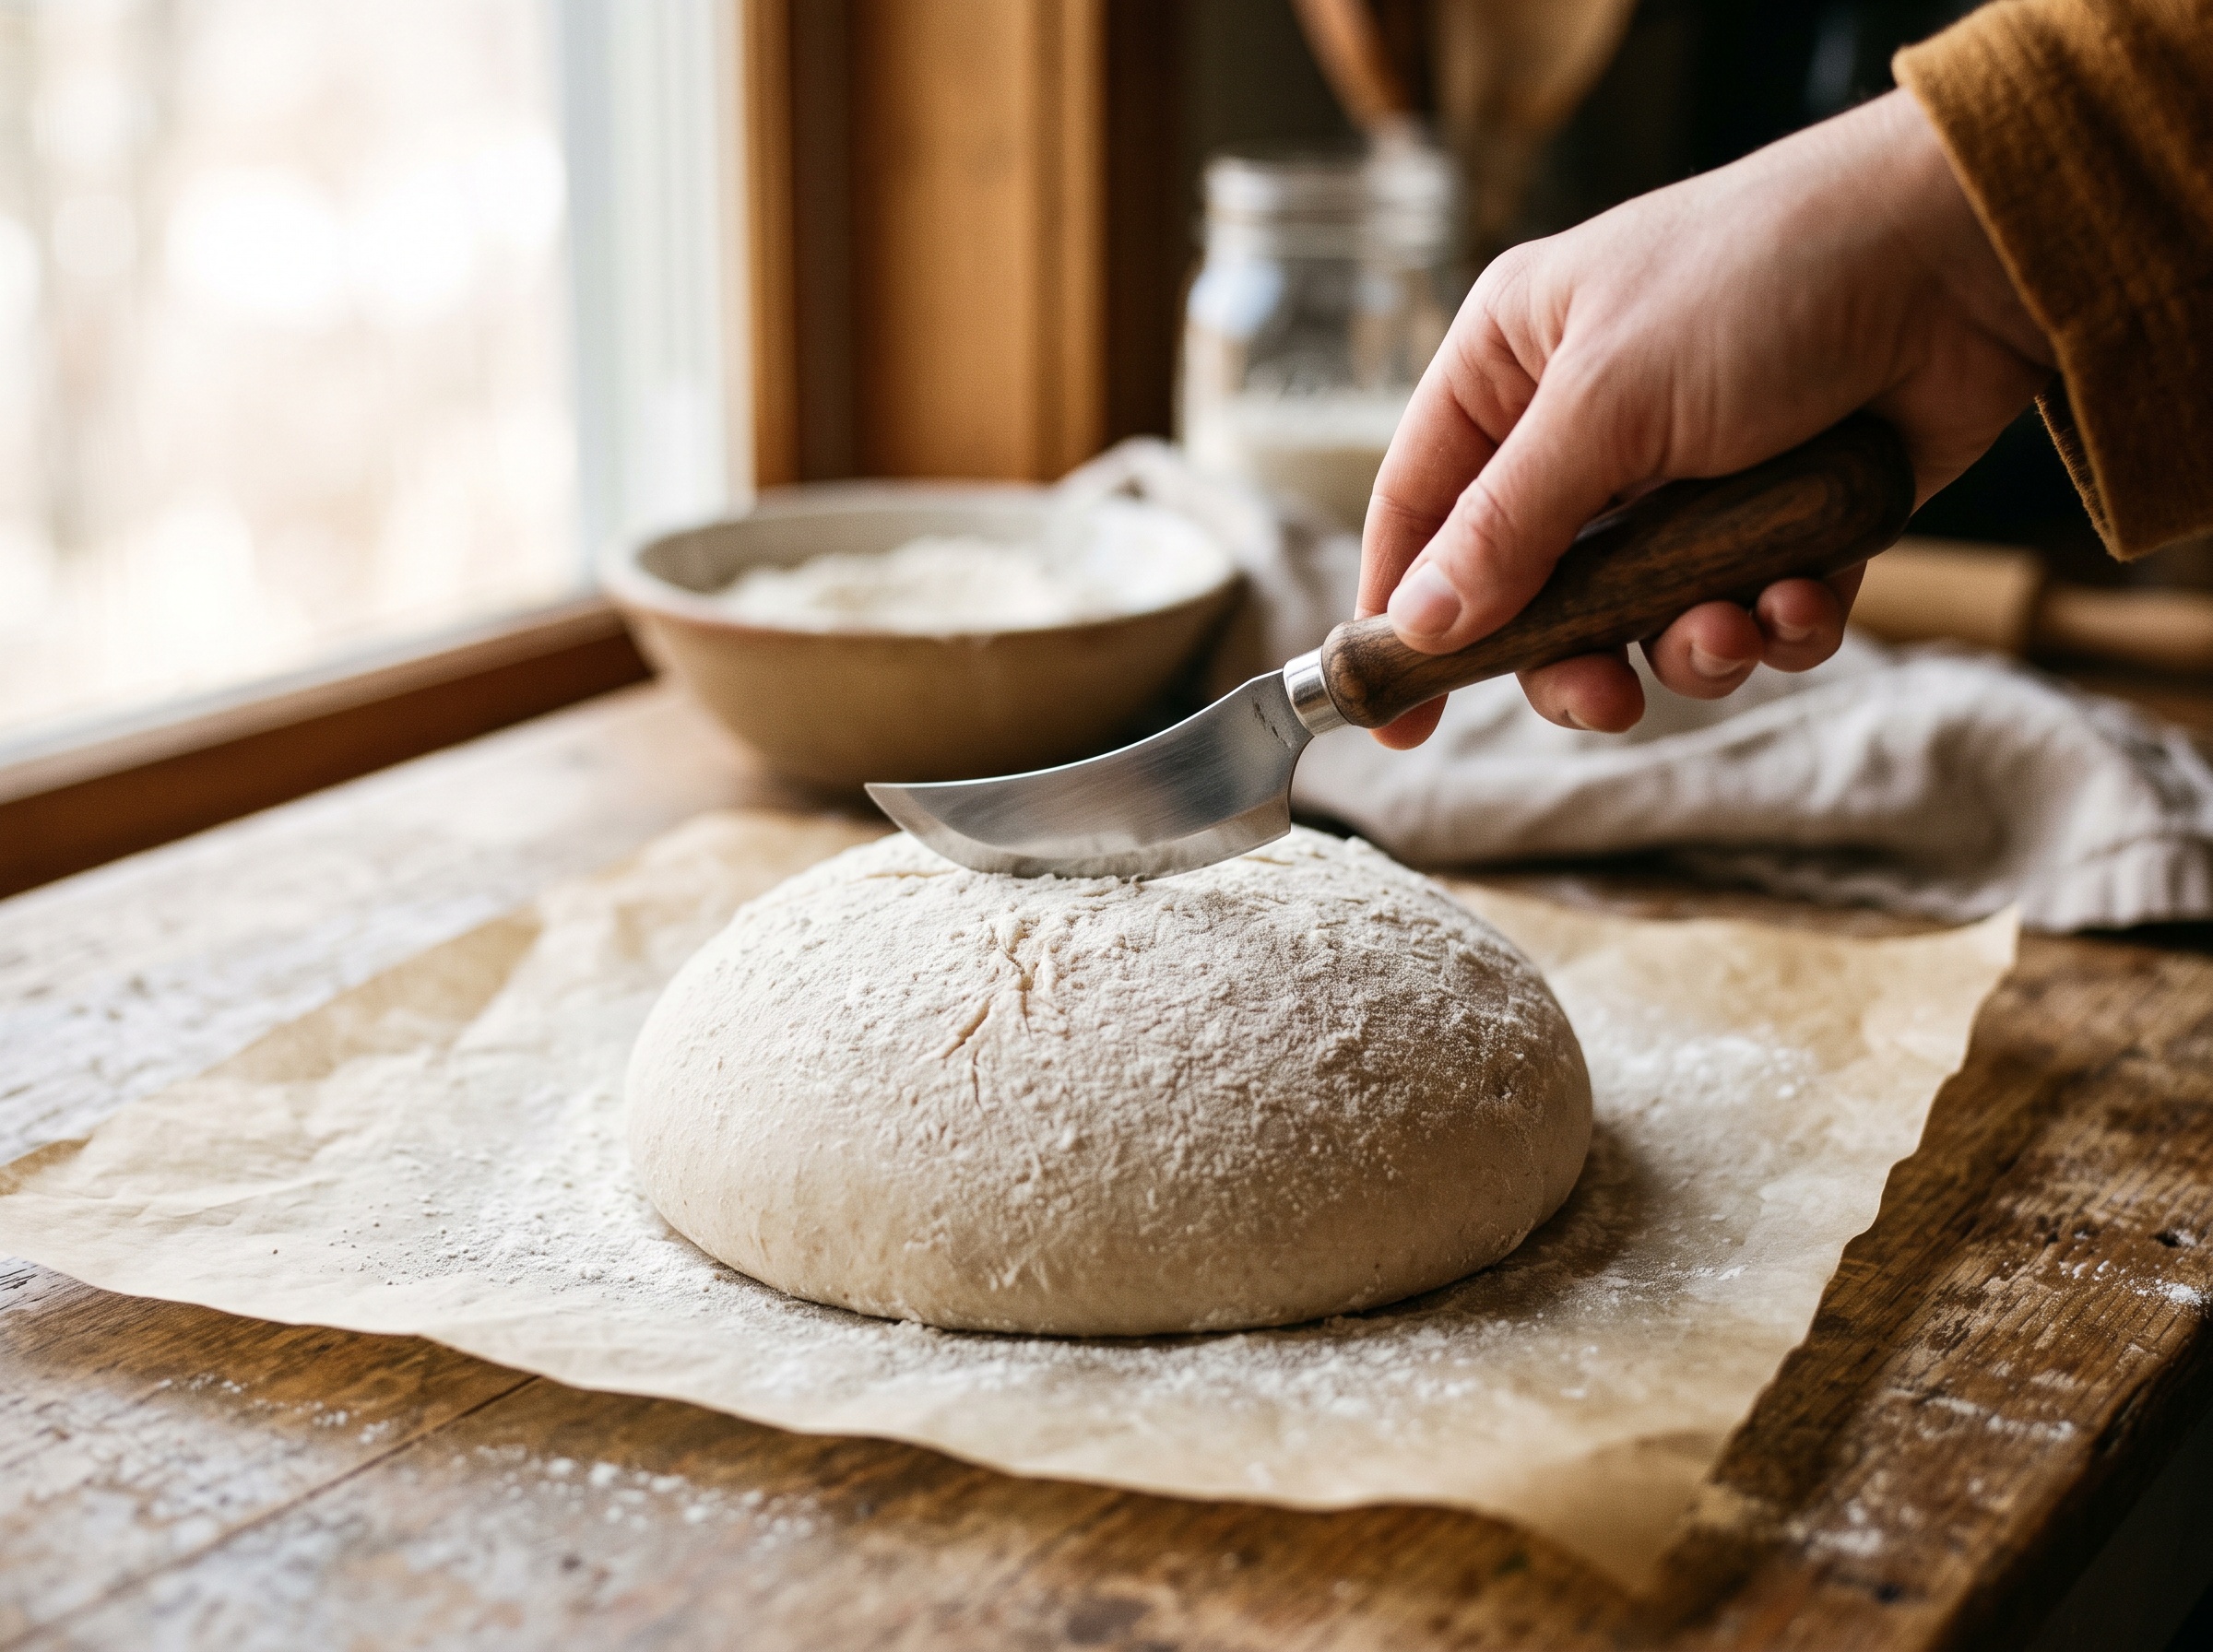
    A baker scoring a cold, taut sourdough loaf straight from the fridge
    Score it straight from the fridge — a cold, tight skin blisters better than a warm slack one.

    A quick reality check on blisters

    One honest note, because trust is what matters more than glamour here: blisters are a cosmetic bonus, not a measure of a good loaf. A blistered crust tells you the bread had a nice long cold fermentation, which does tend to come with better flavor and a crisper crust — but a smooth-crusted loaf with an open, tender crumb and great taste is not a failure. Plenty of superb bread never blisters. Chase blisters because you like how they look and eat, not because a bread without them is somehow wrong.

    That said, once you know the lever — cold, long, slightly dry surface, bake cold with early steam — you can turn blisters on almost at will. It’s one of the most satisfying little upgrades in sourdough, because it costs you nothing but a night in the fridge.

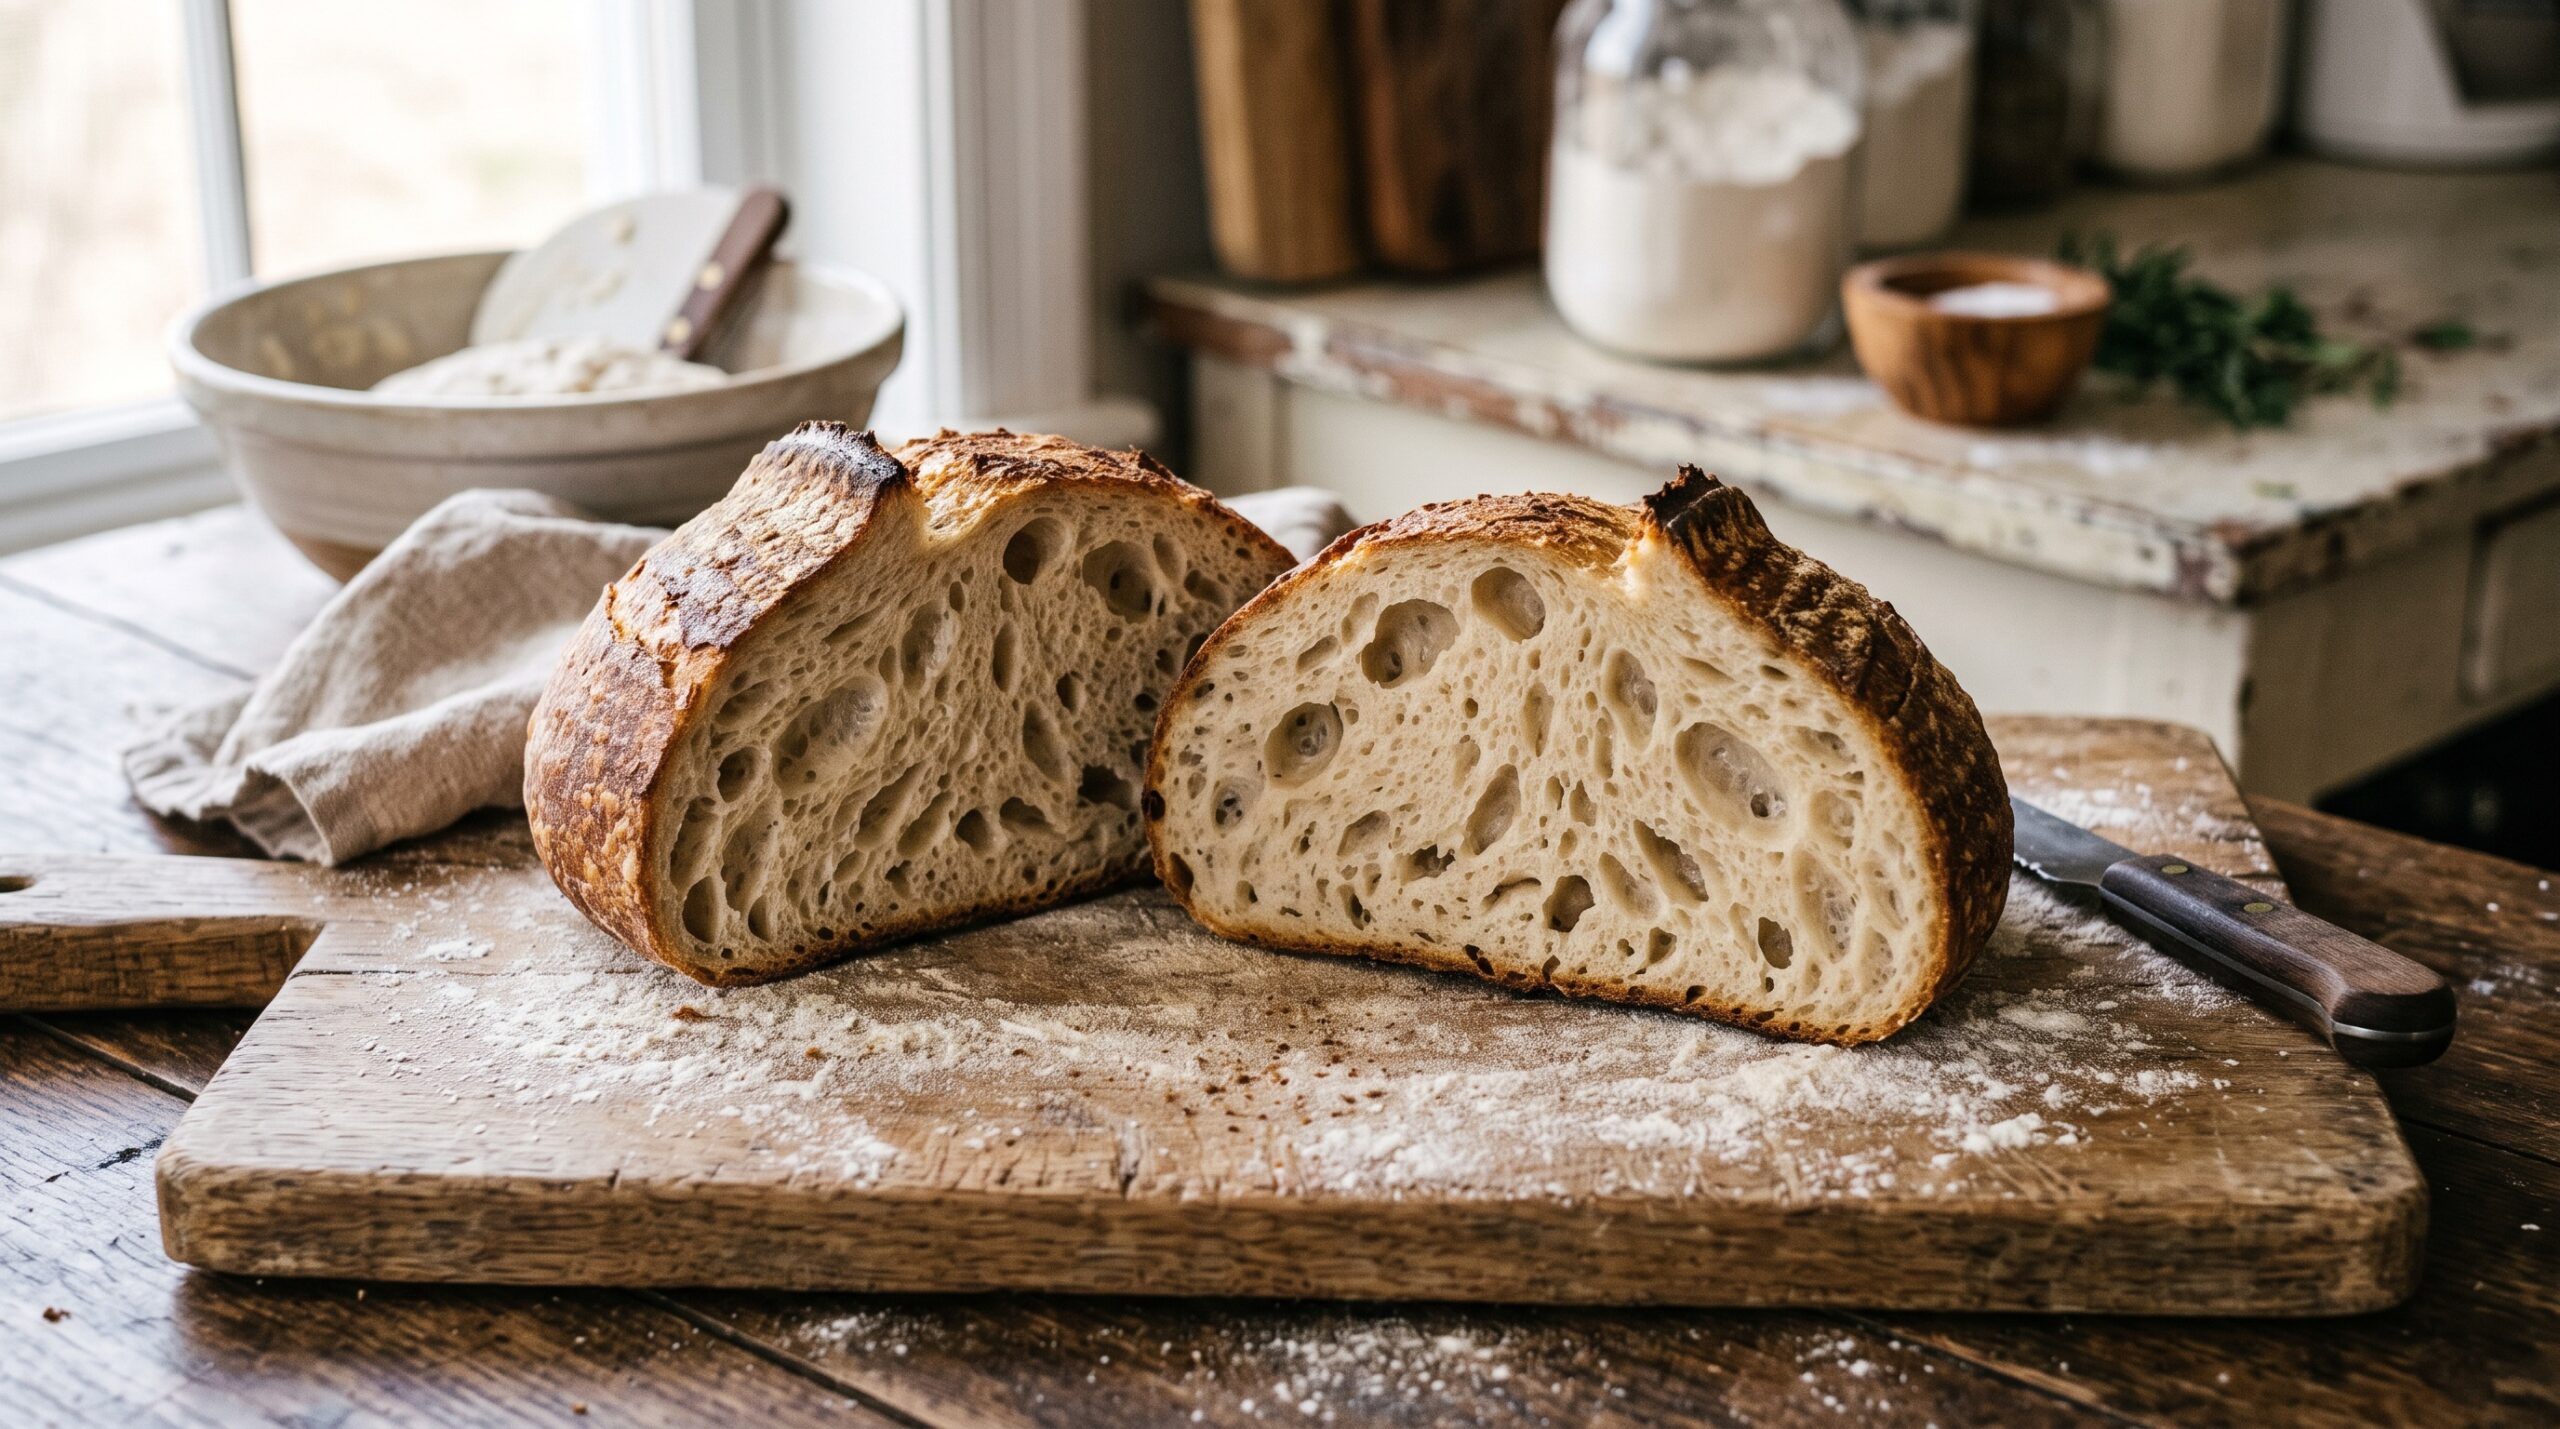
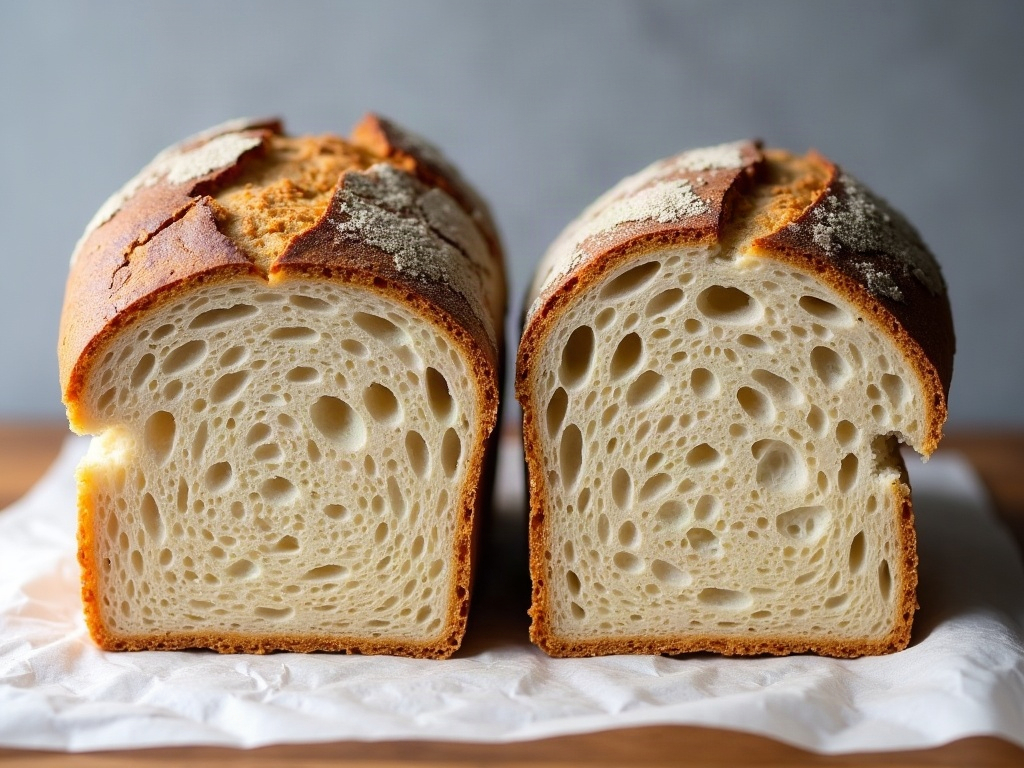
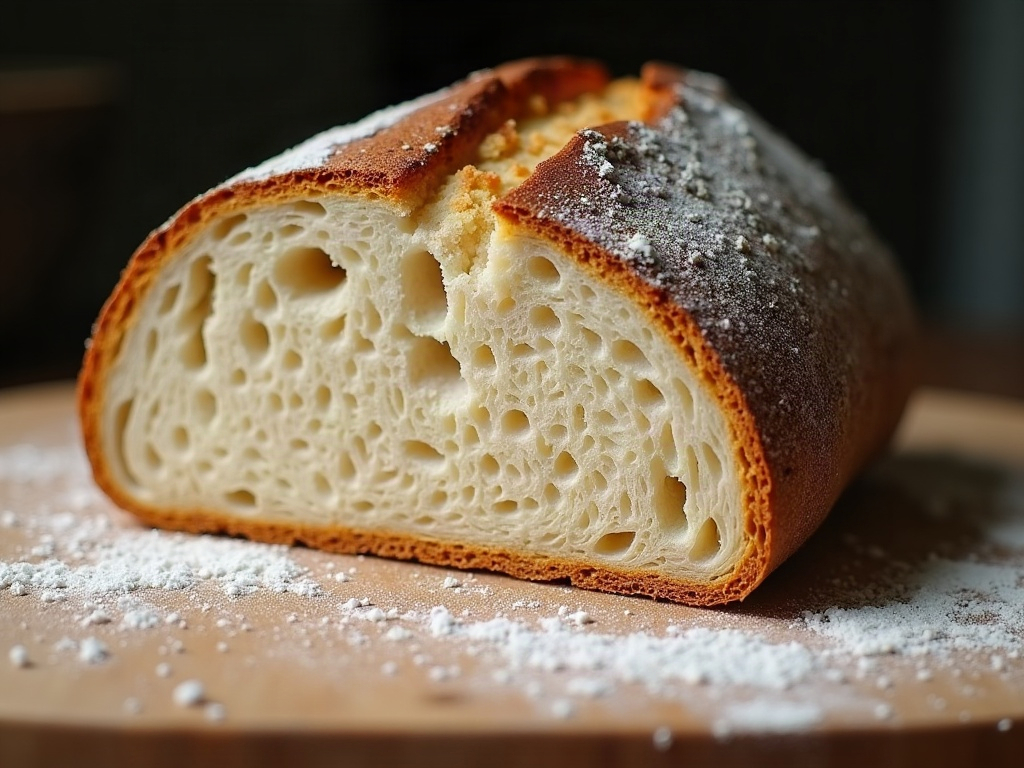
    Two loaves side by side: one smooth crust, one heavily blistered
    Same recipe, different proof: the blistered loaf got the cold overnight rest; the smooth one didn’t.

    Try it on your next loaf

    Bake your usual recipe right up through shaping. Then, instead of proofing on the counter and baking same-day, put the shaped loaf in the fridge overnight with a loose cover so the surface can firm up. In the morning, score it cold and bake it straight from the fridge with strong steam for the first half, dry heat for the second. Pull it out and look at the crust — odds are very good you’ll see your first proper field of blisters.

    If you want to watch the whole cold-retard-to-blister process in real time, the full step-by-step is on the LoafLovers YouTube channel, and our free sourdough troubleshooting guide walks through the timing so you can slot it into a normal week. Bake it cold, steam it early, and let that crust crackle.

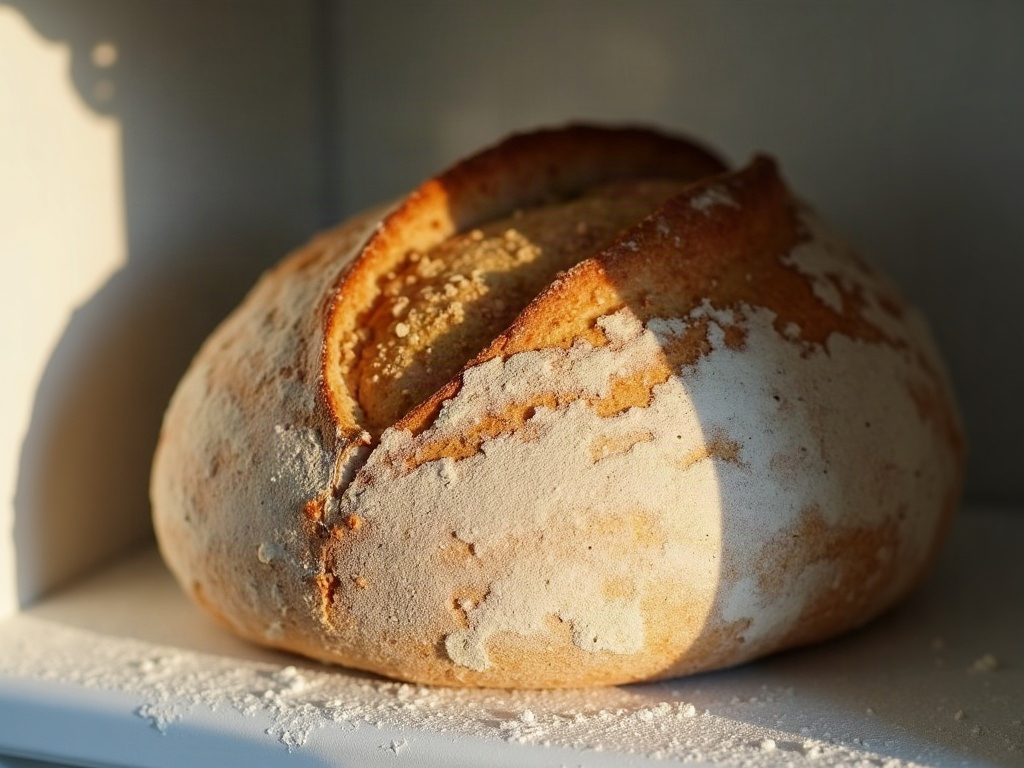
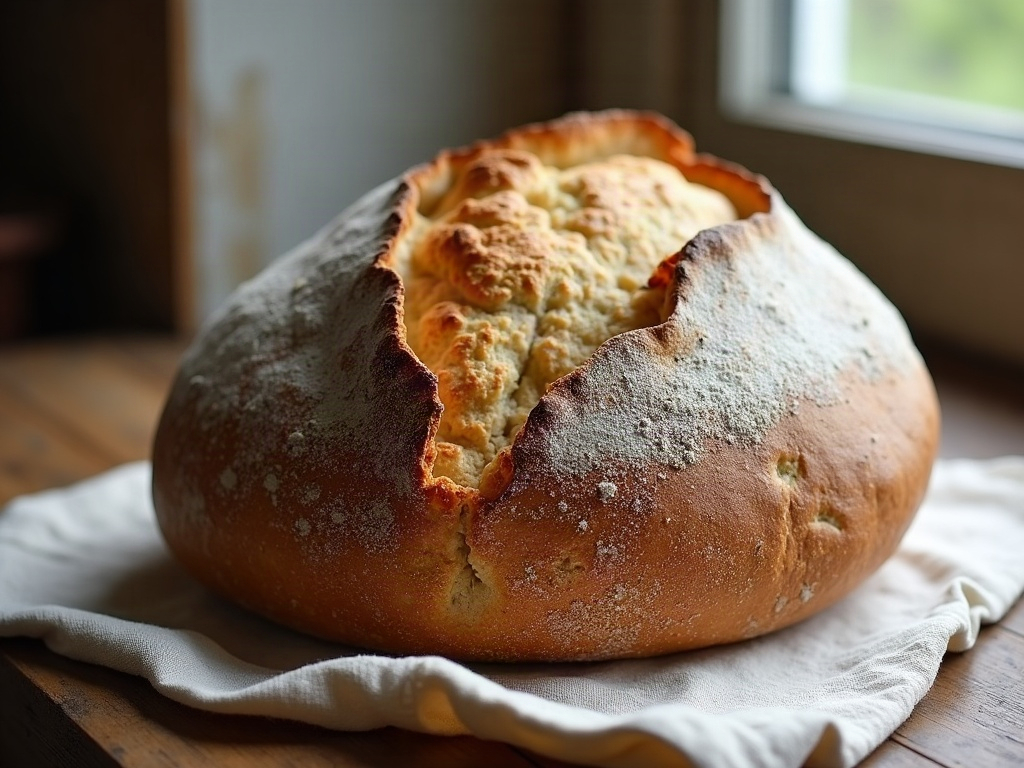
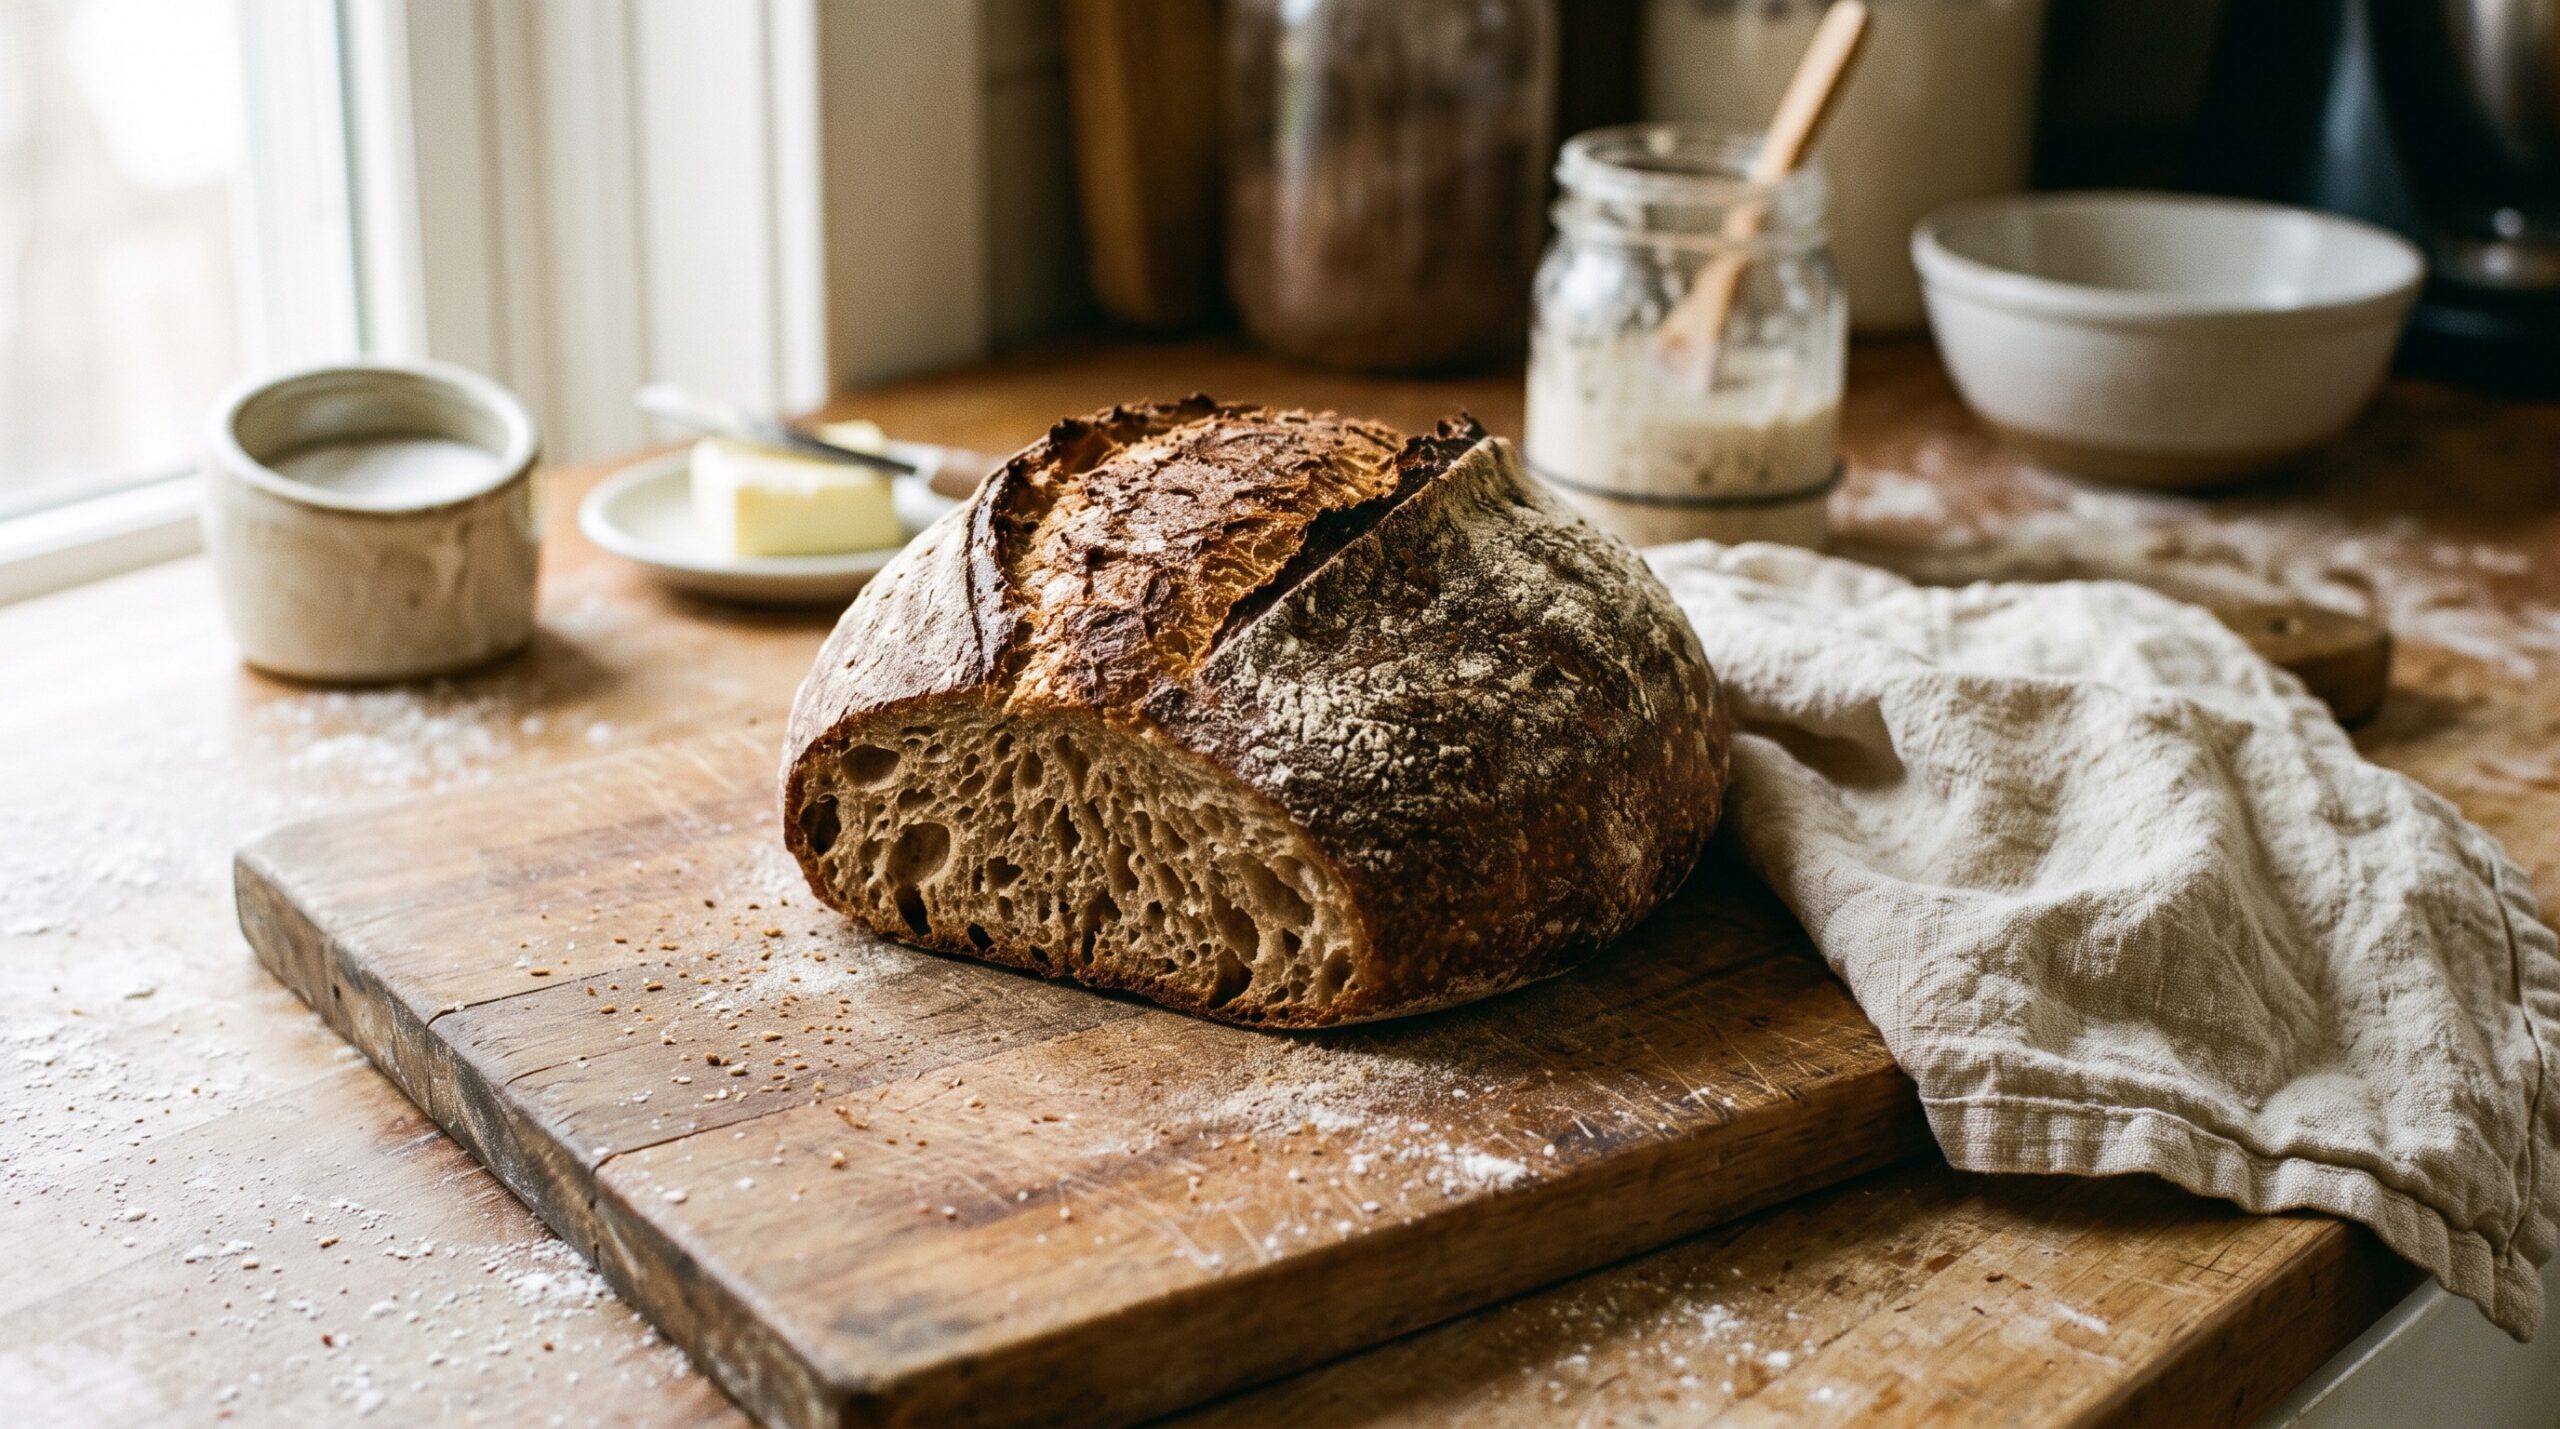
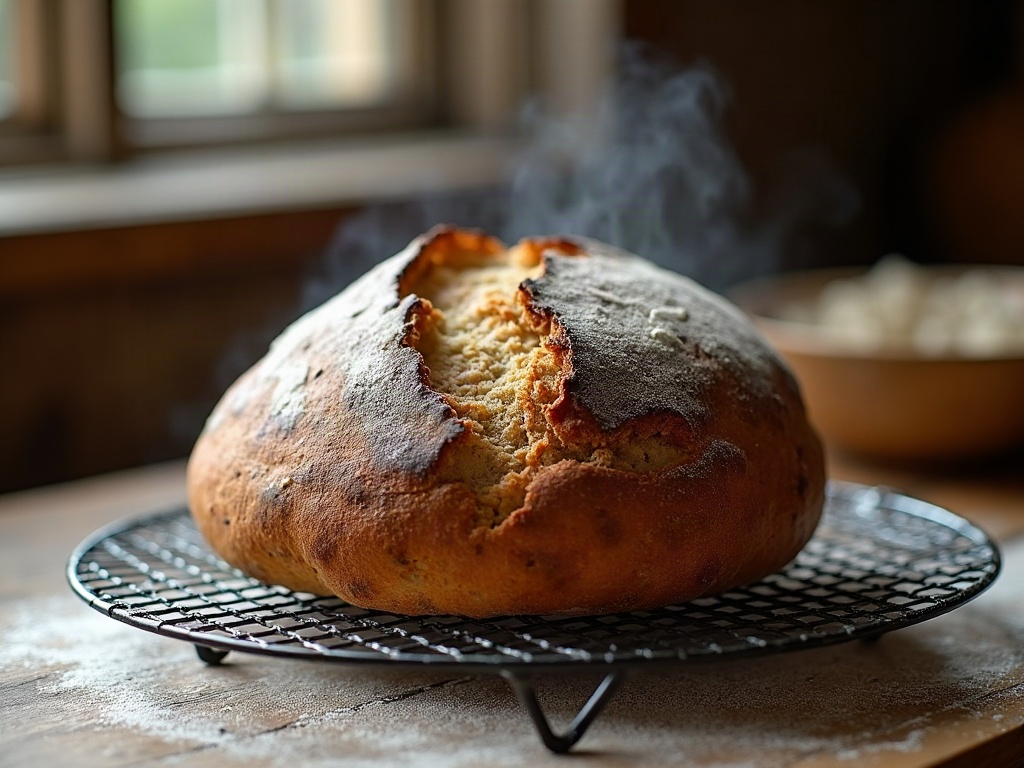
    A freshly baked blistered loaf cooling on a wire rack
    The payoff: a shattering, blistered crust straight out of your home oven.

    Related Reading

  • Sourdough in a Hot Kitchen: How to Stop Summer Heat From Overproofing Your Dough

    Sourdough in a Hot Kitchen: How to Stop Summer Heat From Overproofing Your Dough

    You followed the same recipe that gave you a gorgeous loaf in the spring. Same flour, same starter, same folds. But now it’s July, your kitchen is warm, and the dough is a slack, bubbly puddle that spreads into a sad frisbee the moment you turn it out.

    You didn’t do anything wrong. Your kitchen just got hot — and heat is the single biggest accelerator in sourdough. Baking sourdough in a hot kitchen means everything happens faster than the recipe expects, and if you don’t adjust, your dough overproofs before you ever get it to the oven. Here’s what’s really going on, and exactly how to pump the brakes.

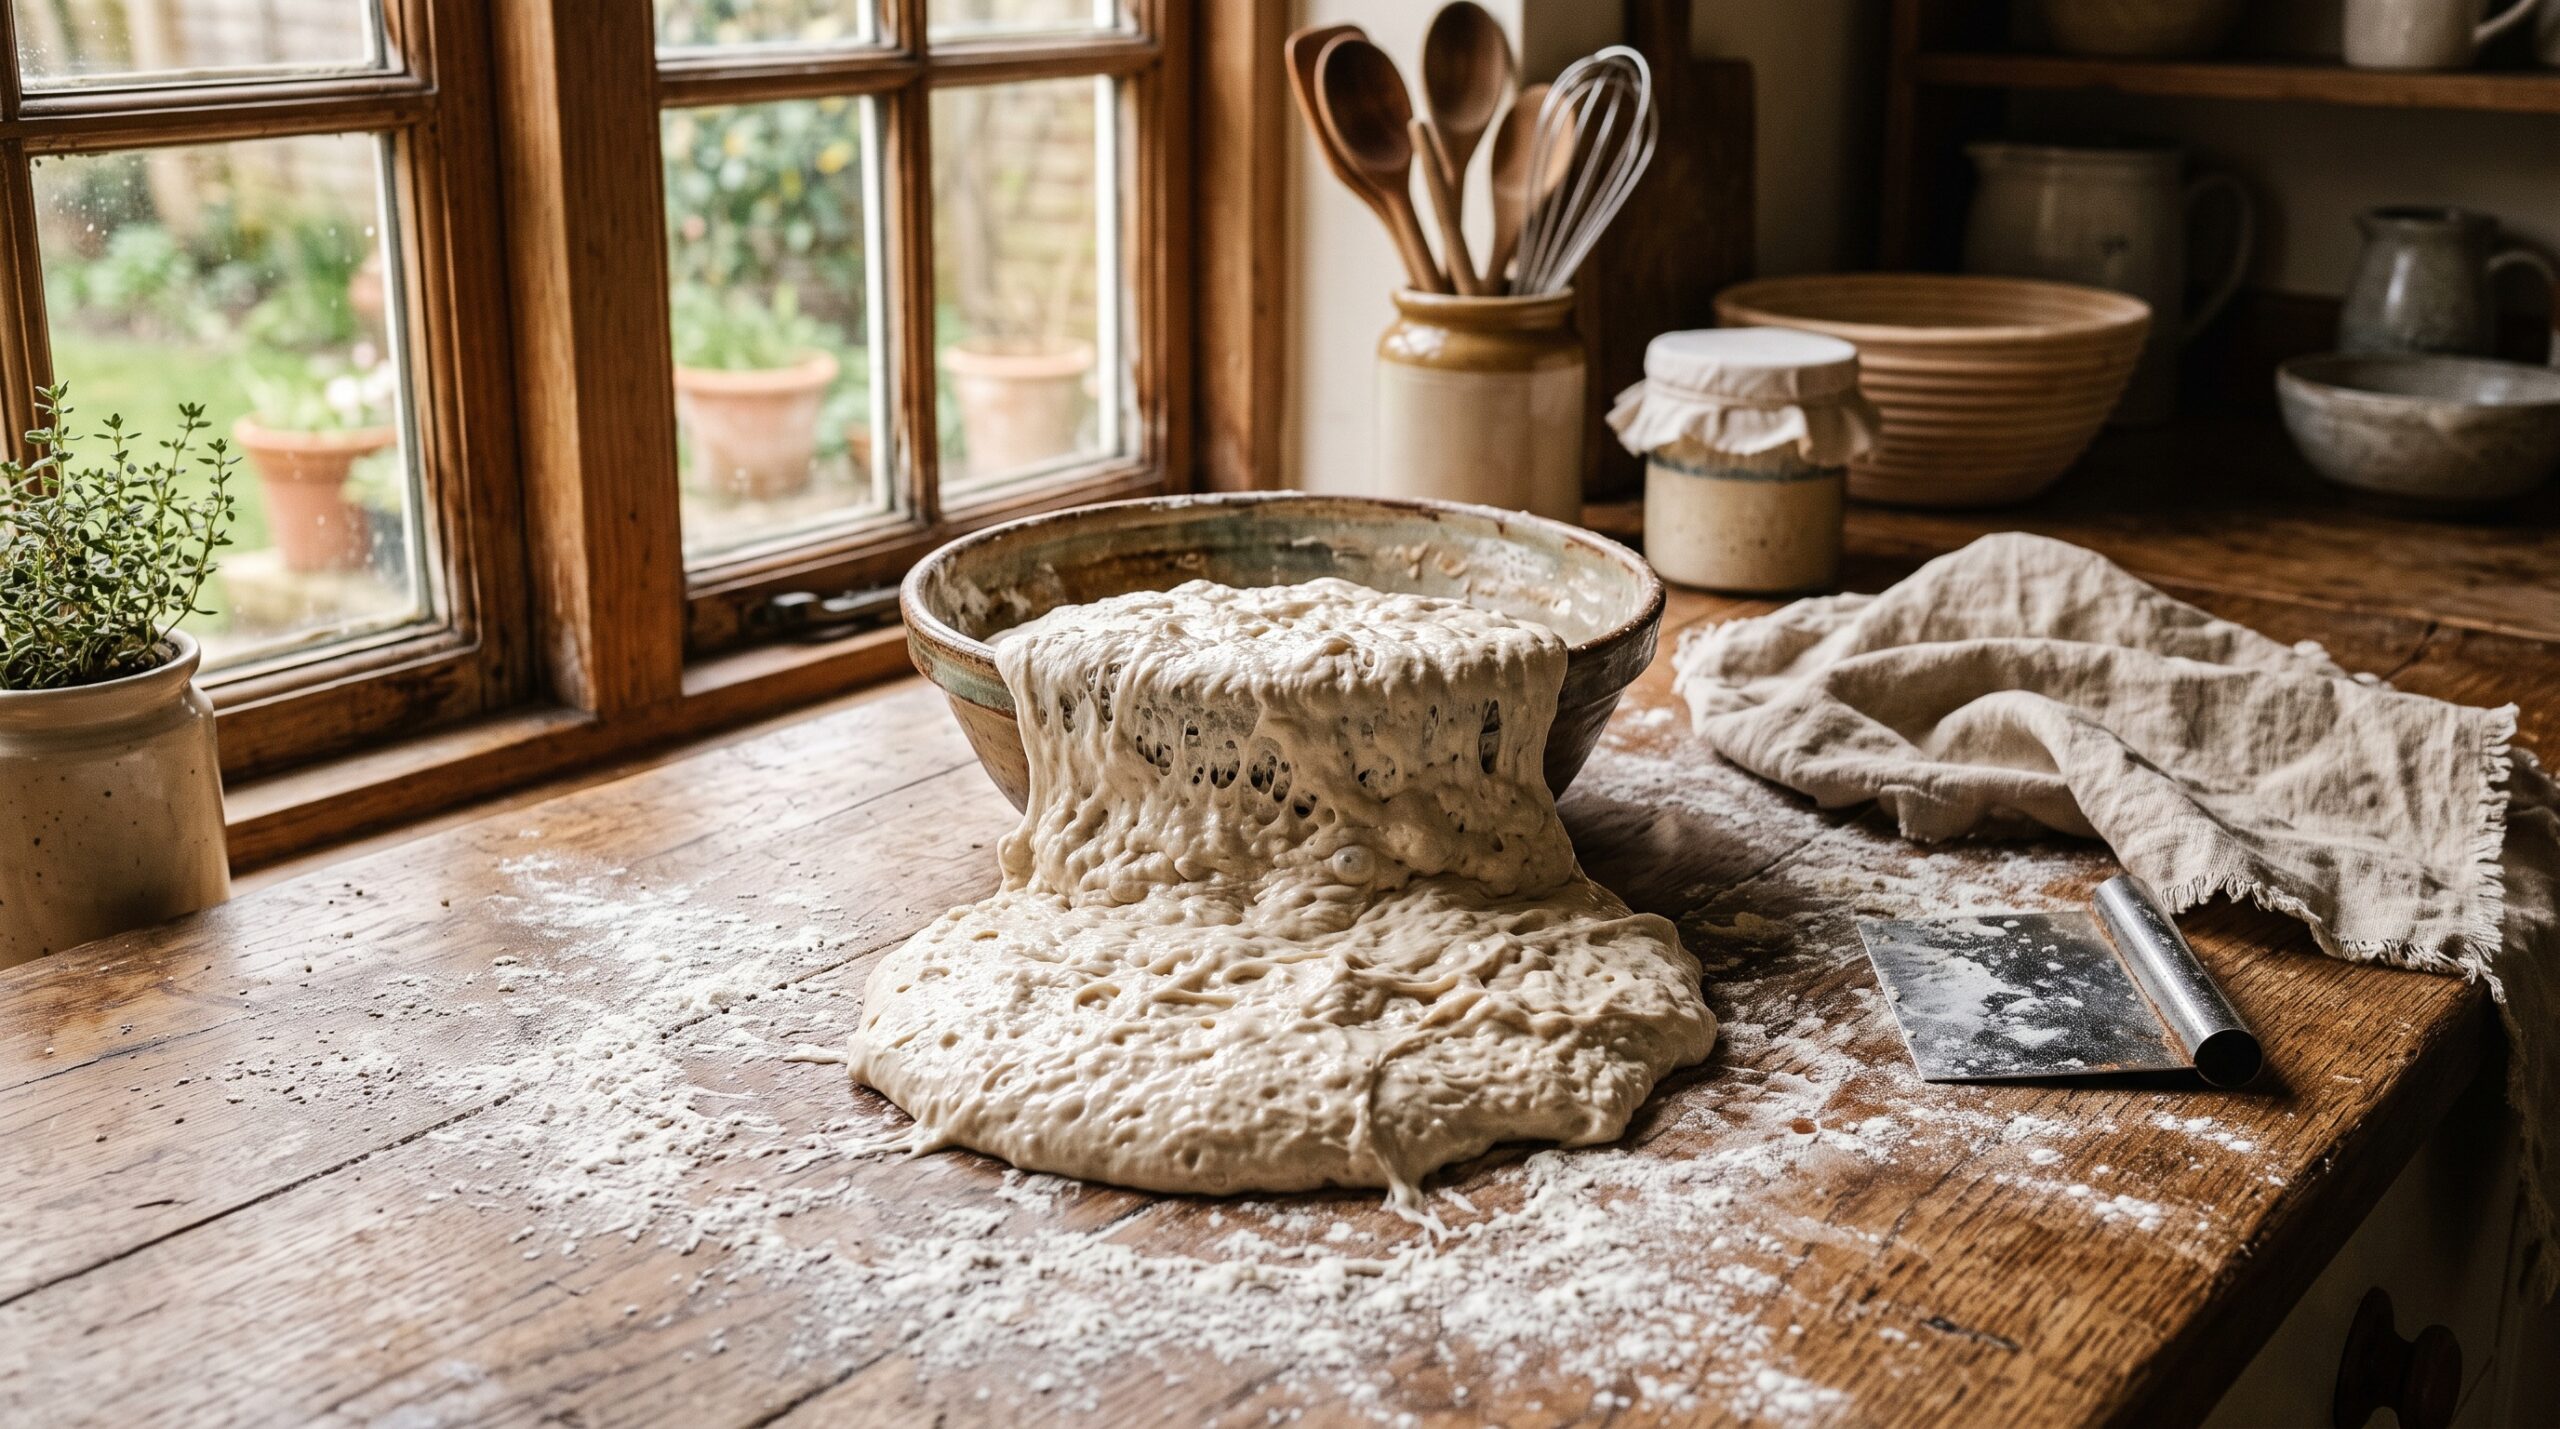
    Slack over-relaxed sourdough dough spreading in a bowl on a floured wooden counter
    In a hot kitchen, dough can go from ready to overproofed while your back is turned.

    Why heat wrecks your timeline

    Sourdough is alive, and like most living things, it speeds up when it’s warm. The wild yeast and bacteria in your starter ferment faster as temperature rises. A rough rule bakers lean on: for every 8 to 9°F (about 5°C) warmer, fermentation activity roughly doubles.

    That’s enormous. A bulk ferment that took a comfortable 5 to 6 hours in a 70°F kitchen can be done and over in 3 hours — or less — when the room hits the mid-80s. If your recipe says “bulk for 5 hours” and you follow the clock, you’ll walk back to a dough that peaked two hours ago and is now collapsing.

    The symptoms of a hot-kitchen overproof are classic: dough that’s gassy and slack, tears easily, won’t hold shape, spreads flat when turned out, and bakes into a dense, pale loaf with a gummy crumb and little oven spring. It’s not a shaping problem or a starter problem. It’s a timing problem caused by heat.

    Your starter is racing too

    Bubbly sourdough starter overflowing and collapsing past its peak
    Heat pushes a starter to peak fast, then straight past it.

    The heat doesn’t just speed up the dough — it speeds up your starter before the dough even exists.

    In summer, a starter can hit its peak in 3 to 4 hours instead of the usual 6 to 8, then deflate and turn sour and boozy while you’re waiting for the “right” time. If you feed on your winter schedule, you may be building your dough with a starter that’s already past peak and running low on power.

    Two fixes: watch the jar, not the clock — use your starter right as it domes and is bubbly and active, whenever that happens. And consider a smaller or cooler feeding, or feeding with cooler water, so it doesn’t sprint past peak before you’re ready to mix.

    The most powerful lever: dough temperature

    The single most effective thing you can do in a hot kitchen is control the temperature of the dough itself, and the easiest way to do that is your water.

    Hands adding cool water to flour with ice cubes nearby for a hot-day bake
    Cooler water is the simplest brake on a fast summer ferment.

    Water is the ingredient you can chill on demand. On a hot day, use cold water — even refrigerated water — when you mix. Serious bakers aim for a final dough temperature (the temp of the dough right after mixing) of around 75 to 78°F. In a warm kitchen, cool water is how you hit that instead of starting at 82°F and climbing from there.

    A few practical moves:

    • Use cold water straight from the fridge for your mix. On truly hot days, replace a little of the water with a few ice cubes and let them melt in.
    • Chill your flour if your kitchen is genuinely hot — an hour in the fridge or freezer takes the edge off.
    • Take the dough’s temperature with an instant-read thermometer after mixing. Once you know your starting number, you can predict how fast things will move.

    Start cooler, and the whole ferment slows to a pace you can actually manage.

    Shorten the bulk and read the dough

    The other half of the fix is letting go of the recipe’s clock entirely.

    In a hot kitchen, forget “bulk for 5 hours.” Instead, watch the dough. Bulk fermentation is done when the dough has risen by roughly 30 to 75% (depending on your style), looks domed and jiggly, shows some bubbles on the surface and sides, and feels alive and airy rather than dense. In summer that state can arrive dramatically sooner than you expect — so check early and check often.

    Set a timer to remind you to look, not to tell you it’s finished. Do your stretch-and-folds in the first hour or two, then start watching closely. The moment the dough is billowy and airy but still has some structure and tension, move on to shaping. Waiting “because the recipe said so” is exactly how hot-kitchen loaves die.

    Let the fridge do the heavy lifting

    Shaped sourdough boule in a banneton going into the fridge to slow fermentation
    The fridge is your best friend when the room won’t cool down.

    When your room simply won’t cooperate, borrow a cooler one: your refrigerator.

    A cold retard — shaping your loaf and then resting it in the fridge — is the ultimate hot-weather rescue. The cold dramatically slows fermentation, which gives you flexibility, better flavor, and easier scoring. In summer this is your control valve:

    • Retard after shaping. Get through bulk (watching the dough), shape, then put the banneton straight into the fridge overnight. Bake cold, straight from the fridge, the next morning.
    • Use the fridge mid-bulk if you get ambushed. If life pulls you away and you’re worried the dough will overproof on the counter, pop the whole bulk container into the fridge to slam the brakes on, then resume when you’re back.
    • Consider a shorter, cooler bulk plus a cold proof rather than a long warm bulk that runs away from you.

    The fridge turns “my kitchen is 85°F and I have no control” into a manageable, unhurried bake.

    Your hot-kitchen game plan

    A well-risen sourdough boule with a good ear cooling on a rack by a window
    Slow the ferment down and even a heatwave loaf springs tall.

    Put it together and a heatwave stops being the enemy. When the kitchen is warm: use your starter right at peak, mix with cold (or iced) water to hit a cooler dough temperature, expect bulk to finish much faster and watch the dough instead of the clock, shape as soon as it’s billowy, and lean on the fridge to slow things down whenever you need breathing room.

    None of this changes your recipe’s ingredients — it just changes the pace, so your dough rises tall instead of spreading flat. Heat is a variable, not a verdict.

    Want to see the difference between an on-time summer bake and an overproofed one, side by side? The full visual walkthrough lives on the LoafLovers YouTube channel, and our free sourdough troubleshooting guide breaks down exactly what a well-timed dough should look like at every stage — so the next hot-day loaf is your best one yet.


    Sources & further reading:

    Related Reading

  • How to Tell When Sourdough Is Fully Baked: Internal Temperature and the Signs That Actually Work

    How to Tell When Sourdough Is Fully Baked: Internal Temperature and the Signs That Actually Work

    Here’s the scene that sends more bakers back to square one than almost any other. The crust came out deep and glossy, the timer had gone off, the kitchen smelled incredible — so you pulled the loaf, felt proud, and let it cool. Then the next morning you sliced in and found it: a dense, slightly damp band hugging the bottom crust, the crumb above it a little tight and claggy. It looked done. It wasn’t.

    The frustrating part is that “golden crust” and “the timer went off” are the two signals most of us instinctively trust, and neither one actually tells you what’s happening in the middle of the loaf. A big round of high-hydration sourdough holds a startling amount of water, and the center is the last place to finish. The good news: there is one test that removes all the guesswork, plus a couple of reliable backups. Let’s make “is it done?” a question you can answer with confidence instead of hope.

    A sourdough boule sliced in half showing a fully baked, evenly set open crumb
    Fully baked: the crumb is set and springy all the way to the base, with no gummy line.

    What “done” actually means inside the loaf

    Baking bread isn’t just about browning the outside. Inside, two things have to finish. First, the starch has to gelatinize and then set — the granules swell, absorb water, and lock into a stable structure as they cool. Second, enough moisture has to drive off so the crumb is springy rather than paste-like. Both of those happen at a specific interior temperature, and they happen well after the crust has already colored.

    That’s the trap. The crust browns through the Maillard reaction and caramelization at surface temperatures far above what the center ever reaches. So the outside can look gorgeous while the core is still a good 10–20°F short of set. Pull it there and the unfinished starch stays gummy, especially in the densest, wettest part of the loaf: the bottom third, where gravity has pulled moisture down all bake long.

    The single most reliable test: internal temperature

    If you take one thing from this article, take this: buy an instant-read digital thermometer and probe the center of the loaf. It costs less than a banneton and it ends the doneness argument permanently.

    Insert the probe into the thickest part of the loaf, ideally angling in from the base so you don’t leave a mark on your scored top, and push it toward the geometric center. Then read the number:

    • 205–210°F (96–99°C) is the target for most rustic sourdough. This is the sweet spot where the crumb is fully set but not dried out.
    • Below about 200°F (93°C) and the center is very likely still underdone — expect that damp, tight band. Put it back in.
    • Enriched or pan loaves (with butter, milk, or eggs) finish a touch lower, around 190–200°F, because the fats and sugars change how they set.

    One honest caveat: temperature is necessary but works best alongside time. A loaf that hits 208°F in the last five minutes of a rushed bake can still read a little gummy if the crumb hasn’t had enough total heat to properly dry. In practice this is rare — if your bake time is in the normal range and you’re hitting 205–210°F, you’re done. Trust the number over the clock and over the crust color every single time.

    An instant-read thermometer probe inserted into the base of a baked sourdough loaf
    The one test that never lies: probe the center from the base and read the internal temperature.

    The backup signals when you don’t have a thermometer

    No probe on hand? These won’t be as precise, but stacked together they get you close.

    The hollow thump. Turn the loaf over and knock the base firmly with two fingers or a knuckle. A finished loaf sounds hollow and resonant, like a small drum. A dull, muffled thud means there’s still dense, moist crumb absorbing the sound — give it more time.

    Weight in the hand. A properly baked loaf feels surprisingly light for its size because so much water has left as steam. If it feels heavy and dense relative to how big it looks, moisture is still trapped inside.

    Crust that’s set, not soft. The whole crust — including the bottom and sides — should feel firm and crisp, not leathery or bendy. A base that gives when you press it usually means the loaf came out early.

    The color floor. Aim for a genuinely deep, rich brown, not a timid tan. Underbaked loaves are almost always pale as well as damp. Color alone isn’t proof of doneness, but a pale crust is a reliable sign it’s not done. Bake bolder than feels comfortable; sourdough can take it.

    Why your loaf looks done but isn’t

    If you keep pulling loaves that turn out gummy despite looking perfect, the cause is usually one of these:

    Your oven runs cooler than the dial says. Home ovens are routinely off by 15–25°F, and many cycle their heat unevenly. If the crust is browning on schedule but the center never catches up, an inexpensive oven thermometer will often reveal the real temperature is well under what you set. Calibrate to reality and your bakes get instantly more predictable.

    The crust raced ahead of the crumb. Baking too hot, or with the loaf too high in the oven, browns the outside before the inside can finish. If the crust hits deep brown but a probe reads low, drop the temperature 15–25°F for the remainder and keep baking — the center will catch up without burning the exterior.

    You baked lidded the whole time. A Dutch oven traps steam beautifully for oven spring, but leaving the lid on for the entire bake keeps the crust soft and can leave the interior underset. Take the lid off for the final third of the bake so the crust can firm and the loaf can finish drying.

    The loaf was simply too big or too wet for the time you gave it. High-hydration and larger loaves need more minutes, full stop. Don’t be afraid to add 5, 10, even 15 minutes — a probe reading tells you exactly when to stop.

    A hand tapping the bottom of a hot sourdough loaf to listen for a hollow sound
    The classic backup test: a firm, hollow knock on the base means the interior has set.

    How to rescue a loaf you think is underbaked

    Caught it before it fully cooled? You can often still save it. If the loaf has been out for only a few minutes and you suspect the center is short, put it straight back into a hot oven — no lid, directly on the rack — for another 8–15 minutes, then probe again. It won’t be as flawless as a loaf baked correctly the first time, but it will be far better than a gummy center, and completely edible.

    If you only discover the problem after it’s fully cooled and sliced, re-baking whole won’t help much. Your best move is to slice the loaf and toast it — toasting drives off the extra moisture and firms up that damp band nicely. And take the lesson into the next bake: longer, hotter enough to set, and probe before you commit.

    The cooling rule almost everyone breaks

    Here’s the twist that fools even careful bakers: a perfectly baked loaf can still read as gummy if you cut it too soon. The bake isn’t truly over when the loaf leaves the oven — the crumb keeps setting as it cools, and the residual heat continues driving out moisture. Slice into a warm loaf and you’ll drag the knife through crumb that hasn’t finished, compressing it into a doughy smear that looks exactly like underbaking.

    So give it time. Cool the loaf completely on a wire rack — not on a solid surface, which traps steam and softens the bottom crust — for at least an hour, and closer to two for a large, dense, or high-hydration loaf. It’s the hardest hour in baking, but it’s the difference between a crumb that shows off all your work and one that makes you doubt a loaf that was actually just fine.

    A sourdough slice with a dense, damp underbaked streak near the bottom crust
    Pulled too early: a wet, dense band near the base is the classic signature of an underbaked loaf.

    Put it together and doneness stops being a guess: bake bold, probe for 205–210°F, back it up with a hollow thump and a light, firm loaf, and then let it cool all the way. Do that and the gummy-bottom slice becomes a memory instead of a monthly heartbreak.

    Two golden sourdough loaves cooling completely on a wire rack
    The bake finishes on the rack: cutting in too soon reads as gummy even on a properly baked loaf.

    Want to see the thermometer test, the hollow-thump knock, and the difference between an underbaked and a fully set crumb in real time? The full walkthrough lives on the LoafLovers YouTube channel, and our free sourdough troubleshooting guide breaks down every stage from starter to slice — grab it and we’ll help you nail the next bake, all the way to the center.

    Related Reading

  • Why Did My Sourdough Deflate? Fixing Dough That Collapses When You Turn It Out or Score It

    Why Did My Sourdough Deflate? Fixing Dough That Collapses When You Turn It Out or Score It

    There are few more deflating moments in home baking — literally — than this one. You’ve babied the dough for the better part of a day. It looked plump and promising in the banneton. Then you tip it out, and it slowly spreads into a sad, flat puddle before your eyes. Or worse: it holds its shape right up until your blade touches the surface, and then the whole loaf sighs and sinks like a punctured tire. All that gas, gone in a second.

    Take a breath. Deflation feels like a mystery, but it almost never is. It traces back to a short list of causes, and every one of them is fixable once you can spot which is yours. Let’s diagnose it and make sure the next loaf stays standing.

    A slack sourdough dough spreading into a low puddle after being turned out of a banneton
    The heartbreak moment: the dough leaves the banneton and slowly spreads instead of standing proud.

    First, what deflation actually is

    Your dough is a balloon — a network of gluten holding thousands of tiny gas bubbles the yeast and bacteria have produced. A loaf that deflates has lost the ability to hold that gas. Either the balloon’s walls have gotten too weak to contain the pressure, or you’ve physically punctured them. So every cause of deflation is really an answer to one of two questions: was the structure too fragile, or did something pop it? Keep that frame in mind and the fixes organize themselves.

    Cause #1: The dough was overproofed (the most common culprit)

    This is the number one reason dough collapses on contact. When dough proofs for too long, the yeast and bacteria keep working — producing acid and gas — until the gluten network is stretched past its limit and starts to break down. It becomes slack, delicate, and unable to support itself. An overproofed loaf can look gorgeously puffy in the banneton precisely because it’s maxed out; there’s no strength left in reserve. So the moment you turn it out or nick it with a blade, it has nothing to fall back on and it collapses.

    How to tell it’s overproofing: the dough felt very slack and almost soupy, showed lots of large surface bubbles, and gave off a sharply sour smell. The classic confirmation is the poke test — press a floured finger into the dough and the dimple stays put and doesn’t spring back at all. If that’s you, the fix is to shorten the proof.

    • Pull the dough earlier. Especially in a warm kitchen, fermentation runs faster than most guides assume. Learn to read the dough rather than the clock — our guide to telling overproofed from underproofed walks through exactly what to look for.
    • Use the poke test properly. When the dimple springs back slowly and only partway, it’s ready. When it doesn’t spring back at all, you’ve gone too far. See the full method in how to use the poke test.
    • Cold-proof for control. Retarding the shaped loaf in the fridge slows things right down and gives you a much wider, more forgiving window to bake in.
    A finger pressing proofed sourdough to test how quickly the dimple springs back
    The poke test tells you whether the dough is ready or already over the edge into fragile territory.

    Cause #2: The gluten was never strong enough to begin with

    Sometimes the dough isn’t overproofed — it simply never developed the structure to hold its shape in the first place. Under-developed gluten produces a batter-like dough that can’t trap gas efficiently and sags the instant it loses the support of the bowl or banneton. This is a structure problem, not a timing one.

    The usual reasons: not enough stretch-and-folds during bulk, too little strength-building for a high-hydration dough, or flour that’s simply too weak (low protein) for the job. The fixes:

    • Build more strength during bulk. A few well-timed stretch-and-folds transform a slack dough into one that holds tension. Don’t skip them, especially on wetter doughs.
    • Check your gluten before you shape. The windowpane test tells you whether the network is actually ready to hold gas — a quick way to catch weak dough before it ever reaches the banneton.
    • Look at your flour. A low-protein flour struggles to build a strong network under a long, wet ferment. If your dough is chronically slack, a stronger bread flour is one of the highest-leverage changes you can make.

    Cause #3: You knocked the gas out during transfer

    Now the mechanical causes — the times the dough was fine but your handling popped the balloon. Turning a proofed loaf out of the banneton is a genuinely delicate moment, and rough handling here undoes hours of careful work.

    • Invert, don’t squeeze. Turn the banneton over and let gravity release the dough. Don’t shake it violently, dig it out, or press on it — every squeeze crushes bubbles you can’t get back.
    • Turn out onto parchment, then transfer. Tip the loaf directly onto a sheet of parchment so you can lift the whole thing into the pot without ever handling the soft dough again. Fumbling a bare loaf from hand to pot is a classic deflation moment.
    • Fix sticking first. If the dough clings and you have to yank it free, it tears and deflates on the way out. Flour the banneton well — and if this keeps happening, see our fix for dough that sticks to the banneton.

    Cause #4: Scoring went wrong

    If the loaf holds up beautifully until the blade touches it, scoring is your suspect. A few things cause a score to deflate a loaf instead of decorating it:

    • A dull or dragging blade. A sharp lame slices cleanly through the surface. A dull one drags and pulls at the skin, tearing the gluten and letting the gas escape in a rush. Use a fresh, sharp blade every time.
    • Scoring too deep or hesitantly. Deep, sawing cuts sever too much of the structural skin. You want one confident, shallow-to-moderate stroke, not a slow, tentative gouge.
    • Warm, slack dough at the blade. This is the big one. Room-temperature dough is soft and easily torn; cold dough straight from the fridge is firm, taut, and scores like a dream. Scoring cold is the single easiest way to stop deflation-on-scoring — and it also gives you a better ear and oven spring as a bonus.
    A bread lame poised over a taut round of sourdough ready to be scored
    A confident, shallow score on cold, taut dough glides in — a dragging blade on warm dough tears and deflates.

    Cause #5: Weak shaping left nothing to hold the gas

    Shaping isn’t just about making the loaf look round — it builds the taut outer “skin” of tension that acts as a scaffold, holding the gas in and the loaf up. A slack, under-tensioned shape has no scaffold, so the loaf relaxes and spreads the moment it’s unsupported, even if the dough itself is perfectly proofed.

    The fix is to shape with real intent: create surface tension by dragging the dough gently across an unfloured patch of counter until the top is taut and domed, then let it rest seam-side up in the banneton to set. If your rounds always seem to relax and flatten, our walkthrough on shaping a boule with real tension shows exactly how to build a skin that holds. Well-shaped dough forgives a lot of small sins elsewhere; slack shaping punishes everything.

    Your quick deflation diagnosis

    Put it all together and you can pinpoint the cause in seconds by asking when the collapse happened:

    • Spread slowly into a puddle after turning out? Overproofing or weak gluten/shaping. Proof less, build more strength, shape tighter.
    • Sank the instant the blade touched it? Scoring — use a sharp blade, cut confidently, and score cold dough straight from the fridge.
    • Deflated while you were manhandling it out of the banneton? Transfer technique — invert gently onto parchment, no squeezing, and fix any sticking.
    • Looked perfect but felt fragile the whole time? Almost certainly overproofed — catch it earlier next time.
    Hands dragging a round of sourdough to build a taut, domed surface tension
    A tight shaping skin is the scaffold that holds the gas in — slack shaping is deflation waiting to happen.

    The bottom line

    A deflating loaf isn’t bad luck — it’s a message. Either the structure was too fragile to hold its gas (overproofed, under-developed, or weakly shaped) or something physically popped it (rough transfer or a bad score). Work through the five causes in order, and the fixes are refreshingly simple: proof a little less, build strength during bulk, shape with real tension, handle the dough gently on the way out, and score cold with a sharp blade. Change one thing at a time so you can see what worked, and the next loaf will turn out of the banneton standing tall and hold its breath right through the oven.

    A tall, well-risen sourdough boule with a dramatic ear cooling on linen
    Fix the cause of the collapse and this is what turns out of the banneton instead.

    Want to see a gentle turn-out and a clean, confident score in real time? The full visual walk-through — plus our free sourdough troubleshooting guide — lives on the LoafLovers YouTube channel. Come watch exactly where the deflation happens, and how to stop it.

    Related Reading

  • Bread Flour vs All-Purpose Flour for Sourdough: Does It Really Matter?

    Bread Flour vs All-Purpose Flour for Sourdough: Does It Really Matter?

    You’ve dialed in your starter. You’re weighing your water, watching your dough temperature, timing your bulk ferment. And still the loaf comes out flatter and denser than the ones you see online — a little slack when you shape it, a little tight when you slice it. You’ve read every troubleshooting guide going, and nothing quite fits. Here’s a suspect most bakers never think to question: the flour itself.

    Bread flour and all-purpose flour look identical in the bag. They are not identical in the bowl, and for sourdough — a long, wet, unforgiving process — the difference shows up in ways that are easy to blame on everything else. Let’s clear it up for good.

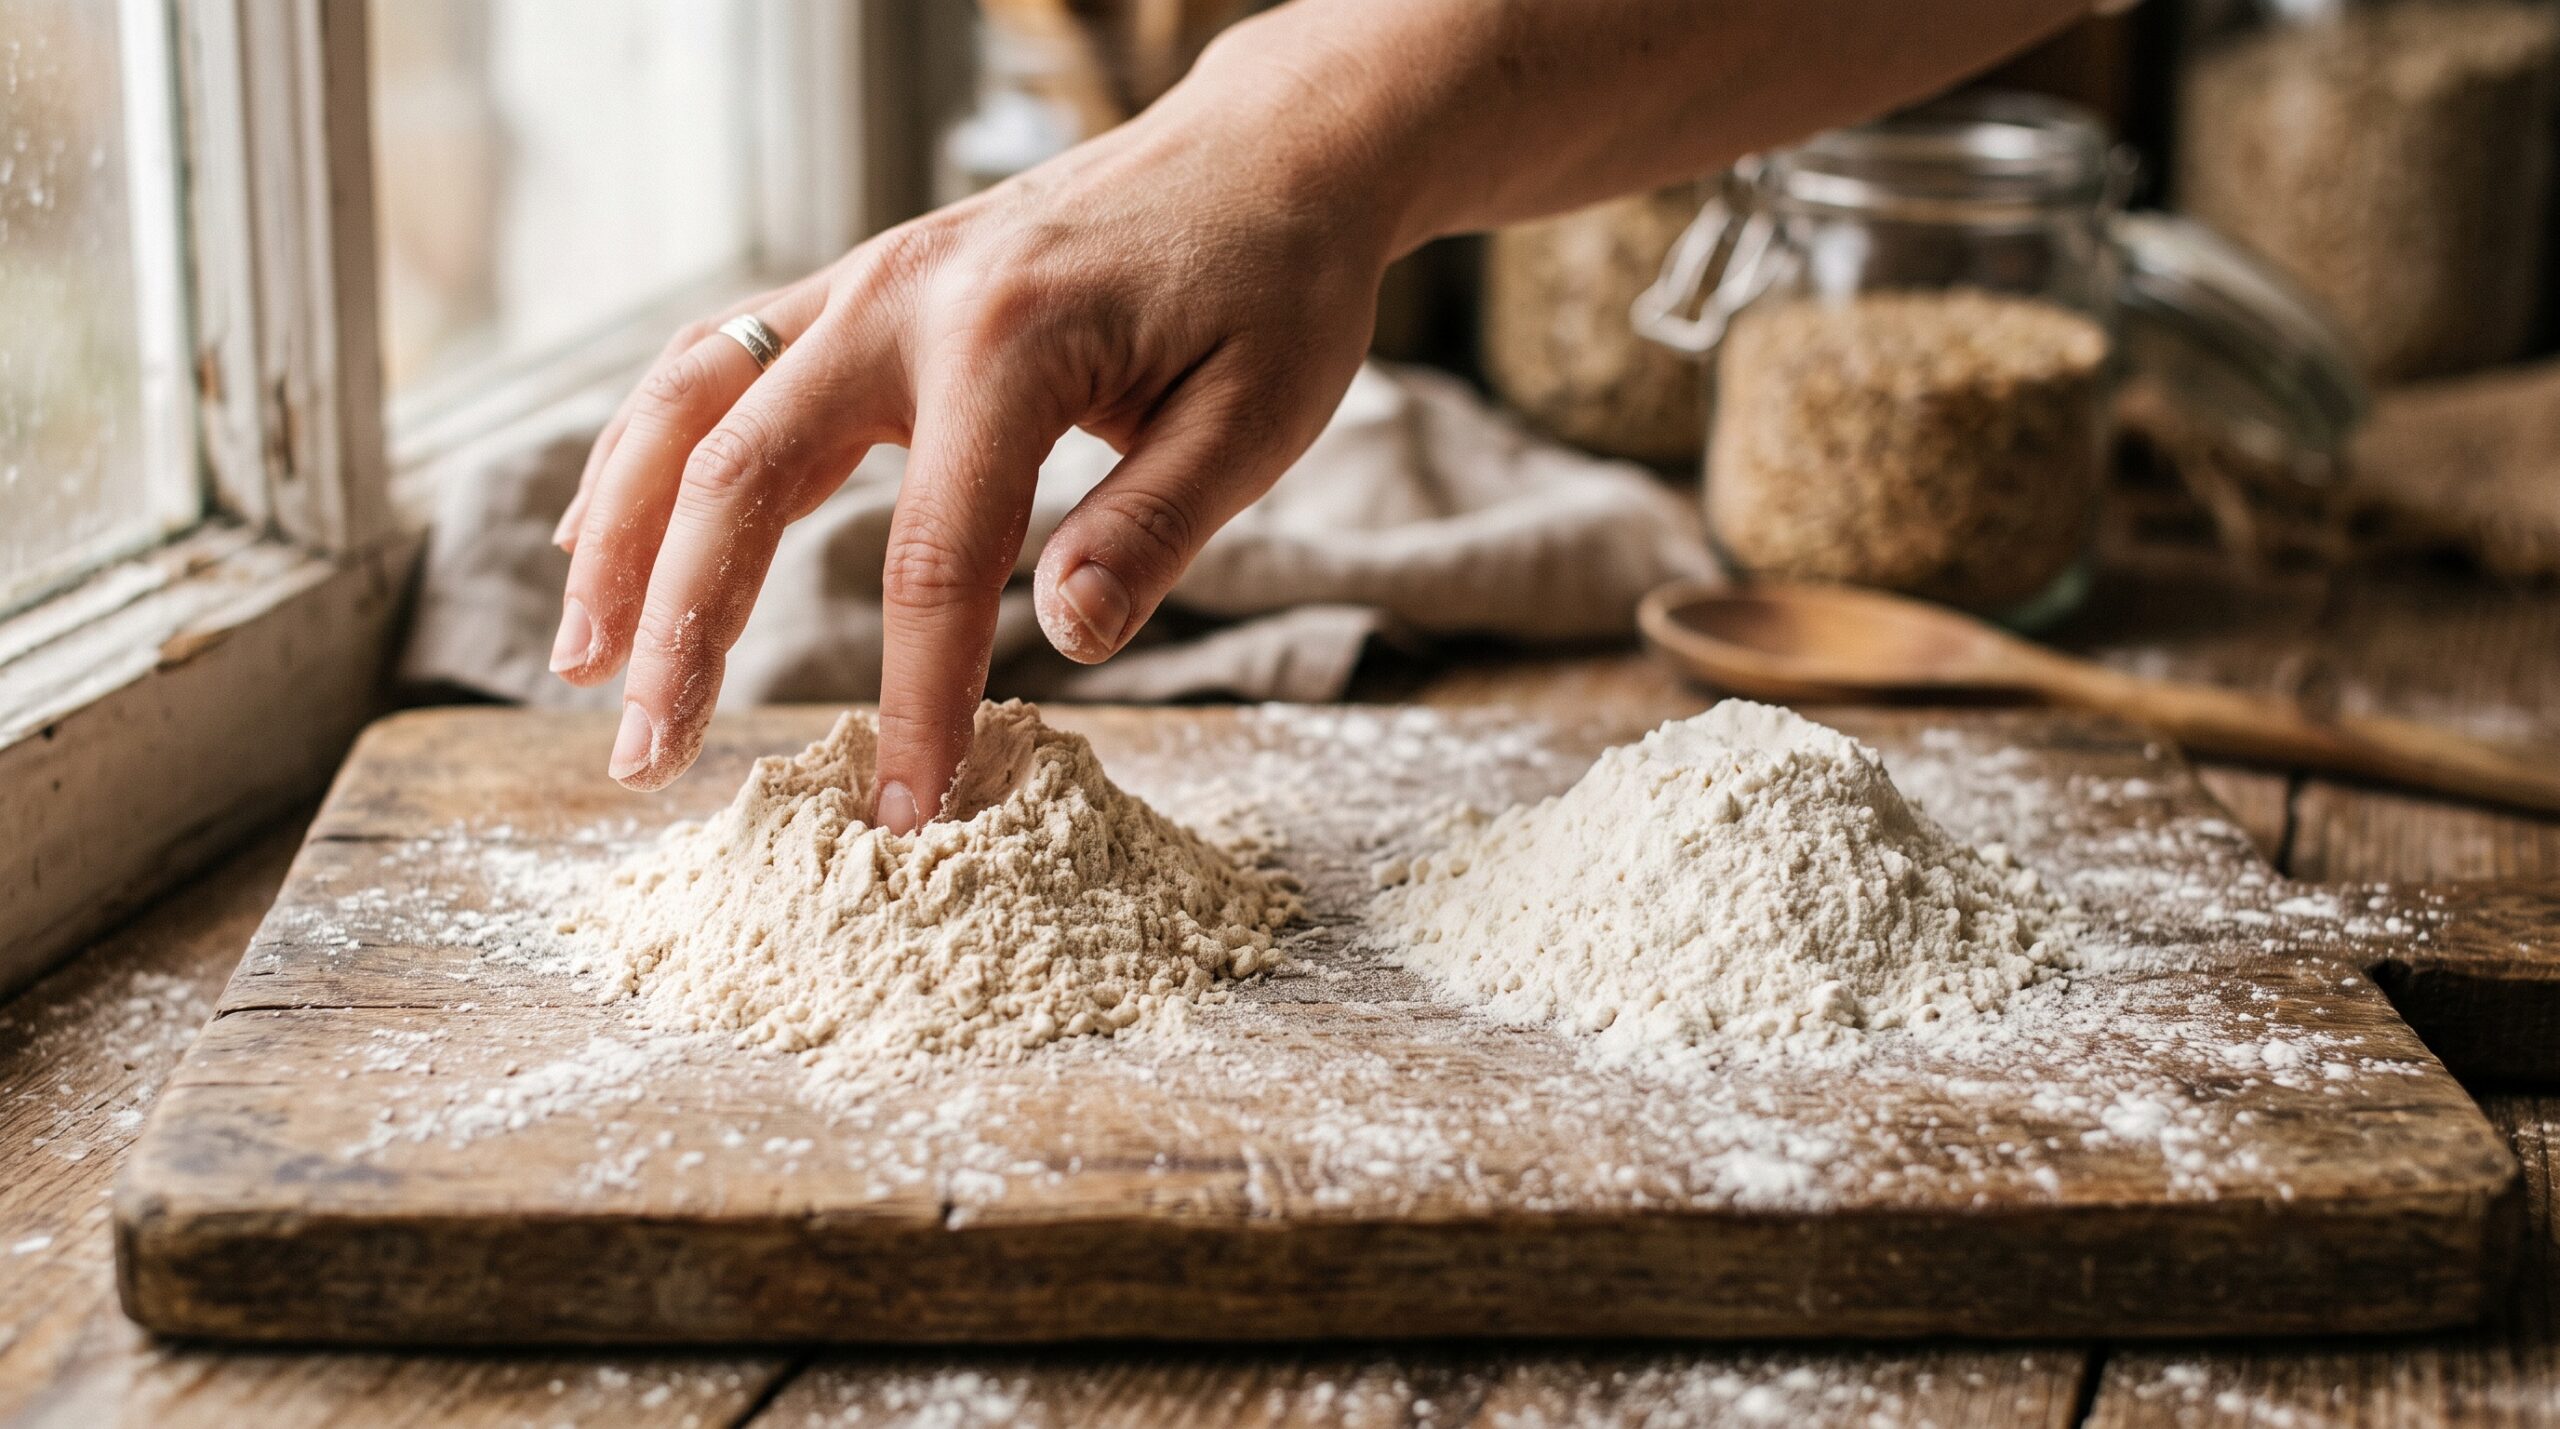
    Two mounds of flour side by side on a wooden board, a hand feeling the texture
    The two flours look almost identical in the bag — but what they do to your dough is not.

    The short answer

    For most home sourdough, bread flour is the easier, more forgiving choice, and if your loaves are chronically flat, slack, or dense, switching to it is one of the highest-leverage changes you can make. All-purpose flour can absolutely make good sourdough — plenty of bakers use it happily — but it asks more of you, and it’s less tolerant of the high hydration and long fermentation that give sourdough its open crumb.

    The whole difference comes down to one number: protein content. And once you understand what protein is doing in there, every flour decision gets simple.

    What “protein” actually means for your dough

    The protein number printed on a flour bag isn’t nutritional trivia — it’s a strength rating. When flour meets water and gets worked, two proteins (glutenin and gliadin) link up into gluten: the stretchy, elastic web that traps the gas your starter produces and holds the loaf up as it rises. More protein means more potential gluten, which means a stronger dough that can stretch further, hold more gas, and keep its shape through a long ferment.

    Here’s the rough landscape:

    • Bread flour: about 12–14% protein. Milled specifically for yeasted bread. Strong, stretchy, gas-retaining — exactly what a wet, slow sourdough wants.
    • All-purpose flour: about 9–12% protein. A compromise flour built to do a bit of everything, from cookies to pancakes to bread. Weaker gluten potential, so a softer, slacker dough.

    One honest caveat worth knowing: protein varies a lot by brand and region. Some premium all-purpose flours run as high as 11.7%, nudging right up against weaker bread flours, while some supermarket all-purpose sits down near 9–10%. So “all-purpose” isn’t one thing — check the number on your bag. If your all-purpose is on the high end, it’ll behave much more like bread flour than a low-protein one will.

    A stretchy sourdough dough pulled thin to show a translucent gluten window
    Protein is what becomes gluten — the stretchy web that traps gas and holds a loaf tall.

    What happens when you bake sourdough with all-purpose

    When you take a recipe written for bread flour and run it with lower-protein all-purpose — same hydration, same schedule — the weaker gluten shows up as a chain of familiar frustrations:

    • The dough feels slack and sticky. There’s less gluten structure holding it together, so it stays loose and hard to handle, especially at higher hydration.
    • The loaf spreads instead of standing tall. Weaker dough can’t hold tension, so it relaxes outward into a puddle rather than rising up. If you’ve been fighting flat, spreading loaves, low-protein flour is a leading cause.
    • The crumb comes out tighter and denser. Gas escapes a weak gluten network instead of being trapped, so the airy, open crumb you’re chasing stays stubbornly small.
    • It’s less forgiving of a long ferment. Over a many-hour bulk, weak gluten degrades faster, so your timing window shrinks and it’s easier to tip into an over-proofed, gluey loaf.

    None of this means all-purpose is “bad flour.” It means you’re asking a compromise flour to do a specialist’s job at the specialist’s settings. Change the settings and it behaves.

    When all-purpose flour is actually fine

    Plenty of excellent sourdough is made with all-purpose, and there are whole categories where it’s genuinely a fine choice — sometimes even the better one:

    • Softer, pan-baked loaves. A tender sandwich loaf baked in a tin doesn’t need to hold a dramatic free-standing shape, so all-purpose’s softer structure is no handicap — and can give a more tender crumb.
    • Lower-hydration doughs. Less water means less demand on the gluten, so all-purpose copes fine. It’s the high-hydration, artisan open-crumb loaf where the gap really bites.
    • Enriched and flatter bakes. Focaccia, discard recipes, pancakes, crackers — anything that isn’t relying on a tall, gas-filled rise — is perfectly happy on all-purpose.
    • When your all-purpose is high-protein anyway. If your bag reads 11.5% or more, you’re already most of the way to bread flour; you may notice barely any difference.

    So the real question isn’t “which flour is better?” It’s “which flour suits the loaf I’m trying to make?”

    Two sourdough cross-sections, one tall and open, one flatter and denser
    Stronger flour holds structure and rises up; weaker flour is likelier to spread out and bake tight.

    Whole wheat, rye, and the strong-flour spectrum

    It’s tempting to assume more protein always equals more strength, and that whole grain flours — often labeled with high protein — must be the strongest of all. It’s the opposite in practice. Whole wheat and rye contain sharp bran particles and, in rye’s case, gums that physically interfere with the gluten network, so despite the protein number they build weaker, denser dough. That’s exactly why an all-whole-wheat loaf tends to come out heavy — a problem worth its own deep dive in why whole wheat sourdough turns out so dense.

    At the other end sits bread flour, and beyond it high-gluten and “strong” bread flours (14%+) used for bagels and chewy crusts. For everyday sourdough you don’t need to go that far — ordinary bread flour, or a blend of bread flour with a modest percentage of whole grain for flavor, is the reliable home baker’s sweet spot.

    How to adjust when you switch flours

    The mistake isn’t using all-purpose — it’s swapping flours without changing anything else. Higher-protein flour absorbs more water than lower-protein flour, so a straight one-for-one swap at the same hydration gives you a dough that’s suddenly too wet or too stiff. When you change flour, change your approach with it:

    • Going from all-purpose to bread flour? Add a little more water. Bread flour drinks more, so the same recipe will feel stiffer than you’re used to — nudge hydration up a few percent until the dough feels right.
    • Going from bread flour to all-purpose? Hold back some water, or expect a slacker dough. This is a common reason a familiar recipe suddenly turns into a sticky, unmanageable mess — the flour changed but the water didn’t.
    • Trust the dough, not the number. Add water gradually and judge by feel: it should be soft and extensible but still hold together, not soupy. Your hands are a better gauge than any recipe percentage.
    • Watch your fermentation window. Weaker flour degrades sooner over a long bulk, so if you move to all-purpose, err on the side of pulling the dough a touch earlier.
    Hands stretching and folding a soft sourdough dough in a glass bowl
    Switching flours changes how much water the dough wants — expect to adjust hydration by feel.

    The bottom line: what to buy

    If you want the easiest path to a tall, open, well-risen sourdough, buy bread flour and build your recipe around it. It’s more forgiving of the high hydration and long ferment that define good sourdough, and it quietly fixes a whole cluster of slack-dough, flat-loaf, tight-crumb complaints in one move.

    If all you have is all-purpose, don’t panic — check its protein content, lean toward slightly lower hydration and slightly shorter bulk, and pick loaf styles that play to its strengths. You’ll make very good bread. You’ll just work a little harder for the dramatic open crumb.

    So does the flour really matter? For a cake, barely. For sourdough — a process that lives or dies on gluten strength — it’s one of the most underrated variables on the counter. The next time a bake goes mysteriously flat or dense and your starter and schedule check out, turn the bag around and read the protein number. The answer is often right there.

    A finished golden sourdough boule with a blistered crust cooling on linen
    Match the flour to the loaf you want, and everything else you already do starts paying off.

    Want to see the difference between a slack, weak dough and a strong one in real time? The full visual walk-through — plus our free sourdough troubleshooting guide — lives on the LoafLovers YouTube channel. Come get the fix that finally makes it click.

    Related Reading

  • How Much Salt Does Sourdough Really Need? What Salt Does and What Happens When You Get It Wrong

    How Much Salt Does Sourdough Really Need? What Salt Does and What Happens When You Get It Wrong

    Salt is the ingredient nobody worries about — until the day everything goes wrong. You mix your usual dough, and somehow it’s slack and soupy by early afternoon, tearing instead of stretching, racing through fermentation like it’s on fire. Or the opposite: the loaf comes out pale, tight, and strangely flat, and you can’t figure out why. Both of those are very often a salt problem, and salt is the one variable most bakers eyeball, guess at, or forget entirely.

    Here’s the good news. Salt is also the easiest thing in the whole process to get exactly right, once you understand what it’s actually doing in there. Let’s fix it for good.

    Salt being sprinkled over a bowl of bubbly sourdough dough in warm window light
    Salt is small in quantity and huge in effect — it shapes fermentation, structure, and flavor all at once.

    The short answer: 2%

    The reliable target for sourdough is 2% salt, measured against the weight of your flour — what bakers call baker’s percentage. If your recipe uses 500 grams of flour, that’s 10 grams of salt. For 1,000 grams of flour, 20 grams. Simple.

    Most people are happy somewhere between 1.8% and 2.2%. Drop much below about 1.5% and the dough starts misbehaving; push much above 2.5% and fermentation drags and the bread tastes noticeably salty. But 2% is the number to memorize. It’s forgiving, it’s balanced, and it works across almost every flour and schedule.

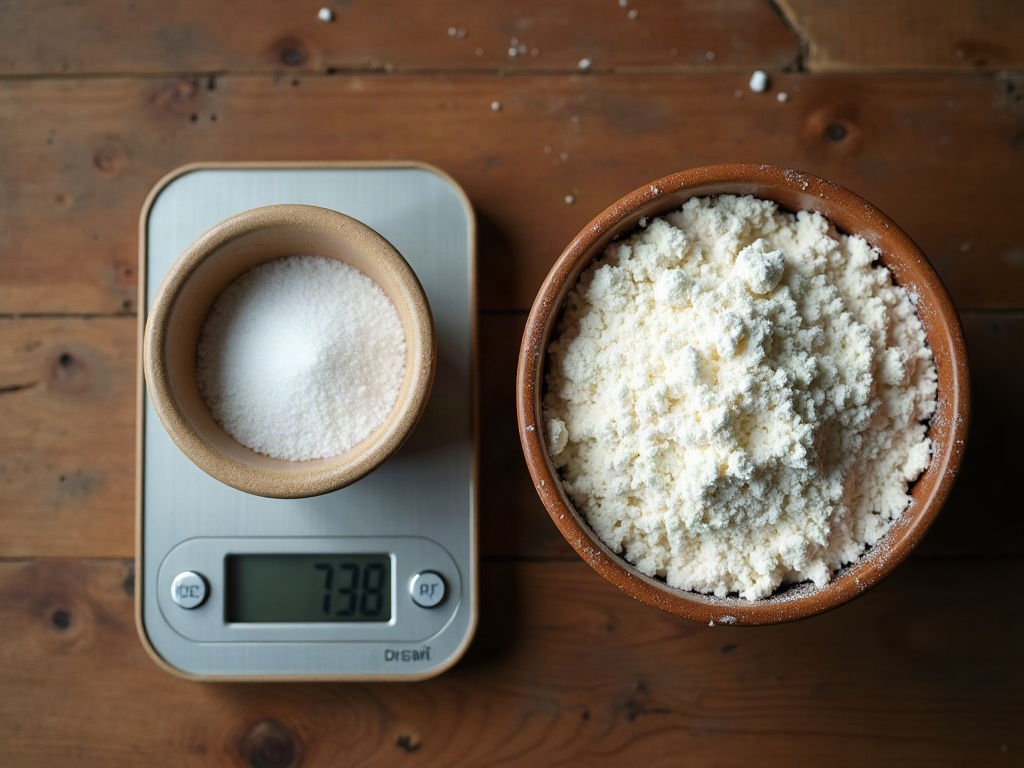
    One crucial note: measure salt by weight, not by volume. A teaspoon of fine table salt and a teaspoon of flaky sea salt weigh very different amounts, because the flakes pack so much more loosely. This is the single most common way home bakers accidentally under- or over-salt — they measure a “teaspoon” of a salt that’s much lighter or heavier than the one the recipe writer used. A cheap digital scale ends the guesswork.

    A kitchen scale with salt beside a bowl of flour on a wooden counter
    Weigh salt against your flour, not by the spoonful — two percent of the flour weight is the reliable target.

    What salt is actually doing in your dough

    Salt isn’t just for flavor. It’s quietly running three jobs at once, and that’s why getting it wrong throws so much off.

    1. It controls the pace of fermentation

    Salt slows down your wild yeast and bacteria. That sounds like a downside, but it’s exactly what you want — a controlled, steady rise instead of a frantic one. Salt is a brake pedal. With the right amount, your dough ferments at a manageable speed and gives you a workable window to shape and bake. Take the salt away and you’ve cut the brake line: the yeast goes into overdrive, the dough over-ferments fast, and it turns slack and sticky long before you’re ready. Salt sits right alongside temperature and how much starter you use as one of the main dials that set how fast your dough moves.

    2. It tightens and strengthens the gluten

    Salt makes the gluten network firmer and more elastic. A properly salted dough feels strong and stretchy; it holds its shape, traps gas well, and gives you that lovely tension when you shape it. An under-salted dough feels the opposite — loose, weak, extra sticky, and unwilling to hold structure. If your dough has suddenly gone slack and formless for no obvious reason, salt (or the lack of it) is a prime suspect.

    3. It builds and sharpens flavor

    This is the obvious one, but it goes deeper than “salty.” The right amount of salt makes the wheat taste more like wheat and keeps the sourness in balance, so the tang reads as pleasant rather than sharp. Under-salted sourdough doesn’t just taste “less salty” — it tastes flat, dull, and weirdly sour, because there’s nothing rounding out the acidity. Salt is what makes a good loaf taste finished.

    What happens when you use too little

    Under-salting (or forgetting salt completely) is the more dramatic failure, and now you know why. All three jobs collapse at once:

    • Fermentation runs away. With the brake off, the dough over-proofs quickly — sometimes hours faster than your usual timeline.
    • The dough goes slack and sticky. Weak gluten plus over-fermentation means a loose, soupy mess that won’t hold a shape.
    • The flavor falls flat. Dull, bland, and often oddly sour, with none of the roundness good bread has.
    • The crust can look oddly pale or, confusingly, over-dark as the sugar balance shifts — either way it looks off.

    What happens when you use too much

    Over-salting is subtler and easier to miss, because the dough doesn’t fall apart — it just underperforms:

    • Fermentation drags. Too much salt over-brakes the yeast, so the rise is sluggish and your normal timeline leaves the loaf under-proofed.
    • The crumb comes out tight and dense. The bread never got the airy, open rise it should have, because the yeast was held back too hard.
    • The loaf bakes up pale. Slow fermentation leaves things looking under-colored even when the inside is done.
    • It simply tastes too salty — the flavor tips from balanced to harsh.

    If your loaves are chronically dense and pale and taking forever to rise, and you’ve ruled out a weak starter, weigh your salt. An over-heavy hand is easy to develop without noticing, especially if you switched salts.

    Two sourdough cross-sections, one pale and tight, one golden and open
    Too much salt tightens and pales a loaf; the right amount lets it color, rise, and open up.

    “I think I forgot the salt” — can you rescue it?

    It happens to everyone eventually. The fix depends on when you catch it:

    • Right after mixing. No problem at all. Sprinkle the salt over the dough, add a splash of water to help it dissolve, and work it in with a few stretches and folds. It’ll fully incorporate over the next hour. This is basically how bakers who autolyse add salt anyway — deliberately, a bit later than everything else.
    • Partway through bulk. Still salvageable, though harder. Dissolve the salt in a little warm water and squeeze and fold it through as evenly as you can. It won’t be perfect, but it beats a saltless loaf.
    • After it’s shaped or proofed. Now you’re stuck — there’s no working salt in at this point. Bake it anyway and treat it as a lesson. A saltless loaf is edible (toast it, use it for something with a salty topping), just noticeably flat.

    The bigger takeaway: because a saltless dough ferments so fast, watch the clock closely if you added the salt late. It may still be ahead of your normal schedule.

    A few practical habits that prevent salt mistakes

    Salt errors are almost always process errors, so tighten the process:

    • Weigh it every time. 2% of your flour weight, on a scale. Don’t switch to spoons.
    • Add salt at a consistent point. Whether you mix it in at the start or add it after a rest, do it the same way every bake so it never gets skipped.
    • Keep salt and starter separate until mixing. Undissolved salt sitting directly on your starter can stun the yeast at the contact point. Dissolving salt in the dough water first sidesteps this entirely.
    • Pick one salt and stick with it. Any non-iodized salt works — fine sea salt, kosher salt — but weighing means it barely matters which, as long as you’re consistent.
    Hands stretching a slack, sticky sourdough dough
    A loaf that forgot its salt ferments too fast and goes slack and soupy long before it should.

    The bottom line

    Salt is tiny in quantity and enormous in effect. Two percent of your flour weight, measured on a scale, added the same way every time — that’s the whole rule. Get it right and salt quietly does its three jobs: pacing your fermentation, strengthening your dough, and rounding out the flavor. Get it wrong and it sabotages all three at once, leaving you with a slack, racing, flat loaf or a dense, pale, sluggish one.

    So the next time a bake goes mysteriously sideways — too fast, too slack, too dull, or too dense — before you blame your starter or your schedule, weigh your salt. More often than you’d think, that ten or twenty grams is the difference between a frustrating loaf and a great one.

    A finished golden sourdough boule with a blistered crust on linen
    Get the salt right and everything else you already do starts working the way it’s supposed to.

    Related Reading

  • The Dense Gum Line at the Base of Your Loaf: What Causes That Compressed Layer and How to Fix It

    The Dense Gum Line at the Base of Your Loaf: What Causes That Compressed Layer and How to Fix It

    It’s a specific kind of disappointment. The loaf looks great from the outside — good rise, decent ear, deep color. The top two-thirds of the crumb is open and airy, exactly what you were hoping for. And then, right at the bottom, there’s a thin band of dense, tight, slightly gummy bread pressed against the base crust, like a different loaf snuck in underneath.

    That compressed layer at the base has a few distinct causes, and the good news is that none of them are mysterious or unfixable. Let’s work through them like a diagnosis: figure out which one is happening to your loaf, then fix exactly that. Most bakers are making just one or two of these mistakes, and correcting them gets you an even crumb from crust to crust.

    Sliced sourdough showing an open crumb on top and a dense compressed layer at the base
    The tell-tale sign: an airy crumb up top, then a thin, dense, slightly gummy band clinging to the bottom crust.

    First, what that gum line actually is

    The dense band at the bottom is bread that never fully expanded and set the way the rest of the loaf did. Instead of trapping gas and staying light, that section stayed compact and moisture-heavy. It often feels slightly sticky or gummy because it’s denser and holds more water than the open crumb above it.

    Crucially, this is a localized version of gumminess — confined to the base — which points you toward causes tied to the bottom of the loaf specifically: the heat under it, the strength of the dough there, and what happens as it cools. That’s different from a whole loaf coming out gummy, which is usually a broader fermentation or bake-time problem. If your entire crumb is dense and wet rather than just the base, start with the wider causes of a loaf that went into the oven at the wrong stage of proof.

    Cause #1: You cut it too soon (the most common culprit)

    If you take only one thing from this article, take this: a warm loaf is still baking. When bread comes out of the oven, the interior is full of hot steam and the starches are still setting. Cutting into it before it has fully cooled releases that steam, and the crumb around the cut — especially the dense, heavy base where moisture collects — collapses and turns gummy.

    Bakers do this constantly because warm sourdough is irresistible. But that gum line at the bottom is very often not a baking fault at all — it’s a cooling fault. The fix costs nothing but patience:

    • Cool the loaf on a wire rack, never flat on a solid surface where the base sits in its own trapped steam.
    • Wait until it is completely cool to the touch before slicing — a minimum of a couple of hours for a standard loaf, longer for a large or high-hydration one.
    • If you suspect this is your problem, run a test: bake as usual, then cut one loaf warm and leave an identical one to cool fully. If the cooled one has no gum line, you’ve found your answer.

    Before you change your recipe, your schedule, or your starter, rule this out first. It’s the single most common cause and the easiest to fix.

    A sourdough loaf inside a hot dutch oven fresh from baking
    A cold or poorly preheated base is a leading cause — the bottom sets before it can rise.

    Cause #2: Not enough heat under the loaf

    The base of your loaf needs a strong blast of heat early to spring up and set before it can compress under the weight of the dough above it. If the bottom is getting less heat than the top, it stays dense while the upper crumb rises freely — producing exactly that layered look.

    This happens when:

    • The oven or Dutch oven wasn’t preheated long enough. A vessel needs a good, thorough preheat so it’s genuinely hot when the dough lands. A lukewarm base is a gummy base.
    • The loaf is baking too high in the oven, far from the bottom heat source, or on a thin tray that doesn’t hold and transfer heat well.
    • There’s too much insulation under the dough — thick doubled parchment, or a cold stone that never came up to temperature.

    Fixes: preheat your Dutch oven or baking stone fully (give it a solid 45 minutes to an hour at temperature), position your bake in the lower-middle of the oven, and if your bottoms run consistently pale and dense, try a preheated stone or steel beneath the vessel to drive heat into the base. Getting strong bottom heat is the same reason a well-preheated setup matters so much for oven spring in general — the loaf rises before it sets, not after.

    Cause #3: A weak or wet base from shaping and proofing

    Sometimes the compressed layer starts before the oven. If the dough lacks structure at the bottom, or if extra moisture pools there during proofing, that section goes in already predisposed to stay dense.

    A few things feed this:

    • Under-developed gluten or slack shaping means the dough can’t hold its gas well, and the weight of the loaf settles and compresses the base. Building real surface tension when you shape gives the loaf the backbone to rise evenly — the same skill behind shaping a boule that rises up, not out.
    • Very high hydration without enough strength lets water migrate down and sit at the base, especially during a long proof, leaving that zone wetter and denser.
    • Seam-side handling — if the seam ends up on the bottom and isn’t sealed, or the base is where slack dough gathers, that spot bakes up tighter.

    If your gum line comes with an overall slack, hard-to-handle dough, the root fix is dough strength: a bit more gluten development, better shaping tension, and making sure your dough isn’t over-hydrated for your flour’s ability to hold it.

    A baker slicing a fully cooled sourdough loaf
    Cutting a loaf while it is still warm is the single most common way bakers create a gummy layer that was not there.

    Cause #4: Underbaked overall (check this if the base is truly wet)

    If the base isn’t just dense but genuinely wet, the loaf may simply be underbaked. The bottom is the last part to finish, and it’s where undercooking shows up first. An internal temperature check is the honest test here: a fully baked lean sourdough reads around 205–210°F (96–99°C) in the center. If yours is coming out well below that, extend the bake.

    A useful trick for a stubbornly dense base: for the last 5–10 minutes, take the loaf out of the Dutch oven and set it directly on the oven rack or a hot stone. That exposes the bottom to direct heat and drives off the last of the moisture, firming up the base crust and finishing that lower crumb.

    Your quick diagnostic checklist

    Run through these in order — they’re arranged from most to least common:

    1. Did you cut it warm? Cool completely on a rack and re-test. Fixes most gum lines by itself.
    2. Was the base fully preheated? Give your Dutch oven or stone a longer, hotter preheat and bake lower in the oven.
    3. Is the whole dough slack and weak? Build more shaping tension and gluten strength; reconsider your hydration.
    4. Is the base genuinely wet, not just dense? Check internal temp and extend the bake, finishing the loaf out of the vessel for a few minutes.

    Change one thing at a time so you actually learn what your loaf needed. Most bakers find it’s the cooling, then the bottom heat — and once those two are handled, that dense band at the base disappears for good.

    Comparison of a sourdough with a gummy base next to one with an even crumb throughout
    The goal: an even, open crumb that runs all the way down to a crisp, thin bottom crust.

    An even crumb, all the way down

    A gum line at the base of the loaf feels like a mysterious flaw, but it’s really just the bottom of your loaf telling you it didn’t get one of three things: enough patience while cooling, enough heat while baking, or enough strength while proofing. Give it those, and the reward is a crumb that stays open and tender right down to a thin, crisp bottom crust.

    Want to see exactly what a properly cooled base and a fully preheated bake look like in real time? The full walkthrough — including a side-by-side of a gummy base versus a clean one — lives on the LoafLovers YouTube channel, and our free sourdough troubleshooting guide has the whole bake-and-cool checklist you can keep by the oven. Grab it, and let your next loaf be even from crust to crust.

    Related Reading

  • Do You Really Need to Autolyse? The Sourdough Step Bakers Love to Argue About

    Do You Really Need to Autolyse? The Sourdough Step Bakers Love to Argue About

    Few sourdough steps start as many arguments as the autolyse. Scroll one baking forum and you’ll be told it’s the non-negotiable secret behind every open, airy loaf. Scroll the next and someone with gorgeous bread swears they’ve never done it in their life. So which is it? Is autolyse the missing piece in your bakes, or a fussy extra step you can quietly drop?

    The honest answer is: it depends, and it’s far less mysterious than the debates suggest. Autolyse is a genuinely useful tool that makes some doughs noticeably better and other doughs no different at all. Once you understand what it actually does, you’ll know exactly when to use it and when to skip it without a shred of guilt. Let’s clear the flour dust off this one for good.

    A shaggy mix of flour and water resting in a ceramic bowl during autolyse
    Autolyse is nothing more than flour and water, left alone to get acquainted before salt and starter arrive.

    What Autolyse Actually Is (and Isn’t)

    Autolyse is almost anticlimactically simple: you mix just your flour and water, then let them rest together – usually somewhere between 20 minutes and a couple of hours – before you add your salt and starter. That’s the whole technique. No kneading, no special equipment, no watching the clock nervously. You mix a shaggy mass, cover it, and walk away.

    What’s happening during that quiet rest is where the value lives. The flour fully hydrates, so every bit of it drinks up the water. At the same time, enzymes naturally present in the flour begin gently breaking down proteins and starches, and the two gluten-forming proteins start linking up into a network – all on their own, with zero effort from you. The result is a dough that becomes smoother, stretchier, and easier to work, before you’ve done any real mixing.

    It’s worth clearing up what autolyse is not. It is not fermentation – with no starter in the mix, very little souring is going on. It’s not a magic switch that guarantees a bakery-worthy crumb. And it is not mandatory. It’s simply a head start on gluten development that lets time do some of the work your hands would otherwise have to.

    Why Bakers Bother: The Real Benefits

    When autolyse earns its reputation, it’s for one word above all: extensibility. A rested dough stretches farther without tearing, which makes the whole back half of your bake easier. Stretch-and-folds go more smoothly, shaping is less of a wrestling match, and the dough holds a tighter, more confident structure. If your dough has ever felt tight, springy, and determined to snap back at you, autolyse is one of the gentlest ways to relax it.

    That improved handling tends to show up in the finished loaf too. A dough that’s supple and well-developed traps gas more evenly, which supports a lighter, more open crumb and a better rise. Autolyse isn’t the only thing that gets you there – fermentation, shaping, and your overall crumb strategy matter enormously – but it stacks the deck in your favor from the very first step.

    There’s a quieter benefit too: less mixing. Because time has already begun building the gluten, you often need fewer folds and less muscle to reach a strong dough. For anyone who finds intensive kneading tedious or bakes with tired hands, that’s a small daily gift. You’re essentially trading a few minutes of effort for a bit of patience.

    Hands stretching a smooth, extensible sourdough dough into a thin sheet
    The payoff of a good rest: dough that stretches thin and silky instead of fighting back.

    When Autolyse Genuinely Helps

    Autolyse isn’t equally useful for every bake, and knowing where it shines saves you from cargo-culting a step that isn’t doing anything. It matters most in three situations.

    The first is whole grain and high-extraction flours. Whole wheat, rye, and spelt drink up water more slowly and carry sharp bran that can cut through gluten strands. A longer rest gives these flours time to hydrate fully and soften, which is one of the most reliable fixes for a heavy, tight bake – a common culprit when your whole wheat loaf comes out dense. If you bake with any meaningful percentage of whole grain, autolyse is close to essential.

    The second is high-hydration dough. Wet, slack doughs can feel impossible to control, and a good rest helps the flour absorb all that water so the dough firms up into something you can actually shape. If you regularly fight with sticky, soupy dough, pairing autolyse with solid wet-dough handling technique makes a real difference. The third situation is any dough that simply feels tight and unworkable – autolyse is the low-effort relaxant that makes it cooperate.

    When You Can Skip It Without Guilt

    Here’s the permission slip a lot of bakers are waiting for: plenty of excellent sourdough is made with no autolyse at all. If you’re baking a straightforward loaf with mostly white bread flour at a moderate hydration, the benefits shrink to the point where you may not notice them. White flour hydrates quickly and develops gluten readily, so it needs less help getting there.

    Skipping autolyse is also perfectly reasonable when it doesn’t fit your schedule. The whole point of a rest is that it’s optional convenience, not obligation – if adding another timed step turns baking from a joy into a chore, drop it. A few extra stretch-and-folds during bulk fermentation will build all the strength you need. Our guide to stretch-and-folds shows how much gluten you can develop with your hands alone, autolyse or not.

    The key mindset shift is this: autolyse is a tool, not a rule. Bread was made beautifully for centuries before the term existed. If your loaves are already coming out well, there’s no obligation to bolt on a step just because the internet is loud about it. Save it for the bakes that actually benefit.

    Two bowls of sourdough dough side by side showing rough versus relaxed texture
    Same flour, same water – the rested dough on the right handles noticeably smoother.

    How Long, and What About Salt and Starter?

    If you do autolyse, the timing is forgiving. For everyday white and lightly whole-grain doughs, 30 minutes to an hour captures most of the benefit. For heavier whole grain, you can stretch to two, three, even four hours to give tough flours time to soften. Beyond that, the enzymes can begin to over-soften the dough and make it slack and sticky, so more is not endlessly better – a long rest with no upside just delays your bake.

    The classic method holds back both salt and starter during the rest, and there are reasons for each. Salt tightens gluten and slows enzyme activity, so leaving it out lets the dough relax and extend more freely – you stir it in afterward. The starter is usually held back so that fermentation doesn’t run ahead during a long rest, which keeps you in control of your timeline. Add both once the rest is done, mix until evenly combined, and carry on with bulk fermentation as normal.

    There’s a popular shortcut worth knowing: the fermentolyse, where you add the starter along with the flour and water and only hold back the salt. It saves a step and works well for many home bakers, especially on shorter rests. The tradeoff is that fermentation starts immediately, so it’s best kept brief. It’s a fine middle path if the two-stage classic method feels like too much fuss.

    Is Autolyse Even Your Problem? How to Tell

    Before you credit or blame autolyse for anything, make sure it’s actually the variable that matters for your bake. Bakers often reach for a fancy technique when a more fundamental issue is the real culprit. If your loaves are dense, gummy, or flat, autolyse is rarely the first thing to fix.

    Far more often, the answer lies in fermentation and temperature. A weak or underfed starter, a bulk ferment cut short, or a cold kitchen will flatten a loaf no matter how perfectly you autolysed. Dialing in your dough temperature and learning to read when bulk fermentation is truly done will transform your bread far more than any rest ever could. Autolyse polishes a good process; it can’t rescue a broken one.

    A simple way to judge your gluten – with or without autolyse – is the windowpane test: stretch a small piece of dough thin and see if it goes translucent without tearing. If it does, your gluten is well developed, and how you got there matters less than that you arrived. Our walkthrough of the windowpane test gives you an honest read on where your dough actually stands, so you can stop guessing about whether that rest is pulling its weight.

    Adding bubbly starter and salt to a bowl of rested sourdough dough
    After the rest, the starter and salt go in – the moment fermentation truly begins.

    The Bottom Line: Use It When It Earns Its Place

    So, do you really need to autolyse? For a light white loaf on a busy day, no – skip it and enjoy your bread. For a hearty whole grain or a slack, high-hydration dough, yes – that rest does real, visible work and is one of the easiest upgrades you can make. Everywhere in between, it’s a helpful option you can take or leave based on the flour in your bowl and the time on your hands.

    Treat autolyse as what it is: a simple, low-effort tool that makes certain doughs kinder to work with and often a touch better in the crumb. Not a secret, not a rule, and definitely not a step to feel guilty about skipping. Match the technique to the bake and it stops being a thing to argue about and becomes just another quiet way to make better bread.

    Cross-section of a well-baked sourdough boule with an open, airy crumb
    A great crumb comes from the whole process working together – autolyse is one helpful piece, not the secret.

    Want to see the difference an autolyse actually makes, side by side, in real dough? The full walkthrough – including how the rested dough looks and handles at each stage – lives on the LoafLovers YouTube channel, and you can grab our free sourdough troubleshooting guide to keep by the oven for the days a bake fights back.

    Related Reading

  • Sourdough in a Cold Kitchen: How to Keep Your Dough and Starter Warm When the House Cools Down

    Sourdough in a Cold Kitchen: How to Keep Your Dough and Starter Warm When the House Cools Down

    You did everything the same. Same flour, same recipe, same starter that was climbing out of its jar all summer. But the weather turned, and suddenly your loaf is flat, your bulk rise takes forever, and your starter looks half-asleep at feeding time. It is one of the most disheartening moments in a baker’s year – and one of the most misdiagnosed.

    Here is the reassuring truth: you didn’t lose your touch. The temperature dropped, and sourdough is exquisitely sensitive to it. The good news is that a cold kitchen is one of the easiest problems to fix, and you almost certainly own everything you need already. Let’s walk through why it happens and exactly how to keep your dough and starter warm and on schedule when the house cools down.

    Bowl of sourdough dough proofing on a counter by a cool autumn window under a linen cloth
    When the kitchen cools, the dough feels it first – fermentation slows to a crawl.

    Why Sourdough Slows to a Crawl When the House Gets Cold

    Sourdough is alive, and like everything alive it runs on temperature. The wild yeast that inflates your loaf and the bacteria that give it flavor are most active in a warm range – roughly 75 to 82 F (24 to 28 C). Push them colder and they don’t die, they just slow down, dramatically. Every few degrees you lose can add hours to a rise.

    A summer kitchen might sit at a comfortable 78 F without you thinking about it. The same kitchen in October or January can easily drift to 65 F or lower, especially overnight or near a drafty window. To your starter and dough, that isn’t a small change – it’s the difference between a four-hour bulk ferment and one that’s still not done at bedtime. Nothing is broken. The clock in your old recipe was simply written for a warmer room.

    This is why the single most useful skill for cold-weather baking is separating temperature from time. Once you understand that dough responds to warmth, every fix below becomes obvious. If you want to go deeper on the exact numbers, our guide to the dough temperature that quietly controls your whole bake explains how to measure and hit a target – but for now, just know that warmth is the lever you’re missing.

    First, Rescue the Starter: Waking a Sluggish Cold-Weather Culture

    Before you worry about the loaf, fix the engine. A starter that has gone quiet and slow in the cold will produce weak, flat bread no matter how well you handle the dough. The symptom is familiar: it used to double in four or five hours, and now it barely lifts, or takes all day to peak.

    The fix is warmth and a slightly more frequent feeding rhythm. Move the jar somewhere consistently warm – more on where in a moment – and feed it on a schedule that suits its new pace. In a warm spot around 78 F, a healthy starter will perk right back up, usually within a day or two of steady feeding. Use a little warm (not hot) water when you feed, aiming for lukewarm to the touch, and it will wake up faster.

    If your starter has gone truly sleepy – separated liquid on top, a sharp smell, no rise at all – it isn’t ruined, it’s just neglected and cold. The cure is the same as at any time of year, and we cover it step by step in how to revive a neglected starter. Cold alone rarely kills a culture; it just makes a struggling one look worse. If it’s still stalling after a few warm feedings, our rundown of the reasons a starter won’t rise will help you find the real culprit.

    Bubbly active sourdough starter in a glass jar resting in a warm spot in the kitchen
    A starter kept warm bounces back to bubbly and domed – the first thing to fix in the cold.

    Find the Warm Spots You Already Have

    You don’t need to buy anything to warm a starter or a bowl of dough. Most kitchens are full of gentle, steady warm spots – you just have to know where to look. The goal is a stable, draft-free pocket somewhere in the 75 to 80 F range.

    The best free proofing box in the house is your oven with the light on and the heat off. In many ovens, the small interior bulb throws just enough warmth to hold the cavity around 75 to 85 F – perfect. Pop your covered bowl or starter jar inside, flip on the light, and check the temperature with a thermometer the first time so you know what yours actually does. Just leave a note on the oven so nobody preheats it with your dough inside.

    Other reliable warm spots include the top of the refrigerator, where the motor gives off steady low heat; a shelf above a running dishwasher; near (not on) a radiator or heating vent; or inside a microwave alongside a mug of just-boiled water, which adds gentle warmth and humidity. Avoid anything that gets genuinely hot – a dough baked by a radiator or a too-warm spot ferments unevenly and can develop an off, over-sour flavor.

    Build a Simple Proofing Box for Steady Warmth

    If your kitchen is properly cold, or your oven light isn’t warm enough, spend five minutes building a proofing box. The classic no-cost version is an insulated picnic cooler: put your covered dough and starter inside with a mug or small jug of hot water, close the lid, and you’ve made a warm, humid, draft-free chamber. Swap the water for fresh hot water every couple of hours to keep it steady. A large pot with a lid, or even a turned-off microwave, works on the same principle.

    If you bake often through the winter, two small purchases are worth it. A cheap seedling heat mat – the kind gardeners use to start plants – sits under a bowl and holds a gentle, reliable warmth; pair it with a thermometer so you don’t cook the dough. A folding electric proofing box does the same job with a set temperature, and if sourdough is a year-round habit it pays for itself in consistency. None of this is essential, but all of it removes the guesswork that cold weather introduces.

    Covered bowl of dough proofing inside an oven with the light on beside a jug of hot water
    An off oven with the light on, plus a jug of hot water, is the cheapest proofing box there is.

    Read the Dough, Not the Clock

    Even with a warm spot, cold-weather baking asks you to trust your eyes over your timer. A recipe that said “bulk ferment four hours” was describing what happens at a certain temperature. In a cooler room, the same dough might need six, eight, or more – and if you turn it out on the old schedule, you’ll bake it underproofed and dense, then wrongly blame your starter.

    The dough will tell you when it’s ready if you know the signs: it should grow by roughly 50 to 75 percent, feel puffy and alive with a few bubbles at the edges, and jiggle when you nudge the bowl. Those cues matter far more than any number of hours. Our guide to knowing when bulk fermentation is actually done walks through exactly what to look for so you can adjust confidently to whatever pace the cold sets.

    One practical habit for winter: warm your ingredients, not just your air. Using slightly warm water when you mix nudges the whole dough up a few degrees from the start, which shortens an otherwise glacial rise. And be patient with the final proof – a cold proof can lull you into thinking the loaf is done rising when it has plenty left to give.

    When Cold Is Actually Your Friend

    Not all cold is the enemy. There’s a world of difference between an accidentally cold bulk ferment – which stalls flavor development and structure – and a deliberate cold retard in the fridge after your dough is already well fermented. The first is a problem; the second is a technique.

    Once your dough has finished a proper bulk rise in a warm spot, chilling the shaped loaf overnight in the fridge slows things right down, deepens the flavor, and makes the dough firmer and easier to score in the morning. That’s cold working for you, on purpose, at the right stage. The key is that the warm, active fermentation happened first. If you’d like to use the cold this way, see how long sourdough can sit in the fridge before baking – it turns your cold kitchen from an obstacle into a scheduling tool.

    Insulated cooler used as a proofing box holding dough and starter with a mug of hot water
    A picnic cooler and a mug of hot water make a steady, draft-free warm pocket for winter bakes.

    The Warm-Kitchen Habits That Carry You Through Winter

    Cold-weather sourdough isn’t a different craft – it’s the same craft with the thermostat working against you. Once you stop fighting the season and start managing warmth, everything falls back into place. Keep your starter in a steady warm spot and feed it on a rhythm that matches its pace. Give your dough a reliable warm chamber, whether that’s the oven light, a cooler with hot water, or a heat mat. And above all, judge your rises by how the dough looks and feels, not by the times in a recipe written for July.

    Do those three things and your winter loaves will rise just as tall, taste just as good – arguably better, thanks to those long, cool retards – and you’ll never again mistake a cold room for a dying starter. The season changed; your baking doesn’t have to.

    Cross-section of a well-risen sourdough boule with open crumb baked in a cold-weather kitchen
    Warmth in the right places means winter loaves rise just as tall as your summer ones.

    Want to see a warm-spot setup and a cold-weather rise in real time? The full walkthrough – including how the dough should look at each stage – lives on the LoafLovers YouTube channel, and you can grab our free sourdough troubleshooting guide to keep by the oven for the days a bake fights back.

    Related Reading

  • How to Store Sourdough Bread So It Stays Fresh (and Freezes Perfectly)

    How to Store Sourdough Bread So It Stays Fresh (and Freezes Perfectly)

    You pulled a beautiful loaf out of the oven yesterday – crackly crust, open crumb, that deep tangy smell filling the kitchen. This morning it is drier, the crust has gone leathery, and the slices feel firmer than they should. It is a quietly deflating moment, because the baking went right; only the storing went wrong.

    Homemade sourdough has no preservatives and no soft-crust conditioners, so it behaves differently from a supermarket loaf in a plastic sleeve. Store it the way that loaf was designed to be stored and it will reward you for days. Here is exactly how to keep sourdough fresh on the counter, how to freeze it so it tastes almost new, and how to bring a firm loaf back to life.

    A whole sourdough loaf resting cut-side down on a wooden board beside a linen cloth
    A good loaf deserves better than a plastic bag – here is how to keep it fresh.

    Why sourdough goes stale (it is not just drying out)

    Most people assume stale bread is simply dry bread, but there are two different things happening, and they pull in opposite directions.

    The first is moisture loss. The soft interior slowly gives up water to the air, and the crust – which started crisp – draws that moisture up and turns tough and chewy. The second, and the bigger culprit, is starch retrogradation: as the bread cools and sits, the gelatinized starches that made the crumb soft begin to recrystallize and firm up. That is why a day-old loaf can feel hard even when it is not truly dried out.

    This distinction matters because it explains everything that follows. Good storage slows moisture loss without trapping so much of it that the crust goes soggy – and, crucially, it keeps the loaf out of the exact temperature range where starch firms up fastest.

    The counter method: your first few days

    For the two or three days most loaves actually last, the counter is the right home. The goal is to protect the cut face while letting the crust breathe.

    • Cool completely first. Never store a warm loaf. Let it cool for at least a couple of hours after baking so the crumb finishes setting; wrapping a warm loaf traps steam and softens the crust into something gummy.
    • Store it cut-side down. The single most useful trick: once you slice into a loaf, stand it on its cut face on a wooden board. The crust becomes its own lid, sealing the crumb against the board so it does not dry out, while the rest of the crust stays exposed and crisp.
    • Use cloth, paper, or a bread box – not plastic. A linen bread bag, a paper bag, or a bread box lets a little air move so the crust keeps its crackle. A sealed plastic bag does the opposite: it traps moisture against the crust and turns it soft and leathery within hours. Plastic is only worthwhile for a soft-crust sandwich loaf, where you want a tender crust.
    Stored this way, a well-baked sourdough holds up beautifully for two to three days, sometimes longer for a higher-hydration loaf with a thick crust.

    A halved sourdough loaf standing on its cut face to protect the crumb
    Cut-side down turns the loaf into its own lid, sealing the crumb against the board.

    Why the fridge is the worst place for it

    It feels logical – the fridge keeps everything else fresh, so surely it helps bread. It does the opposite. Refrigerator temperatures, right around 4C or 40F, sit squarely in the range where starch retrogradation happens fastest. A loaf in the fridge goes stale several times quicker than the same loaf left on the counter.
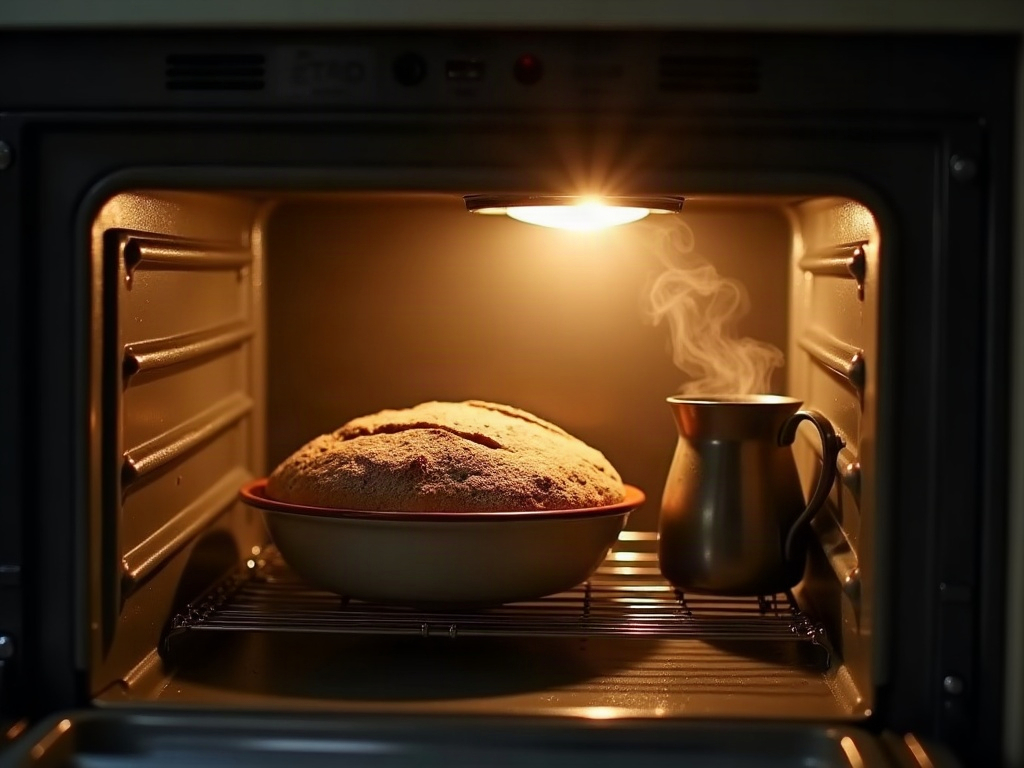
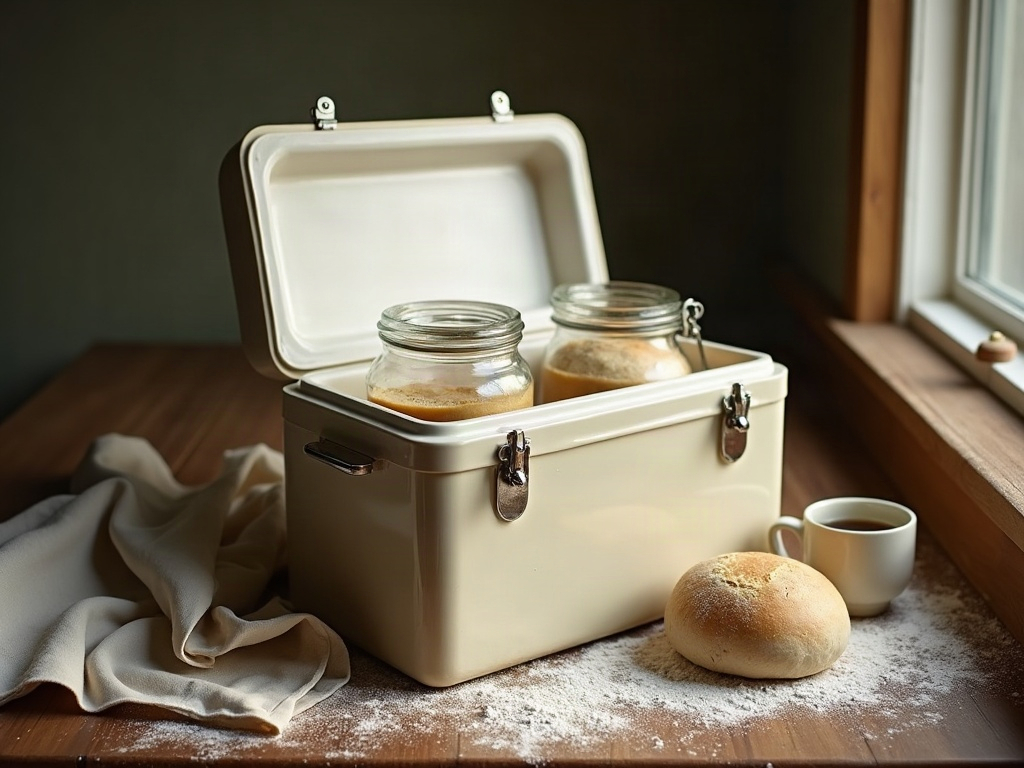
    The confusion comes from cold dough, where the fridge genuinely is your friend – slowing fermentation to a crawl. If you want the details on that stage, see our guide to how the fridge slows a shaped sourdough during proofing. But that is raw dough. For baked bread, the rule is simple: counter for the short term, freezer for the long term, and skip the fridge entirely.

    Freezing sourdough the right way

    Freezing is the honest answer to keeping sourdough for more than a few days, and done properly the results are excellent – the freezer stops staling in its tracks rather than accelerating it. The key is to freeze while the bread is still fresh, not after it has already started to turn.

    Slice first, almost always. Unless you are freezing a whole loaf for a specific occasion, slice it before freezing. You can then pull out one or two pieces at a time instead of thawing the entire loaf and refreezing the rest, which degrades the texture. Lay a small square of parchment between slices so they do not fuse into a solid block.

    Wrap tightly, then bag. Air is the enemy in the freezer. Wrap the loaf or the stack of slices snugly in plastic wrap or foil, then seal that inside a freezer bag with as much air pressed out as you can manage. The double layer guards against freezer burn and off-flavors.

    Label and use within about three months. Frozen sourdough stays good for roughly three months. Beyond that it is still safe, but the flavor and texture slowly fade, so a date on the bag saves you guessing.

    Baking a smaller loaf in the first place can sidestep the storage question entirely – if you often struggle to finish a full boule, our approach to baking a single small loaf without a giant starter means less bread to store and less to waste.

    Slices of sourdough stacked with parchment between them ready to freeze
    Slice before freezing and layer with parchment so you can pull one piece at a time.

    How to revive stale or frozen sourdough

    Here is the genuinely satisfying part: because staling is largely starch recrystallizing, gentle heat can partly reverse it. A firm, day-old loaf is not a lost cause – it just needs a short, hot refresh.

    To revive a whole stale loaf: run the crust briefly under the tap or mist it lightly with water, then place it in a 180C or 350F oven for about 8 to 10 minutes. The moisture turns to steam inside, softening the crumb, while the direct heat re-crisps the crust. It comes out remarkably close to fresh – best eaten within a few hours, since it will stale again faster the second time.

    To thaw frozen bread: individual slices can go straight from the freezer into the toaster – no thawing needed, and they toast up beautifully. For a whole frozen loaf, let it come to room temperature still wrapped so condensation forms on the outside rather than in the crumb, then refresh it in a hot oven for 10 to 15 minutes to bring back the crust.

    A refreshed sourdough loaf on a cooling rack with a crisp crust and light steam
    A few minutes in a hot oven brings a firm loaf’s crust and crumb back to life.

    When a loaf is truly past its best

    Sometimes you find a heel of bread that has gone too far to refresh – firm all the way through, or simply forgotten at the back of the counter. Before you toss it, remember that stale sourdough is arguably better than fresh for a whole category of uses, because it holds its shape and soaks up flavor.

    • Croutons: cube it, toss with olive oil and salt, and bake until golden and crunchy.
    • Breadcrumbs: blitz dried pieces in a food processor and store the crumbs in the freezer for coating and topping.
    • Panzanella, ribollita, or French toast: all classic dishes that specifically call for bread with some age and structure to it.

    The one thing to watch for is mold. If you see any fuzzy spots or off smells, discard the whole loaf rather than cutting around it – mold sends threads through soft bread well beyond the visible patch. This is different from the harmless film that can appear on a neglected starter; if you are ever unsure which is which, our guide to telling mold from harmless kahm yeast walks through the difference.

    Cubes of stale sourdough on a tray becoming croutons beside a bowl of breadcrumbs
    Even a loaf that is truly past its best still has a second life as croutons or crumbs.

    A simple storage routine to remember

    You do not need special equipment or a system – just a few habits that match how sourdough actually behaves:

    • Cool the loaf completely before storing anything.
    • For the next two to three days: cut-side down on a board, wrapped in cloth or paper or kept in a bread box – never a sealed plastic bag on a crusty loaf.
    • Never refrigerate baked sourdough; the cold stales it faster.
    • For anything longer: slice, wrap tightly, and freeze within three months.
    • Refresh stale or frozen bread with a splash of water and a few minutes in a hot oven.
    • Turn the truly-past-it heels into croutons or breadcrumbs instead of the bin.

    Storing sourdough well is not fussy once you understand the why behind it – you are simply keeping moisture where it belongs and staying out of the fridge’s staling zone. Get these habits down and the loaf you were proud of on baking day is still worth eating three days later, or three weeks later out of the freezer. If you want the full walkthrough, including a demo of the water-and-oven refresh that makes a stale loaf taste new again, it lives on the LoafLovers YouTube channel alongside our free sourdough troubleshooting guide.


    Sources & further reading:

    Related Reading