Tag: holiday baking

  • Sourdough Discard Cinnamon Rolls: Soft, Gooey, and a Great Use for Your Jar

    Sourdough Discard Cinnamon Rolls: Soft, Gooey, and a Great Use for Your Jar

    There’s a jar of sourdough discard in your fridge right now, and this is the week it finally pays you back. Cinnamon rolls are the one holiday-morning bake almost everyone wants and almost nobody plans far enough ahead for — and sourdough discard turns out to be the secret to the softest, most tender ones you’ll make. The tang balances all that sugar, the fermented flour keeps the crumb pillowy, and that guilt-inducing jar gets emptied in the most delicious way possible.

    These are not the week-long, all-natural-leaven cinnamon rolls that ask you to plan your whole weekend around them. This is the fast, forgiving version: discard for flavor and tenderness, a little instant yeast for a reliable lift, and a choice between a same-day bake and an overnight one so warm rolls can be the first thing you do on a holiday morning. Here’s how to get them soft and gooey, and how to fix them if they aren’t.

    Why discard makes better cinnamon rolls

    A cinnamon roll lives or dies on texture. You want soft, tender, slightly stretchy dough that pulls apart in sheets — not a dense bread roll with cinnamon in it. Sourdough discard quietly helps on every front.

    First, flavor. Discard is fermented flour and water, which means it brings a gentle acidity and a faint savory-sour depth. In a cinnamon roll that is pure advantage: the tang cuts through the sweetness so the rolls taste rich instead of cloying, the way a good buttermilk or cream-cheese note does. Second, texture. That same mild acid relaxes the gluten as the dough rests, so the crumb stays tender rather than tightening into something chewy. And because discard is already a soft, hydrated flour paste, it folds moisture right into the dough — part of why these stay soft the next day instead of going stale by lunch.

    The best part is that this is a job for the discard you’d otherwise throw away: cold, unfed, straight from the jar. No feeding, no waiting for it to peak. If you want the bigger picture of everything that jar can do, our guide to using up sourdough discard instead of throwing it away is the companion piece to this one.
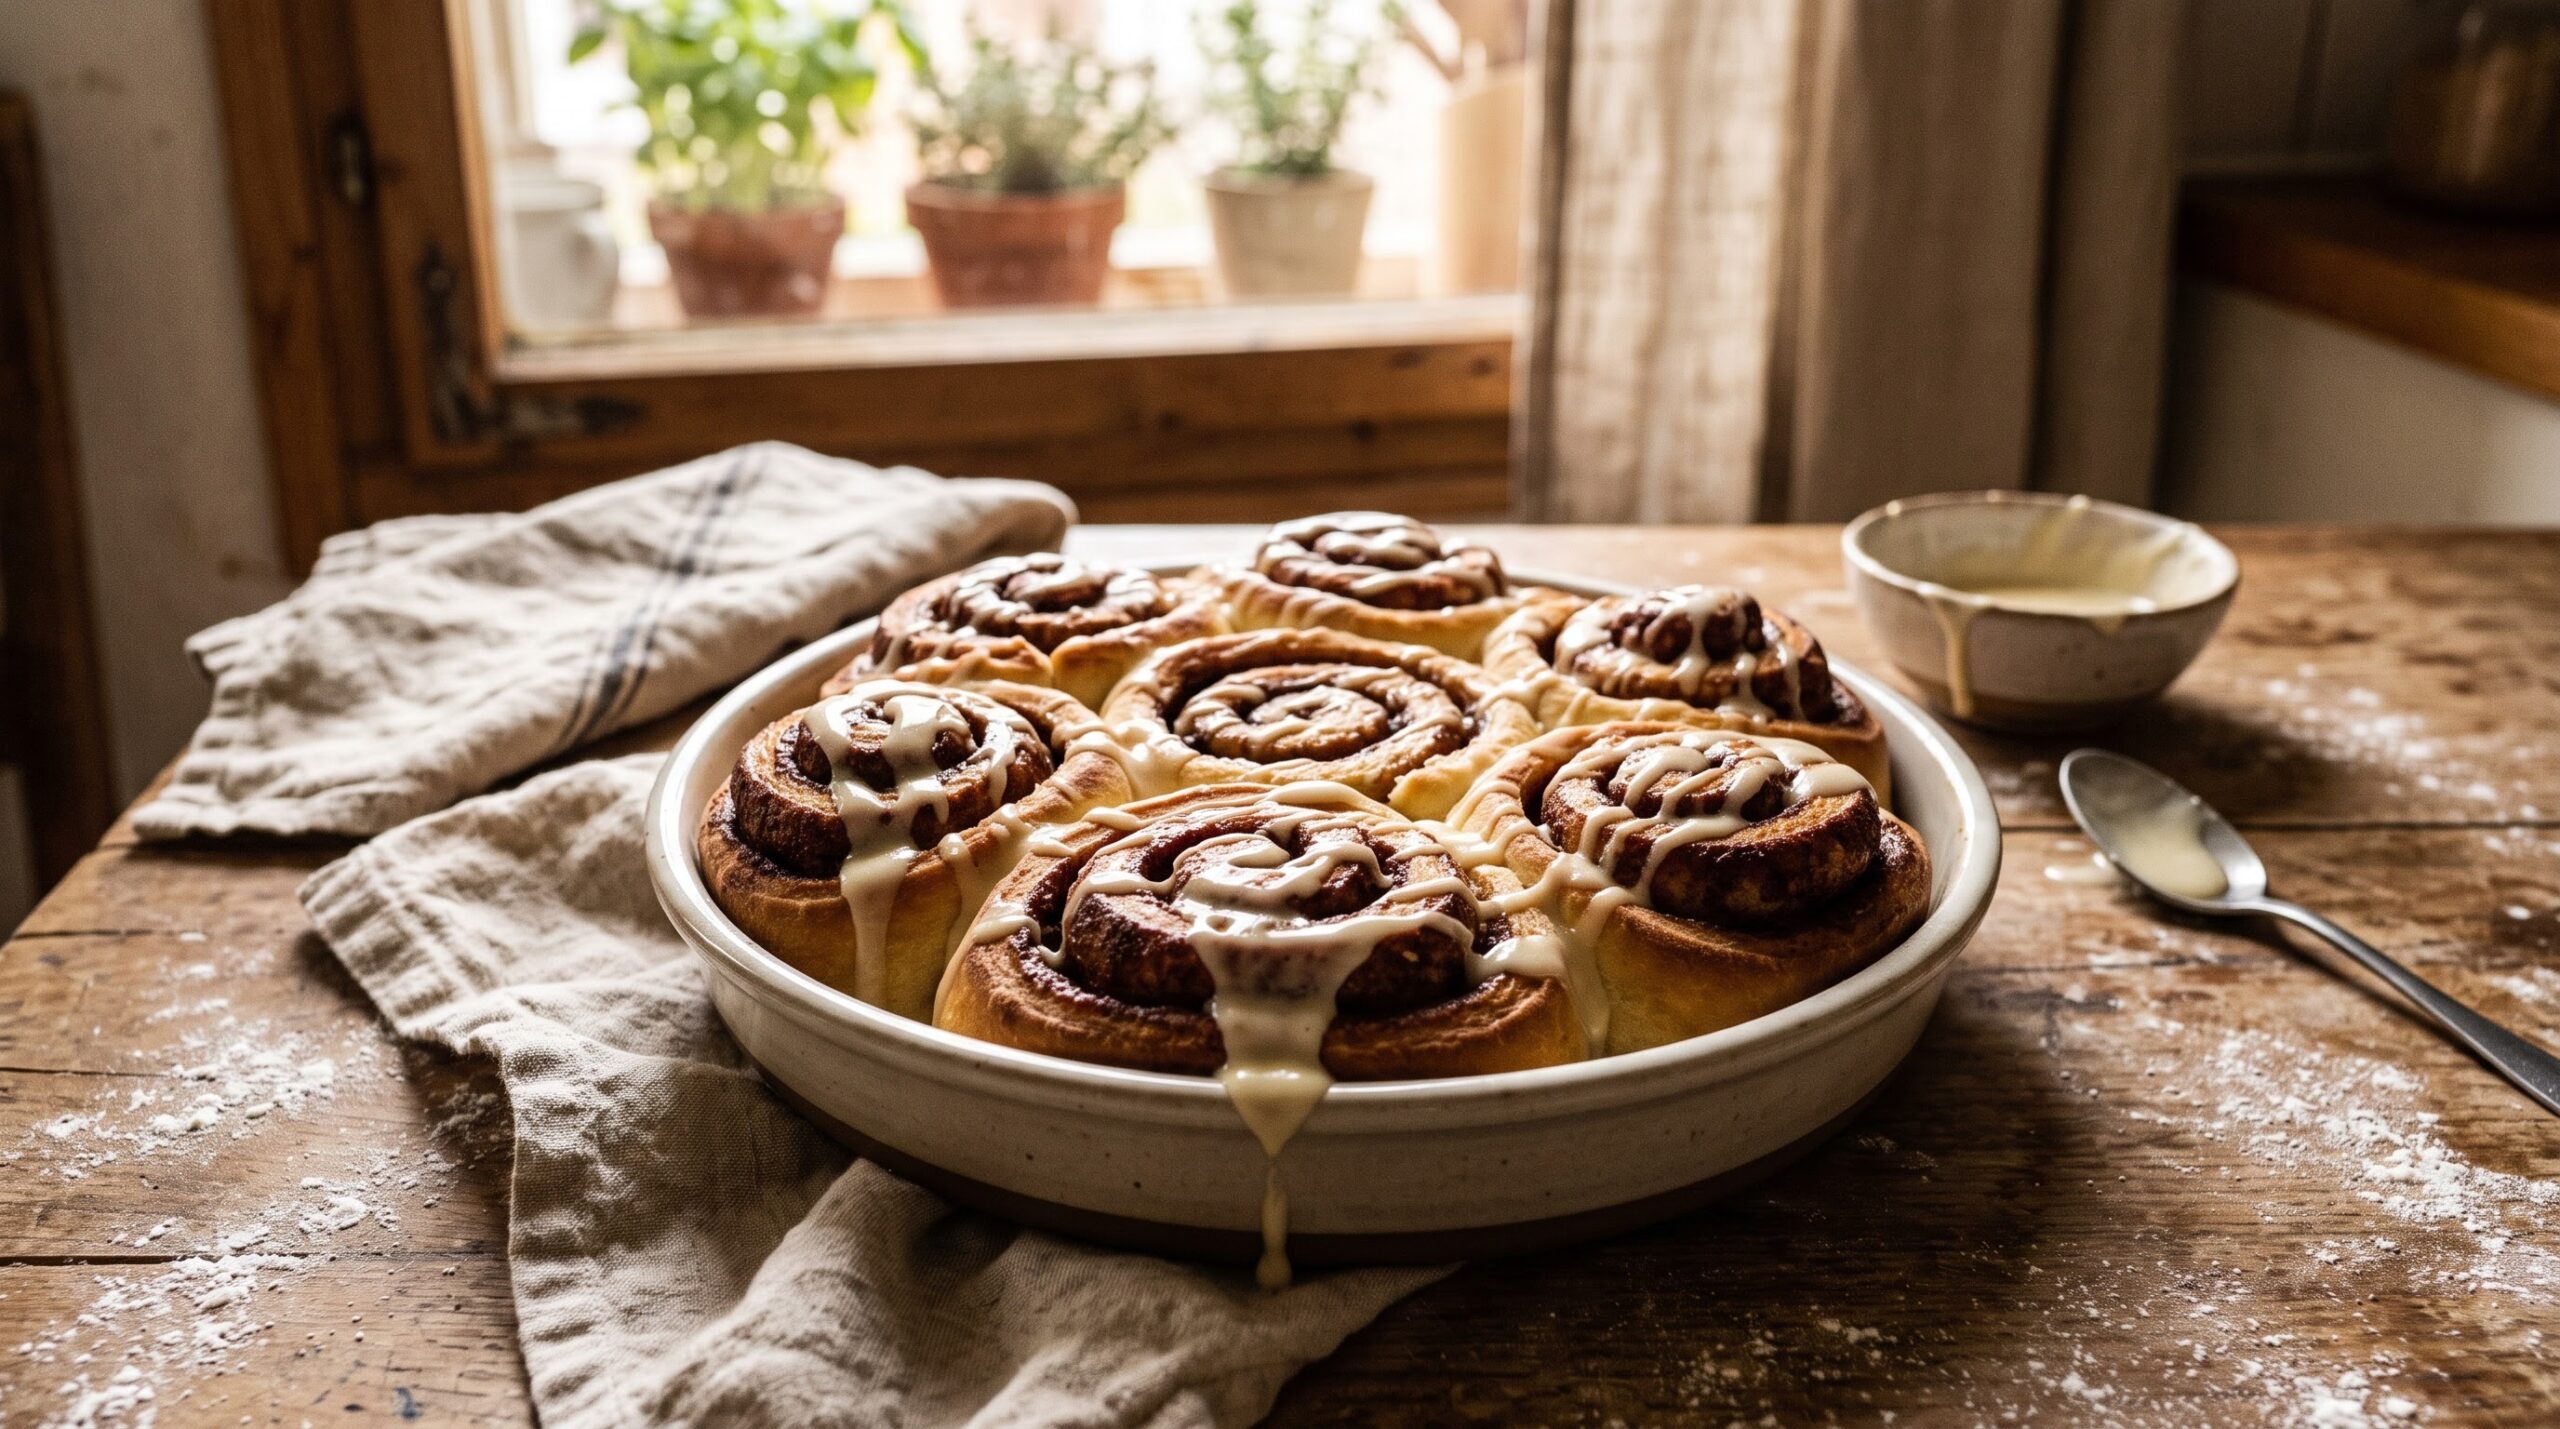
    A baking dish of soft golden sourdough discard cinnamon rolls with cream cheese glaze dripping over the gooey spirals
    Soft, pillowy, and unapologetically gooey — discard gives these rolls a tender crumb and a faint tang that cuts the sweetness.

    Discard plus a little yeast: the honest shortcut

    Let’s be clear about what this recipe is. A pure sourdough cinnamon roll, leavened only by an active starter, is a wonderful but slow project — it needs an energetic starter and the better part of a day of proofing. That’s a different article. Most people reaching for cinnamon rolls during a busy holiday week want them to work, on a schedule, without gambling the whole batch on a sluggish winter starter.

    So this version uses discard for flavor and tenderness and a small amount of instant yeast for a dependable, timely rise. There’s nothing dishonest about it — it’s the same logic behind plenty of enriched sourdough bakes, where the fat, sugar, milk, and egg change the game and a reliable lift matters more than a dramatic one. If you’re curious how richness reshapes a dough, we go deep on that in how butter, milk, and egg change everything about an enriched bake.

    The dough

    This makes about 9 to 12 rolls in a 9×13-inch dish.

    • 1 cup (240g) sourdough discard, cold from the fridge
    • ¾ cup (180g) warm milk
    • 1 large egg, room temperature
    • ¼ cup (50g) sugar
    • 4 tablespoons (55g) butter, melted and slightly cooled
    • 2¼ teaspoons (1 packet) instant yeast
    • 1 teaspoon salt
    • 3½ to 4 cups (420–480g) all-purpose flour

    For the filling: 4 tablespoons (55g) soft butter, ¾ cup (160g) packed brown sugar, 2 tablespoons ground cinnamon.

    For the glaze: 4 oz (115g) softened cream cheese, 2 tablespoons soft butter, 1 cup (120g) powdered sugar, a splash of milk, a pinch of salt.
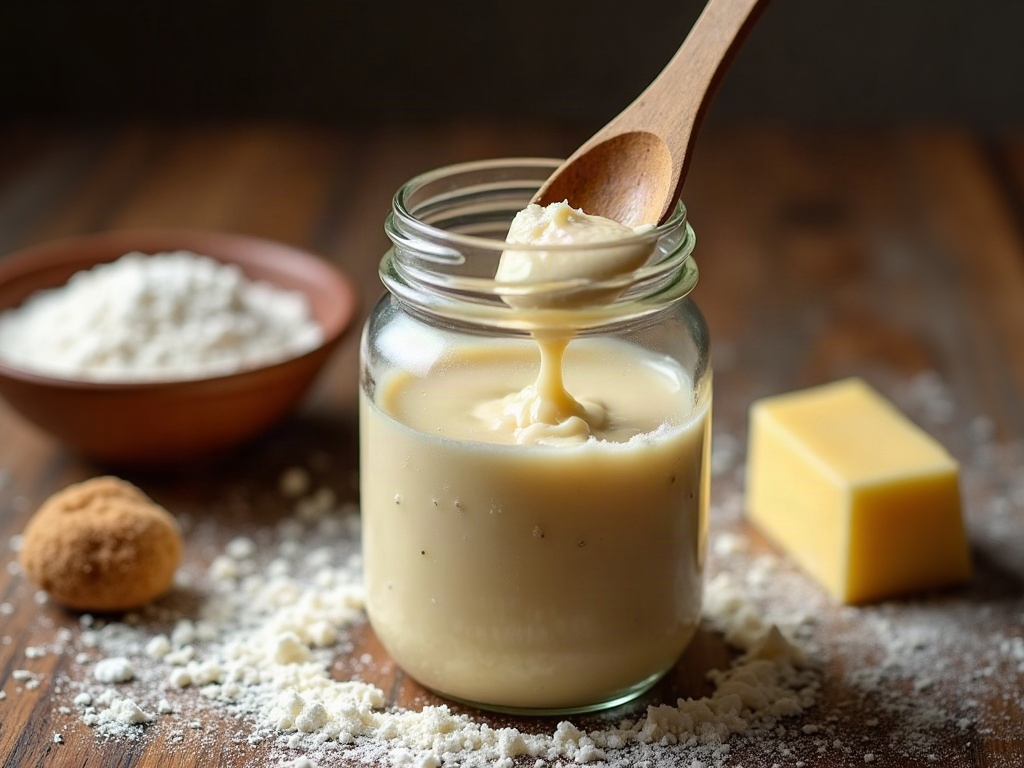
    A jar of bubbly sourdough discard being spooned out beside flour, soft butter, and brown sugar
    Cold, unfed discard is perfect here — its mild acidity tenderizes the dough and adds flavor you can’t fake.

    Making them, step by step

    1. Mix the dough. Whisk the discard, warm milk, egg, sugar, melted butter, and yeast together until smooth. Add the salt and most of the flour, and mix to a shaggy dough. Knead (by hand 8–10 minutes, or in a mixer 5–6) until smooth and elastic, adding flour a little at a time only until it clears the bowl. Enriched dough should feel soft and slightly tacky — resist the urge to dry it out with extra flour, or the rolls bake up tough.

    2. First rise. Cover and let it rise in a warm spot until roughly doubled, about 1 to 2 hours. In a cold winter kitchen this is the step that stalls; an oven with just the light on, or a warm corner, makes all the difference. (The same cold-kitchen slowdown that drags out a loaf applies here — it’s worth knowing how to find a warm spot for enriched dough too.)

    3. Roll and fill. Punch down and roll the dough on a floured surface into a large rectangle, roughly 16×12 inches. Spread the soft butter edge to edge, then sprinkle the brown sugar and cinnamon evenly over the whole surface. Starting from a long edge, roll it up snugly into a tight log — a loose roll makes a loose spiral.

    4. Slice and arrange. Cut the log into 9 to 12 even pieces. A length of plain thread or unflavored dental floss slipped under the log and crossed over the top gives the cleanest cut without squashing the spiral; a very sharp knife works too. Arrange the rolls cut-side up in a buttered baking dish, leaving a little room to expand.
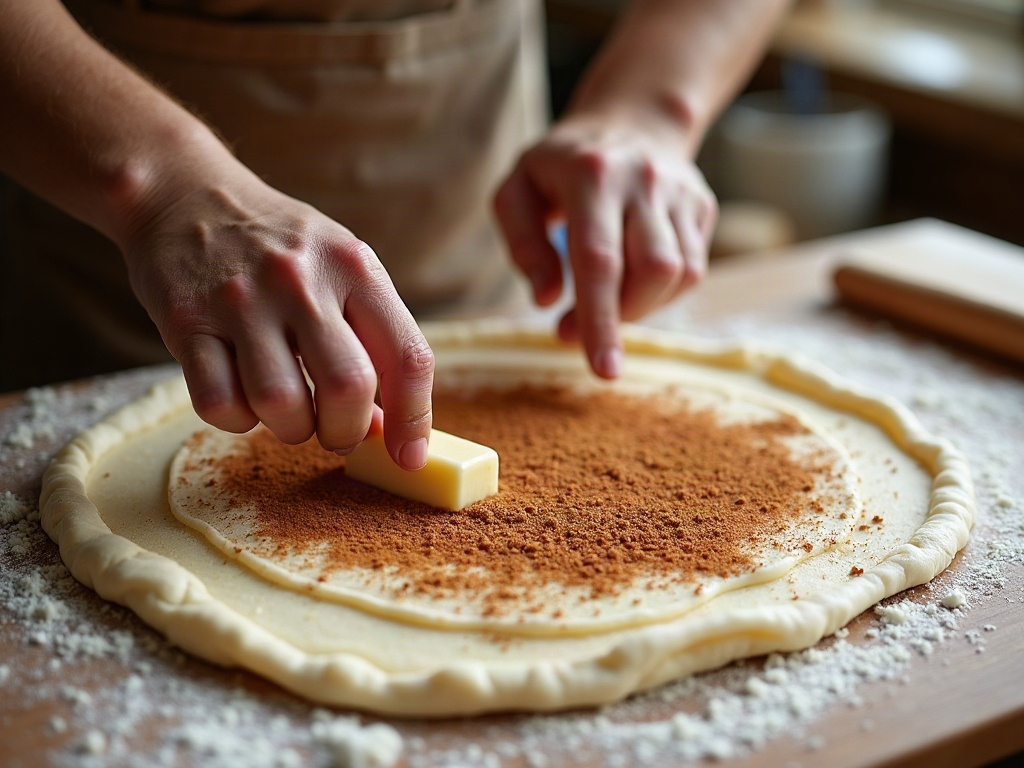
    Hands spreading butter, cinnamon, and brown sugar over a rolled-out rectangle of enriched sourdough dough
    Soft butter, brown sugar, and plenty of cinnamon, spread right to the edges — this is the gooey core of every roll.

    5. Second rise. Cover and let the rolls puff until pressed together and visibly swollen, about 45 minutes to an hour. They should look soft and inflated, not firm. This is the proof that decides whether they’re light or dense, so don’t rush it.

    6. Bake. Bake at 350°F (175°C) for 22 to 28 minutes, until golden and cooked through in the center. If the tops brown before the middles set, tent loosely with foil. Let them cool 10 minutes before glazing.

    7. Glaze. Beat the cream cheese and butter smooth, then beat in the powdered sugar, salt, and enough milk to make it spreadable. Slather it over the warm (not hot) rolls so it melts into every crevice.
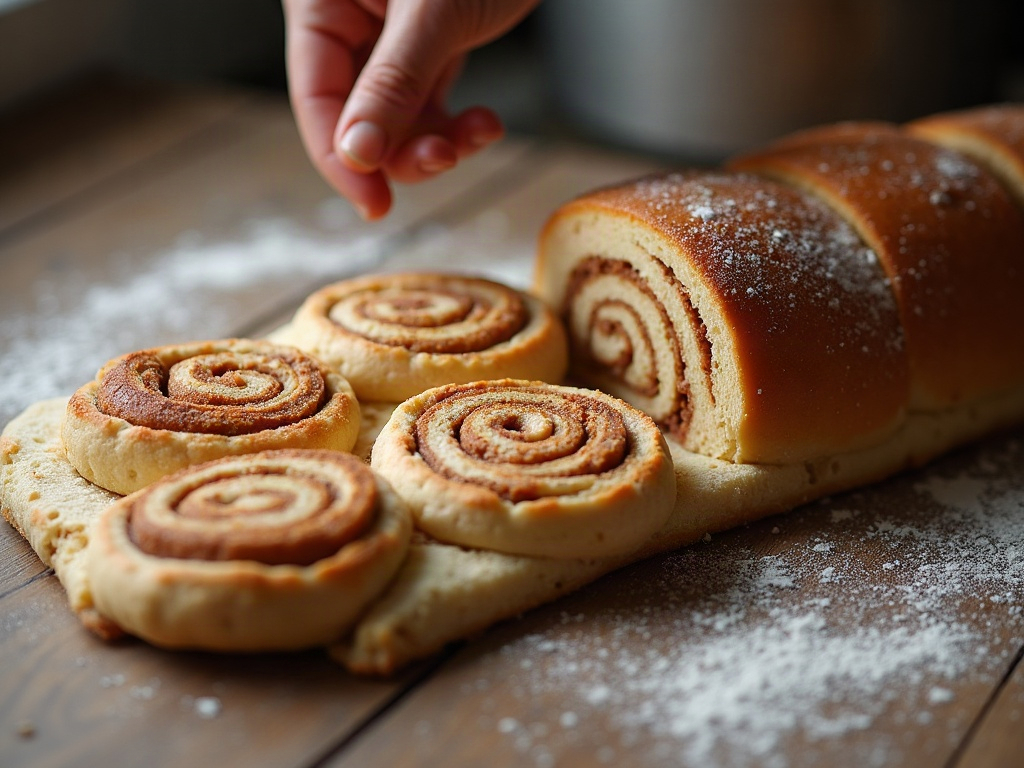
    A cinnamon-filled dough log being sliced into even rolls showing clean spirals, placed into a baking dish
    Slice with thread or a very sharp knife so the spirals stay round, then nestle the rolls just touching to proof.

    The overnight version (for a calm holiday morning)

    This is the whole reason to make cinnamon rolls with a fermented dough: it takes beautifully to the fridge. Assemble the rolls through the slicing step, cover the dish tightly, and refrigerate overnight — up to about 16 hours. The cold slows the yeast to a crawl while the discard keeps developing flavor. In the morning, pull the dish out, let it sit on the counter until the rolls look puffy and come to room temperature (45 minutes to a bit over an hour, longer in a cold kitchen), then bake as above. Warm, gooey cinnamon rolls with no 6 a.m. dough-wrangling — which is exactly the make-ahead thinking behind our make-ahead holiday sourdough schedule. You can also freeze the baked, unglazed rolls and warm them later.

    When they don’t come out right

    • Dense, heavy rolls. Underproofed, almost always. If the rolls weren’t visibly puffy and pressed together before baking, they needed more time — especially in a cold kitchen. Give the second rise longer and find a warmer spot.
    • Dry or bready. Too much flour in the dough, or overbaked. Keep the dough soft and slightly tacky, and pull the rolls the moment the centers are set — an extra five minutes dries them out.
    • Gummy, doughy centers. Underbaked, or the rolls were packed too tightly so the middles couldn’t cook. Give them a little space in the dish and bake until the center roll is done, not just the edges.
    • Filling leaked out into a puddle. Normal and delicious — that’s the gooey caramel bonus. But a too-loose roll or too-wet filling makes it worse; roll snugly and don’t overdo the butter.
    • Flat spirals that unravel. The log was rolled too loosely or the dough was overfloured and wouldn’t stick to itself. Roll tight, and keep the dough tacky enough to grip.

    Empty the jar, feed the table

    Discard cinnamon rolls are the kind of bake that makes the whole discard habit feel worth it: you take something you were about to pour down the drain and turn it into the warm, gooey centerpiece of a holiday morning. They’re soft, they’re tangy-sweet, and they reward a little patience on the proof with a crumb that stays tender into the next day. If the jar isn’t empty yet, a spiced sourdough discard gingerbread loaf is a natural next bake, and soft sourdough dinner rolls round out the table on the savory side.
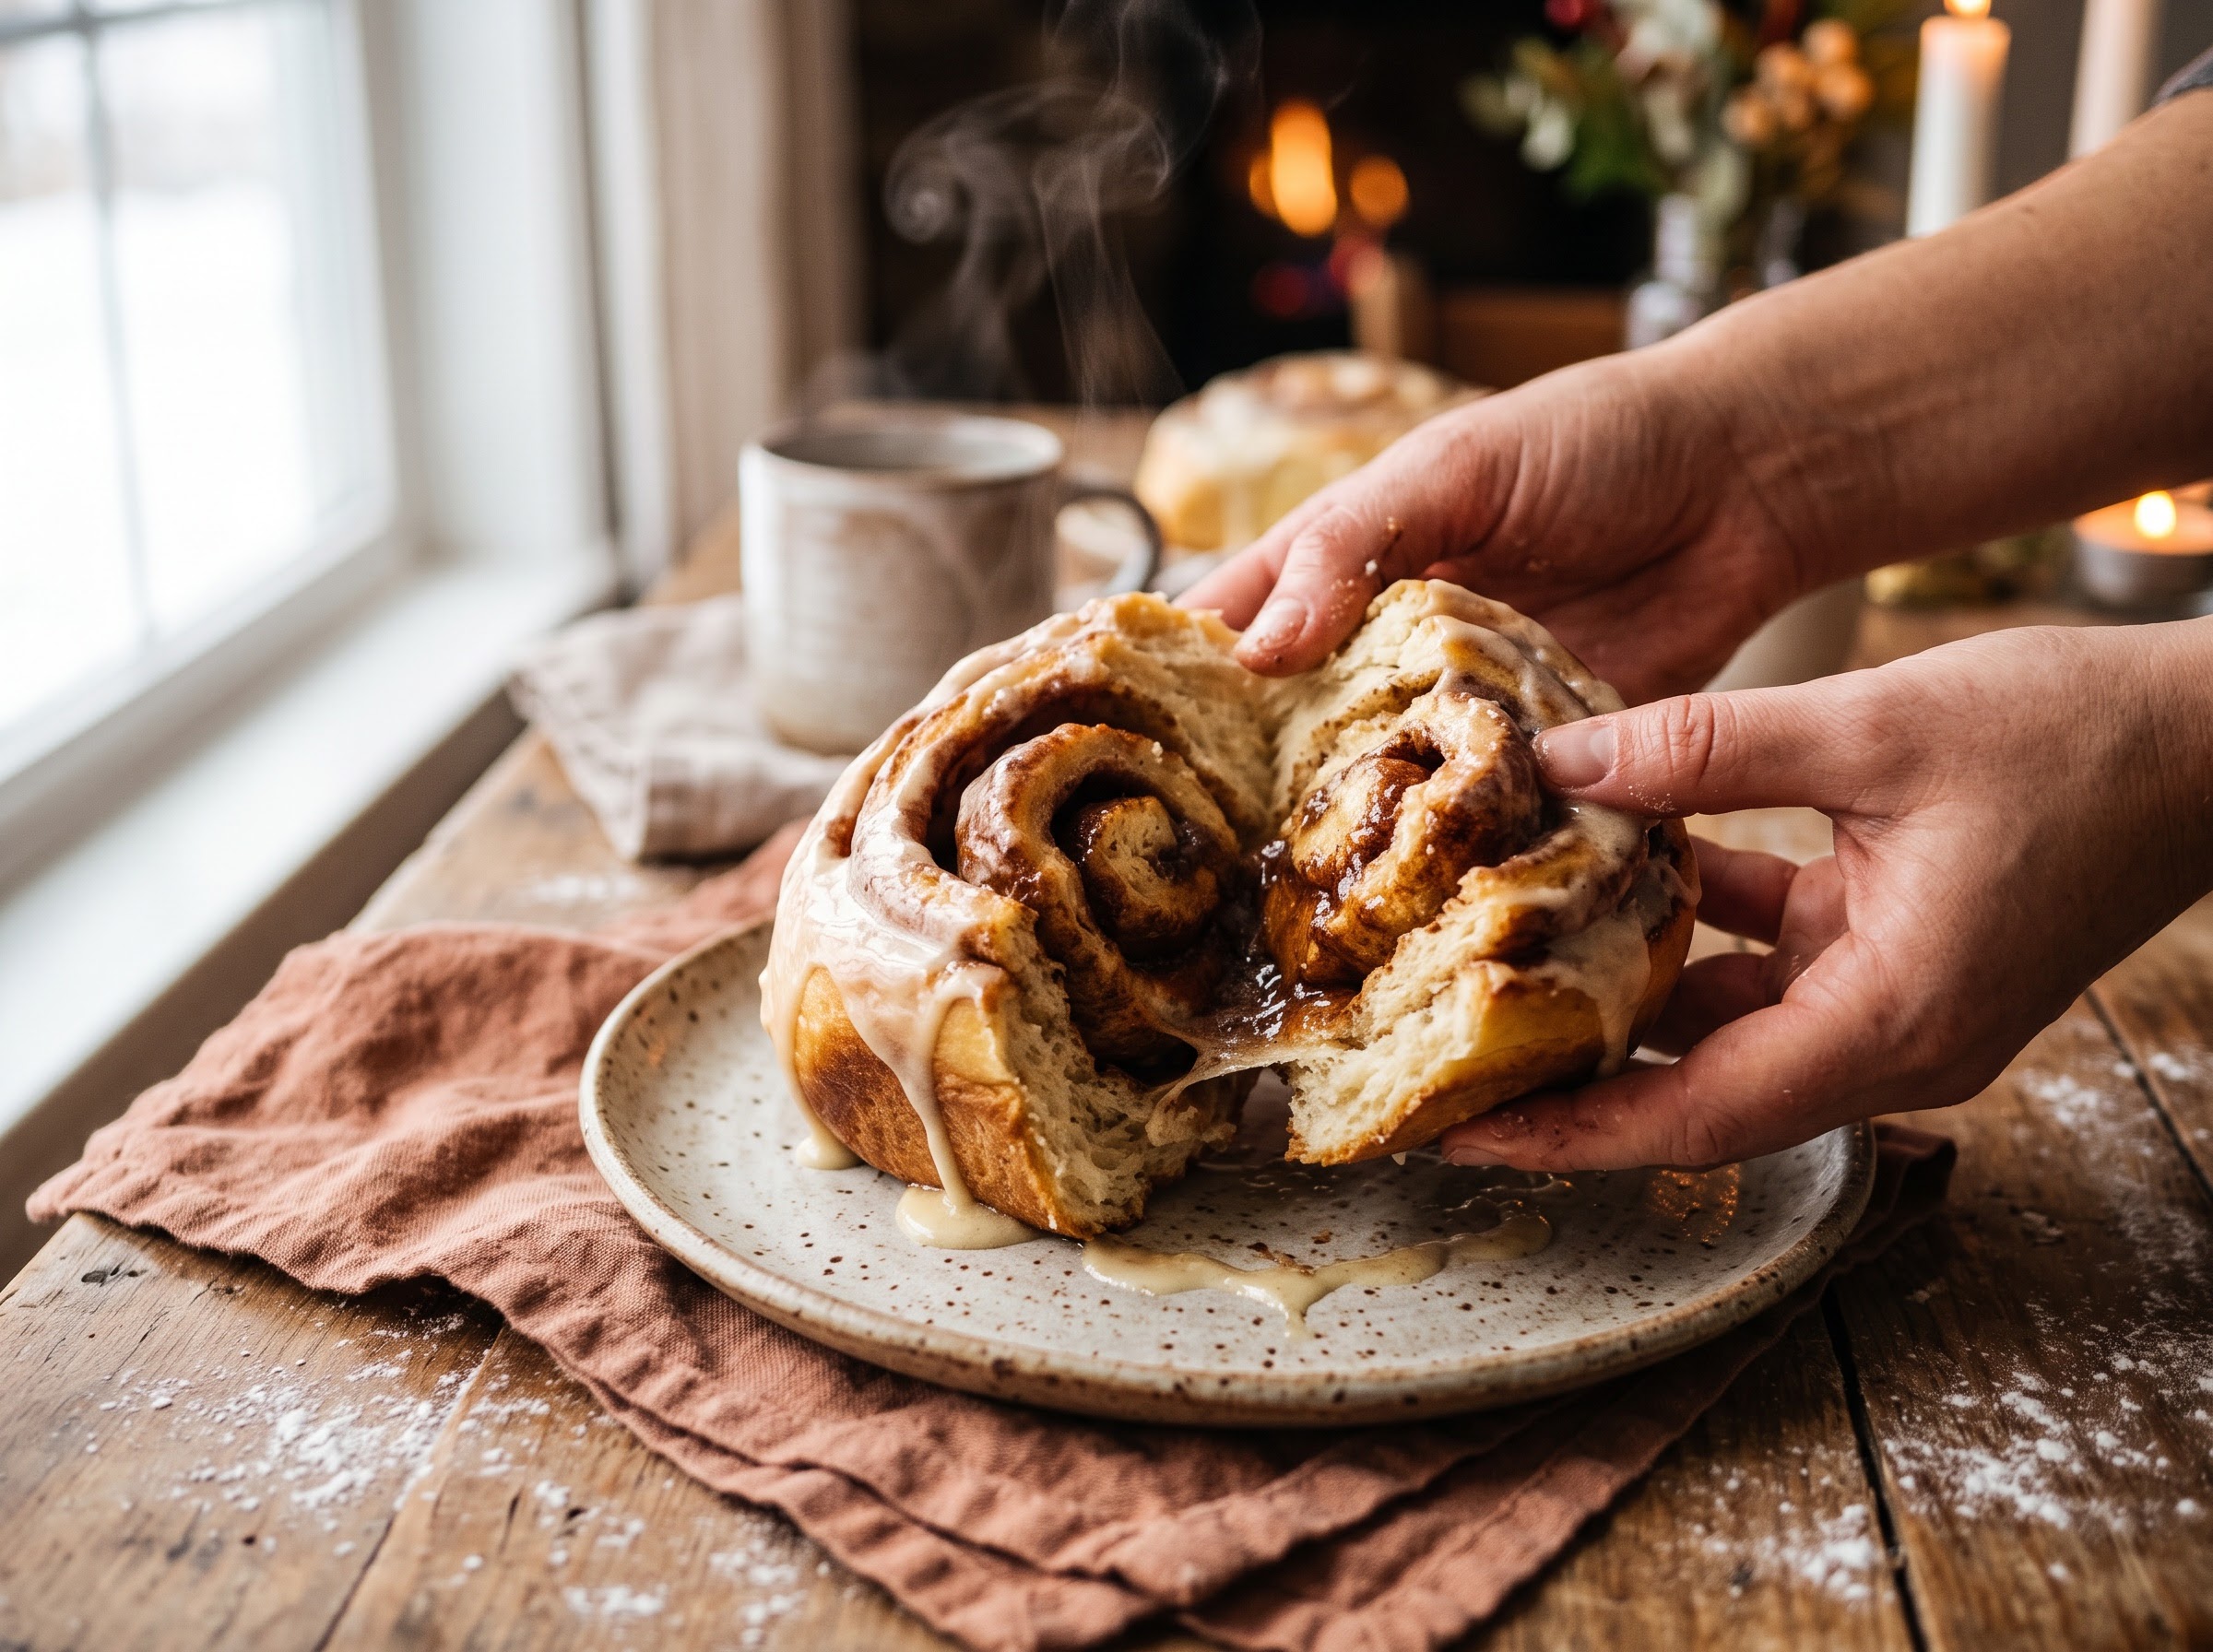
    A single gooey sourdough cinnamon roll pulled apart to show the soft tender spiral and melting cinnamon filling
    The payoff: a soft, tender spiral that pulls apart in sheets, with a gooey cinnamon center and a tangy-sweet glaze.

    Enriched, rolled doughs are one of those things that click the moment you watch one come together — how tacky the dough should feel, how tight to roll the log, how puffy the rolls should look before they go in. The full step-by-step sourdough discard cinnamon rolls, including the overnight method and the cream-cheese glaze, lives on the LoafLovers YouTube channel, and our free sourdough troubleshooting guide has a printable discard-uses cheat sheet so that jar never goes to waste again. Keep the dough soft, let them proof, and go make the softest rolls on the table.
    Related Reading

  • Sourdough Discard Pie Crust: A Flaky, Tangy Crust for Your Holiday Pies

    Sourdough Discard Pie Crust: A Flaky, Tangy Crust for Your Holiday Pies

    Somewhere in your fridge right now there is a jar of sourdough discard, quietly accumulating and quietly inducing guilt. With the holidays here and pies on everyone’s mind, that jar is about to earn its keep. Sourdough discard makes a genuinely excellent pie crust — flakier, more flavorful, and more forgiving than a standard one — and it is one of the smartest ways to use up discard in bulk right when you need the most baking done.

    If you have been pouring discard down the drain, stop. A holiday dessert table is the perfect excuse to put it to work. Here is why discard and pastry are such a natural match, the one rule you cannot break, and a reliable all-butter crust you can mix today and bake later.

    Why discard belongs in pie crust

    Pie crust wants three things: flakiness, tenderness, and flavor. Sourdough discard quietly helps with all three. Discard is essentially flour and water that has fermented, which means it brings a mild acidity to the dough. That gentle acid does something butter and ice water can’t: it relaxes and slightly weakens the gluten, so your crust stays tender instead of turning tough and leathery. It is the same reason bakers have long added a splash of vinegar or vodka to pastry — discard does it naturally, and adds flavor while it’s at it.

    That flavor is the real secret. Plain pie crust is mostly a vehicle; a discard crust tastes faintly tangy and complex, the kind of subtle savory-sour note that makes people ask what’s different. It plays beautifully against sweet fillings like pumpkin, apple, and pecan, and it is outright transformative in savory bakes like quiche and pot pie. And because discard is already a soft, hydrated flour paste, it also acts as part of your liquid — you’ll use less ice water than a standard recipe. If you want the full map of what else that jar can do, our guide to using up sourdough discard instead of throwing it away is a good companion to this one.

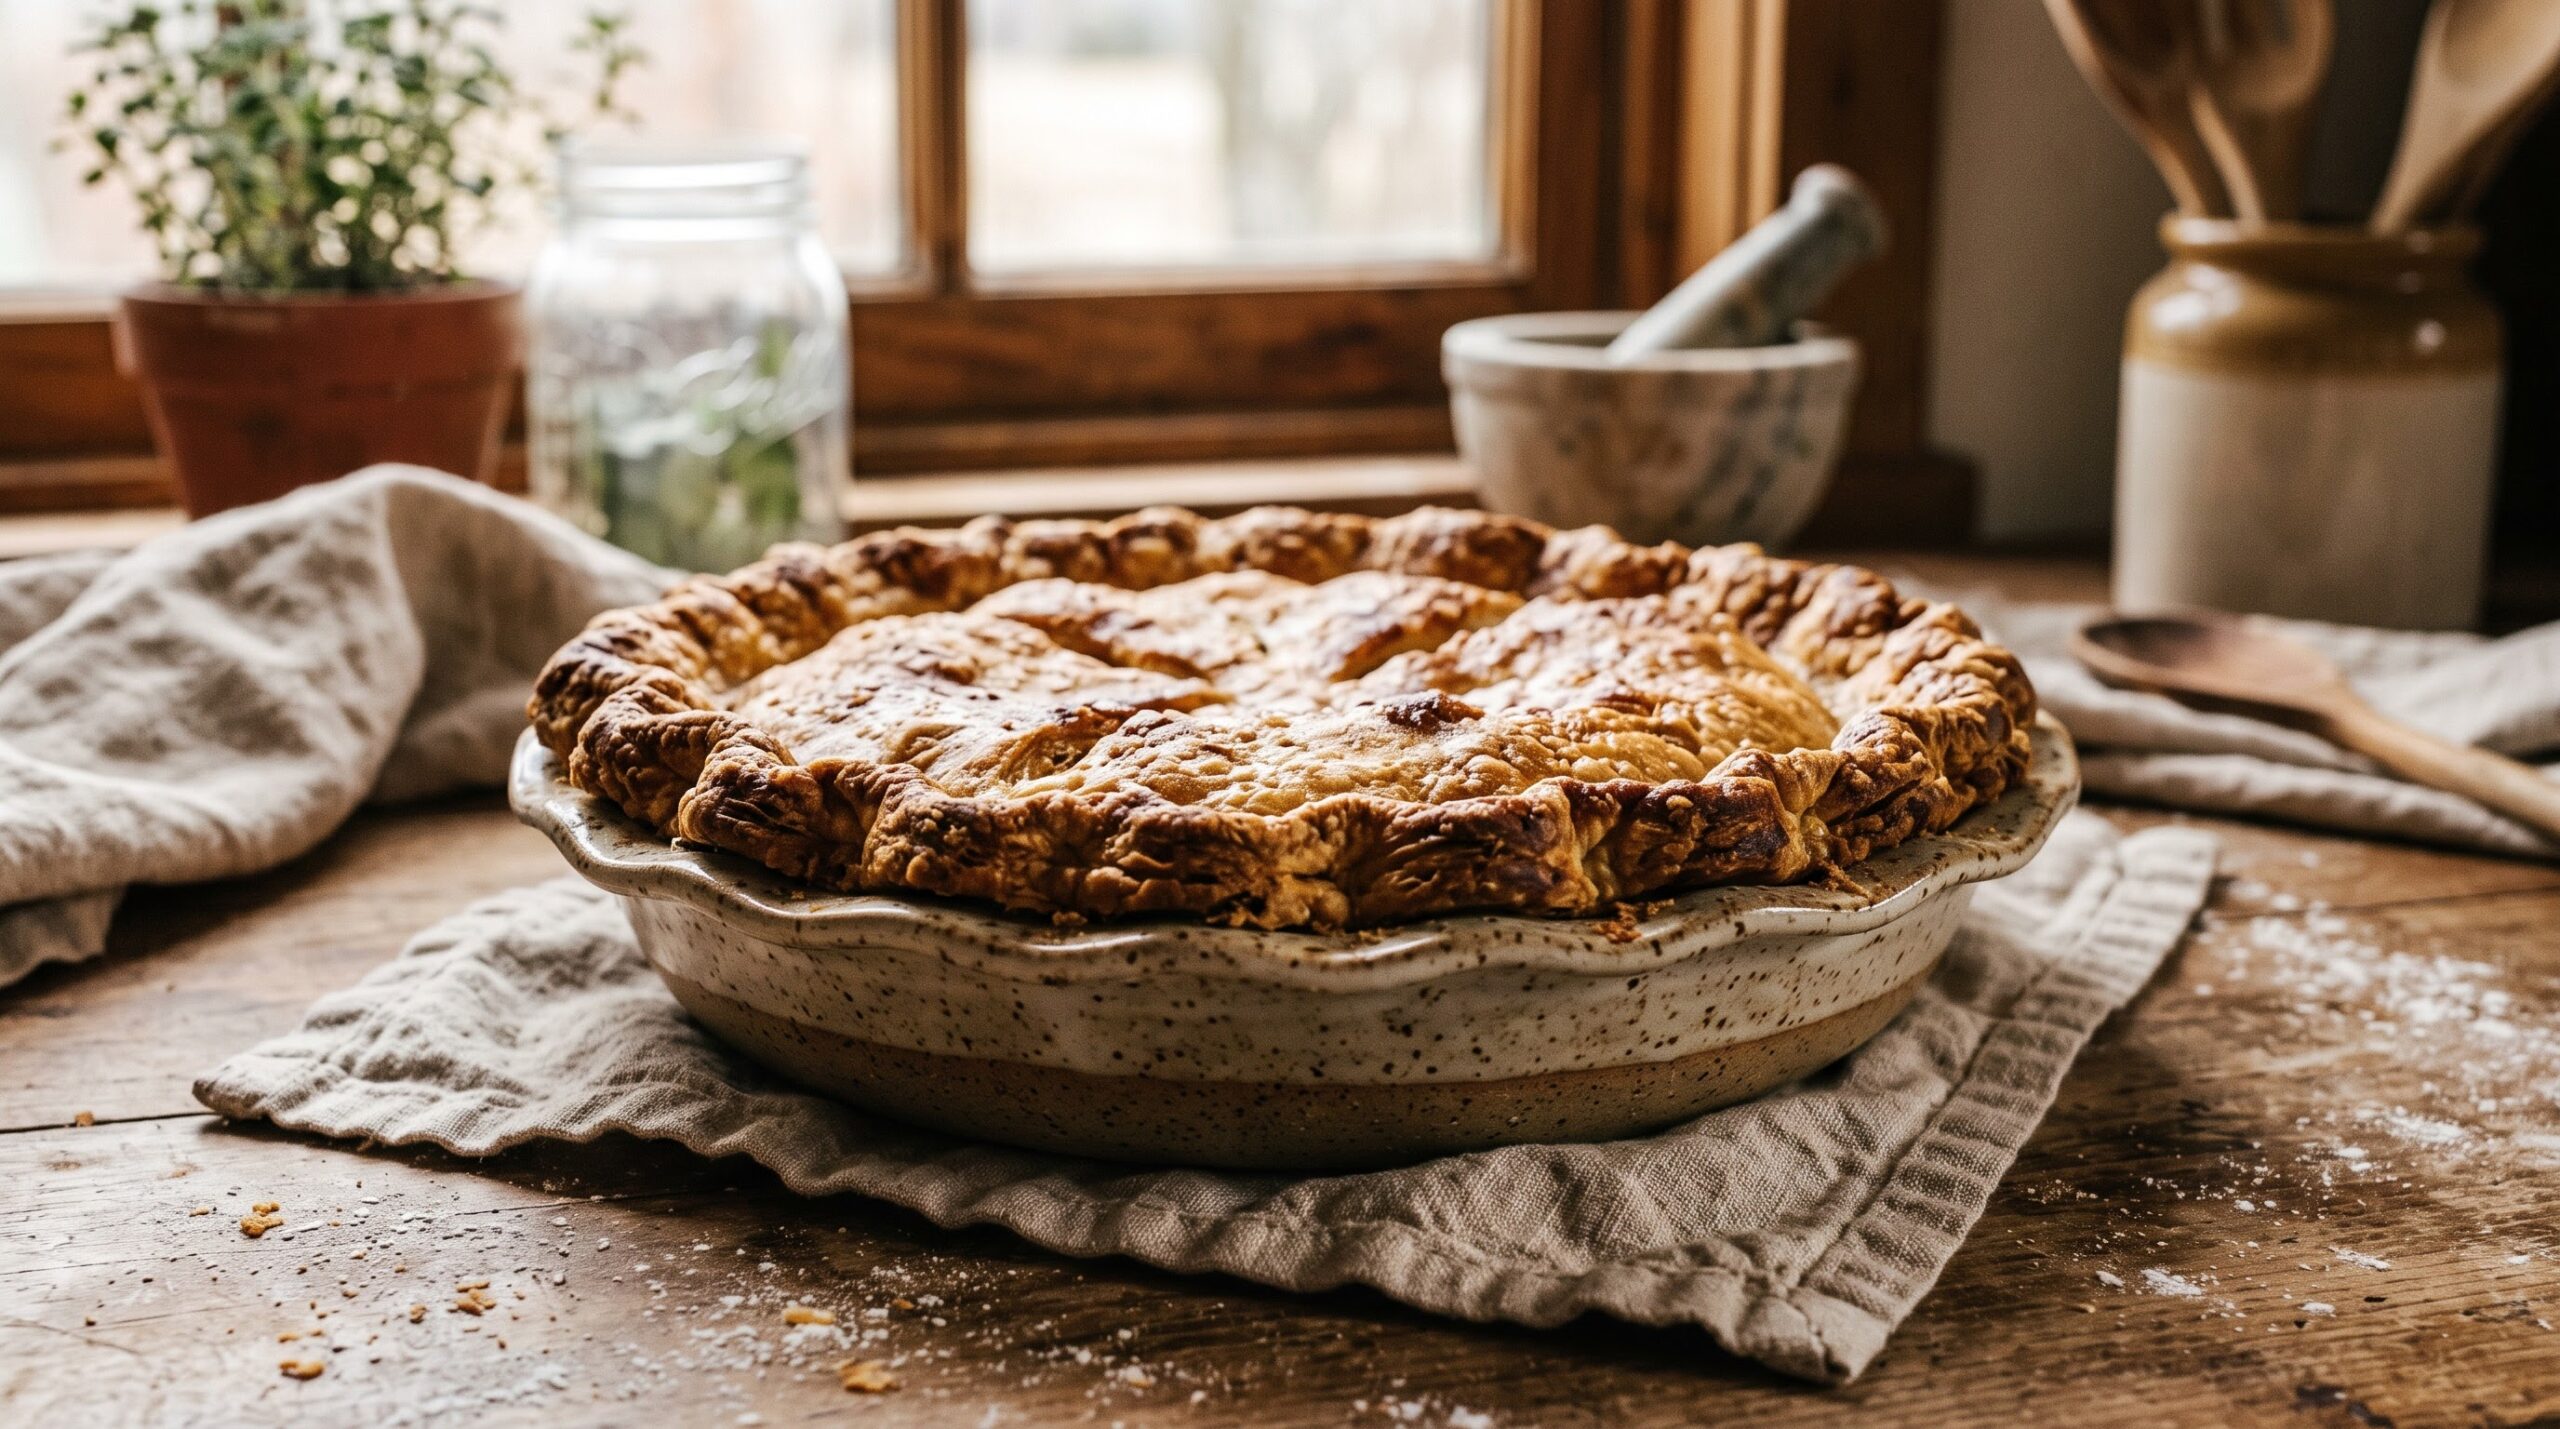
    A golden, crimped sourdough discard pie crust with flaky buttery edges cooling on a wooden table
    A discard pie crust bakes up deeply golden and shatteringly flaky — with a subtle tang no plain crust can match.

    The one rule: keep everything cold

    If you take away a single thing from this article, take this: flaky pie crust is built on cold fat. This is true of any pastry, but it bears repeating because it is the difference between a crust that shatters into golden layers and one that bakes up dense and greasy.

    The mechanism is simple. When cold, solid flakes of butter hit the oven’s heat, the water in that butter flashes to steam and pries the dough apart into thin, crisp layers. If the butter has softened and smeared into the flour before baking, there are no distinct flakes left to steam open — and you get a flat, tough, oily crust instead. So:

    • Use the butter straight from the fridge, cut into cubes, and keep it in visible pea-to-almond-sized pieces. Don’t blend it to a paste.
    • Use cold discard straight from the fridge, not a warm, freshly fed starter. (This is a great use for the sluggish, unfed discard you’d otherwise toss.)
    • Add ice water, a tablespoon at a time, only until the dough just holds together when squeezed.
    • Chill the shaped disc before rolling, and again after it’s in the pan. If the dough ever feels soft or sticky, stop and refrigerate it for 20 minutes. Warm pastry is unworkable pastry.

    Work quickly, handle it as little as possible, and when in doubt, put it back in the cold.

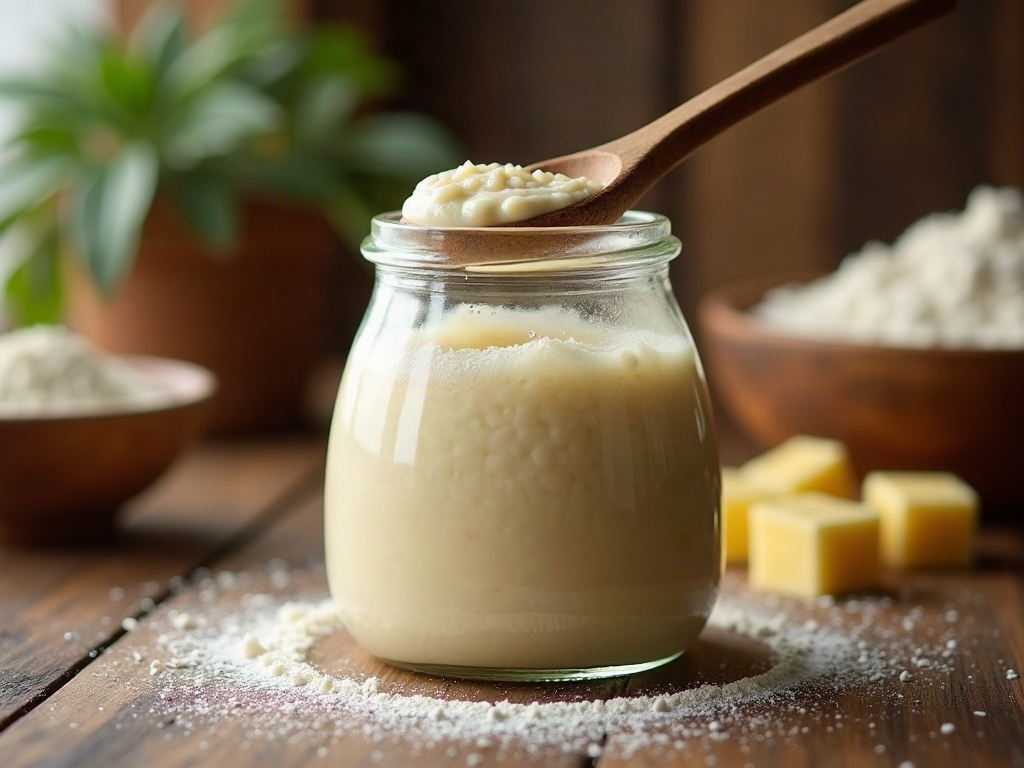
    A jar of bubbly sourdough discard being spooned out beside flour and cold cubed butter
    Discard isn’t waste — its mild acidity is exactly what tenderizes pastry and builds flavor.

    A reliable all-butter discard pie crust

    This makes enough for a single-crust 9-inch pie. Double everything for a double-crust pie or a lattice top.

    • 1¼ cups (160g) all-purpose flour
    • ½ teaspoon salt
    • 1 teaspoon sugar (omit for savory pies)
    • ½ cup (115g) cold unsalted butter, cubed
    • ¼ cup (60g) cold sourdough discard
    • 1–3 tablespoons ice water, as needed

    1. Cut in the butter. Whisk the flour, salt, and sugar together. Add the cold cubed butter and cut it in with a pastry blender or your fingertips until the butter is in flat, flaky, pea-to-almond-sized pieces coated in flour. Stop while you can still see distinct butter — this is the flakiness, don’t erase it.

    2. Add the discard. Dollop the cold discard over the mixture and toss it through with a fork so it distributes in streaks. It won’t look uniform, and that’s correct.

    3. Bring it together. Sprinkle in ice water one tablespoon at a time, tossing after each, until the dough just holds together when you squeeze a handful. It should look shaggy, not smooth or wet. Discard is already quite hydrated, so you may need very little water.

    4. Chill — mandatory. Press the dough into a flat disc (don’t knead it), wrap it, and refrigerate at least one hour, or overnight. This rests the flour, firms the butter, and lets the discard’s acidity gently relax the gluten.

    5. Roll and fit. On a floured surface, roll the chilled disc from the center outward into a round about 2 inches wider than your pan. Faint marbled streaks of butter are a sign you did it right. Ease it into the dish without stretching, trim, and crimp the edge. Chill the lined pan another 20–30 minutes before filling or baking.

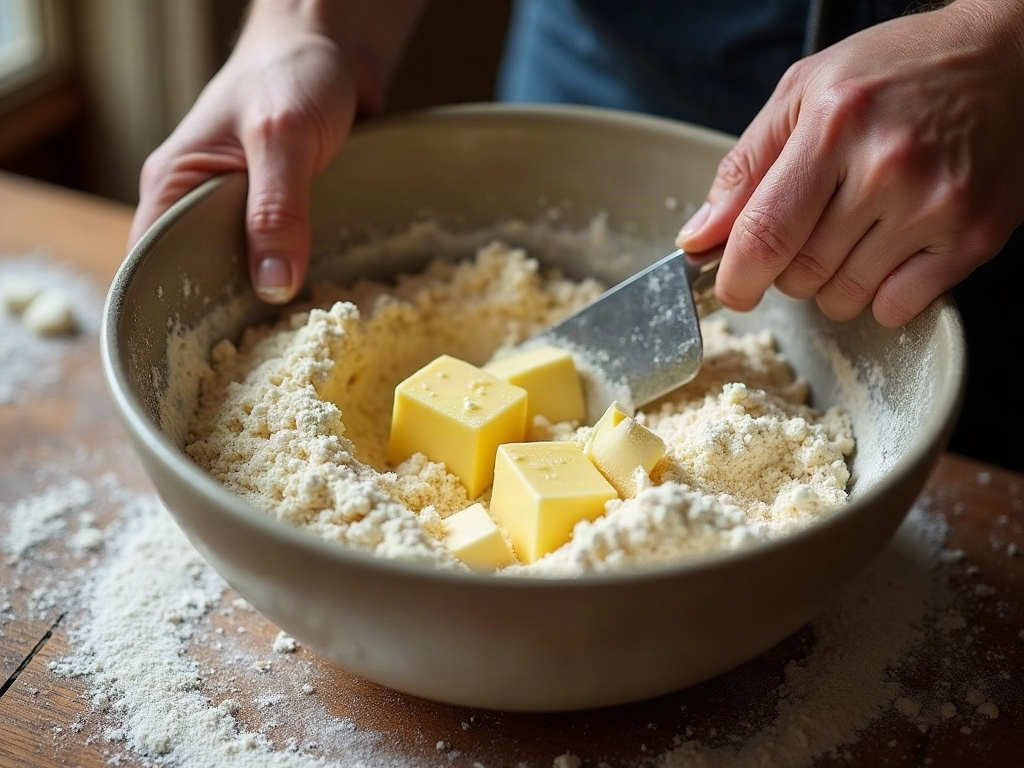
    Hands cutting cold butter into flour with a pastry cutter, discard added at the side
    Keep the butter in visible, pea-sized flakes and everything ice-cold — those flakes are what steam open into flaky layers.

    Beating the soggy bottom

    The classic holiday-pie heartbreak is a crisp rim over a pale, soggy base. For custard pies like pumpkin, or any wet filling, blind-bake (par-bake) the crust first: line the chilled shell with parchment, fill it with pie weights or dried beans, and bake at 400°F (200°C) for about 15 minutes, then remove the weights and bake a few minutes more until the base looks dry and set. A thin brush of egg wash on the par-baked base, returned to the oven for a minute, forms a seal that keeps filling from soaking in.

    Baking the pie on a preheated baking sheet on a lower rack also helps — that burst of bottom heat sets the base fast. The same principle is at work when a loaf scorches underneath; if you’re curious why direct bottom heat behaves the way it does, we dig into it in why the base of your sourdough scorches.

    Make it ahead — because it’s the holidays

    This is where a discard crust really shines during a hectic baking week: it is built for making ahead. The wrapped dough disc keeps in the fridge for up to three days, so you can mix it whenever you have ten quiet minutes and roll it out on the day. It also freezes beautifully — wrap the disc well and it will keep for a couple of months; thaw it overnight in the fridge before rolling. You can even roll it, fit it into the pan, and freeze the whole lined dish ready to fill. The make-ahead mindset is the same one that keeps holiday baking calm rather than frantic, which is exactly the thinking behind our make-ahead Thanksgiving sourdough schedule.

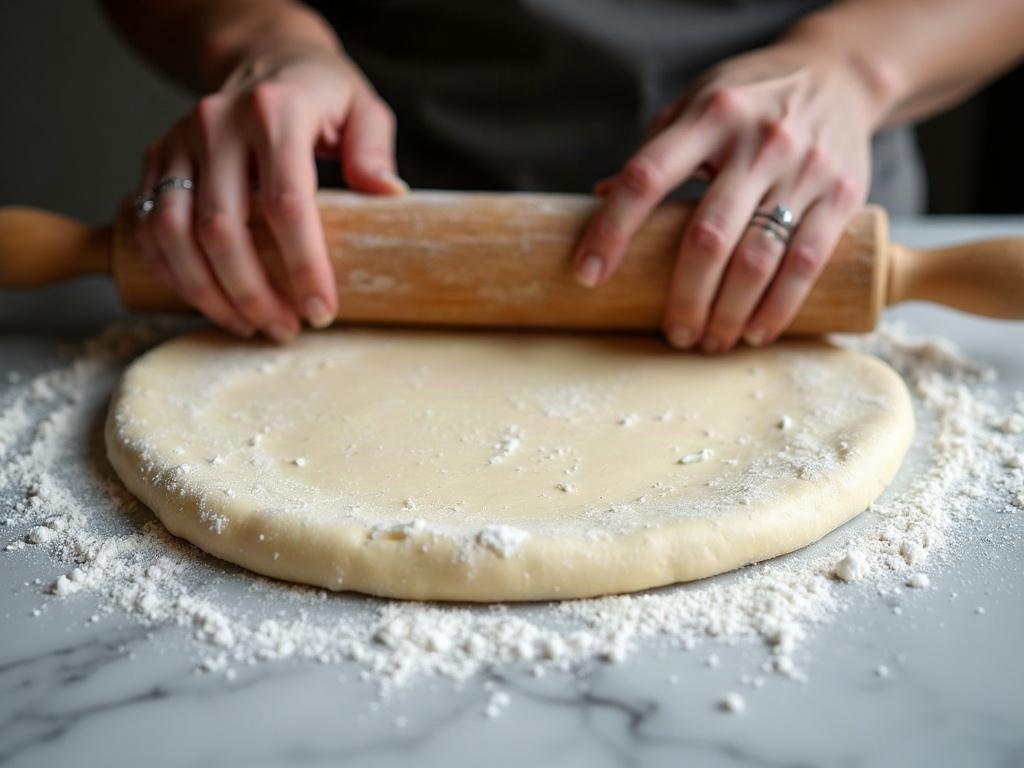
    A disc of chilled discard pie dough rolled out on floured marble, showing butter streaks
    Roll from a well-chilled disc; those marbled streaks of butter are a good sign, not a flaw.

    A few things that go wrong (and the fix)

    • Tough, hard crust. Almost always overworking the dough or adding too much water. Handle it less, and remember the discard is doing part of the hydrating — go light on the ice water.
    • Butter leaking out during baking. The dough got too warm before it went in the oven. Chill the lined, filled pan while the oven preheats so it starts baking cold.
    • Crust shrinks down the sides. The gluten was stretched when you fitted it, or it wasn’t rested. Ease the dough into the pan without pulling, and don’t skip the post-shaping chill.
    • Too tangy? Use less discard, or reach for older, milder discard rather than a freshly fed one. For most palates, a quarter cup reads as pleasant depth, not sourness.

    Put that jar to work

    A discard pie crust is one of those small kitchen wins that feels almost like cheating: you take something you were going to throw away, and it makes your holiday pies better — flakier, tastier, and sturdier — than they would have been otherwise. It costs you nothing extra, it clears out the discard jar, and it gives every pie on the table a little bit of your starter’s character. If you’ve got discard to burn and a crowd to feed, this is where to start, and a spiced sourdough discard gingerbread loaf makes a fine second stop for whatever’s left in the jar.

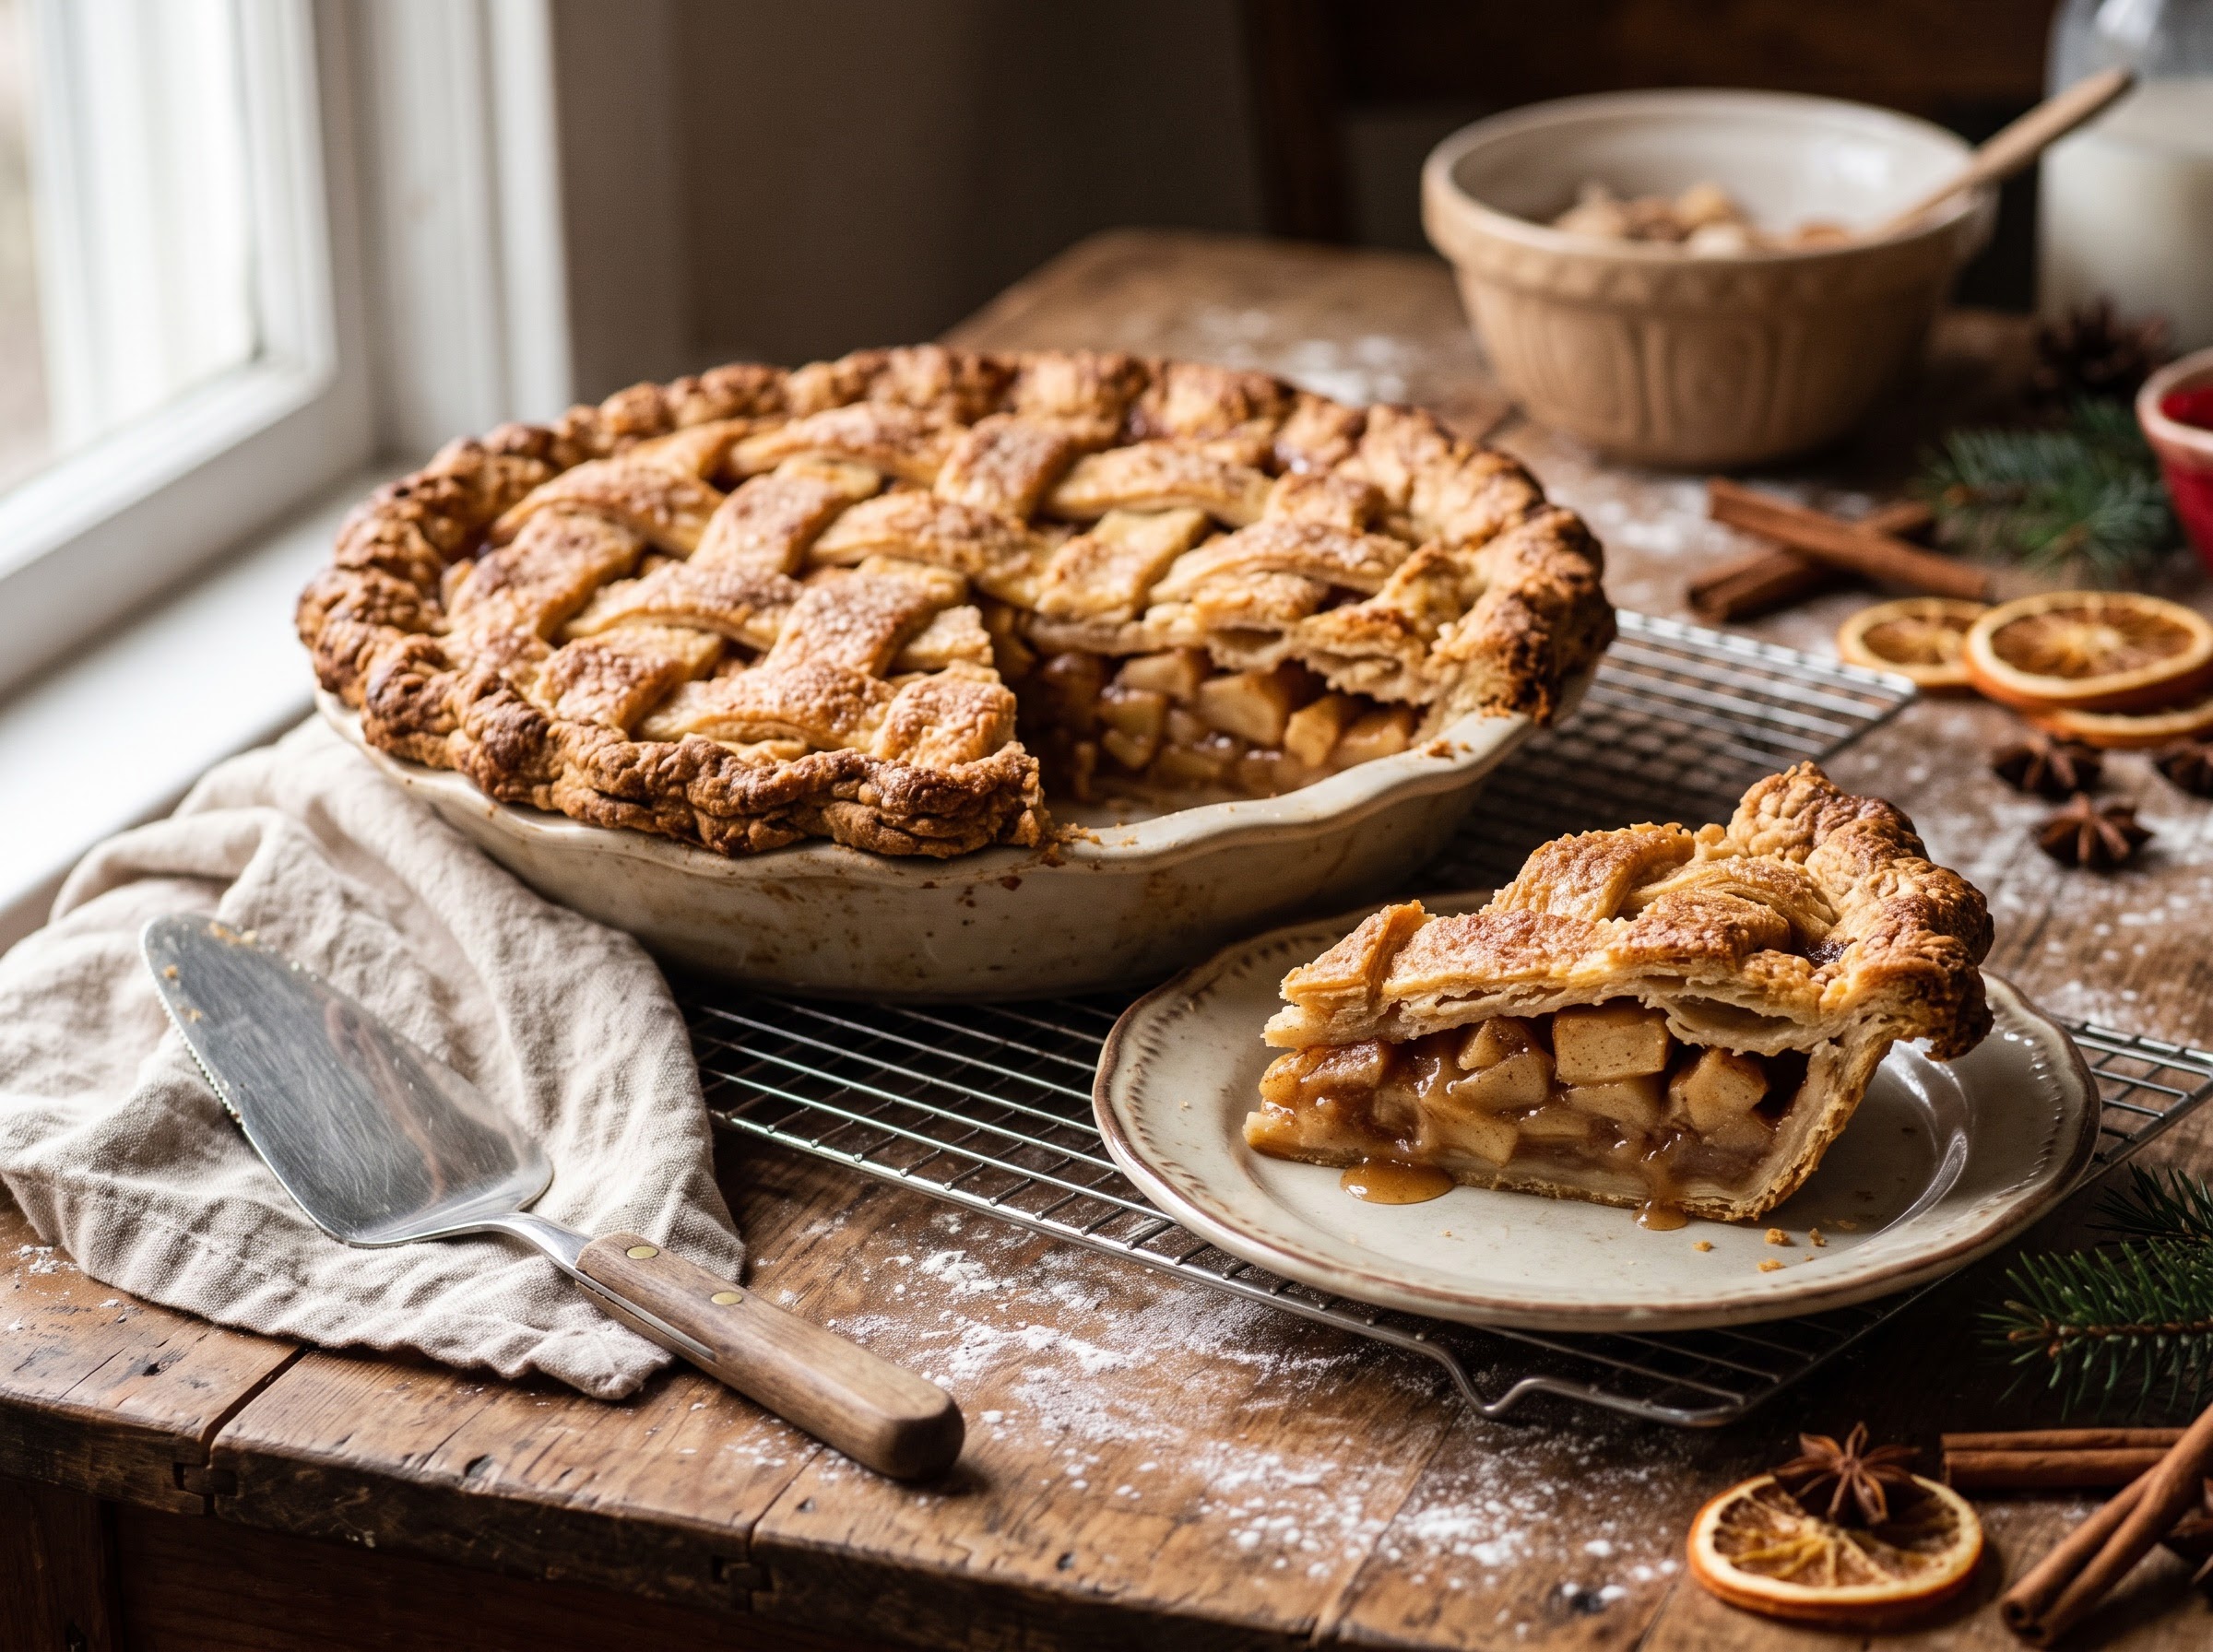
    A finished holiday pie with a flaky golden discard crust, one slice lifted to show the layers
    The payoff: a crisp, layered, golden crust that holds up under a rich holiday filling.

    Pastry is one of those things that clicks the moment you see it done — the size of the butter flakes, how shaggy the dough should look, the way it rolls out from a cold disc. The full step-by-step sourdough discard pie crust, including the blind-bake and the crimp, lives on the LoafLovers YouTube channel, and our free sourdough troubleshooting guide has a printable discard-uses cheat sheet so that jar never goes to waste again. Keep it cold, handle it gently, and go make the flakiest pie on the table.

    Related Reading

  • Sourdough Discard Gingerbread: A Spiced Holiday Loaf That Uses Up Your Jar

    Sourdough Discard Gingerbread: A Spiced Holiday Loaf That Uses Up Your Jar

    Open your fridge right now and there’s a decent chance a jar of sourdough discard is sitting in the door, quietly filling up and quietly making you feel guilty. The holidays make it worse — you’re feeding your starter more, baking more, and that jar grows faster than you can use it. Here’s the happiest possible answer to the discard problem: turn it into gingerbread.

    Sourdough discard and gingerbread were made for each other. The discard adds moisture and a faint tang that cuts the sweetness, the molasses and spice completely hide any sourness you were worried about, and the whole thing comes together in one bowl in about ten minutes. No long ferment, no banneton, no anxiety about the rise. If you’ve been intimidated by discard recipes, this is the one to start with — it’s nearly impossible to get wrong.

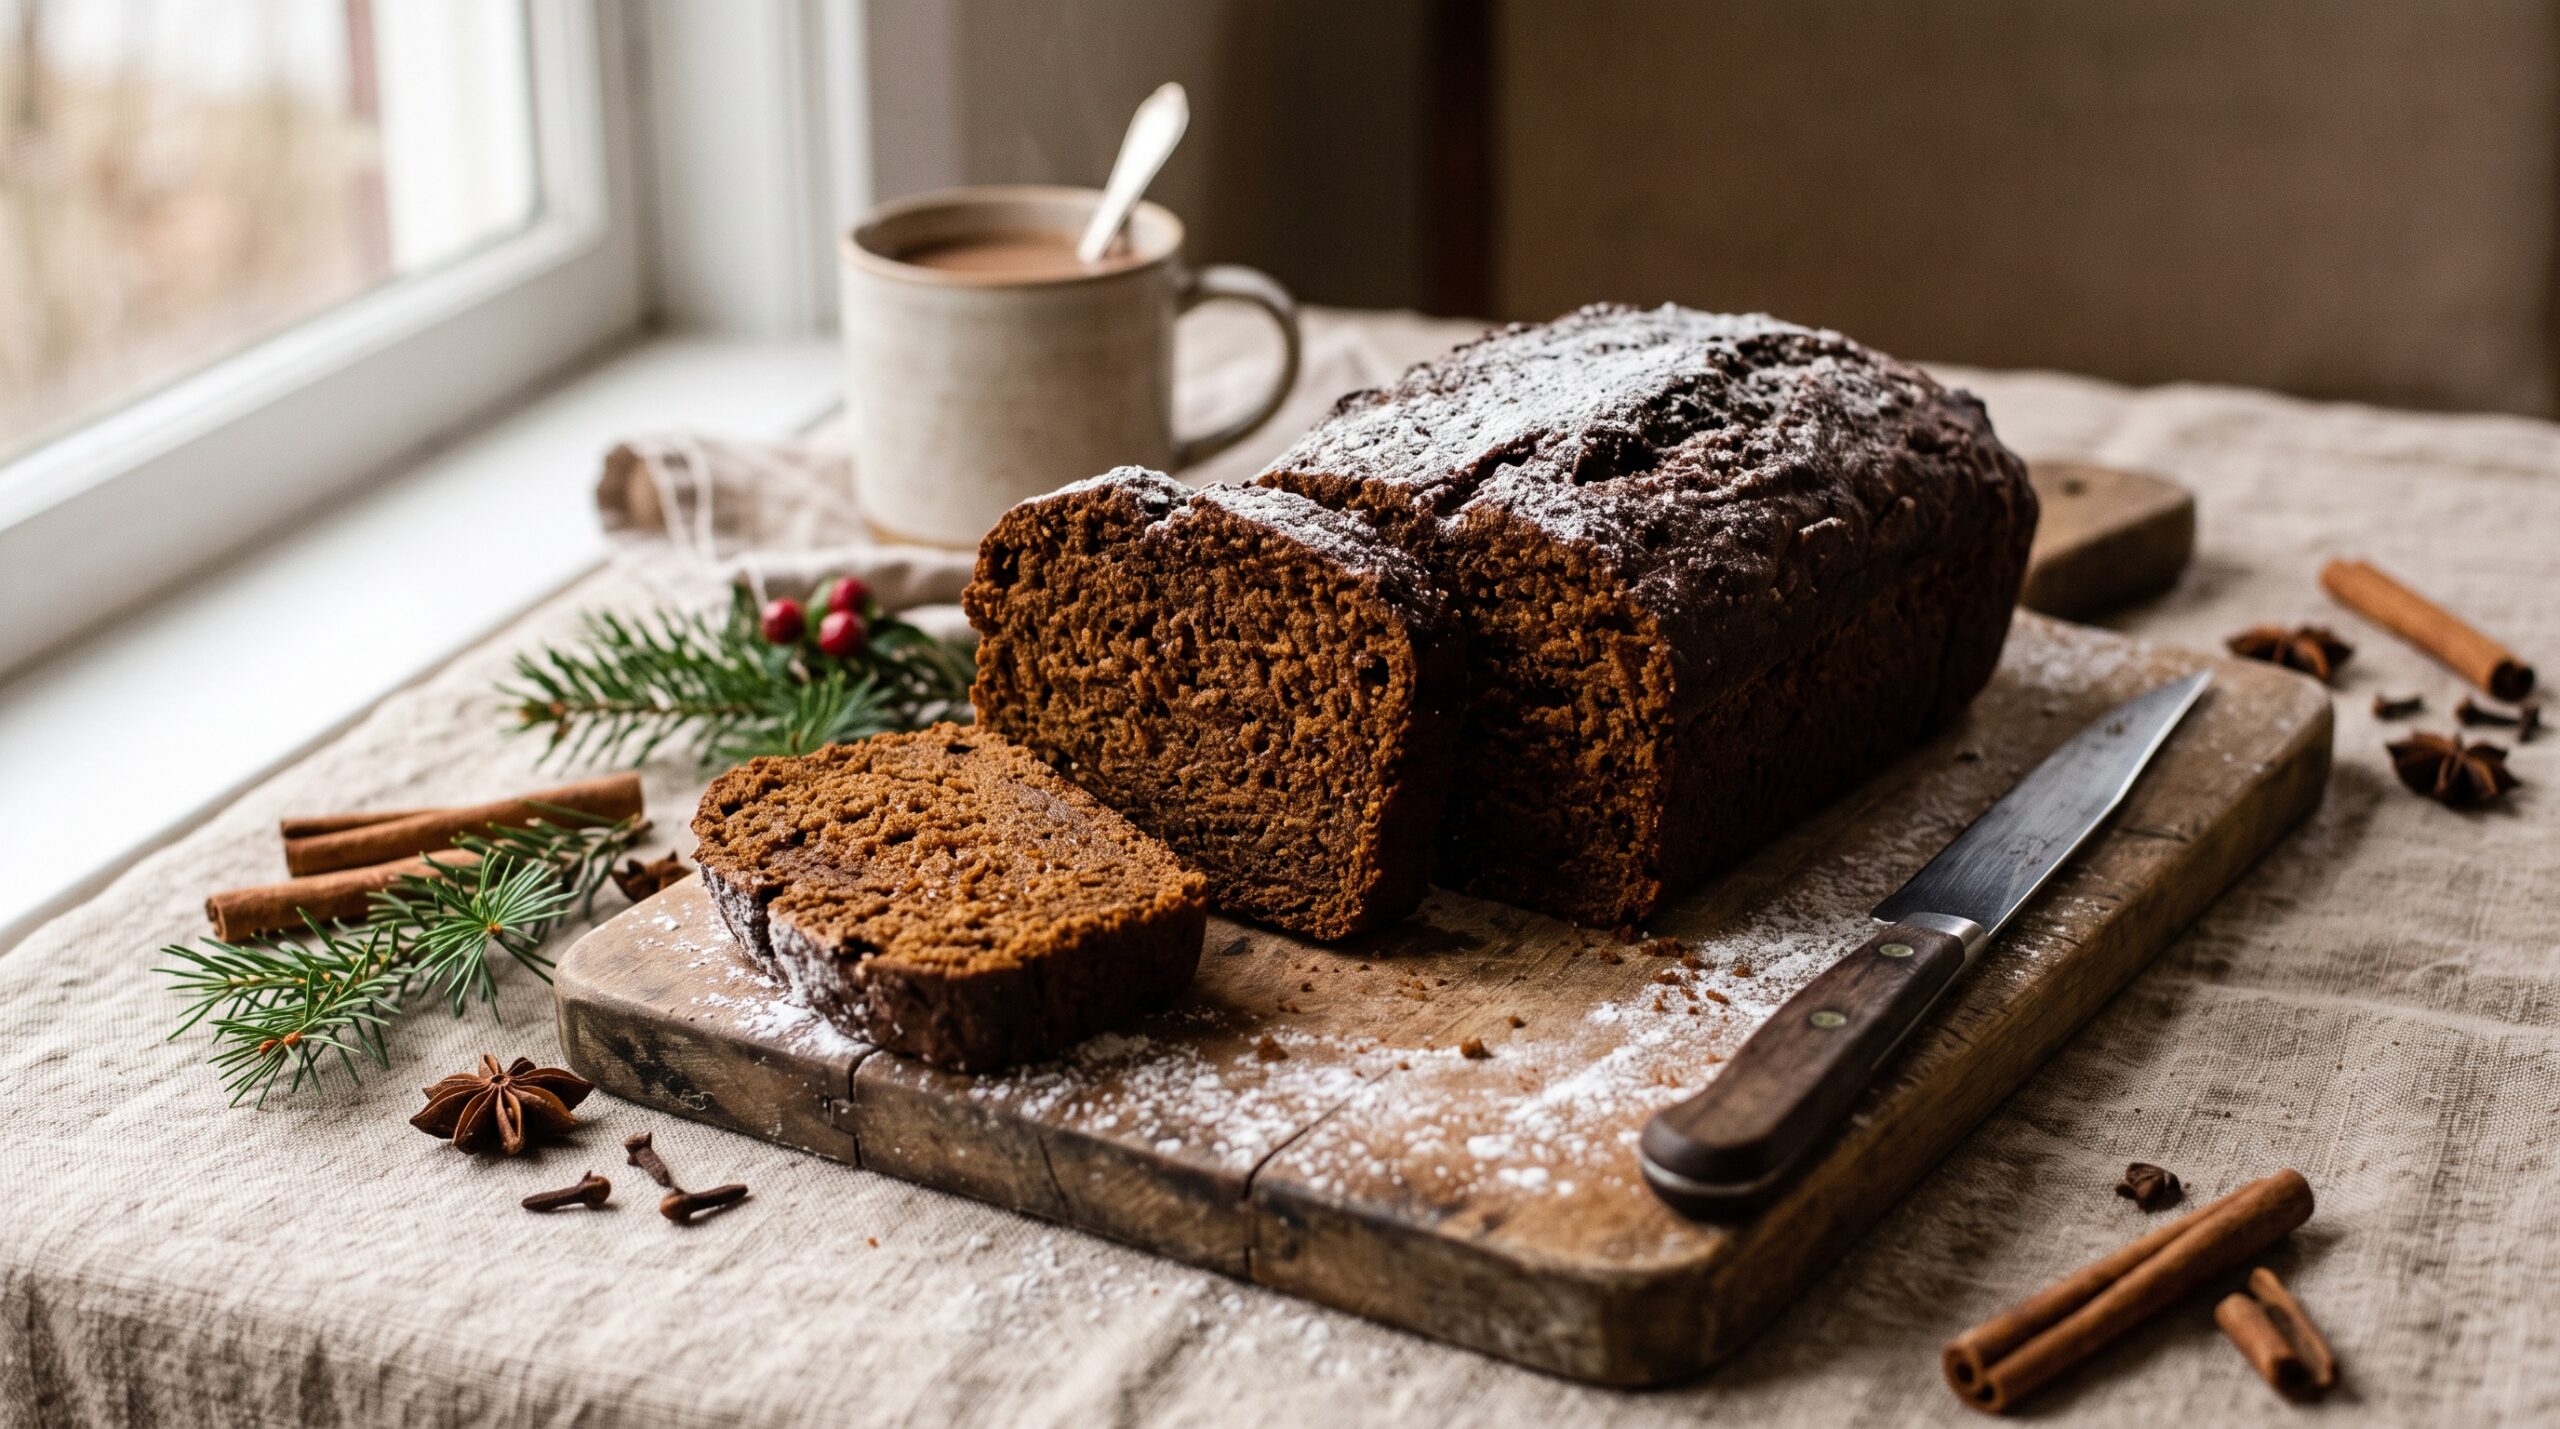
    A sliced sourdough discard gingerbread loaf showing a dark, moist crumb on a wooden board with cinnamon and star anise
    Deeply spiced, molasses-dark, and tender — discard gives this gingerbread its moist crumb and a gentle tang.

    Why discard belongs in gingerbread

    A lot of bakers assume discard will make a sweet bake taste sour. In a delicate vanilla cake, maybe. In gingerbread? Not a chance. Dark molasses, ground ginger, cinnamon, and cloves are some of the loudest flavors in the baking cabinet, and they roll right over the mild tang of discard. What you’re left with is depth, not sourness — the same way a splash of buttermilk makes a cake taste richer rather than acidic.

    The discard earns its place in two real ways. First, moisture: that loose flour-and-water slurry keeps the crumb tender and helps this loaf stay moist for days, which is exactly what you want in a spiced quick bread. Second, a little structure and a gentle lift — the fermented flour gives the batter something to hold onto. You’re not relying on the discard to make the loaf rise (baking soda and the molasses handle that), so it genuinely does not matter whether your discard is fresh or has been languishing in the jar for a week. Old, slightly boozy discard works beautifully here. If you’ve been wondering whether that jar is still good, our guide to keeping your starter in the fridge versus the counter covers how long discard keeps and when to actually toss it.

    The recipe: one bowl, under an hour

    This makes one standard loaf (roughly a 9×5 pan). Everything is by volume where it’s forgiving and by weight where it matters.

    Wet:
    1 cup (about 240g) sourdough discard, straight from the fridge
    1/2 cup (120ml) neutral oil or melted butter
    2/3 cup (about 160g) dark molasses (not blackstrap, which turns bitter)
    1/2 cup (100g) packed brown sugar
    2 large eggs
    1/2 cup (120ml) hot water or hot strong coffee

    Dry:
    1 and 3/4 cups (210g) all-purpose flour
    2 teaspoons ground ginger
    1 and 1/2 teaspoons cinnamon
    1/2 teaspoon ground cloves
    1/4 teaspoon freshly grated nutmeg
    1 teaspoon baking soda
    1/2 teaspoon salt

    Method: Heat your oven to 350°F (175°C) and line a loaf pan with parchment. In a large bowl, whisk the discard, oil, molasses, brown sugar, and eggs until smooth and glossy. In a second bowl, whisk all the dry ingredients together so the baking soda and spices are evenly distributed — this one step prevents bitter soda pockets. Tip the dry into the wet and stir just until no streaks of flour remain. Finally, stir in the hot water or coffee; the batter will look alarmingly thin and loose, and that is exactly right — it’s what makes the crumb so moist. Pour into the pan and bake 45 to 55 minutes, until a toothpick comes out with a few moist crumbs but no wet batter.

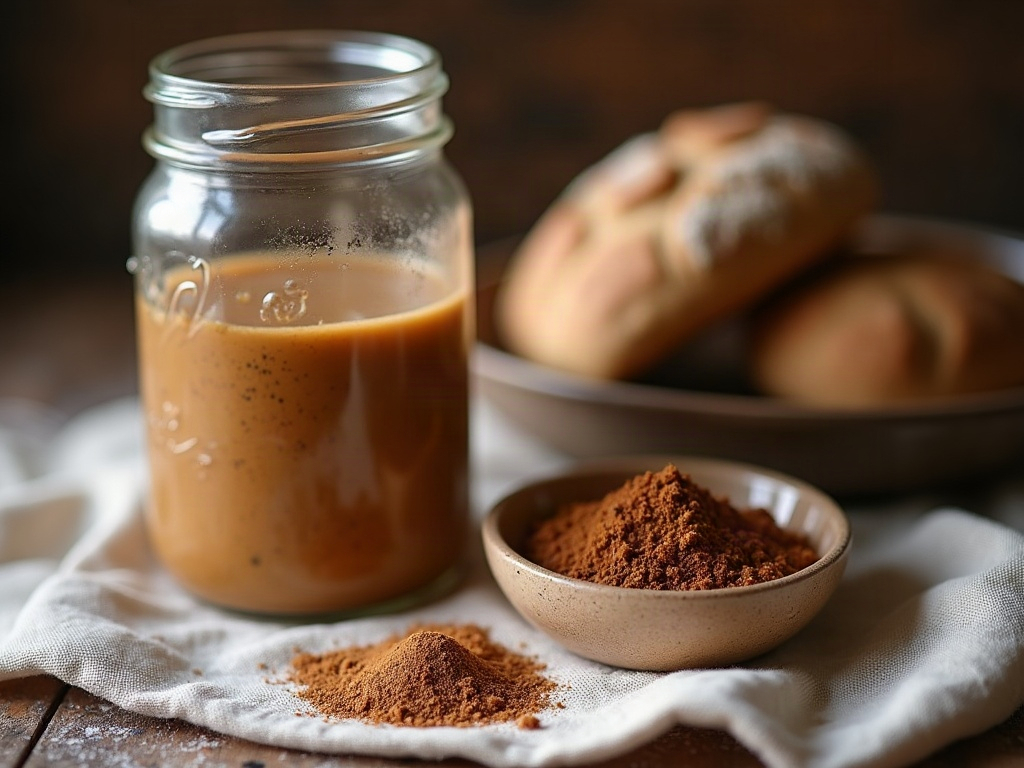
    A jar of sourdough discard next to dark molasses and bowls of warm baking spices on a wooden surface
    The two stars of the show: cold sourdough discard straight from the jar and dark, bittersweet molasses.

    Small moves that make it better

    A few details separate a good discard gingerbread from a great one. Use hot coffee instead of water if you have it — it won’t taste like coffee, it just deepens the molasses and makes the whole loaf taste more grown-up. Bloom the spices by whisking them into the warm wet ingredients for a minute before the flour goes in; warmth wakes up the volatile oils in ginger and clove. And don’t overmix once the flour is in. Like any quick bread, this one turns gummy and tough if you beat it — stir with a spatula until just combined and stop while it still looks a little rough.

    Want to dress it up for a party? A handful of chopped crystallized ginger or a scatter of chopped toasted pecans folded in at the end makes it feel festive, in the same spirit as our cranberry walnut sourdough holiday loaf. A simple lemon or orange glaze drizzled over the cooled top plays beautifully against the dark spice.

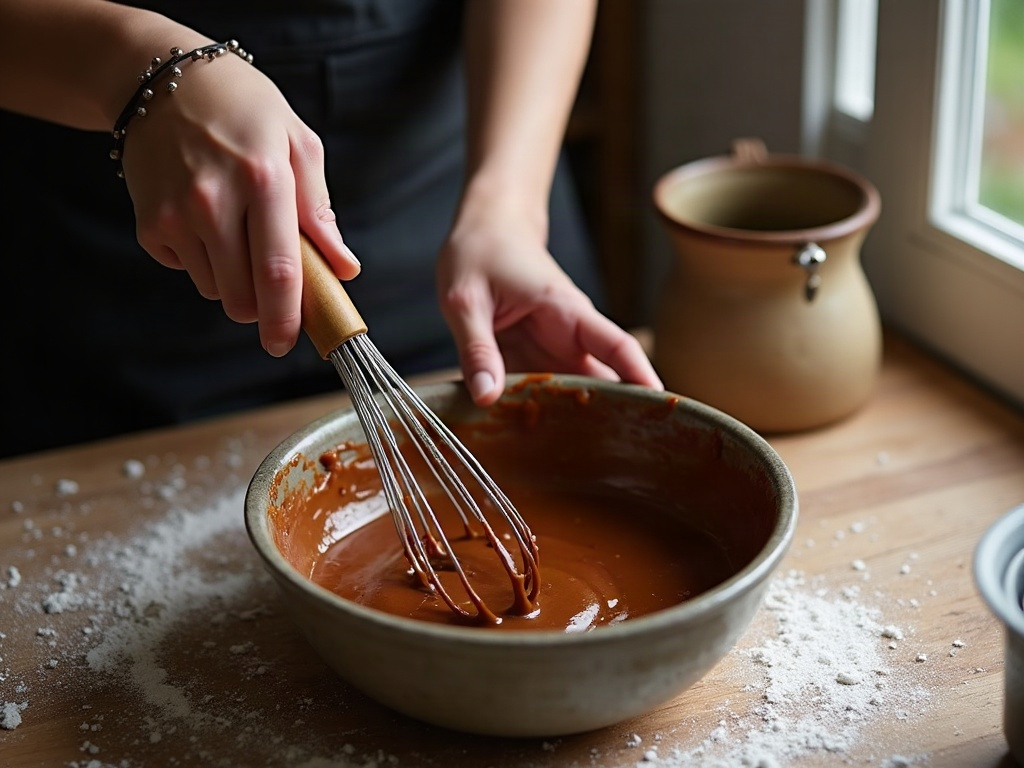
    Hands whisking a dark, glossy sourdough discard gingerbread batter in a ceramic bowl
    One bowl, a whisk, and no mixer — the batter comes together in minutes while the oven heats.

    Troubleshooting: when the loaf doesn’t cooperate

    This is forgiving bread, but a few things can go sideways. Here’s the diagnostic rundown.

    Sunken in the middle. Almost always underbaked — this is a wet, dense batter and the center needs the full time. Trust the toothpick, not the clock, and if the top is browning too fast while the middle is still raw, tent it loosely with foil and keep going. A second possible cause is too much baking soda or old soda that’s lost its lift.

    Dense and gummy all through. Either overmixed (you developed gluten you didn’t want) or there was too much liquid for the flour. Measure your flour properly — spoon it into the cup and level it rather than scooping, which packs in far too much, or better yet weigh it.

    Bitter aftertaste. That’s blackstrap molasses or too heavy a hand with the cloves and soda. Use regular dark molasses and whisk the dry ingredients thoroughly so the soda is evenly spread.

    Dry and crumbly. Overbaked, plain and simple. Pull it the moment the toothpick shows moist crumbs; residual heat finishes it in the pan. A too-hot oven does the same damage from the outside in.

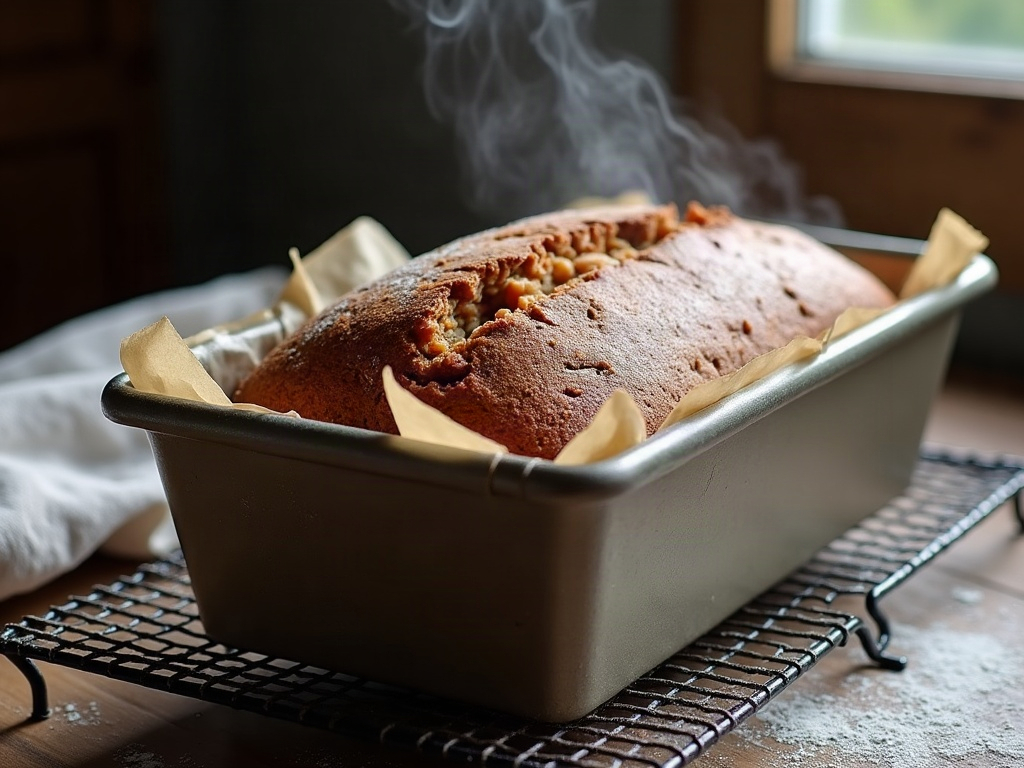
    A freshly baked dark gingerbread loaf cooling in a parchment-lined pan with a cracked domed top
    A gentle crack down the center is a good sign — it means the loaf rose and set without sinking.

    Serving, storing, and gifting

    Let the loaf cool in the pan for ten minutes, then lift it out onto a rack to finish — cutting it hot will drag and gum the knife. Honestly, it’s even better the next day, once the spices have settled and the crumb has fully set. Thick-sliced and toasted with salted butter, it’s a perfect cold-morning breakfast; a little warm with whipped cream or a scoop of vanilla ice cream, it’s an effortless holiday dessert.

    It keeps wonderfully, which is part of its charm. Wrapped well at room temperature it stays moist for three to four days, and it freezes like a dream — slice it first so you can pull out a piece at a time. That keeping quality, plus the dark good looks, makes it one of the best edible gifts going: wrap a loaf in parchment and twine and it looks like you fussed far more than you did. Pair it with a basket of soft sourdough dinner rolls for a homemade holiday hamper that costs almost nothing but a jar of discard.

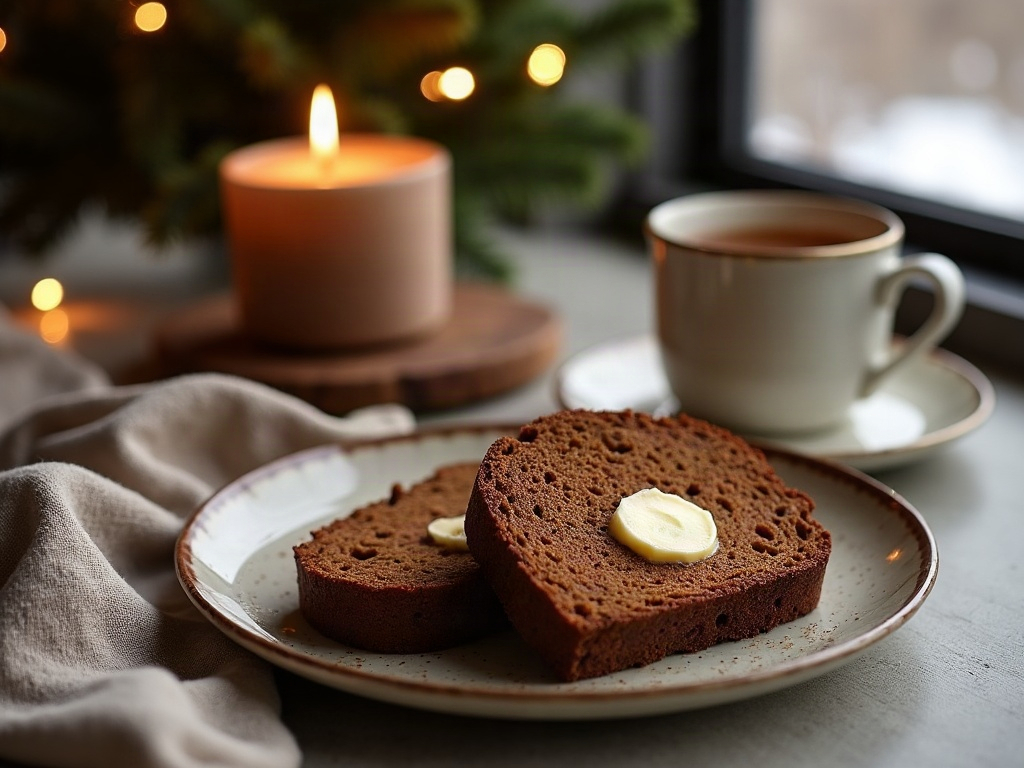
    Two slices of dark gingerbread with melting butter beside a mug of tea on a holiday table
    Thick-cut, buttered, and warm with a cup of tea — this is where the loaf earns its place.

    The real win here is bigger than one loaf. Once you see how completely discard disappears into a spiced bake, that fridge jar stops being a guilt object and starts being an ingredient. Gingerbread is the gateway; from there, discard slides just as easily into pancakes, crackers, and quick breads of every kind — the same trick that makes our soft sourdough discard tortillas so good. Feed your starter, bake your bread, and let the leftovers become something worth giving away.

    Want to watch the batter come together and see exactly how thin it should look before it goes in the oven? The full walkthrough is on the LoafLovers YouTube channel, and our free sourdough troubleshooting guide is always there when a bake — discard or otherwise — doesn’t go to plan. Happy holiday baking.

    Related Reading

  • Cranberry Walnut Sourdough: A Festive Holiday Loaf That Still Rises

    Cranberry Walnut Sourdough: A Festive Holiday Loaf That Still Rises

    There’s a loaf that shows up every holiday season and quietly steals the table: a round of tangy sourdough shot through with ruby-red cranberries and toasted walnuts, the crumb open and the crust blistered deep gold. Toasted and buttered on a cold morning, it’s the kind of bread people remember. And it photographs like a magazine cover.

    It’s also one of the easiest loaves to accidentally wreck. Pile dried fruit and nuts into a dough that was rising beautifully and you can end up with a squat, dense, slightly gummy brick — all the festive looks, none of the lift. The good news: a cranberry walnut sourdough that still rises isn’t luck. It comes down to how you prep the add-ins and when you fold them in. Let’s build one that bakes tall.

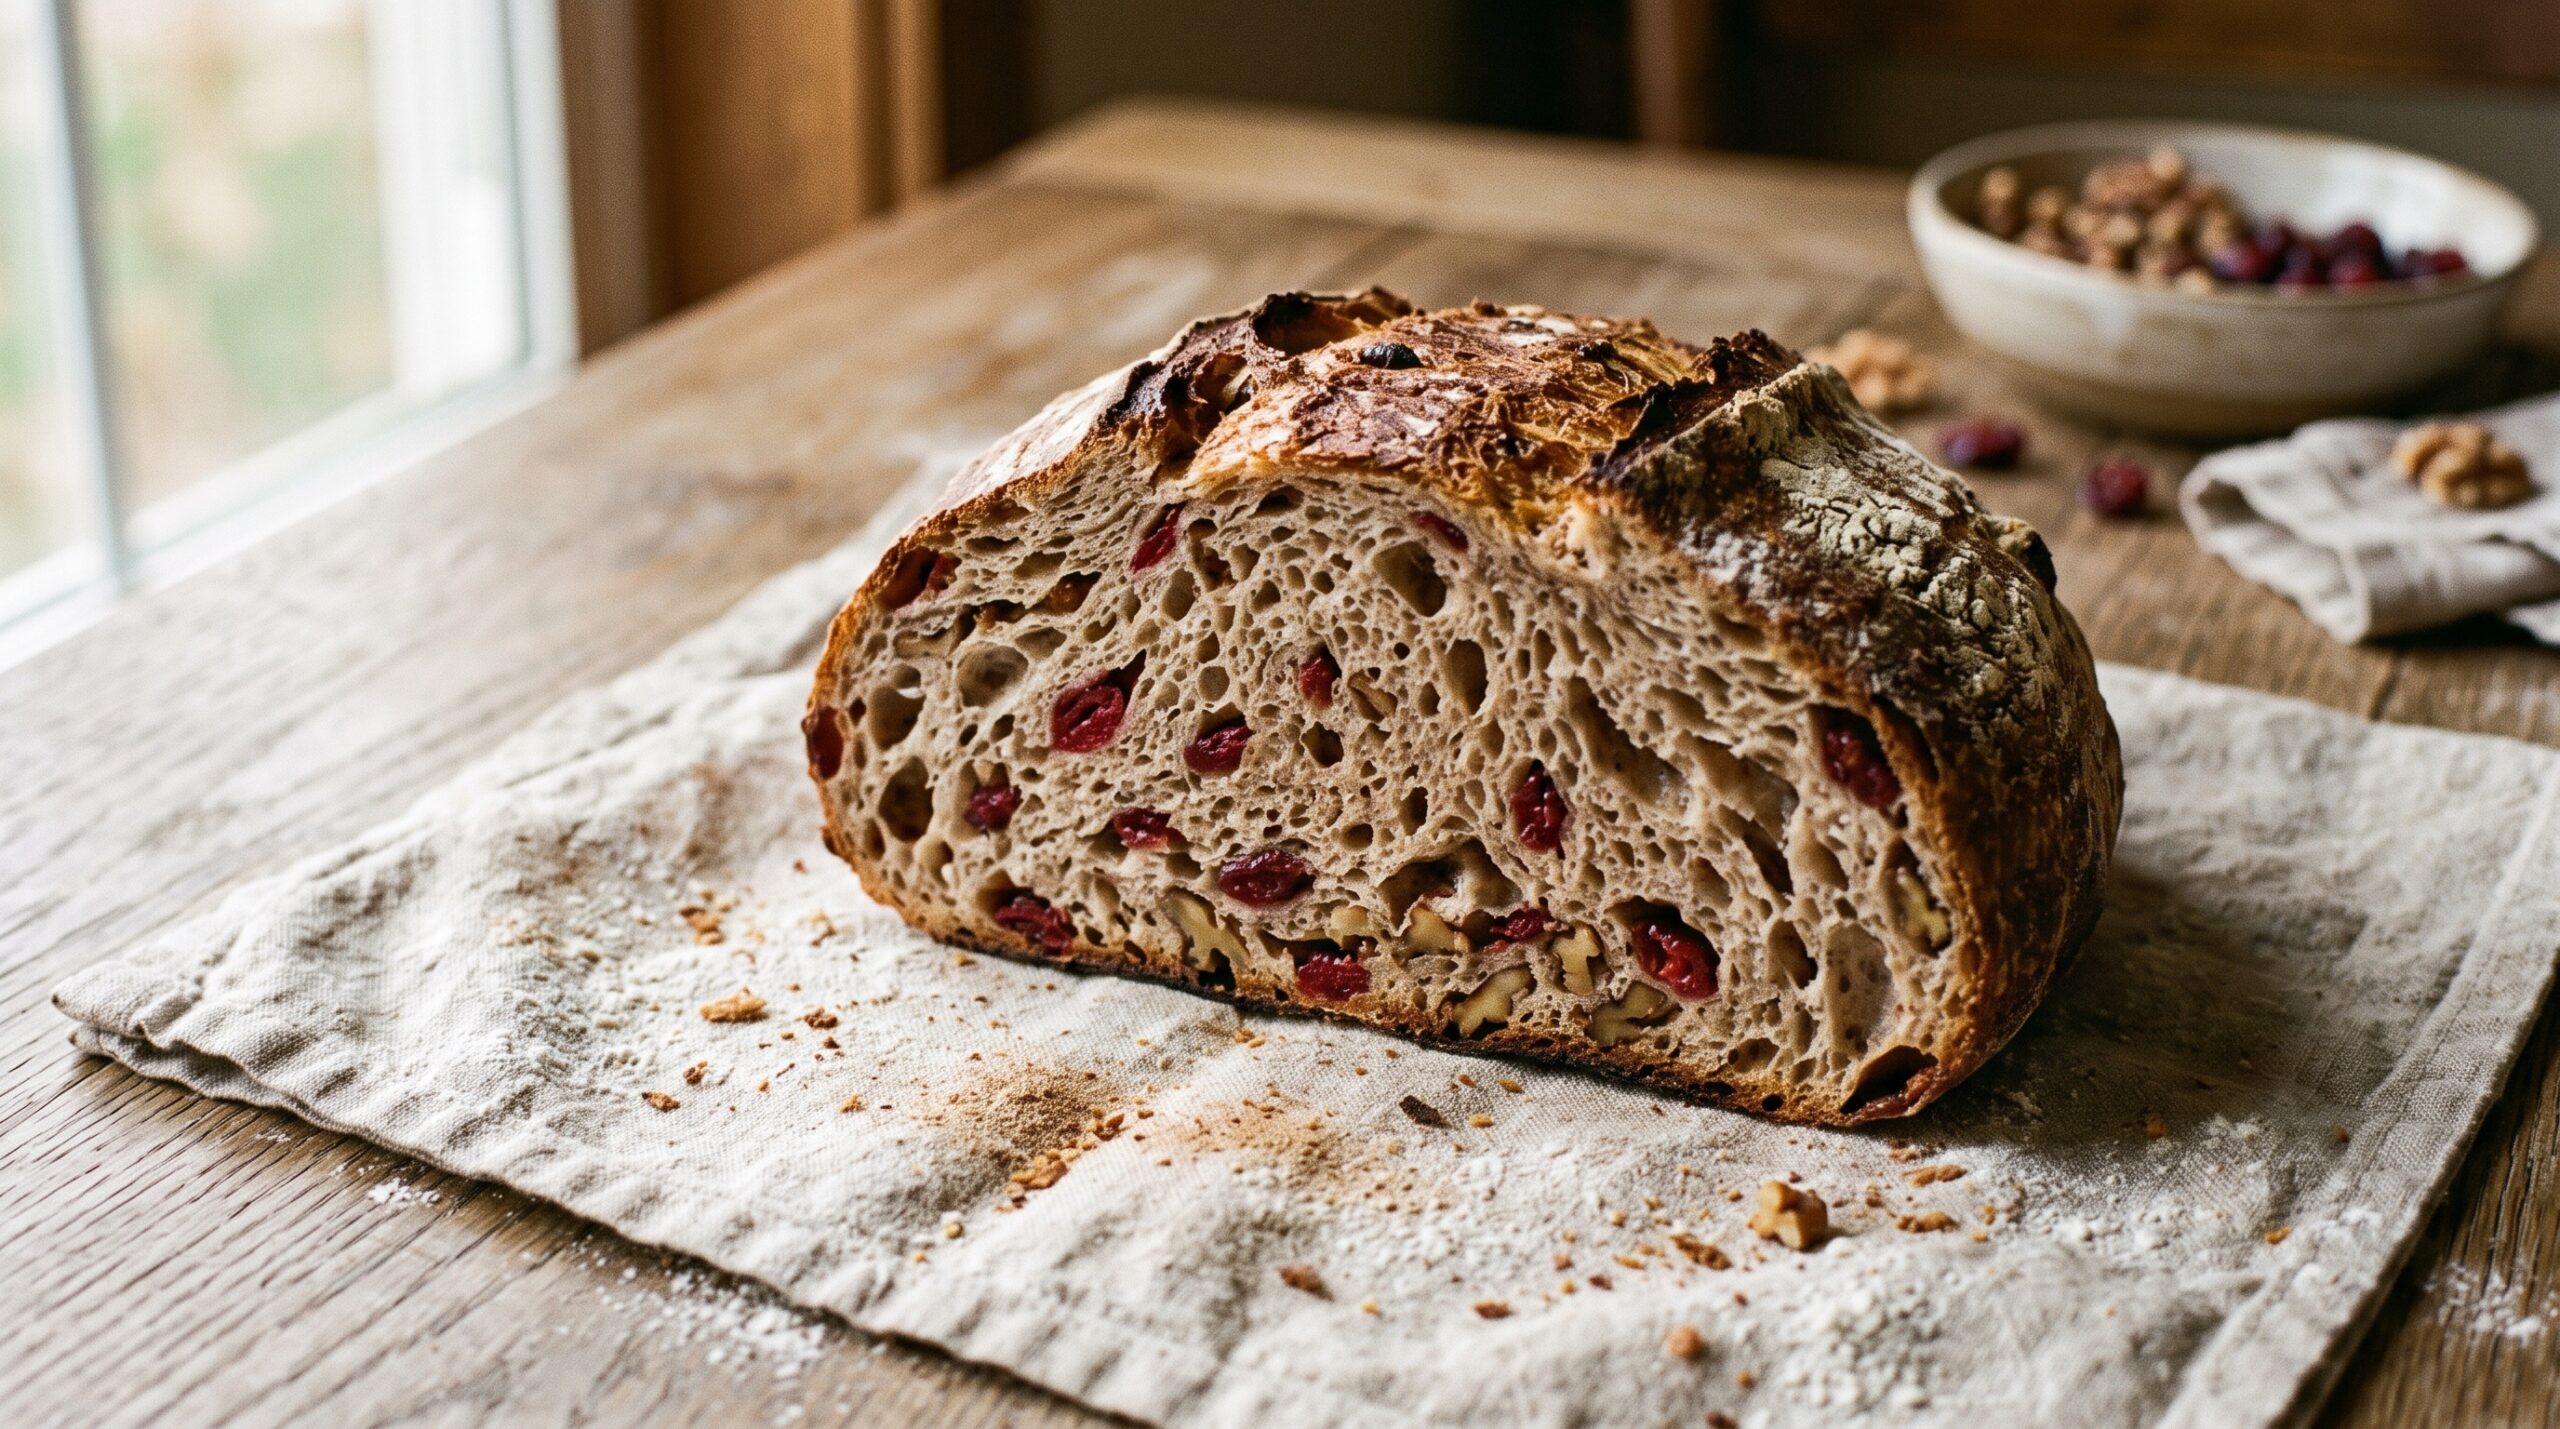
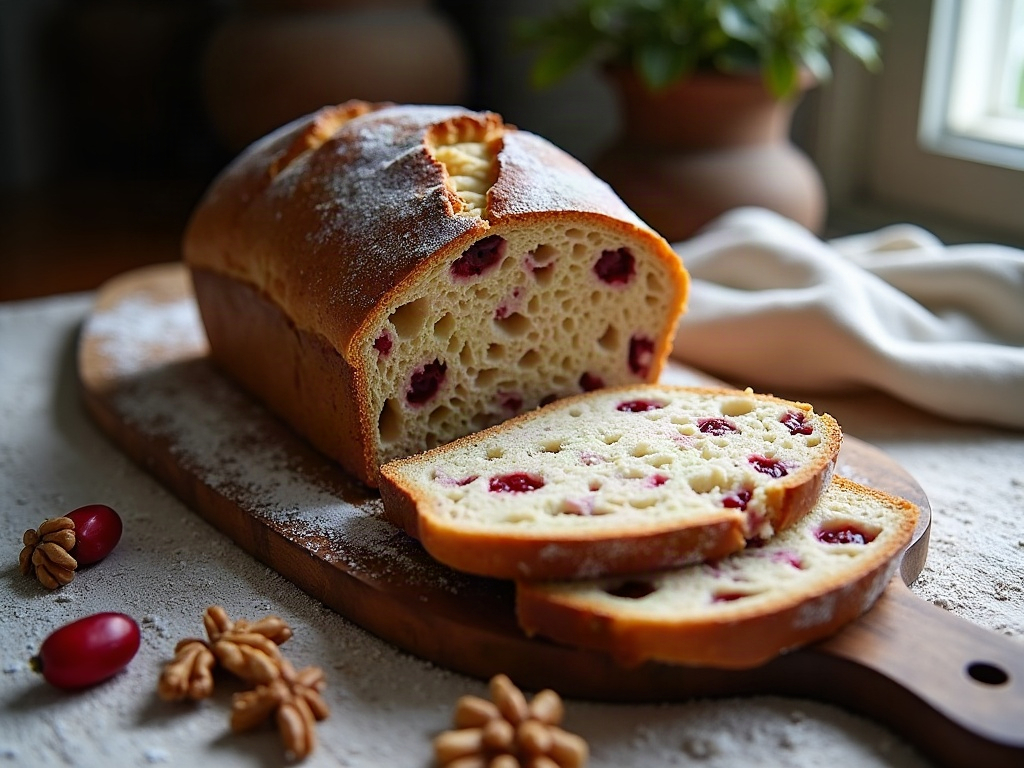
    Cross-section of a cranberry walnut sourdough boule showing open crumb studded with red cranberries and walnut pieces
    A cranberry walnut loaf should look like this inside — open and lofty, not dense around the add-ins.

    Why cranberries and walnuts fight your rise

    Add-ins don’t just sit there politely. Dried cranberries are little sugar sponges: drop them in dry and they pull moisture straight out of your dough, leaving the crumb around them tight and the fruit itself hard and chewy. Many are also sweetened, and a sudden rush of sugar can nudge your fermentation along faster than you expect.

    Walnuts bring their own problem. Their sharp edges and natural tannins physically cut through the gluten strands you worked to build, weakening the very structure that traps gas. Load too many in, or fold them in roughly, and you shred the dough’s web so the bubbles leak out. Add the sheer weight of a couple cups of fruit and nuts and it’s no wonder a loaded loaf can slump. None of this means you should use less — it means you prep smart and handle gently. For the broader principles here, our guide to adding nuts, seeds, and fruit without killing the rise is the companion piece to this recipe.

    The festive formula, built to bake well

    Start from a dough you already trust and keep the add-ins proportional so they flavor the loaf without overwhelming it. For a single standard boule:

    Dough: 400g bread flour, 50g whole wheat flour (it adds a nutty backbone that loves cranberries), 325g water, 90g active starter at peak, 9g salt. That’s a comfortable, workable hydration — if you’re unsure what those numbers mean, our walkthrough on baker’s percentage and hydration breaks it down.
    Add-ins: 90g dried cranberries and 70g walnuts — roughly a third of the flour weight combined, which is generous without being reckless.

    A spoon of honey or a little orange zest is optional but gorgeous here, leaning the loaf gently toward the enriched, holiday end of the spectrum without turning it into a cake. Keep the add-ins at or below a third of the flour weight; push past that and you’re asking the gluten to hold more than it comfortably can.

    Prep the add-ins so they help, not hurt

    This is the step most bakers skip, and it’s the one that saves the loaf. Soak the cranberries. Cover them in warm water (or warm orange juice, if you’re feeling festive) for ten to fifteen minutes, then drain well and pat dry. Plumped fruit stops stealing water from your crumb and stays soft and jammy after baking instead of turning to little pebbles. Drain them thoroughly, though — dripping-wet fruit throws off your hydration in the other direction.

    Toast the walnuts. A few minutes in a dry pan or a low oven until they smell fragrant deepens their flavor enormously and drives off some of the raw bitterness. Let them cool, then break them into rough pieces rather than leaving big halves — smaller chunks distribute better and do less damage to the gluten. Cool is important: warm nuts folded into dough can overheat a patch of it.

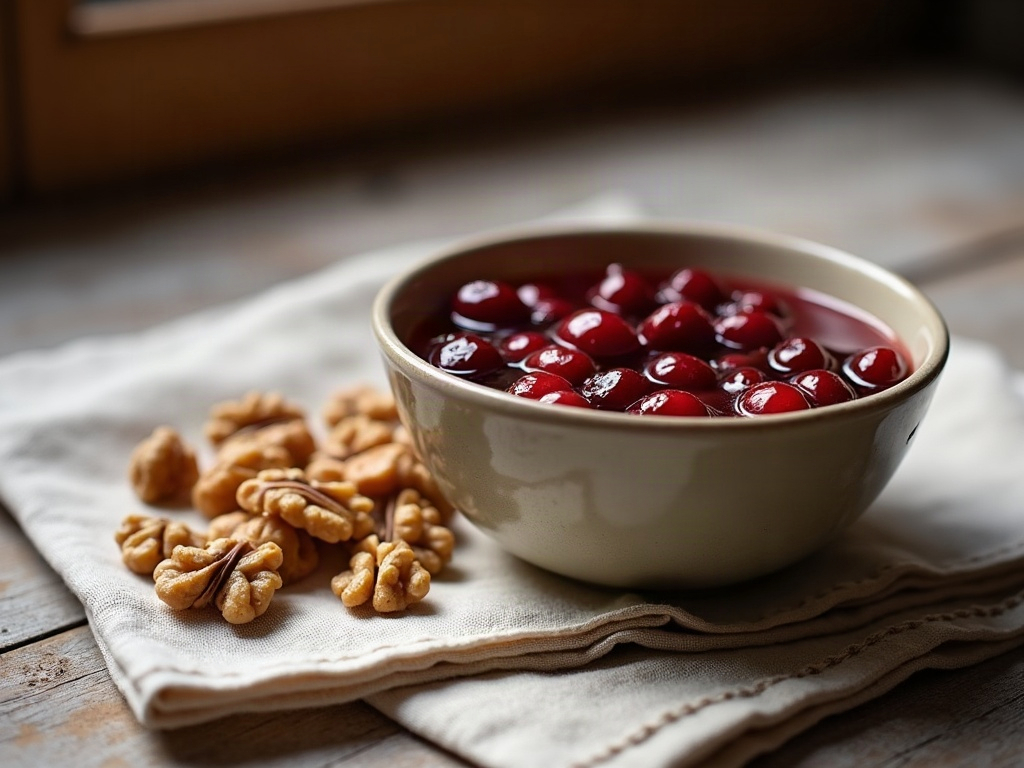
    Dried cranberries soaking in warm water next to toasted walnut halves on a wooden board
    Soak the cranberries and toast the walnuts first — ten quiet minutes that change how the loaf bakes.

    When and how to fold them in

    Timing is everything. Mix your dough and let it start bulk fermentation naked — no add-ins yet. You want to build real gluten strength first with a set or two of stretch-and-folds before anything sharp goes near it. Add the cranberries and walnuts too early and you’re working them for hours, grinding them against the gluten the whole time.

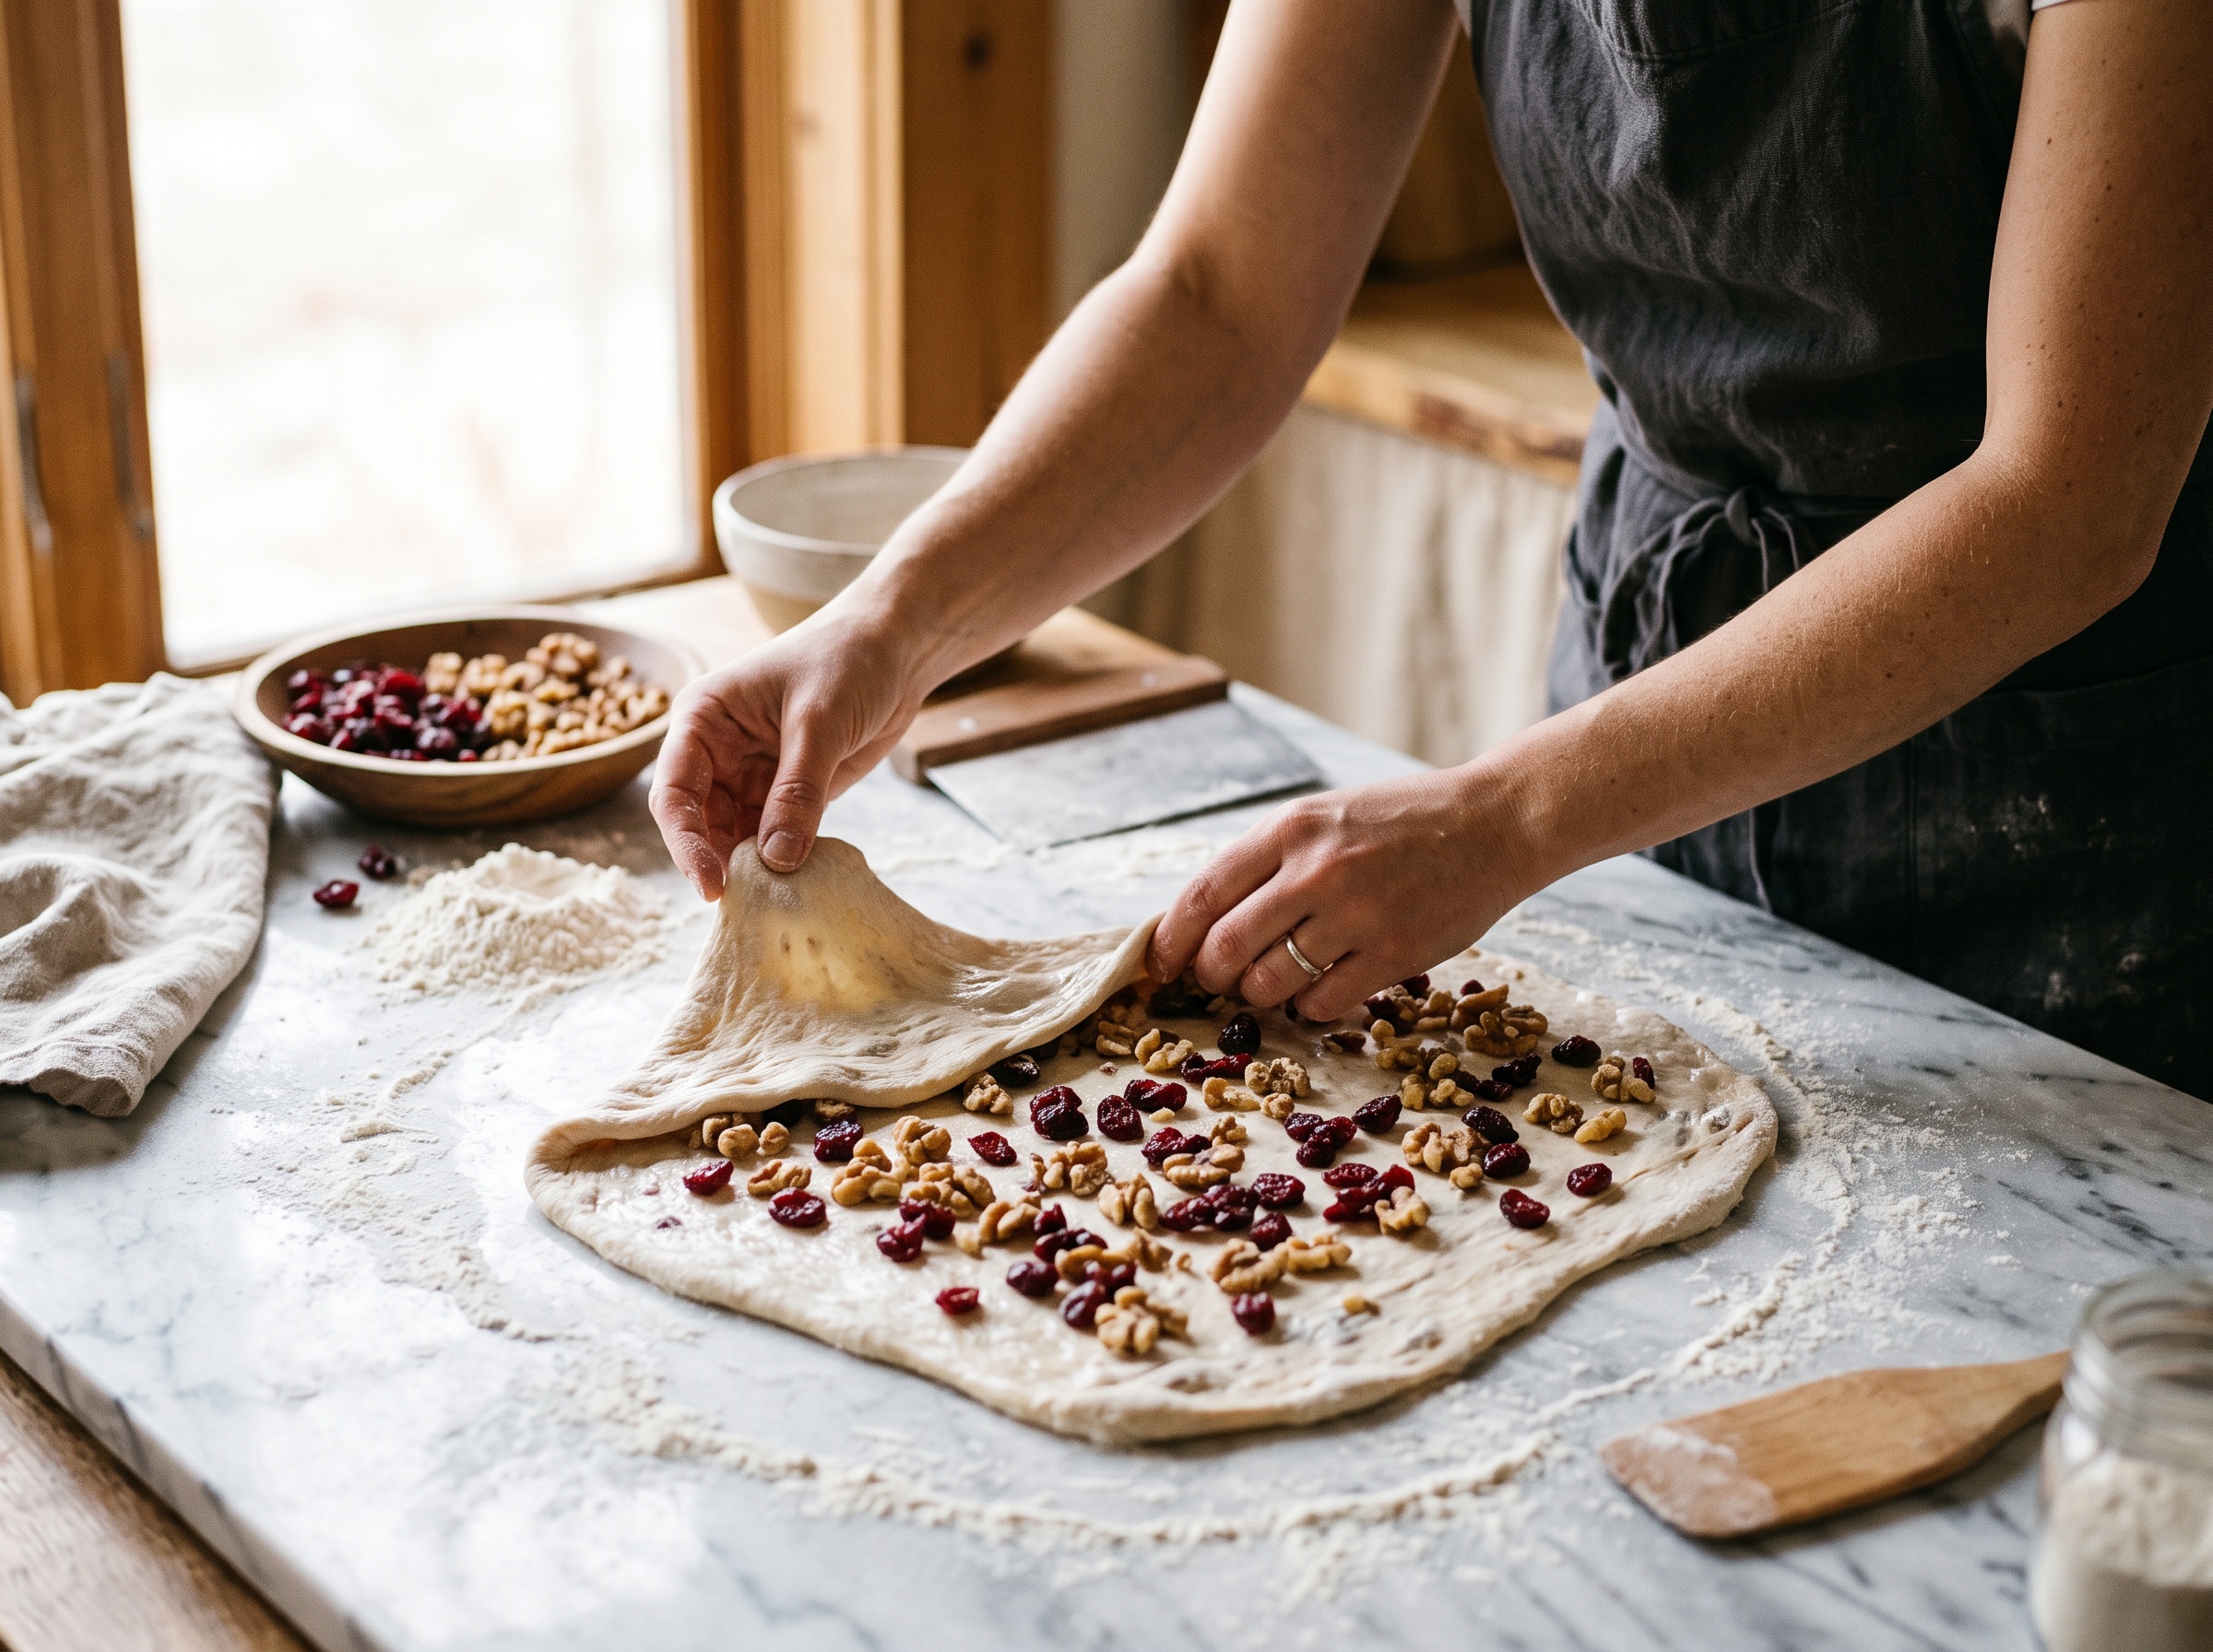
    The cleanest method is a gentle lamination. Partway through the first hour of bulk, wet your hands, lift the whole dough out, and stretch it into a thin sheet on a damp counter. Scatter the drained cranberries and cooled walnuts evenly across it, then fold the dough over itself like a letter, roll it up, and return it to the bowl. This layers the add-ins throughout with almost no deflation. If lamination feels fiddly, simply add them during your first stretch-and-fold instead, dimpling them in gently across a couple of folds so they spread out without you having to crush the dough.

    Whichever route you take, treat the dough kindly from here. It’s carrying cargo now, and rough handling is what tears the structure and flattens the loaf.

    Hands folding stretched sourdough dough over a layer of cranberries and walnuts during lamination
    Spread the add-ins over stretched dough and fold — gentle lamination distributes them without deflating the gas.

    Shaping, scoring, and baking a loaded loaf

    Finish bulk fermentation as usual — judge it by the dough rising 30 to 50 percent and looking alive with bubbles, not by the clock. A loaded dough can feel a touch heavier, so lean on those visual cues. Pre-shape, rest, then shape with firm tension into a taut boule.

    Two small moves matter with inclusions. First, tuck in any cranberries or walnuts poking out of the surface — exposed fruit burns bitter and nuts can scorch in the oven’s heat. Second, score with conviction. A loaded loaf resists the blade, and your lame may catch a cranberry; a single confident, slightly deeper slash gives the loaf a clean place to open. Then bake the way you always do, covered first for steam and then uncovered to color. Expect a slightly less dramatic ear than a plain loaf — that’s the trade for all that flavor, not a failure.

    Troubleshooting a loaf that went wrong

    If your cranberry walnut loaf came out dense and heavy, the usual culprit is too many add-ins or folding them in too hard — scale back to a third of the flour weight and handle more gently next time. A gummy ring around the fruit means you skipped the soak; dry cranberries pulled water from the crumb. Hard, chewy cranberries are the same story — soak and drain. If the loaf spread flat instead of rising tall, the dough was likely under-strengthened before the add-ins went in, or over-loaded; build more gluten first, and see our deeper dive on flat loaves that spread instead of rising. And bitter dark flecks on the crust are exposed walnuts — tuck them in before the final proof.

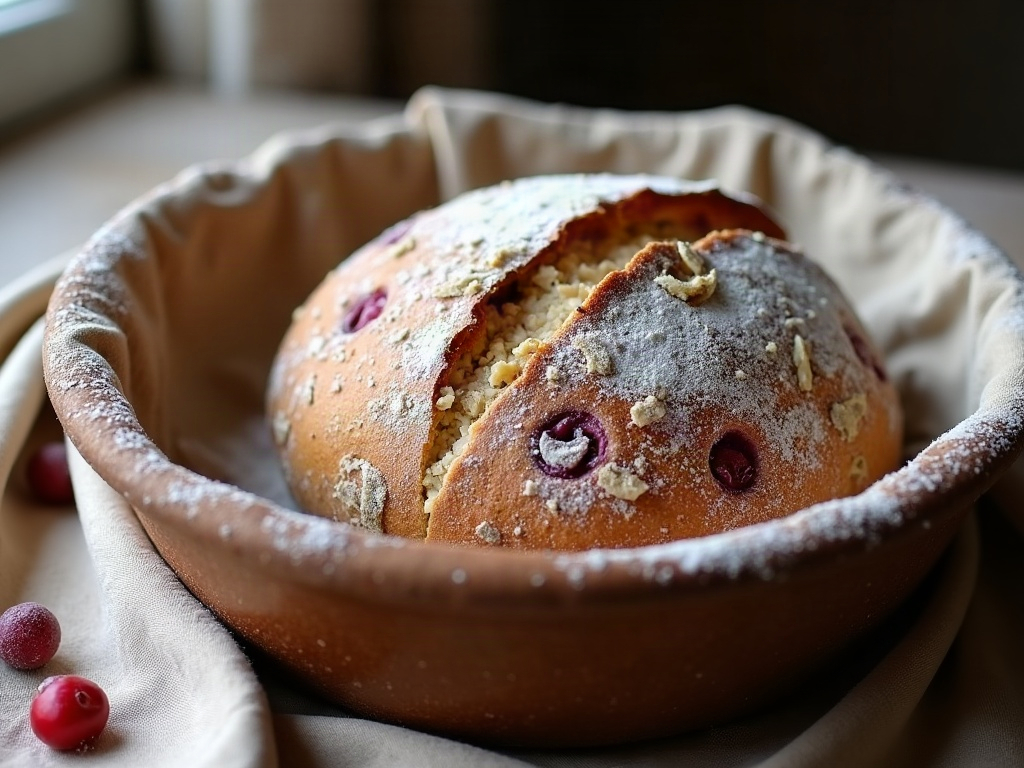
    A shaped cranberry walnut sourdough boule proofing in a floured banneton with inclusions peeking through
    Tuck exposed cranberries into the dough before proofing so they don’t scorch in the oven.

    Make it the centerpiece

    Once it’s out and fully cooled — and with a fruited loaf, really do wait, because the crumb finishes setting as it rests — this bread does almost everything well. Toasted with salted butter for breakfast, it’s a quiet holiday luxury. It makes a leftover turkey sandwich feel intentional, turns into a showstopping base for holiday French toast, and sliced thin alongside a sharp cheese and a few more walnuts, it belongs on any festive board. It also makes one of the best edible gifts you can hand a neighbor.

    A sliced cranberry walnut sourdough loaf on a wooden board styled for a holiday table
    Toasted, with butter, this loaf earns its spot at the center of the holiday table.

    A festive loaf like this is really just your everyday sourdough with two thoughtful additions handled with a little care — and it’s a natural partner to the soft sourdough dinner rolls on the same holiday table. Soak the fruit, toast the nuts, keep the add-ins proportional, and fold them in gently and late. Do that, and you get the loaf that looks like a magazine cover and rises like your best plain boule.

    Want to see the lamination and the fold-in happen in real time? The full hands-on walkthrough lives on the LoafLovers YouTube channel, and our free sourdough troubleshooting guide is there whenever an add-in loaf doesn’t cooperate. Happy holiday baking.

    Related Reading

  • Sourdough Stuffing for Thanksgiving: Turn a Stale Loaf Into the Best Dressing on the Table

    Sourdough Stuffing for Thanksgiving: Turn a Stale Loaf Into the Best Dressing on the Table

    Every year it’s the same small guilt: a heel of sourdough gone rock-hard on the counter, too stale to slice, too good to bin. Here’s the reframe that changes your whole holiday table – that stale loaf isn’t waste. It’s the best stuffing you’ll ever make, and it’s genuinely better than anything you’d get from a soft sandwich loaf or a bag of dusty cubes.

    Sourdough brings three things to dressing that nothing else does: a sturdy, open crumb that soaks up stock without collapsing, a faint tang that cuts through all that richness, and a crust that crisps into savory little edges. The catch is that stuffing is where two opposite failures meet – soggy bread pudding on one end, dry croutons on the other. This guide walks the narrow path between them.

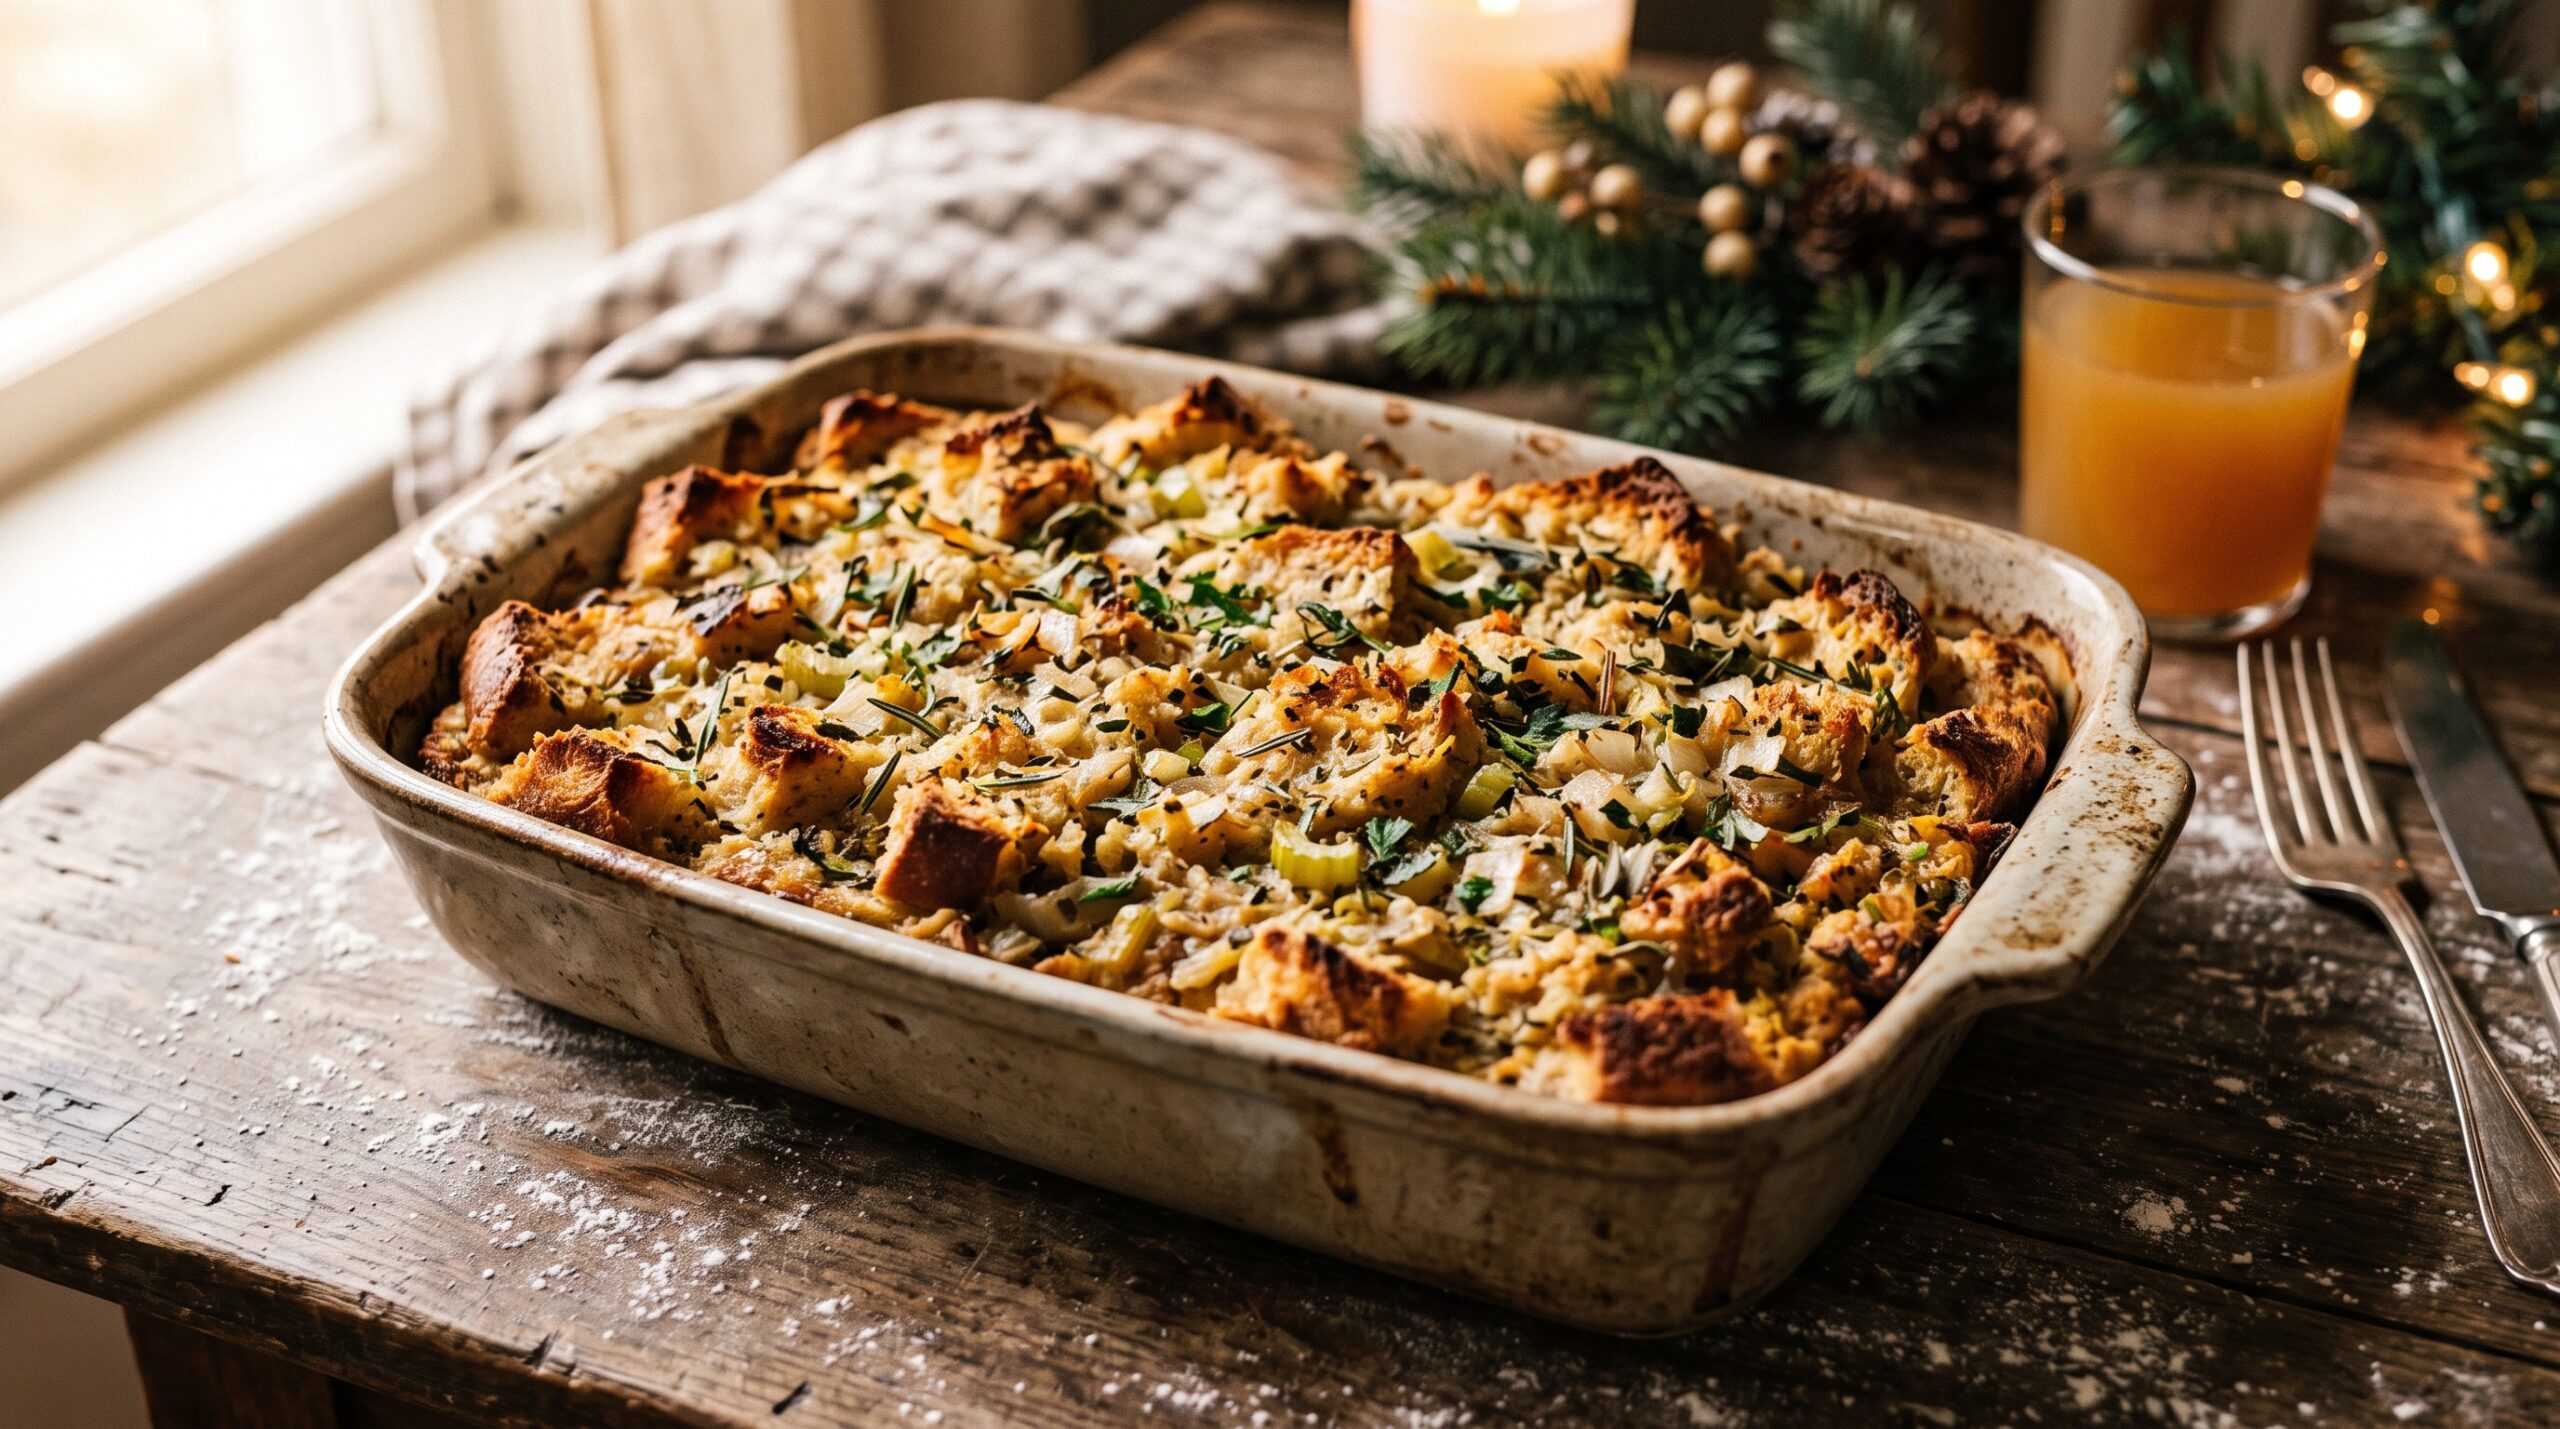
    A baking dish of golden sourdough stuffing with a crisp craggy top on a holiday table
    Crisp, craggy top; soft and savory underneath – sourdough’s open crumb is built for this.

    Why stale sourdough is the secret, not a compromise

    Fresh bread is full of moisture, and moisture is the enemy here. Cube a fresh loaf, drown it in stock, and the cell walls give up – you get a dense, gummy paste. Properly dried bread behaves completely differently: the starch has firmed up, so each cube acts like a little sponge with a backbone. It drinks in the flavored liquid and holds its shape, giving you that ideal contrast of crisp top and tender, custardy interior.

    Sourdough’s structure makes this even better. Those irregular holes from a long fermentation create more surface area to catch stock and more edges to crisp. And the mild acidity balances the butter, stock, and fat from the bird so the whole dish tastes savory rather than heavy. If you’ve only ever had stuffing from soft white bread, sourdough is a real upgrade – more texture, more depth, less of that one-note squish.

    Drying the bread: the step people skip and regret

    You have two routes, depending on how far ahead you planned.

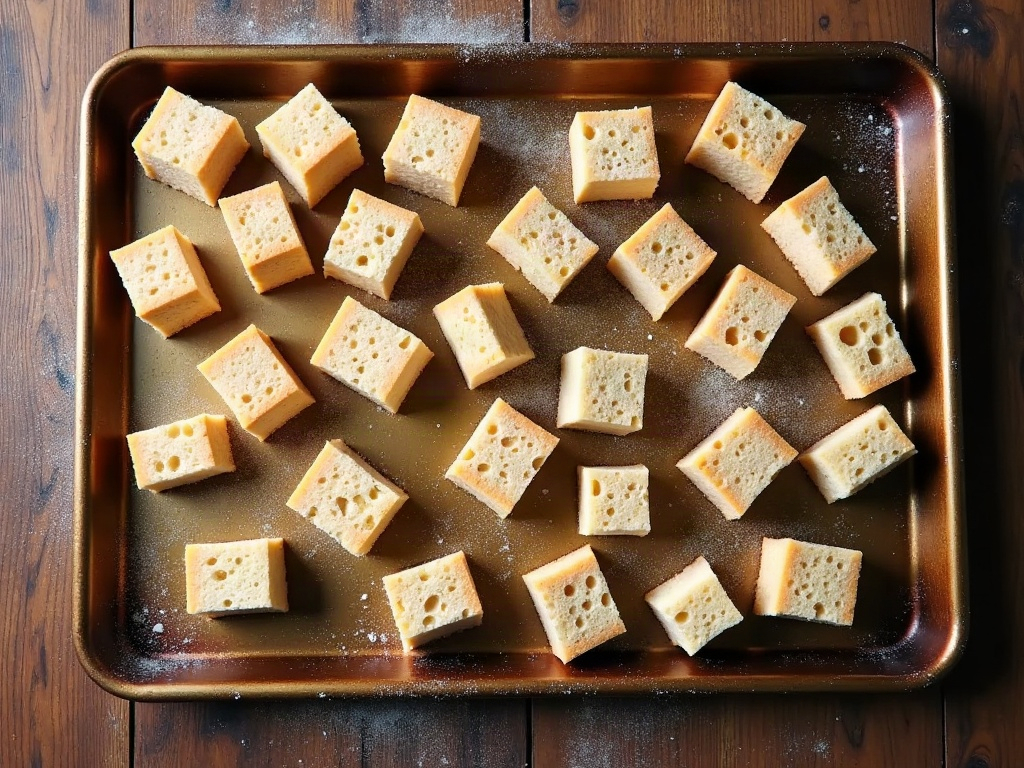
    If you have a day or two: Cut the loaf into roughly 3/4-inch to 1-inch cubes – uneven is fine, the ragged bits crisp up beautifully – and spread them in a single layer on sheet pans. Leave them out, uncovered, for 24 to 48 hours, tossing once. You want them dry to the center and firm enough to knock together with a dry sound.

    If you forgot (most of us): Spread the cubes on sheet pans and dry them in a 275°F (135°C) oven for 40 to 50 minutes, tossing every 15, until they’re crisp and pale-golden but not toasted dark. Let them cool fully. Don’t rush this with high heat – you want them dried out, not browned, so they still have room to take on color later.

    Either way, the test is simple: a finished cube should feel light, sound hollow, and have no cool, damp give in the middle. Damp cubes are the number-one cause of gluey stuffing.

    Cubed sourdough bread spread on a sheet pan to dry before making stuffing
    Cube the loaf and let it go properly stale – dry bread drinks up stock instead of turning to mush.

    Building real flavor: aromatics and herbs

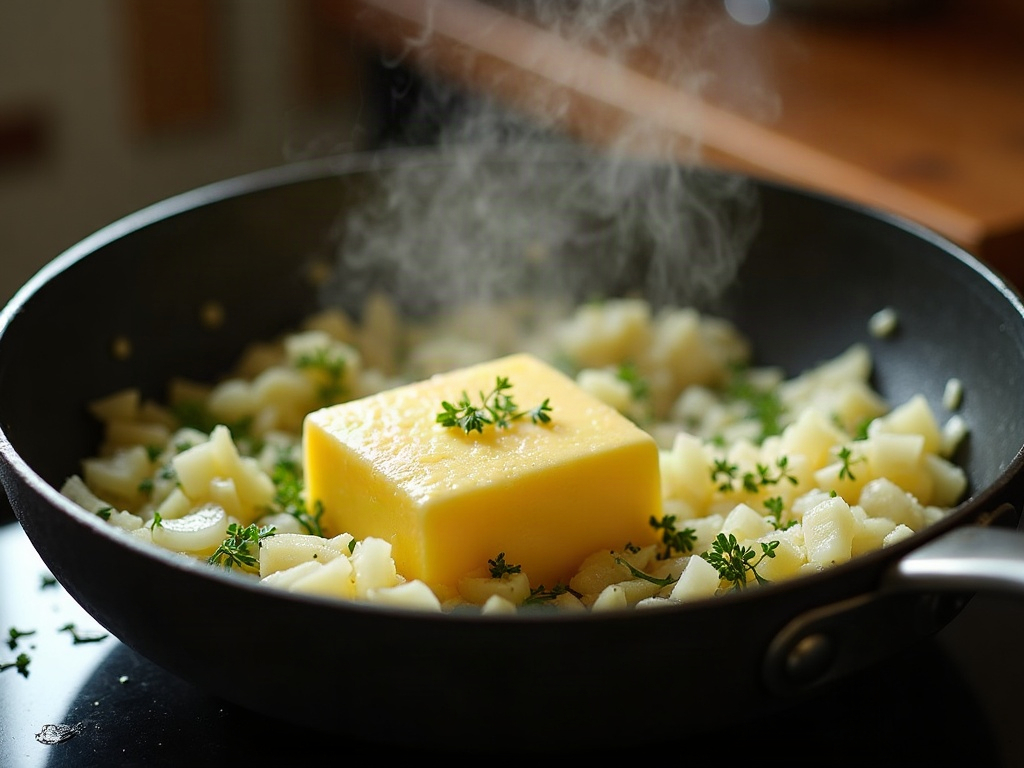
    Stuffing lives or dies on its base, and the base is butter and aromatics. For a loaf’s worth of cubes (about 10-12 cups), melt a generous half-cup (1 stick) of butter in a large skillet and sweat a big diced onion and 3-4 ribs of celery, with a good pinch of salt, until soft and translucent – 8 to 10 minutes. No rushing and no browning the onion hard; you want them sweet and mellow.

    Then the herbs. Fresh sage, thyme, and a little rosemary are the classic holiday trio – add them in the last couple of minutes so they bloom in the butter without going bitter. A couple of cloves of garlic, some black pepper, and a handful of chopped parsley stirred in at the end round it out. If you like a little sweetness and texture, this is the point to fold in cooked, crumbled sausage, sauteed mushrooms, or toasted nuts – but a plain herb version is a thing of beauty on its own.

    The stock-and-egg ratio that makes or breaks it

    This is the part everyone fears, so let’s make it foolproof. The goal is cubes that are evenly damp and springy – think a well-wrung sponge – not floating in liquid.

    In a very large bowl, toss the dried cubes with the buttery aromatics. In a separate bowl, whisk 2 to 2.5 cups of warm chicken or vegetable stock with 2 large eggs. The eggs are doing quiet but crucial work: they set as the stuffing bakes, binding everything into a soft custard that holds together on the spoon instead of falling apart.

    Now add the liquid gradually. Pour in about two-thirds, fold gently, and wait a minute – dry sourdough takes a moment to absorb. Press a cube: it should be moist and yielding but still hold its edges. Add more stock a splash at a time until every cube is damp and the mixture just barely holds together when you squeeze a handful. It should look generously moist but never soupy. Under-saturated is easy to fix later; drowned is not.

    Onion, celery, sage and thyme cooking in butter in a skillet
    Sweat the aromatics in real butter first – this is where most of the flavor actually lives.

    Baking: covered, then uncovered, for the best of both

    Butter a baking dish and pack the stuffing in loosely – don’t compress it, or you’ll squeeze out the air that keeps it light. Here’s the two-stage trick for that crisp-top, tender-middle result:

    Cover tightly with foil and bake at 350°F (175°C) for 25 to 30 minutes. This traps steam, cooks the interior through, and lets the eggs set into a soft custard. Then pull the foil, dot the top with a little more butter, and bake uncovered for another 20 to 30 minutes until the top is deeply golden and crackly. The internal temperature should reach about 160°F (71°C) if you want to check.

    A note on the old debate: baking it in a dish like this is technically dressing, and it’s the safer, crispier choice. Packing it inside the bird gives you soggier bread and a food-safety headache. Keep it in its own dish and you get far more of those crunchy edges everyone fights over anyway.

    Dried sourdough cubes being tossed with herbs and stock in a large bowl
    Add the stock gradually – you want the cubes damp and springy, never swimming.

    Make it ahead so the big day is calm

    Stuffing is one of the most forgiving make-ahead dishes, which is exactly what you want when the oven is a battlefield. Dry the bread cubes up to a week early and store them airtight at room temperature. You can cook the aromatics a day or two ahead and refrigerate them too.

    You can even assemble the whole thing (cubes, aromatics, and stock-egg mixture) the night before, cover, and refrigerate. Pull it out while the oven comes up to temperature, add a small splash of stock if it looks like it tightened up overnight, and bake as above – you may need a few extra covered minutes straight from the fridge. Leftovers reheat well, covered, with a little stock to revive them.

    Troubleshooting: soggy, dry, or bland

    Three failures, three quick fixes:

    Soggy or gluey: The bread wasn’t dry enough, or you added too much stock too fast. Next time, dry the cubes harder and hold back liquid – add it in stages. To rescue a too-wet batch mid-process, fold in a handful of extra dry cubes and bake uncovered a little longer to drive off moisture.

    Dry or crumbly: Not enough stock, or it baked uncovered the whole time. The foil stage is what keeps the middle tender. If a baked batch came out dry, drizzle warm stock over it and cover for 10 minutes in a low oven – it’ll soften right back up.

    Bland: Under-salted or under-buttered. Stuffing needs more seasoning than you’d expect because the bread dilutes everything. Taste the aromatics before you combine, and don’t be shy with salt, pepper, and fresh herbs.

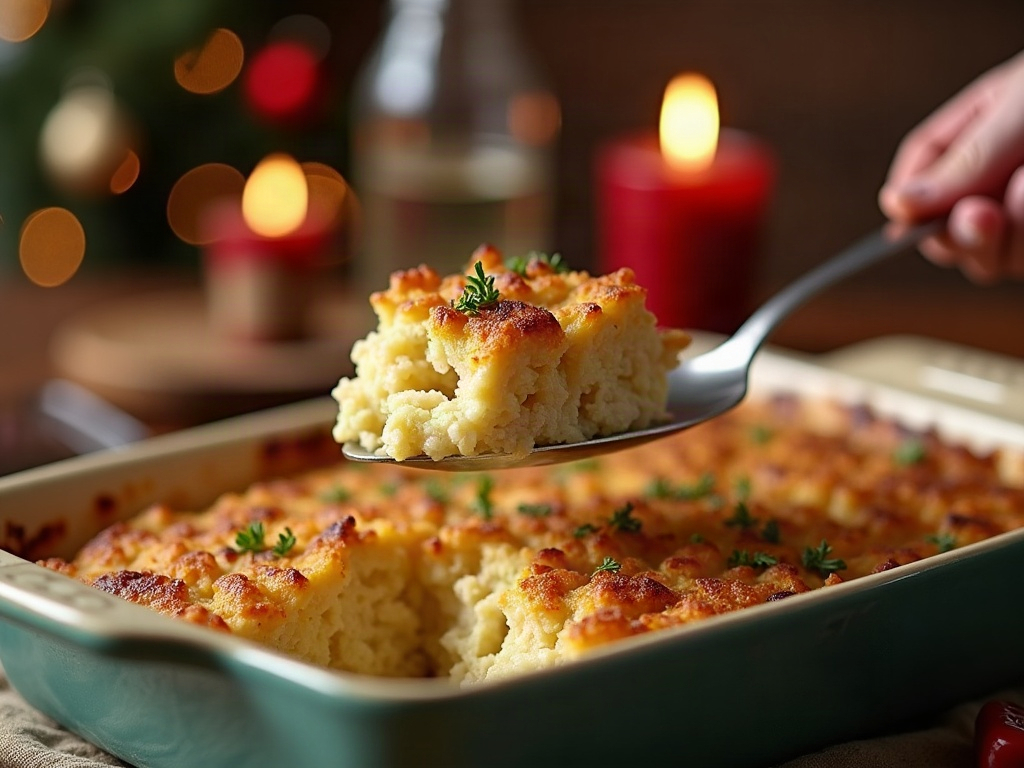
    A serving spoon lifting a portion of sourdough stuffing showing crisp top and tender interior
    The payoff: a shattering top over a custardy, savory middle that holds its shape on the spoon.

    Get the bread dry and the liquid gradual, and sourdough stuffing is close to impossible to ruin – and it quietly becomes the dish people ask you to bring every year. That stale heel on the counter has a job now.

    Want the visual version – the cube test, the squeeze test, and the two-stage bake – walk through it on the LoafLovers YouTube channel, and grab our free sourdough troubleshooting guide if you’d like the rest of our fixes in one place.

    Related Reading

  • Sourdough Dinner Rolls: Soft, Fluffy, and Perfect for the Holiday Table

    Sourdough Dinner Rolls: Soft, Fluffy, and Perfect for the Holiday Table

    Crusty, tangy sourdough is wonderful – but it is not what you want next to the turkey. Holiday dinner rolls need to be the opposite: soft, pillowy, a little sweet, with a tender top you can tear apart with your fingers. The good news is your starter can absolutely make that roll. The trick is treating this like an enriched dough, not a lean artisan loaf, and leaning on a make-ahead schedule so you’re not chained to a bowl on the busiest cooking day of the year.

    Here’s a reliable method, plus the handful of places people go wrong when they try to turn sourdough into soft rolls.

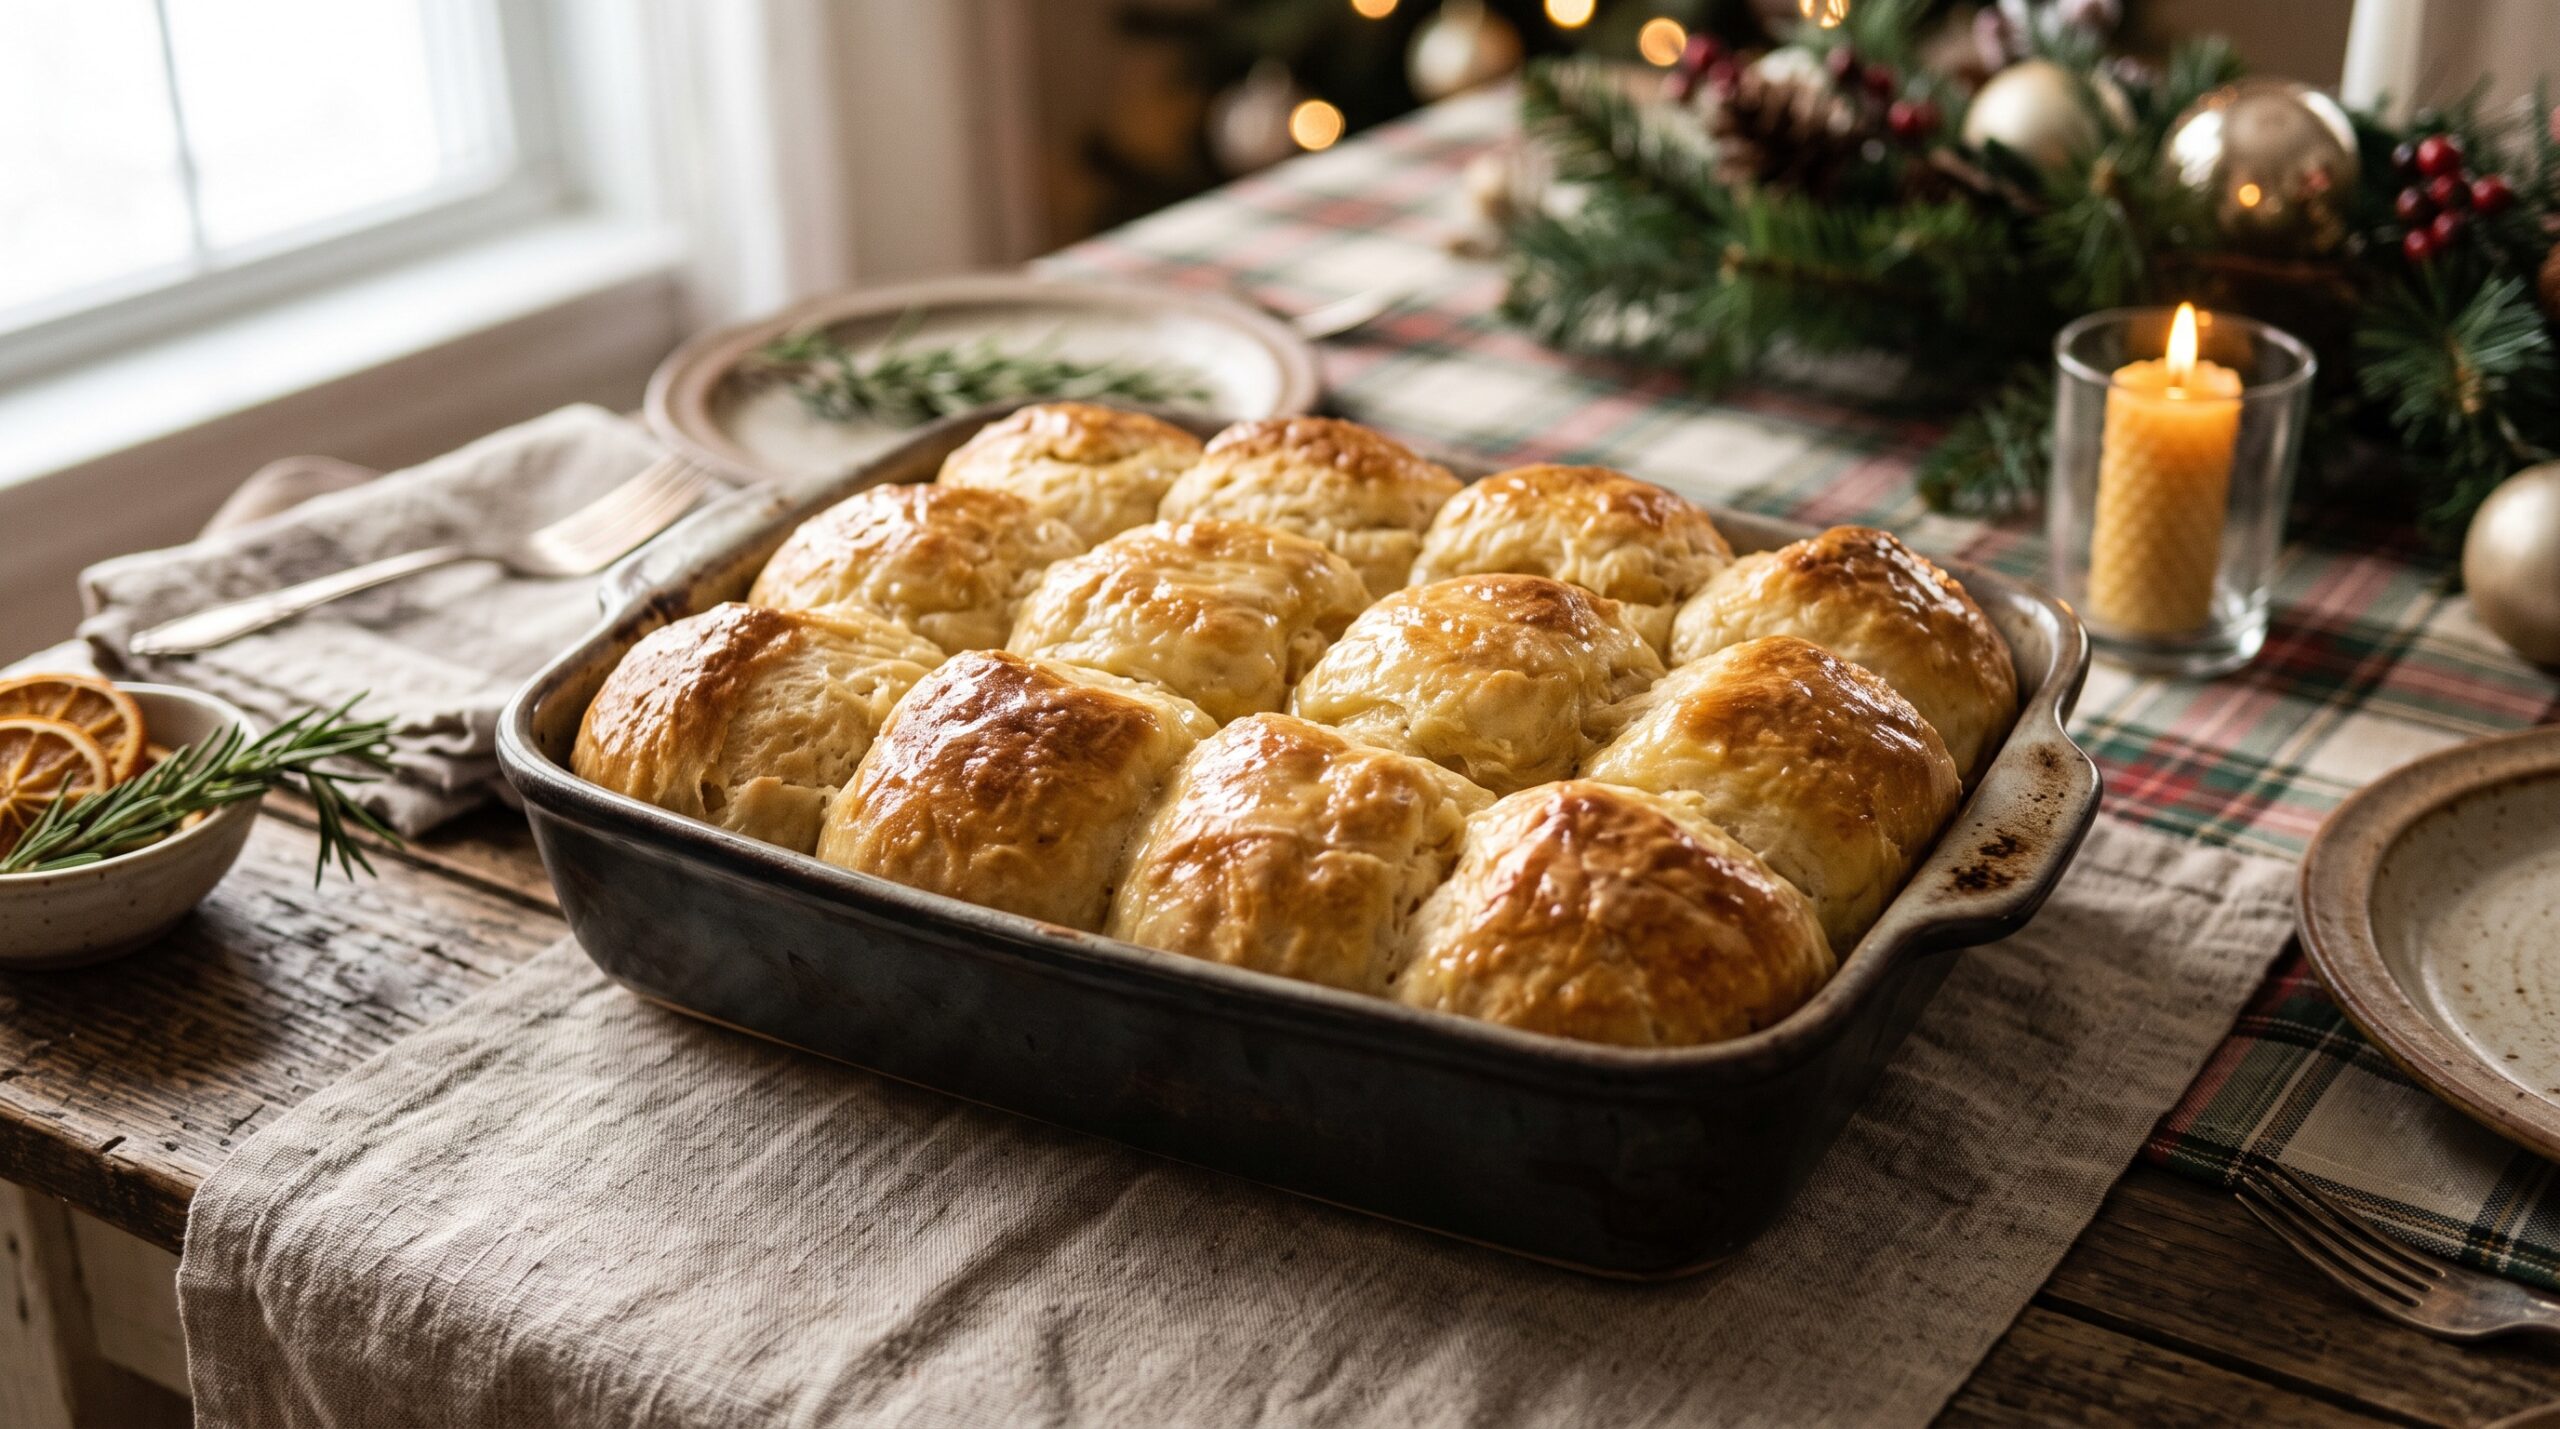
    A pan of golden pull-apart sourdough dinner rolls with buttery tops on a holiday table
    Soft, tall, and tear-apart tender – sourdough dinner rolls that belong next to the gravy.

    Why these rolls are different from your usual loaf

    A normal sourdough loaf is lean – just flour, water, salt, and starter. That builds a chewy, open crumb and a hard crust. Rolls go the other way. You add fat (butter), dairy (milk), a little sugar, and often an egg. Those enrichments coat the gluten, shorten the chew, and give you a soft, fine, cottony crumb instead of big holes. The sugar and milk also help the tops brown into that golden, tender finish.

    So don’t judge this dough by loaf rules. It will feel softer, richer, and tackier than you’re used to, and it won’t blister or crackle. That’s correct.

    A simple roll formula

    This makes about 12 rolls in a 9×13 pan. Weigh if you can – it’s far more forgiving than cups.

    • 100 g active, bubbly starter (fed and at peak)
    • 240 g warm milk (whole milk is best for softness)
    • 1 egg
    • 50 g sugar
    • 500 g bread flour
    • 9 g salt
    • 60 g soft butter, added after the dough comes together

    Mix everything except the butter until shaggy, rest 20 minutes, then work the soft butter in until the dough is smooth and elastic. It will fight you at first and then come together into a soft, slightly shiny ball.

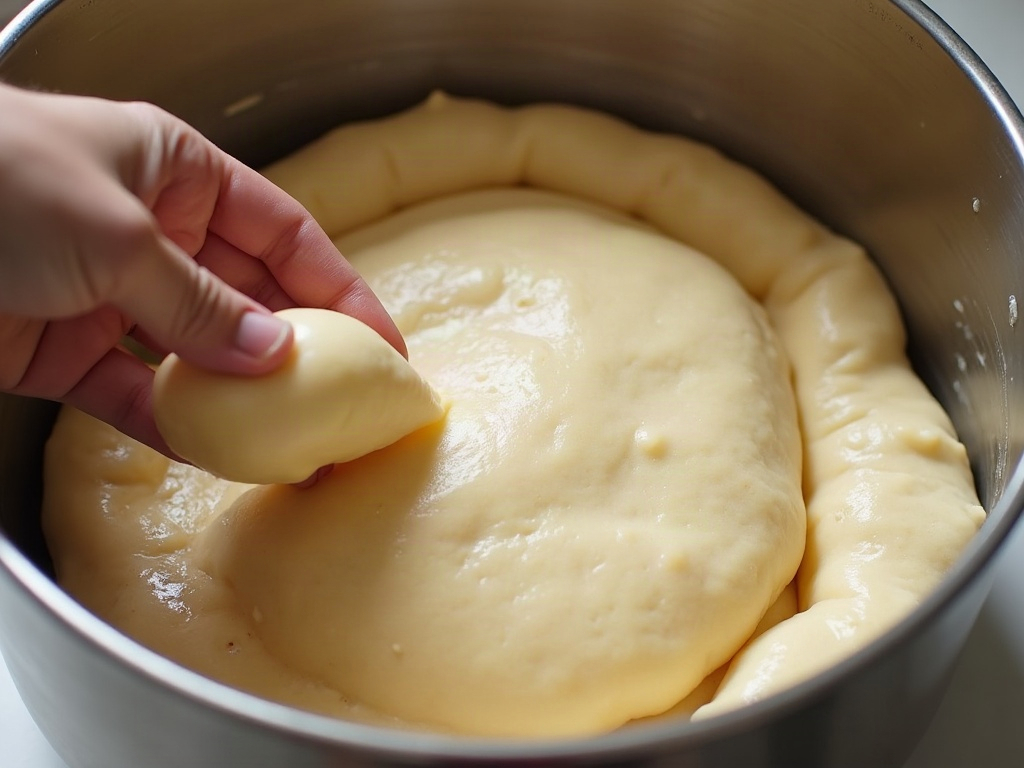
    Soft enriched sourdough dough being stretched to show smooth gluten development
    The dough should feel soft, smooth, and slightly tacky – enriched with butter, milk, and a little sugar.

    Bulk ferment, then the make-ahead move

    Let the dough rise at room temperature until it’s puffy and roughly 50-75% larger. Because it’s enriched and heavier than a lean dough, this is usually slower – think 5 to 8 hours depending on your kitchen and starter strength. Don’t chase a full double; enriched doughs are happy with a bit less.

    Here’s the part that saves your holiday: after bulk ferment, shape the rolls, put them in the pan, cover well, and refrigerate overnight. The cold slows everything down so you can bake fresh in the morning. This is the single best reason to make sourdough rolls instead of same-day yeast rolls – you can do the work the day before and pull a tray of fresh, hot rolls right before dinner.

    Shape tight, set them close

    Divide the dough into even pieces (weigh for uniform rolls – around 75-80 g each). Shape each into a tight, smooth ball by cupping it against the counter and dragging it in small circles to build surface tension. A smooth, taut skin is what gives you a round, high roll instead of a saggy one.

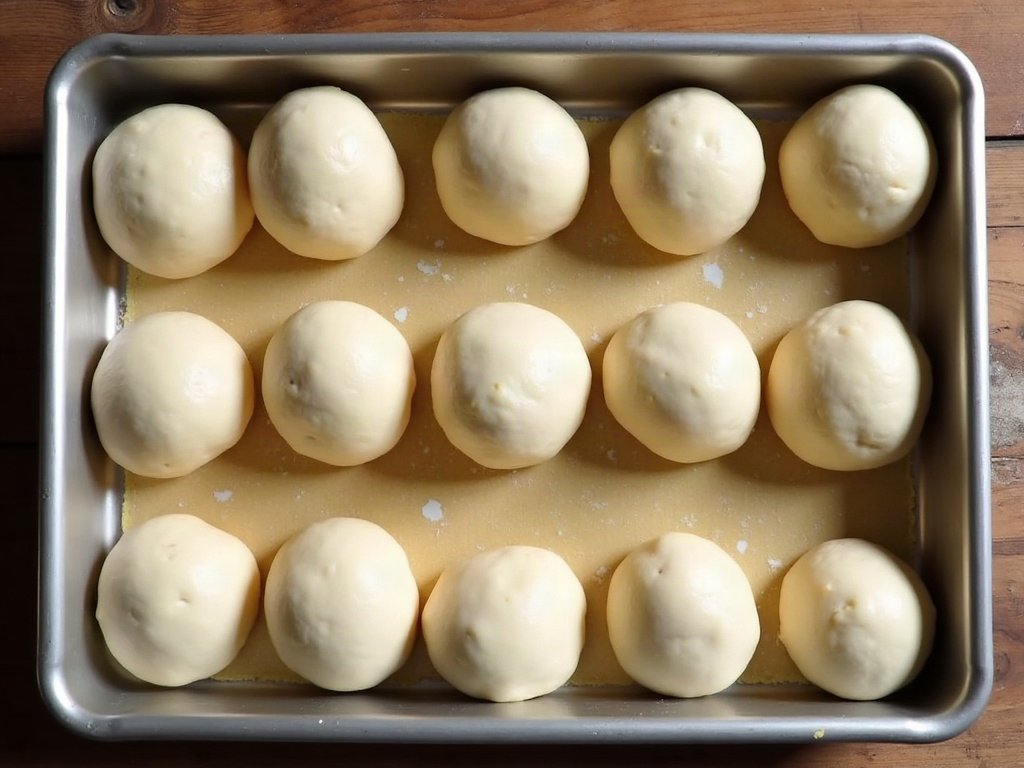
    Evenly shaped dough balls arranged in a baking pan before proofing
    Shape tight, even balls and set them close – they rise into each other for that pull-apart softness.

    Arrange them in a buttered pan with small gaps between – about a finger’s width. As they proof and bake they expand into each other, which is exactly what creates those soft, tear-apart sides. Rolls baked touching stay softer than rolls baked alone.

    The final proof and the bake

    Straight from the fridge, let the shaped rolls come up to room temperature and finish proofing until puffy and pressing gently against each other – usually 1.5 to 3 hours. Underproofed rolls bake up dense and tight, so give them real time; poke one gently and it should spring back slowly, not instantly.

    Brush the tops with egg wash or milk for color, then bake at 375°F (190°C) for about 20-25 minutes until deep golden. The lower temperature (versus a 450°F loaf) keeps them soft and prevents a hard crust.

    Melted butter being brushed over warm freshly baked sourdough rolls
    A butter brush straight out of the oven keeps the tops soft and glossy instead of crusty.

    The finishing touch that keeps them soft

    The moment they come out, brush the tops with melted butter. This is not optional if you want that bakery-soft, glossy finish – it keeps the crust from setting hard as the rolls cool and adds a last layer of richness. Let them cool just enough to handle, then serve warm.

    A few quick saves if things go sideways: dense rolls almost always mean underproofing or a sluggish starter – give more time and make sure your starter was at peak. Rolls that spread flat usually weren’t shaped tightly enough. And if the tops brown too fast, tent loosely with foil for the last few minutes.

    A torn-open sourdough dinner roll showing a soft fluffy crumb with melting butter
    The payoff: a fine, cloud-soft crumb that pulls apart in steamy strands.

    That’s the whole game: enrich the dough, shape tight, cold-proof overnight, bake low, and butter the tops. Do that and your starter earns a permanent spot at the holiday table – soft, fluffy, pull-apart rolls, no yeast packet required.

    Want to see the shaping and the overnight fridge trick in action? The full step-by-step walkthrough lives on the LoafLovers YouTube channel – watch the dough and the shaping once and it’ll click for good.

    Related Reading