Tag: sourdough troubleshooting

  • The Windowpane Test: How to Know Your Sourdough Gluten Is Developed

    The Windowpane Test: How to Know Your Sourdough Gluten Is Developed

    You have mixed your dough, done a few folds, and now you are standing over the bowl asking the question that stalls every batch: is this actually ready, or am I about to bake a brick? You could keep folding and risk overworking it. You could stop now and risk a dough too weak to rise. Or you could pinch off a small piece, stretch it toward the light, and let the dough tell you exactly where it stands.

    That is the windowpane test — the single fastest way to read whether your sourdough’s gluten is developed enough to trap gas and hold its shape. It takes ten seconds, needs no equipment, and removes almost all the guesswork from the murkiest stage of the bake. Here is what the test really measures, how to do it without fooling yourself, how to read the result, and exactly how to fix a dough that keeps tearing.
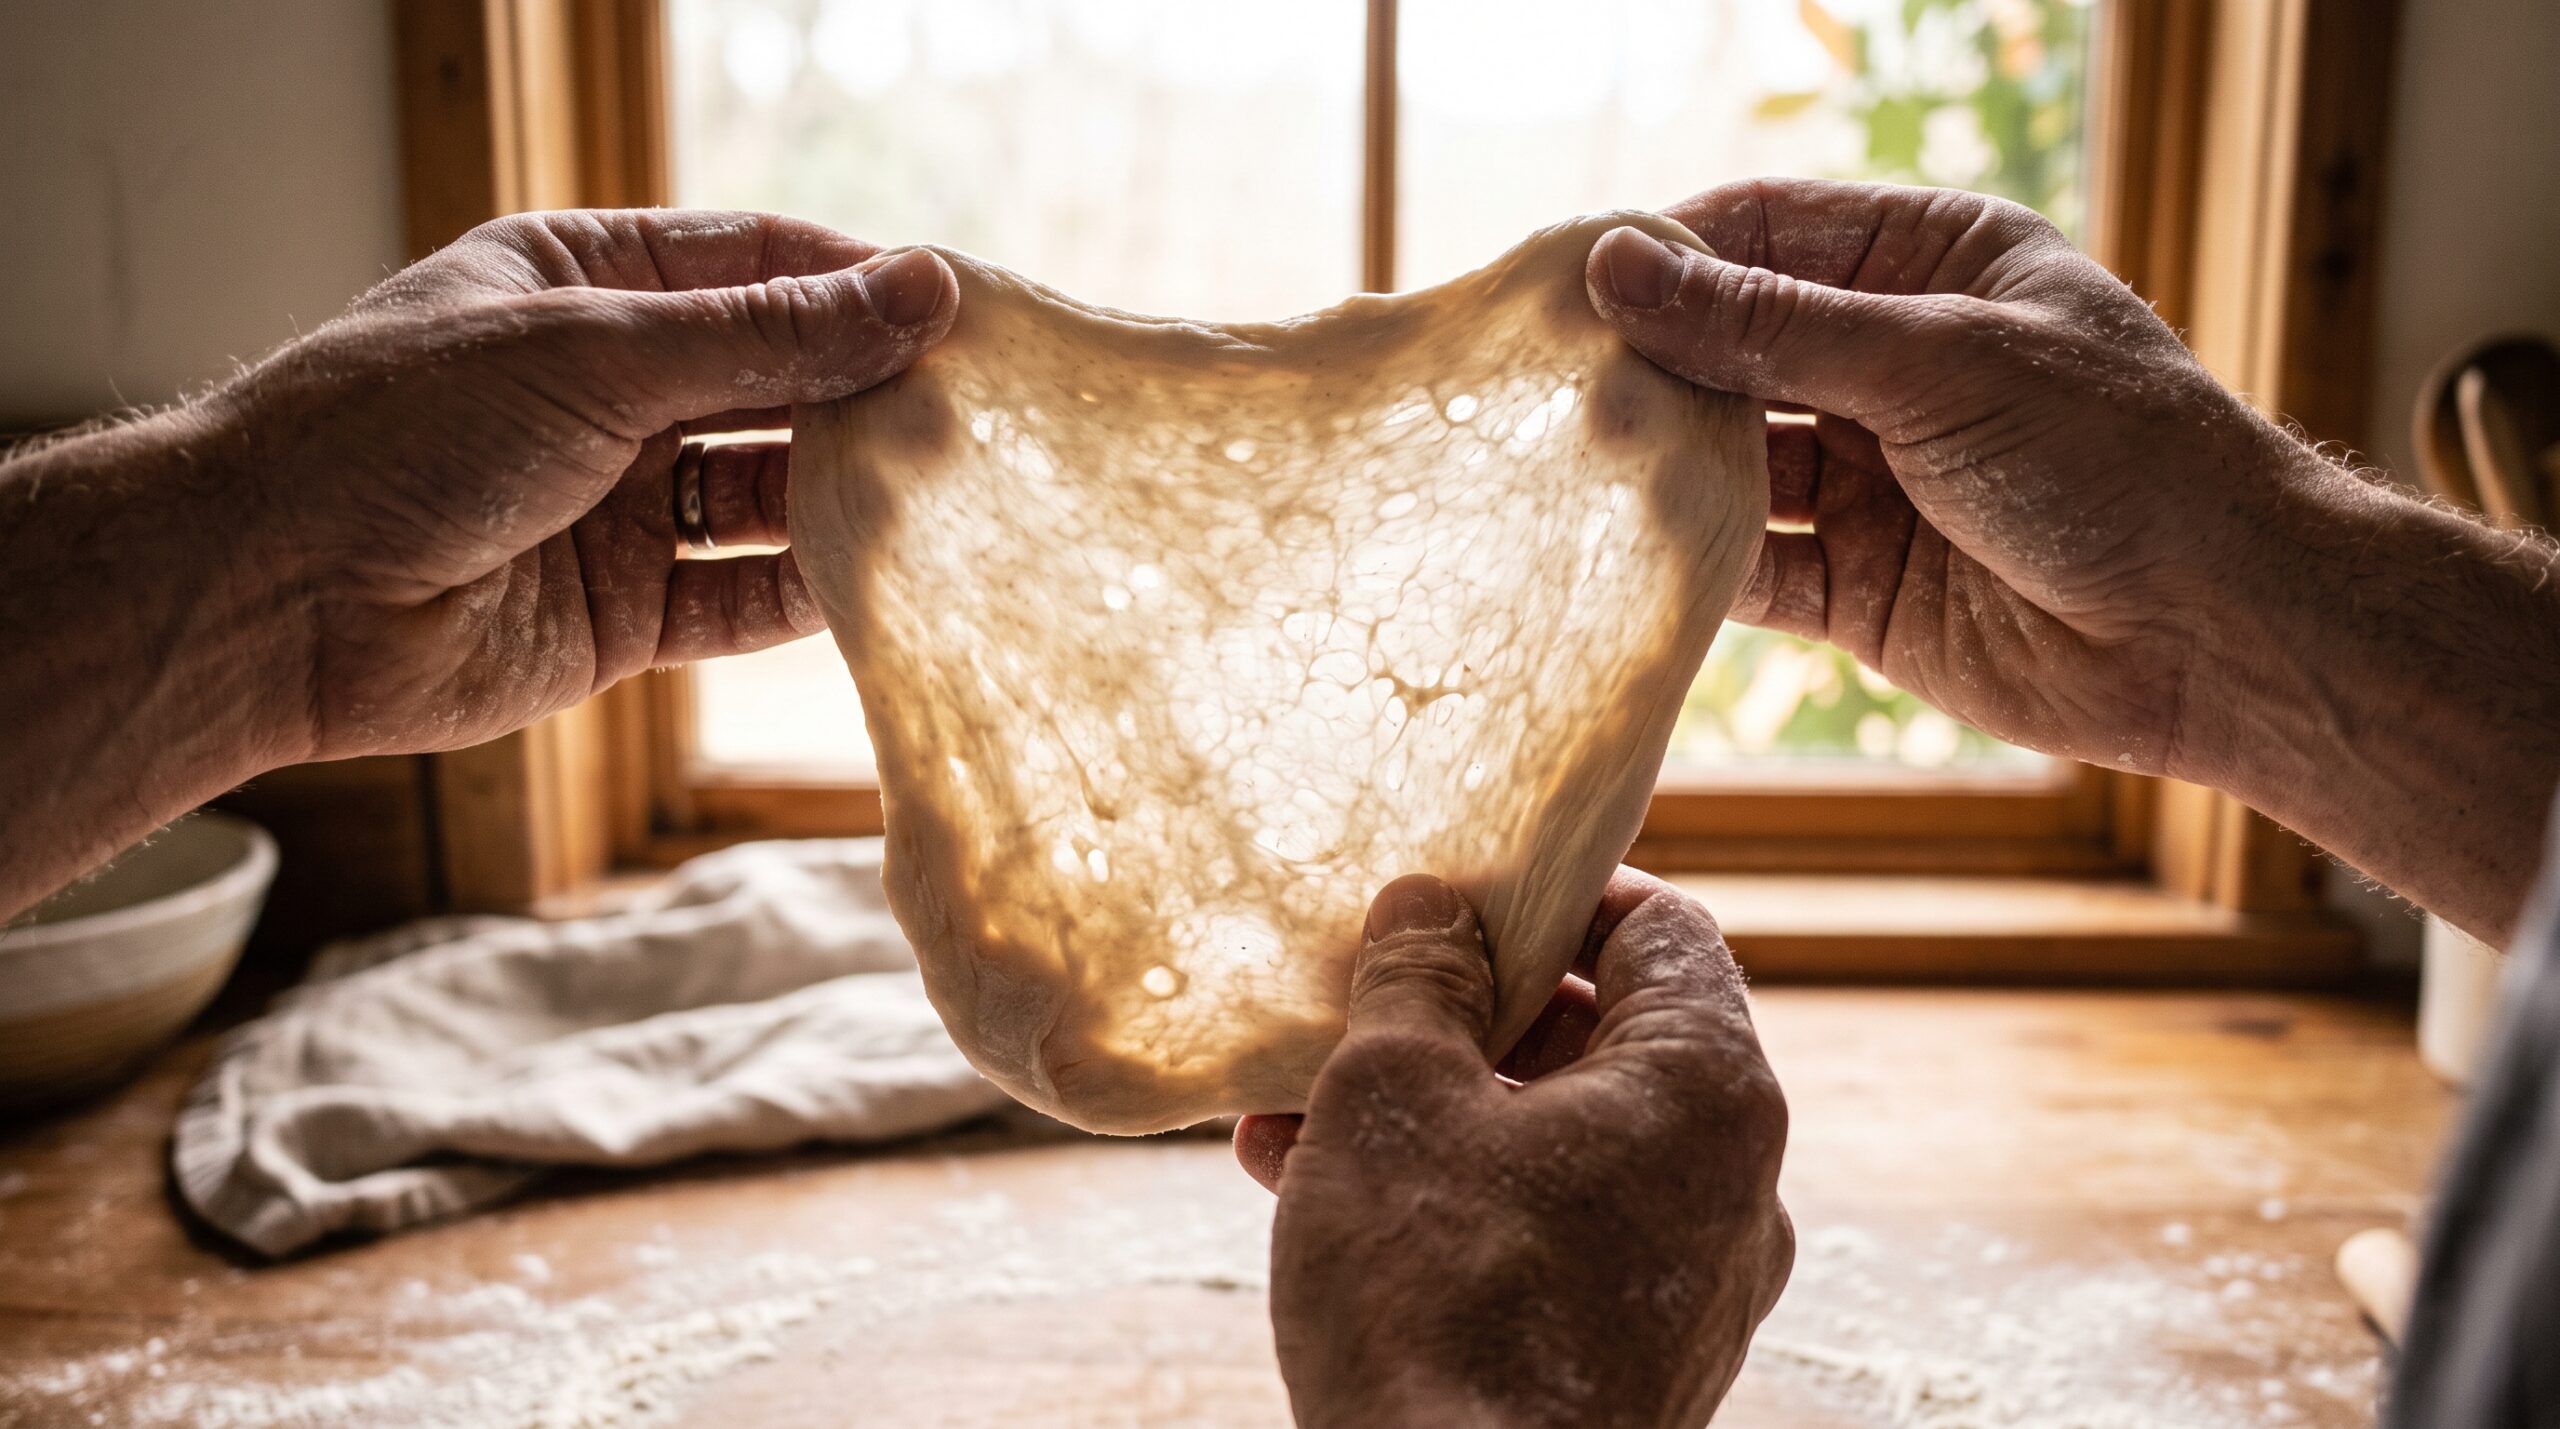
    Hands stretching a piece of sourdough dough into a thin translucent windowpane against soft window light
    A true windowpane: the dough stretches thin enough that light glows through it without tearing.

    What the Windowpane Test Actually Tells You

    Gluten is the stretchy protein network that forms when flour meets water and gets worked. It is the scaffolding of your loaf: as the yeast and bacteria in your starter produce carbon dioxide, that gas gets trapped inside the gluten network like air in a balloon. Strong, well-organized gluten holds the gas and rises tall. Weak, disorganized gluten lets the gas escape, and the dough spreads flat instead of up. If you have ever fought a loaf that pancaked across the counter, weak gluten was very likely part of the story — the same root cause behind many flat, spreading loaves.

    The windowpane test measures exactly this. When you stretch a piece of dough thin and it forms a smooth, translucent membrane without tearing, you are seeing a gluten network that is organized enough to stretch around expanding gas bubbles. That same extensibility is what gives you oven spring and an open, airy crumb. If the dough tears into a thick, ragged hole the moment you pull it, the network is not there yet. The test is not a superstition — it is a direct, visual read of the one structure your entire loaf depends on.

    How to Do the Windowpane Test (Step by Step)

    The technique matters more than people expect, because a rushed test gives a false fail. Here is the reliable way to do it:

    1. Take a small piece. Pinch or cut off a piece of dough about the size of a golf ball. Take it from the main mass gently — you are not trying to deflate the whole batch.

    2. Round it briefly. Roll it into a loose little ball between your palms to give the gluten a consistent starting point.

    3. Stretch from the center, slowly. Hold the piece with the fingertips of both hands and gently pull outward, working the dough thinner from the middle. Rotate as you go, like you are opening a tiny pizza. The key word is slowly — give the gluten time to relax and stretch rather than snapping it.

    4. Hold it up to the light. Once the center is thin, raise it toward a window or a lamp. You are looking to see whether light passes through a smooth, unbroken film.

    Do the test after the dough has had a short rest, not immediately after a vigorous fold. Gluten tightens right after it is worked and needs a few minutes to relax before it will show its true extensibility. Test a tense dough and you will underrate it every time.
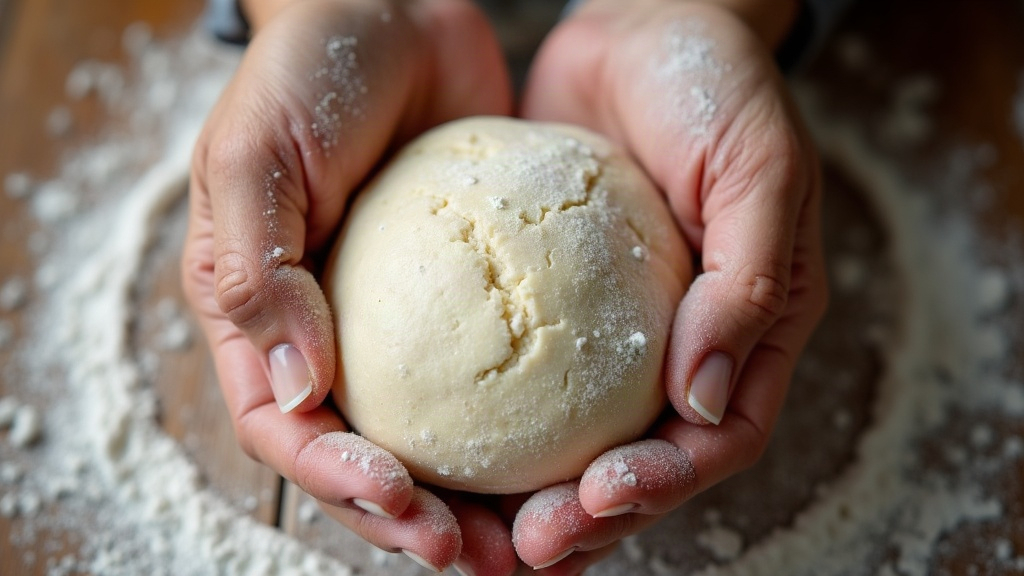
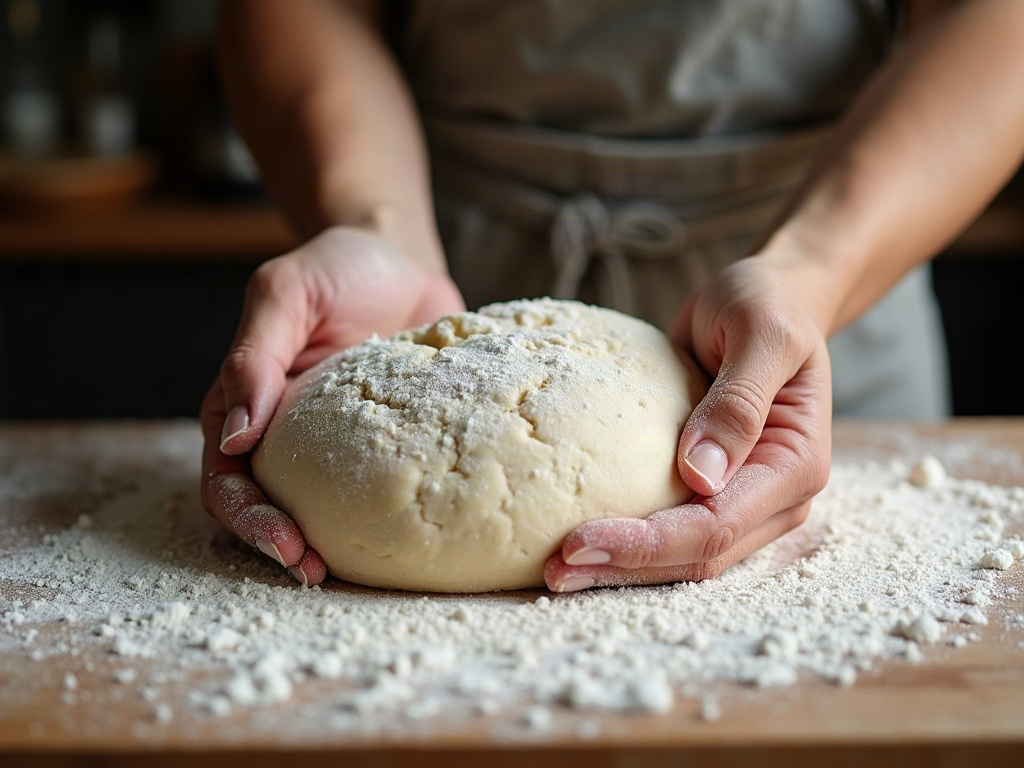
    Fingertips slowly stretching a small dough ball from the center into a thin see-through film
    Work slowly from the center outward. Rushing tears the membrane and gives you a false fail.

    Reading the Result: Pass, Almost, and Fail

    There are really three outcomes, and learning to tell them apart is the whole skill.

    Pass. The dough stretches into a thin, translucent membrane you can almost see your fingers through. It glows when you hold it to the light and does not tear, or tears only at the very end when it is already gossamer-thin. The edges of any eventual hole are smooth and clean. This dough has developed gluten and is ready to move on to shaping or its final rest.

    Almost. The dough stretches thin and shows some translucency, but tears before it gets truly see-through, leaving a hole with a slightly rough edge. This is a dough that is close — it usually just needs a bit more time or one or two more gentle folds, then a rest and a retest.

    Fail. The dough tears almost immediately into a thick, ragged hole with a shaggy edge, and never approaches translucency. The gluten network is under-developed. Do not shape this dough yet — it needs more development, and the next section explains why and how.

    Why Your Dough Won’t Pass (and the Fix for Each)

    A failed windowpane almost always traces back to one of four causes. Match your symptom to the fix:

    Under-mixed or under-worked dough. The most common reason, and the easiest to fix. The gluten simply has not had enough mechanical development. If you are kneading, keep going for a few more minutes, then rest and retest. If you are doing no-knead sourdough, add another set of stretch and folds and give it a proper rest between sets. Development builds with time and gentle work, not brute force.

    Hydration is high. Wetter doughs feel slack and can seem to fail even when the gluten is coming along, because a very loose dough is harder to stretch into a clean film. If you are working at high hydration, expect the membrane to be more delicate and give it extra folds with generous rests. It also helps to get comfortable with the feel of a wet dough in the first place — our guide to handling sticky, high-hydration dough makes the test far less frustrating.

    Whole grain or low-protein flour. Whole wheat and rye have sharp bran particles that physically cut the gluten strands, and some flours are simply lower in the proteins that build gluten. These doughs may never form a picture-perfect windowpane, and that is normal. Aim for the best translucency the flour will give, lean on longer autolyse and gentle folds, and read the dough as a whole rather than demanding a flawless film.

    Over-fermented dough. This one is sneaky. A dough that has fermented too far starts to break down — the acids and enzymes degrade the gluten, so a dough that once could windowpane will start tearing again and feel slack, sticky, and lifeless. If your dough passed earlier and now fails, over-fermentation is the likely culprit, and more folding will not save it. The fix is on the next bake: shorten your bulk ferment. Knowing when bulk fermentation is actually done is what keeps you from crossing that line.

    The Windowpane Test and No-Knead Sourdough

    Most home sourdough is not kneaded in the classic sense — it is built with rounds of stretch and folds spaced through the bulk ferment. That changes how you use the test. Instead of one long knead and a single check, you are developing gluten gradually, and time itself does much of the work as the flour hydrates and the network organizes on its own.

    So test at the right moment: after a set of folds and a rest, not in the middle of folding. Early in bulk, expect an “almost” or a fail — that is fine, the dough has more sets to go. By the last set or two, you are looking for that smooth, translucent stretch. If you reach the end of your planned folds and the dough still fails badly, add one more set and extend the rest before you commit to shaping. And remember that in a slow, folded dough, the gluten keeps developing during the rests even when your hands are off it. Patience is a legitimate technique here.
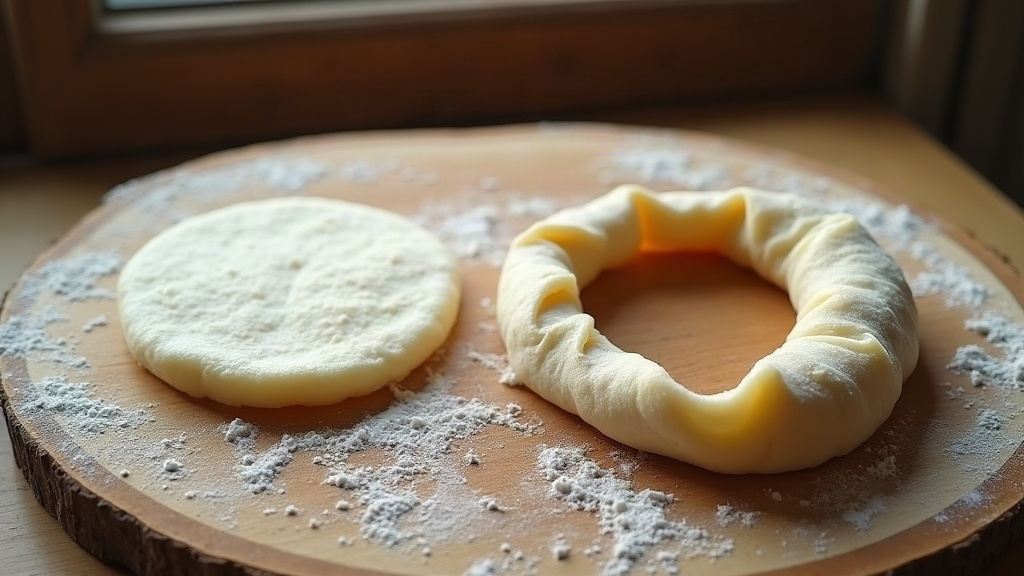
    Side by side of a smooth translucent dough membrane on the left and a torn ragged dough that failed on the right
    Left: developed gluten stretches smooth and thin. Right: under-developed dough tears with a thick, ragged edge.

    Windowpane vs the Poke Test: Don’t Confuse Them

    This is the mix-up that trips up even experienced bakers, so hold onto it: the windowpane test and the poke test answer completely different questions.

    The windowpane test measures gluten development — is the dough strong and organized enough to trap gas? You use it during mixing and bulk fermentation, before shaping. The poke test measures proof — has the shaped loaf fermented to the right point, ready for the oven? You use it after shaping, on the final rise. A dough can pass the windowpane test brilliantly and still be badly underproofed or overproofed, because strong gluten and correct fermentation timing are two separate things.

    Think of it as a sequence. First, build and confirm the structure with the windowpane test. Then ferment and shape. Finally, judge the readiness of that shaped loaf with the poke test. Keep the two in their own lanes and a huge amount of sourdough confusion simply evaporates.
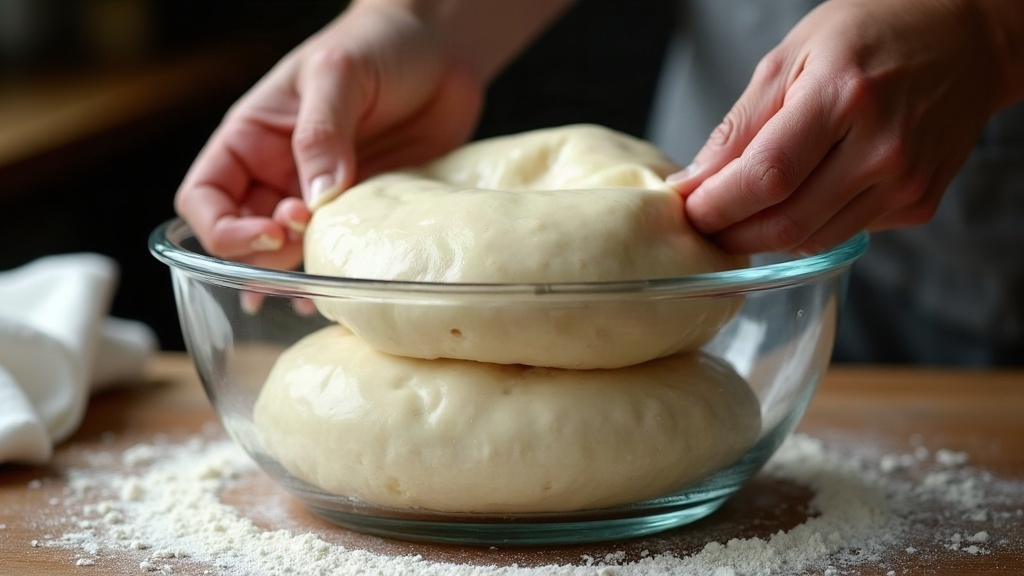
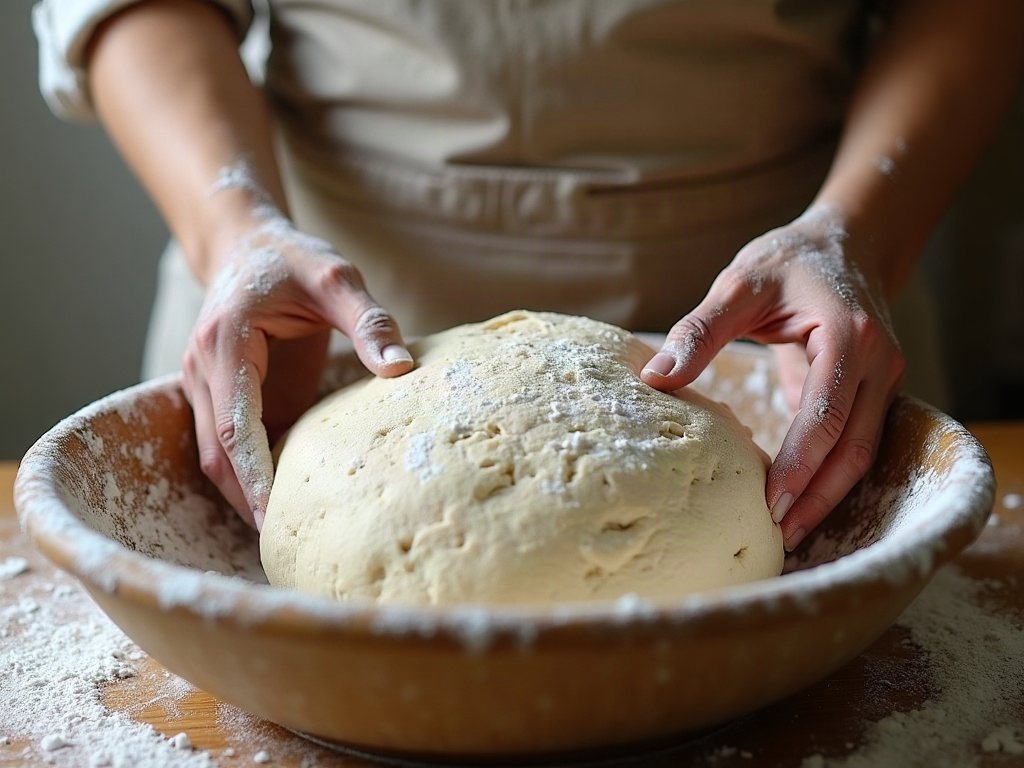
    A wet hand lifting and folding a slack sticky sourdough dough over itself inside a glass bowl
    In no-knead sourdough, each stretch and fold builds the gluten a little more. Test after a rest, not mid-fold.

    When You Can Skip the Test

    Once you have made the same recipe a dozen times, you often will not need to stretch a piece to the light — your hands learn the feel of a dough that has come together, going from shaggy and tearing to smooth, supple, and slightly jiggly. The windowpane test is training wheels in the best sense: it teaches your fingers what “developed” feels like until you can read it by touch alone.

    Until then, use it freely. It costs you nothing, it deflates only a golf-ball’s worth of dough, and it turns the most anxious stage of the bake into a clear yes or no. On a new recipe, a new flour, or a batch that just feels off, pinch a piece, stretch it toward the window, and let the gluten give you a straight answer.
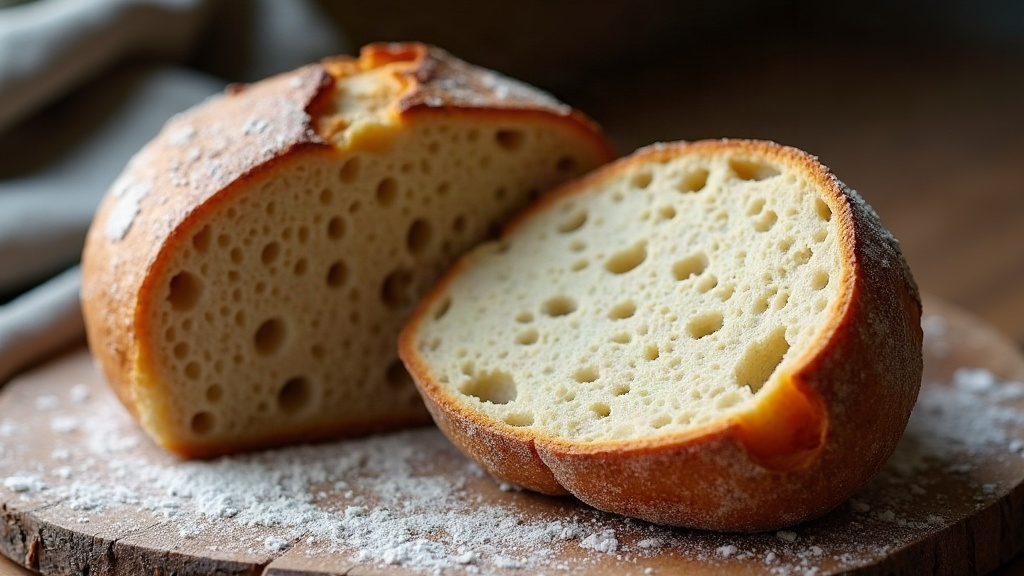
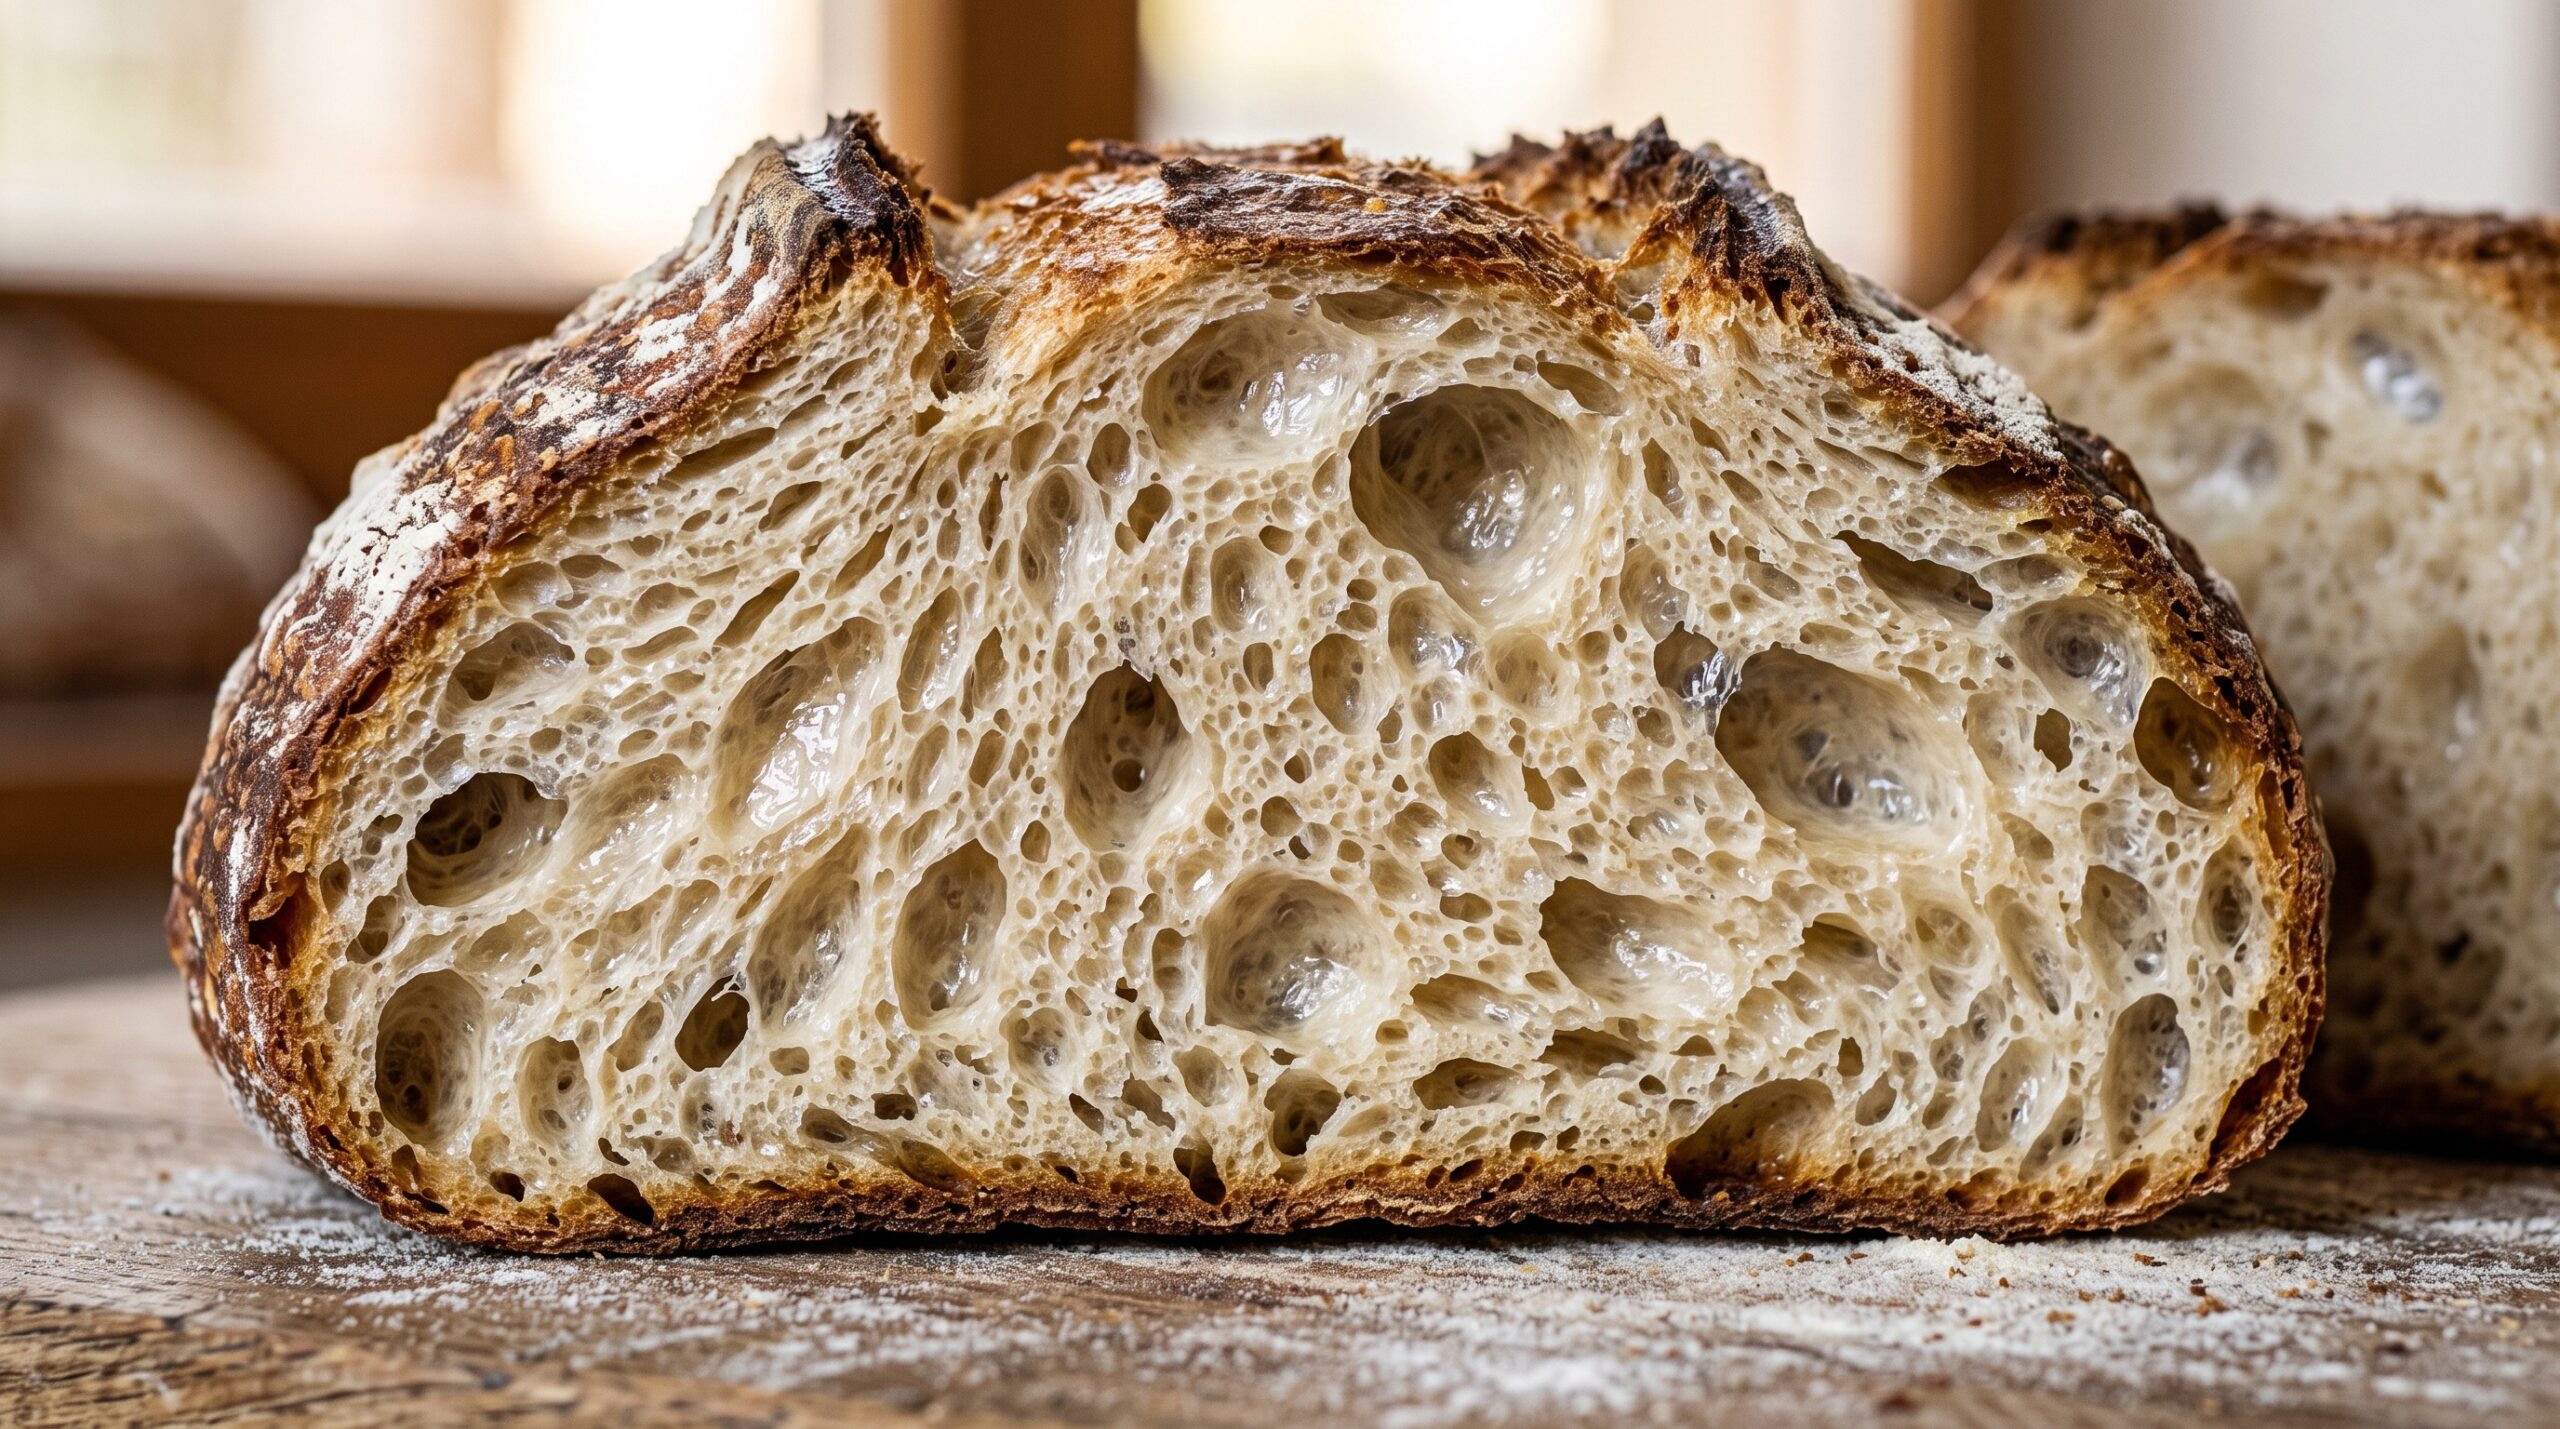
    A halved sourdough boule showing an even open crumb with glossy cell walls and a golden crust
    Developed gluten is what traps the gas and holds this structure. The windowpane predicts the crumb.

    Want to see a real pass, a real fail, and the recovery folds side by side? The full slow-motion walkthrough lives on the LoafLovers YouTube channel, and you can grab our free sourdough troubleshooting guide — a quick-reference for the symptoms, causes, and fixes that come up most — when you join the email list. No hard sell, just the answer waiting the next time you are hovering over the bowl wondering if it is ready.
    Related Reading

  • Cold Retard: How Long Can Sourdough Sit in the Fridge Before Baking?

    Cold Retard: How Long Can Sourdough Sit in the Fridge Before Baking?

    You shaped a beautiful loaf, tucked it into the fridge for an overnight cold proof, and then real life arrived. The overnight became a day. The day is turning into a second night. Now it is sitting there behind the milk, and you are standing at the open fridge door asking the question every home baker eventually asks: how long can sourdough actually sit in the fridge before I have to either bake it or throw it out?

    Good news first — you almost certainly have not ruined it, and cold retarding is one of the most forgiving, most useful tricks in sourdough. But “forgiving” is not “infinite,” and the difference between a loaf that rewards the extra time and one that bakes into a flat, gummy disappointment comes down to reading the dough rather than the clock. Here is exactly how the cold retard works, how long you really have, and how to tell which side of the line your loaf is on.

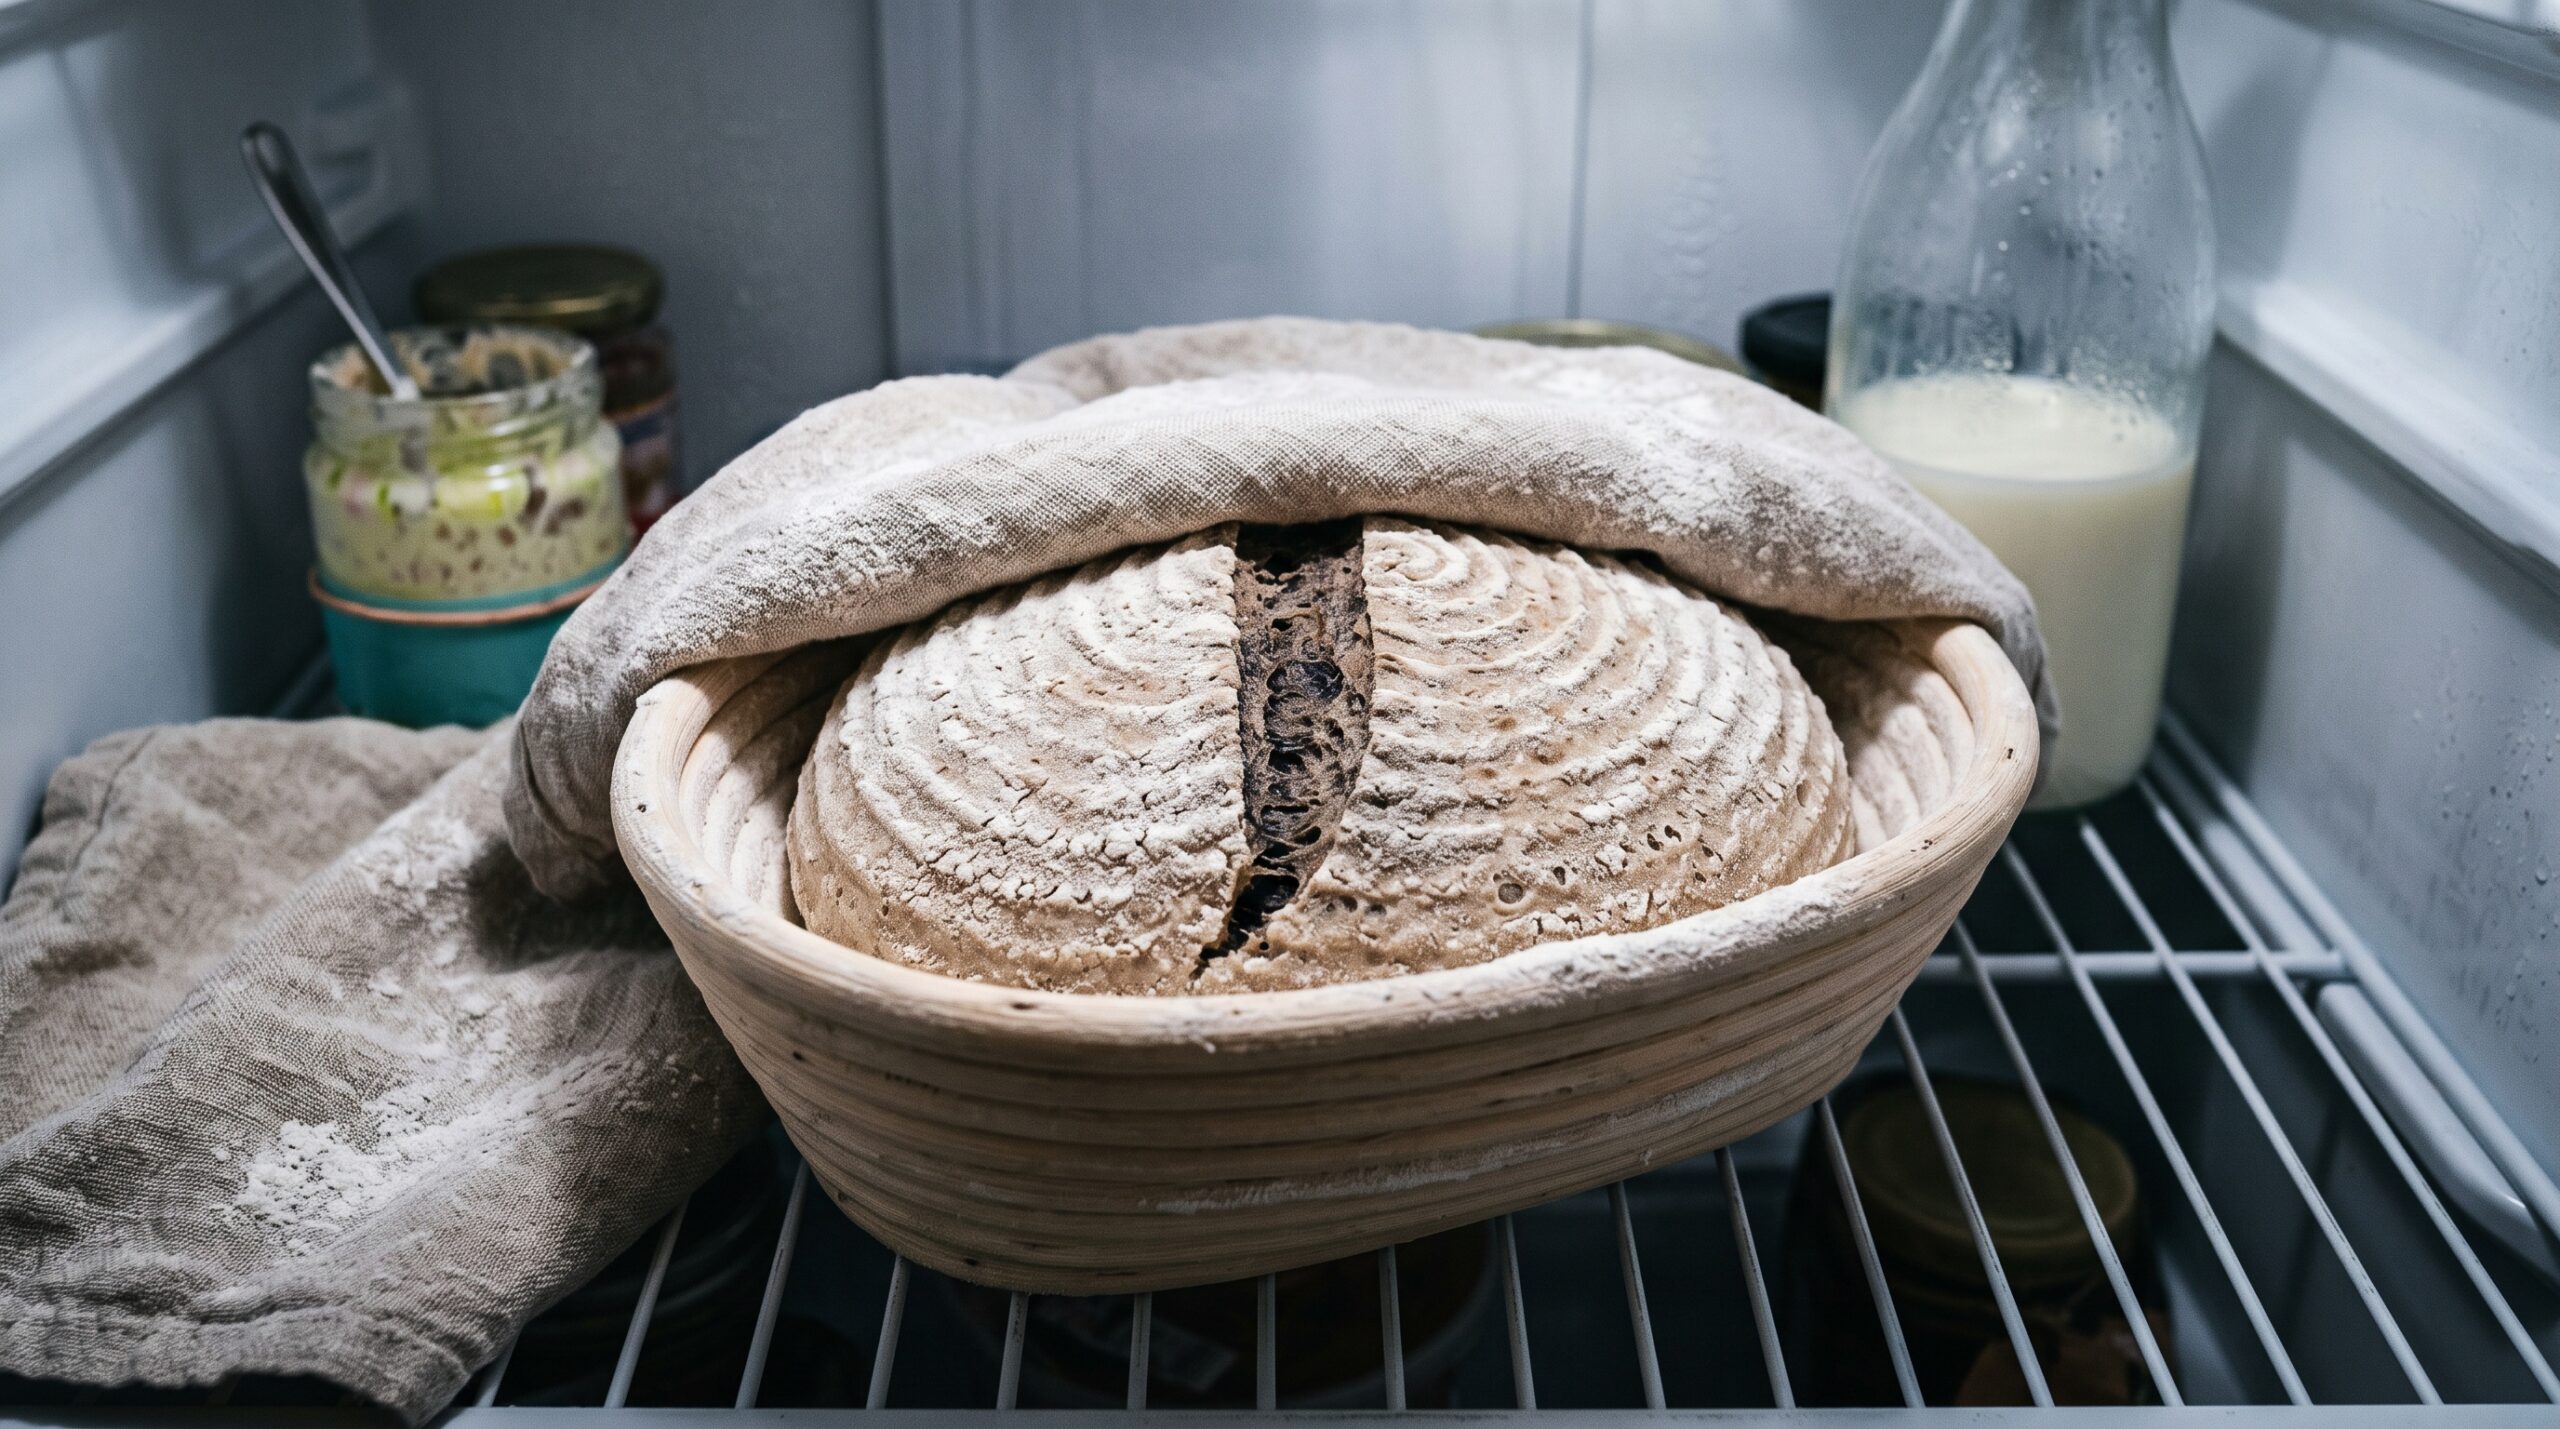
    A shaped sourdough loaf in a floured banneton resting on a shelf inside the refrigerator
    The fridge is not a pause button. It slows fermentation to a crawl, but the clock keeps ticking.

    What Cold Retarding Actually Does

    Fermentation is a temperature game. Warm dough ferments fast; cold dough ferments slowly. When you put a shaped loaf into a fridge running at the usual 38°F to 40°F, you are not stopping the yeast and bacteria — you are dropping them into slow motion. The yeast, which produces most of the gas that makes your loaf rise, goes nearly dormant in the cold. The bacteria that produce sourdough’s tang keep working, just gently. That split is the whole point of the technique.

    Two things happen while your loaf chills. First, the rise slows to a near-standstill, which buys you a wide, flexible window to bake whenever it suits you. Second, those still-active bacteria keep developing acids and flavor, so a retarded loaf tastes deeper and more complex than one rushed straight from shaping to oven. Cold dough is also firmer and less sticky, which means it scores cleanly and gives you that dramatic ear. So a cold retard is not a compromise you make for convenience. It genuinely makes better bread — up to a point.

    The Short Answer: How Long Is Safe

    For most home bakers with a fridge in that 38°F to 40°F range, the practical, reliable window is 12 to 48 hours. Somewhere in there is the sweet spot for nearly every recipe. Twelve to sixteen hours is the classic overnight retard and the safest bet. Push to 24 or 36 hours and you gain flavor and a bit more convenience with very little risk, as long as your dough was not already racing when it went in. Reach toward 48 hours and you are near the edge: still very bakeable for most doughs, but you need to inspect before you commit.

    Can you go to 72 hours? Sometimes — but only if the stars align. A 72-hour retard tends to work when your bulk fermentation was on the shorter side, your fridge runs genuinely cold, and your flour is strong enough to hold structure that long. Whole grain and rye doughs, which ferment faster and have weaker gluten, will overproof well before then. The number on the clock is a guide, not a guarantee. What actually decides it is the state of the dough, which is why you inspect rather than assume.

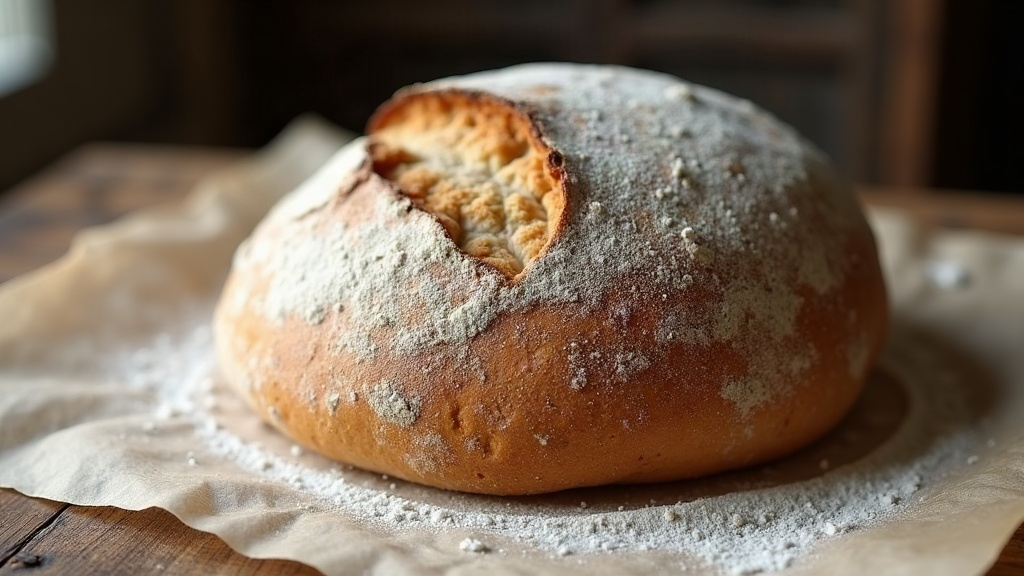
    A cold sourdough loaf turned out onto parchment showing a domed floured surface with small bubbles
    A loaf retarded just right holds a gentle dome and a few surface bubbles, not a slack puddle.

    Signs It Retarded Just Right

    Pull the loaf and look at it cold, before it warms up. A loaf in the sweet spot holds a gentle, confident dome. It has grown a little since you shaped it — noticeably risen but not ballooned. The surface shows a scattering of small bubbles, a good sign the fermentation kept ticking. Give it the poke test with a floured finger: press gently and the dent should spring back slowly and only partway, leaving a soft impression. That lazy, partial rebound is exactly what you want. The dough should feel alive and pillowy but still hold its shape when you tip it out of the banneton. If that is what you are seeing, stop worrying and start your oven.

    Signs It Went Too Far (Overproofed in the Fridge)

    Now the failure mode. A loaf that overproofed in the cold gives clear tells, and catching them saves you from a confusing bake. The surface looks slack, wet, and heavily bubbled, sometimes with large blisters that have started to collapse. When you turn it out of the banneton it spreads and flattens instead of holding a dome, oozing outward like it has given up. The poke test is the giveaway: press it and the dent stays put, or the dough deflates and sighs rather than springing back at all. You may also notice an aggressively sharp, almost acetone-adjacent smell — the sign fermentation has run well past its peak.

    An overproofed loaf has exhausted its structure: the gluten can no longer trap gas, so it will bake flat and dense with a tight, gummy crumb and little oven spring. It is not dangerous, just disappointing. If you catch it here, you have options. Bake it anyway as a flatter loaf — it will still taste good and make excellent toast or croutons. Or reshape it into a pan loaf or focaccia, where a container does the job the gluten no longer can. Either way, log what happened: an overproofed retard almost always means the loaf went into the fridge too far along in its bulk ferment. Next time, chill it a little earlier.

    Two sourdough loaves compared, one tall and domed, one flat and overproofed and slack
    Left: retarded just right. Right: gone too far in the fridge, spreading and losing its structure.

    How to Bake It Straight From the Cold

    Here is the part that trips people up: do not let a retarded loaf come to room temperature before baking. Cold dough is a feature, not a problem. It is firmer, so it scores cleanly and holds a bold ear, and the cold center gives the outside time to set before the whole thing overspreads. Letting it warm up on the counter for an hour just invites overproofing and undoes the benefit you waited all night for.

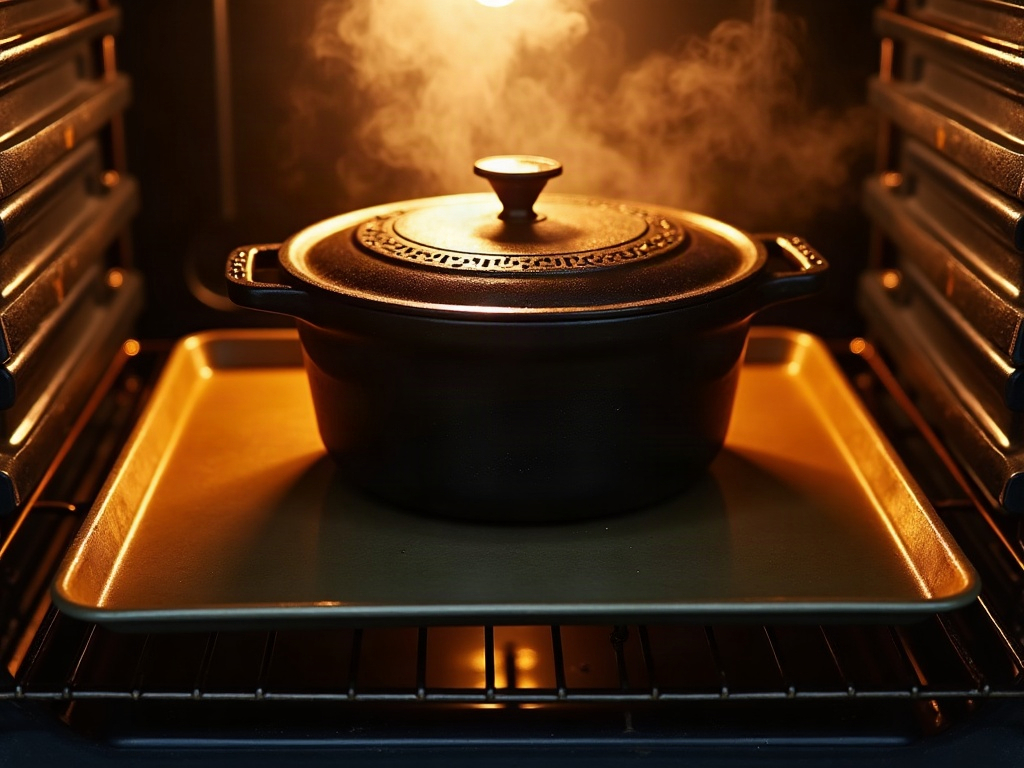
    So bake it cold. Preheat your Dutch oven thoroughly — a full 45 minutes at 475°F to 500°F — then take the loaf straight from the fridge, turn it onto parchment, score it decisively, and load it into the hot pot. The cold surface takes a sharp cut and the trapped steam does its work. Give it your usual covered-then-uncovered bake; a fridge-cold loaf sometimes wants an extra few minutes covered to fully spring, so judge by color and an internal temperature around 205°F to 210°F rather than the timer.

    How to Stretch or Shorten the Window on Purpose

    Once you understand the mechanism, you can steer the retard to fit your schedule instead of scrambling around it. To buy more time, put the loaf in the fridge slightly earlier — a touch under-proofed at room temperature — so it has room to finish slowly in the cold. Make sure your fridge is genuinely cold; the back of a lower shelf is coldest, the door is warmest. A colder fridge stretches your window; a warm, crowded one shrinks it.

    To shorten or tighten the window, let the loaf proof a little more at room temperature before it goes in, so it needs only a short chill to be bake-ready. And remember the levers you already have: a dough built with strong bread flour, a firm shaping job, and a bulk ferment you did not push too far will all tolerate a longer, more forgiving retard. Weak flour, over-fermented bulk, and a warm fridge all narrow it. The retard does not have a fixed length — it has a length you design.

    A hand scoring a cold firm sourdough loaf with a lame straight from the fridge on parchment
    Cold dough scores cleanly and holds the cut. Bake it straight from the fridge, no warm-up needed.

    The Bottom Line

    So, how long can sourdough sit in the fridge? For most loaves, 12 to 48 hours is comfortable, overnight is the safe classic, and 72 hours is possible when everything is in your favor. But the honest answer is the one your dough gives you: a gentle dome and a slow, partial spring back means bake it with confidence; a slack, spreading, non-rebounding loaf means it went too far, and the fix is to chill it earlier next time. Trust that read over any number, and the fridge stops being a source of panic and becomes what it should be — the most flexible, flavor-boosting tool in your kitchen.

    Want to see the cold poke test and a straight-from-the-fridge bake in real time? The full walkthrough lives on the LoafLovers YouTube channel, and you can grab our free sourdough troubleshooting guide — a quick-reference for the symptoms, causes, and fixes that come up most — when you join the email list. No hard sell, just the answers waiting for the next time your schedule and your starter disagree.

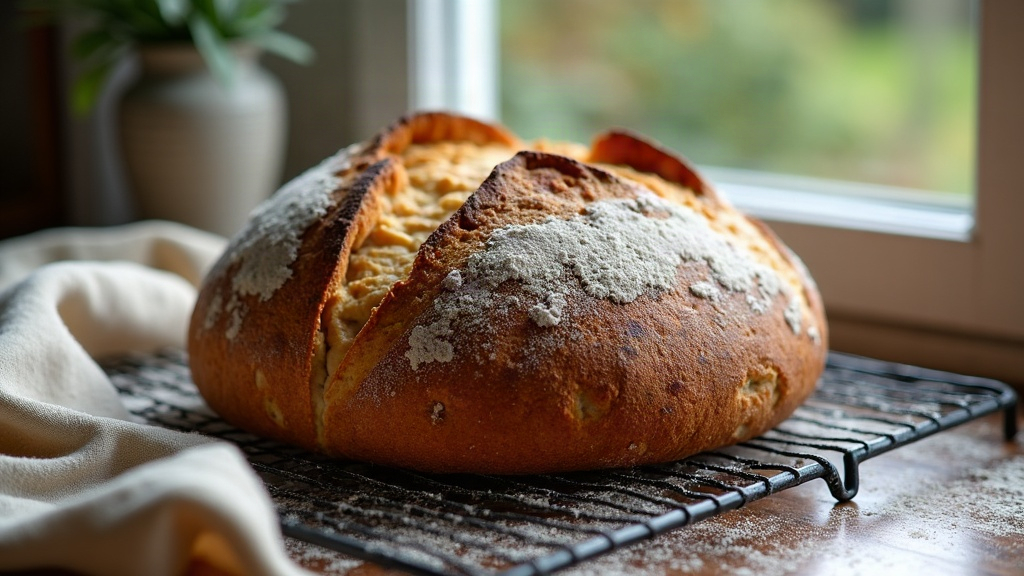
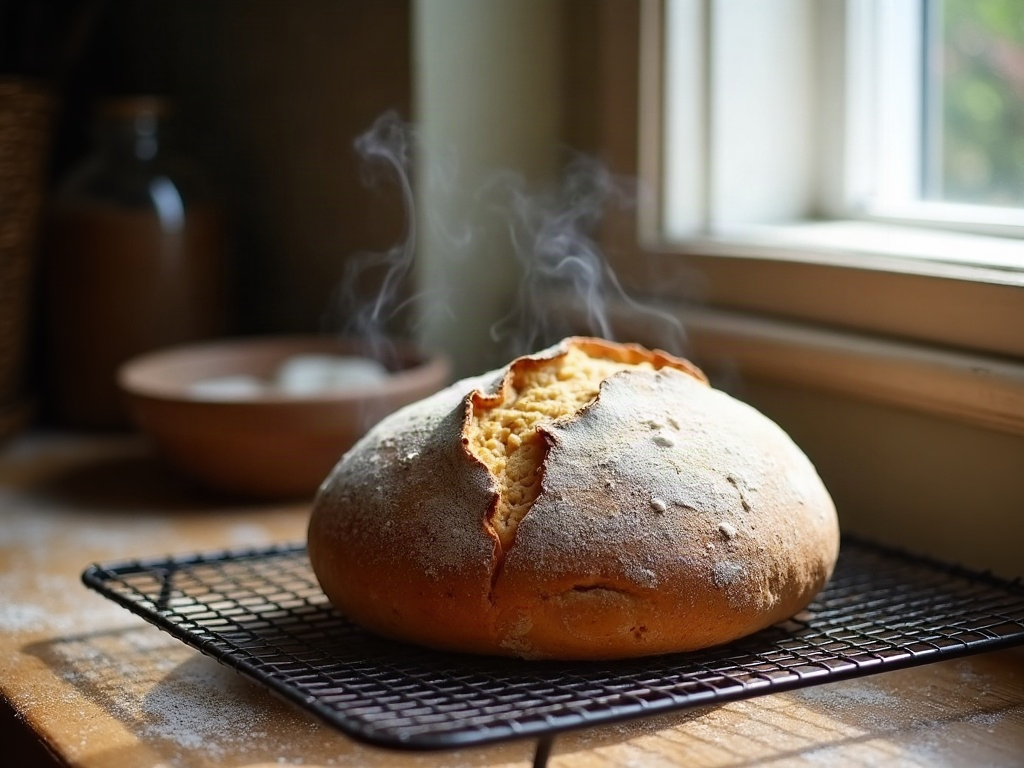
    A finished sourdough boule with a golden blistered crust and open ear cooling on a wire rack
    The reward for a well-timed retard: deeper flavor, a bold ear, and a crust that shatters.

    Related Reading

  • Sourdough Dough Temperature: The Number That Secretly Controls Your Whole Bake

    Sourdough Dough Temperature: The Number That Secretly Controls Your Whole Bake

    You followed the recipe to the letter. Same flour, same starter, same schedule you used last week when the loaf turned out beautifully. Yet today the dough is either lifeless and slack or racing away before you can shape it. Nothing changed — except the one thing you almost certainly did not measure.

    That thing is sourdough dough temperature: the actual warmth of the dough in the bowl. It is the quiet variable behind most “but I did everything the same” mysteries, and once you learn to read it and steer it, your bakes stop being a roll of the dice. Here is what the number means, why it matters more than the clock, and how to control it with nothing fancier than your kitchen tap.

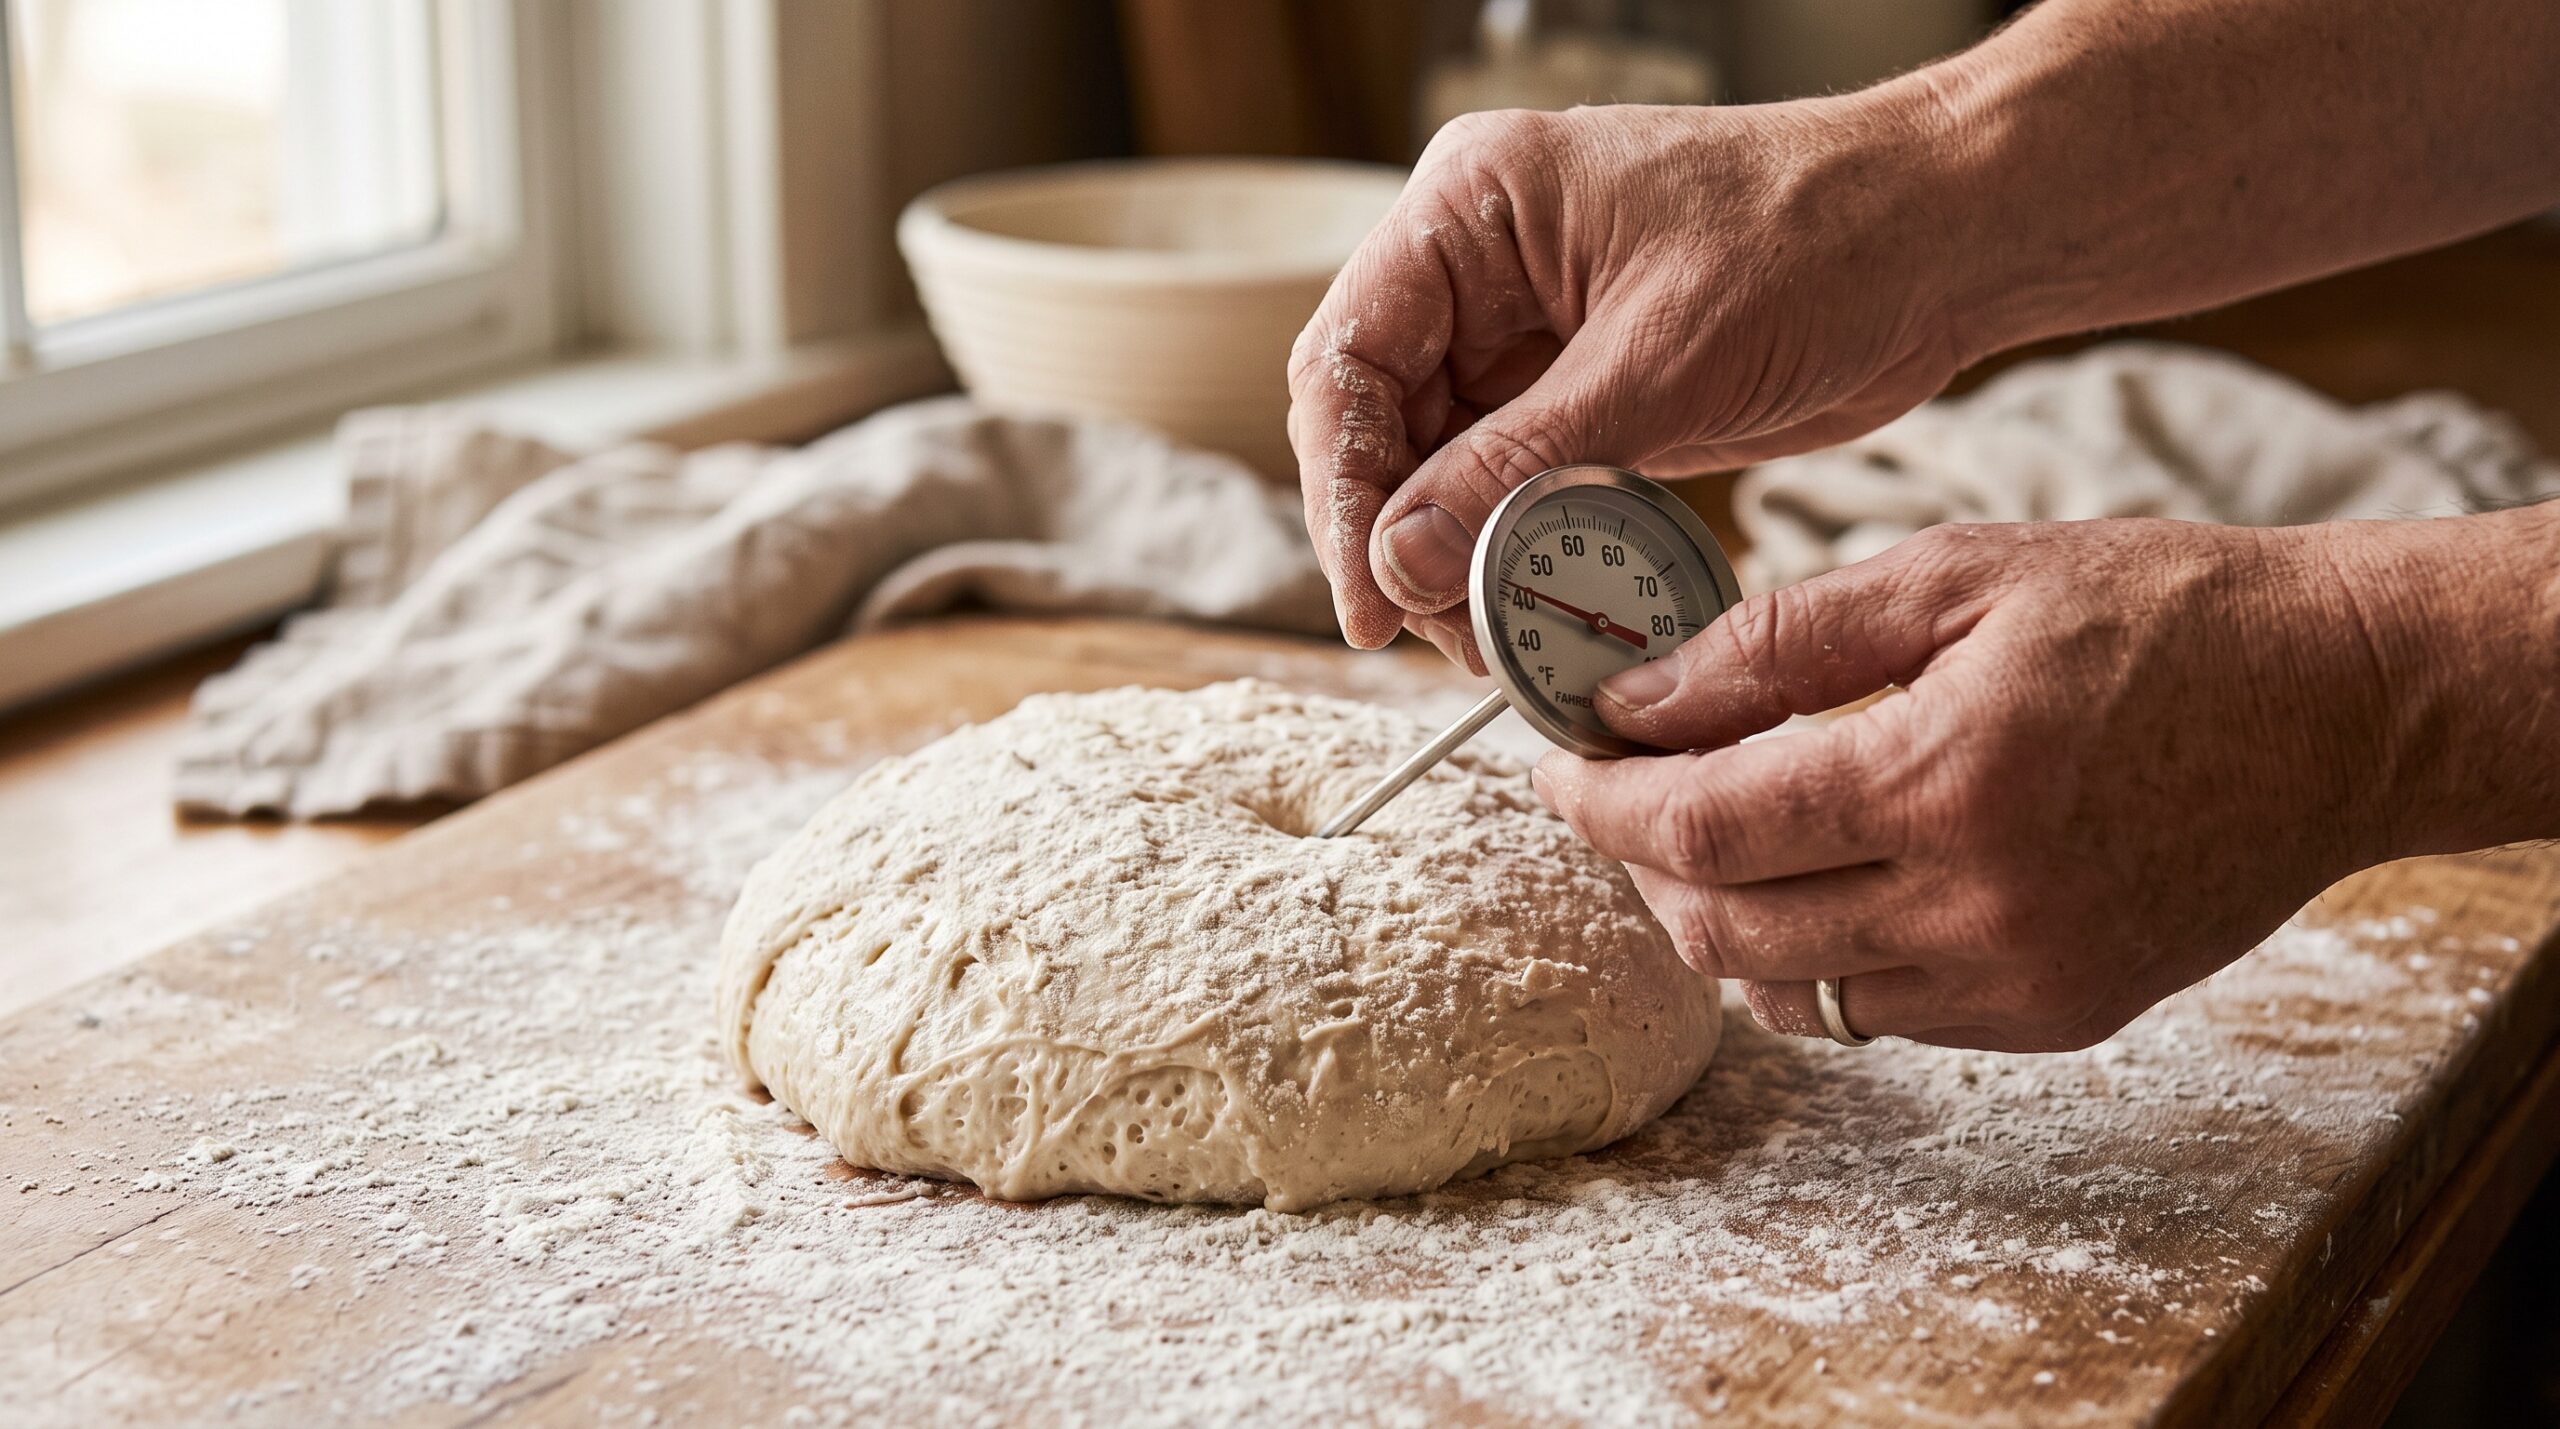
    Analog probe thermometer being inserted into a ball of sourdough dough on a floured wooden board
    The one measurement most home bakers skip: the actual temperature of the dough itself.

    Why the clock lies and the thermometer tells the truth

    Recipes give you times — “bulk ferment for four hours,” “proof for two.” Those times are shorthand for a temperature the recipe writer assumed you would be baking at, usually a comfortable 75°F (24°C) kitchen. But fermentation is a chemical reaction, and like all chemistry it speeds up when it is warm and slows down when it is cool.

    The rough rule bakers use: for every increase of about 15°F (8°C), fermentation roughly doubles in speed. Drop the same amount and it roughly halves. So a dough sitting at 70°F is fermenting at a completely different pace than the identical dough at 80°F — even though your recipe hands both the same four-hour window. Follow the clock in a cold kitchen and you underproof; follow it in a warm one and you sail straight past the finish line. If you have ever been unsure which side of that line you landed on, our guide to telling overproofed versus underproofed dough shows you exactly what each one looks and feels like.

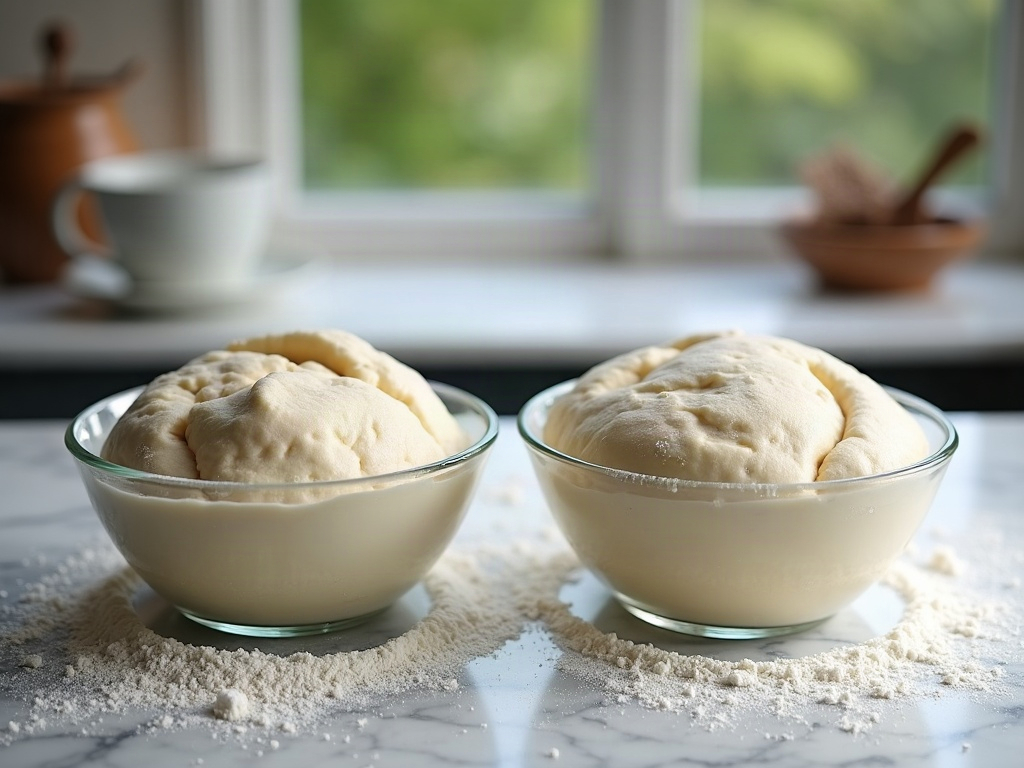
    Two bowls of sourdough dough compared, one flat and cool, one risen and warm
    Same flour, same starter, same hours. The only difference is dough temperature.

    Meet DDT: the one number to aim for

    Professional bakers do not leave dough temperature to chance. They pick a target called the Desired Dough Temperature (DDT) — the temperature they want the dough to be right after mixing. For most sourdough, a DDT somewhere between 75°F and 78°F (24–26°C) is the sweet spot: warm enough for lively, predictable fermentation, cool enough that you still have control and flavor.

    Why does the temperature right after mixing matter so much? Because it sets the starting pace for the entire bulk ferment. Start the dough at 78°F and it hits the gas immediately. Start it at 68°F and it crawls out of the gate, then you spend the whole day wondering why nothing is happening. Picking a DDT turns a vague hope into a target you can actually hit.

    How to hit your target: the water-temperature formula

    Here is the good news. You do not control the flour temperature (it is whatever your cupboard is) and you barely control the room. But you have complete, instant control over one ingredient: the water. Adjust the water temperature and you drag the finished dough toward your DDT.

    The simple home-baker version of the formula is:

    Water temperature = (DDT × 3) − flour temperature − room temperature − starter temperature

    Say your DDT is 77°F, your flour and room are both 70°F, and your starter (straight from a cool spot) is 72°F. That is (77 × 3) − 70 − 70 − 72 = 231 − 212 = 19… which tells you the water needs to be about 19°F warmer than the rest, so roughly 89°F. Warm tap water, in other words. In a cold kitchen you will reach for warmer water; in a summer kitchen you may need it straight from the cold tap or even chilled.

    Do not overthink the arithmetic. The lesson underneath the formula is the part that matters: when the room is cool, warm the water; when the room is warm, cool the water. Even a rough correction beats ignoring temperature entirely.

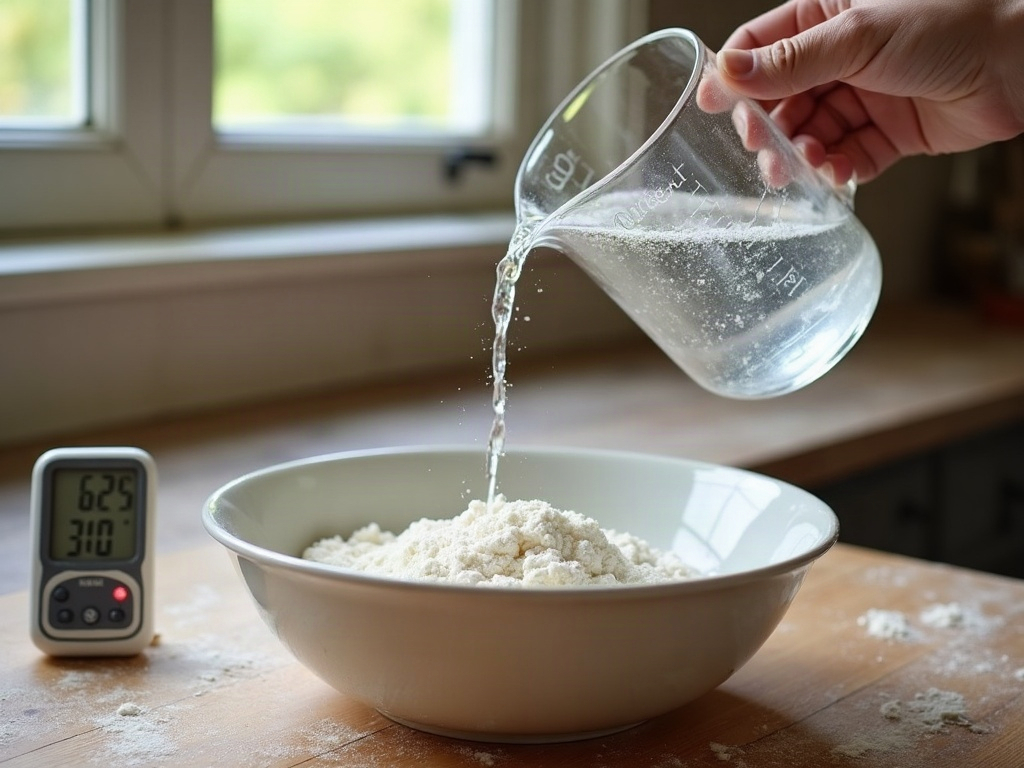
    Water being poured from a measuring jug into flour with a thermometer resting nearby
    Water is the easiest lever you have. Adjust its temperature and you steer the whole bake.

    Reading the room reshapes your whole timeline

    Once the dough is mixed at the right temperature, the room takes over — and this is where the clock really falls apart. A dough that finishes bulk fermentation in four hours at 76°F might need six or seven hours at 68°F, or be dangerously close to overproofed in three at 82°F.

    This is exactly why you should judge the dough, not the timer. Watch for the real signals — a 30–50% rise, a domed and jiggly surface, bubbles along the edges of the container. If you are not yet confident spotting them, our walkthrough on how to tell when bulk fermentation is done covers the signs most home bakers miss. Temperature decides when those signs appear; your eyes decide when to move on.

    Symptom, cause, and fix: the two temperature traps

    Trap one — the sluggish cold dough. The symptom: hours pass and the dough looks almost exactly as it did when you mixed it. The cause is nearly always a cold dough and a cold room dragging fermentation to a near-standstill. The fix: give it a genuinely warm spot (more on that below) and, crucially, extend your time — a cold dough is not broken, it is just slow. If your starter itself is barely bubbling before you even mix, the same cold logic applies; our fixes for a sourdough starter that will not rise almost always start with warmth.

    Trap two — the runaway warm dough. The symptom: you turn your back for an hour and the dough has ballooned, gone slack, and lost its structure. The cause is a dough that started too warm or proofed somewhere hot, so fermentation overshot. The fix: mix cooler next time (colder water), shorten your windows, and in high summer let the fridge slow things down. A warm dough is not “faster and better” — past a point it is just overproofed.

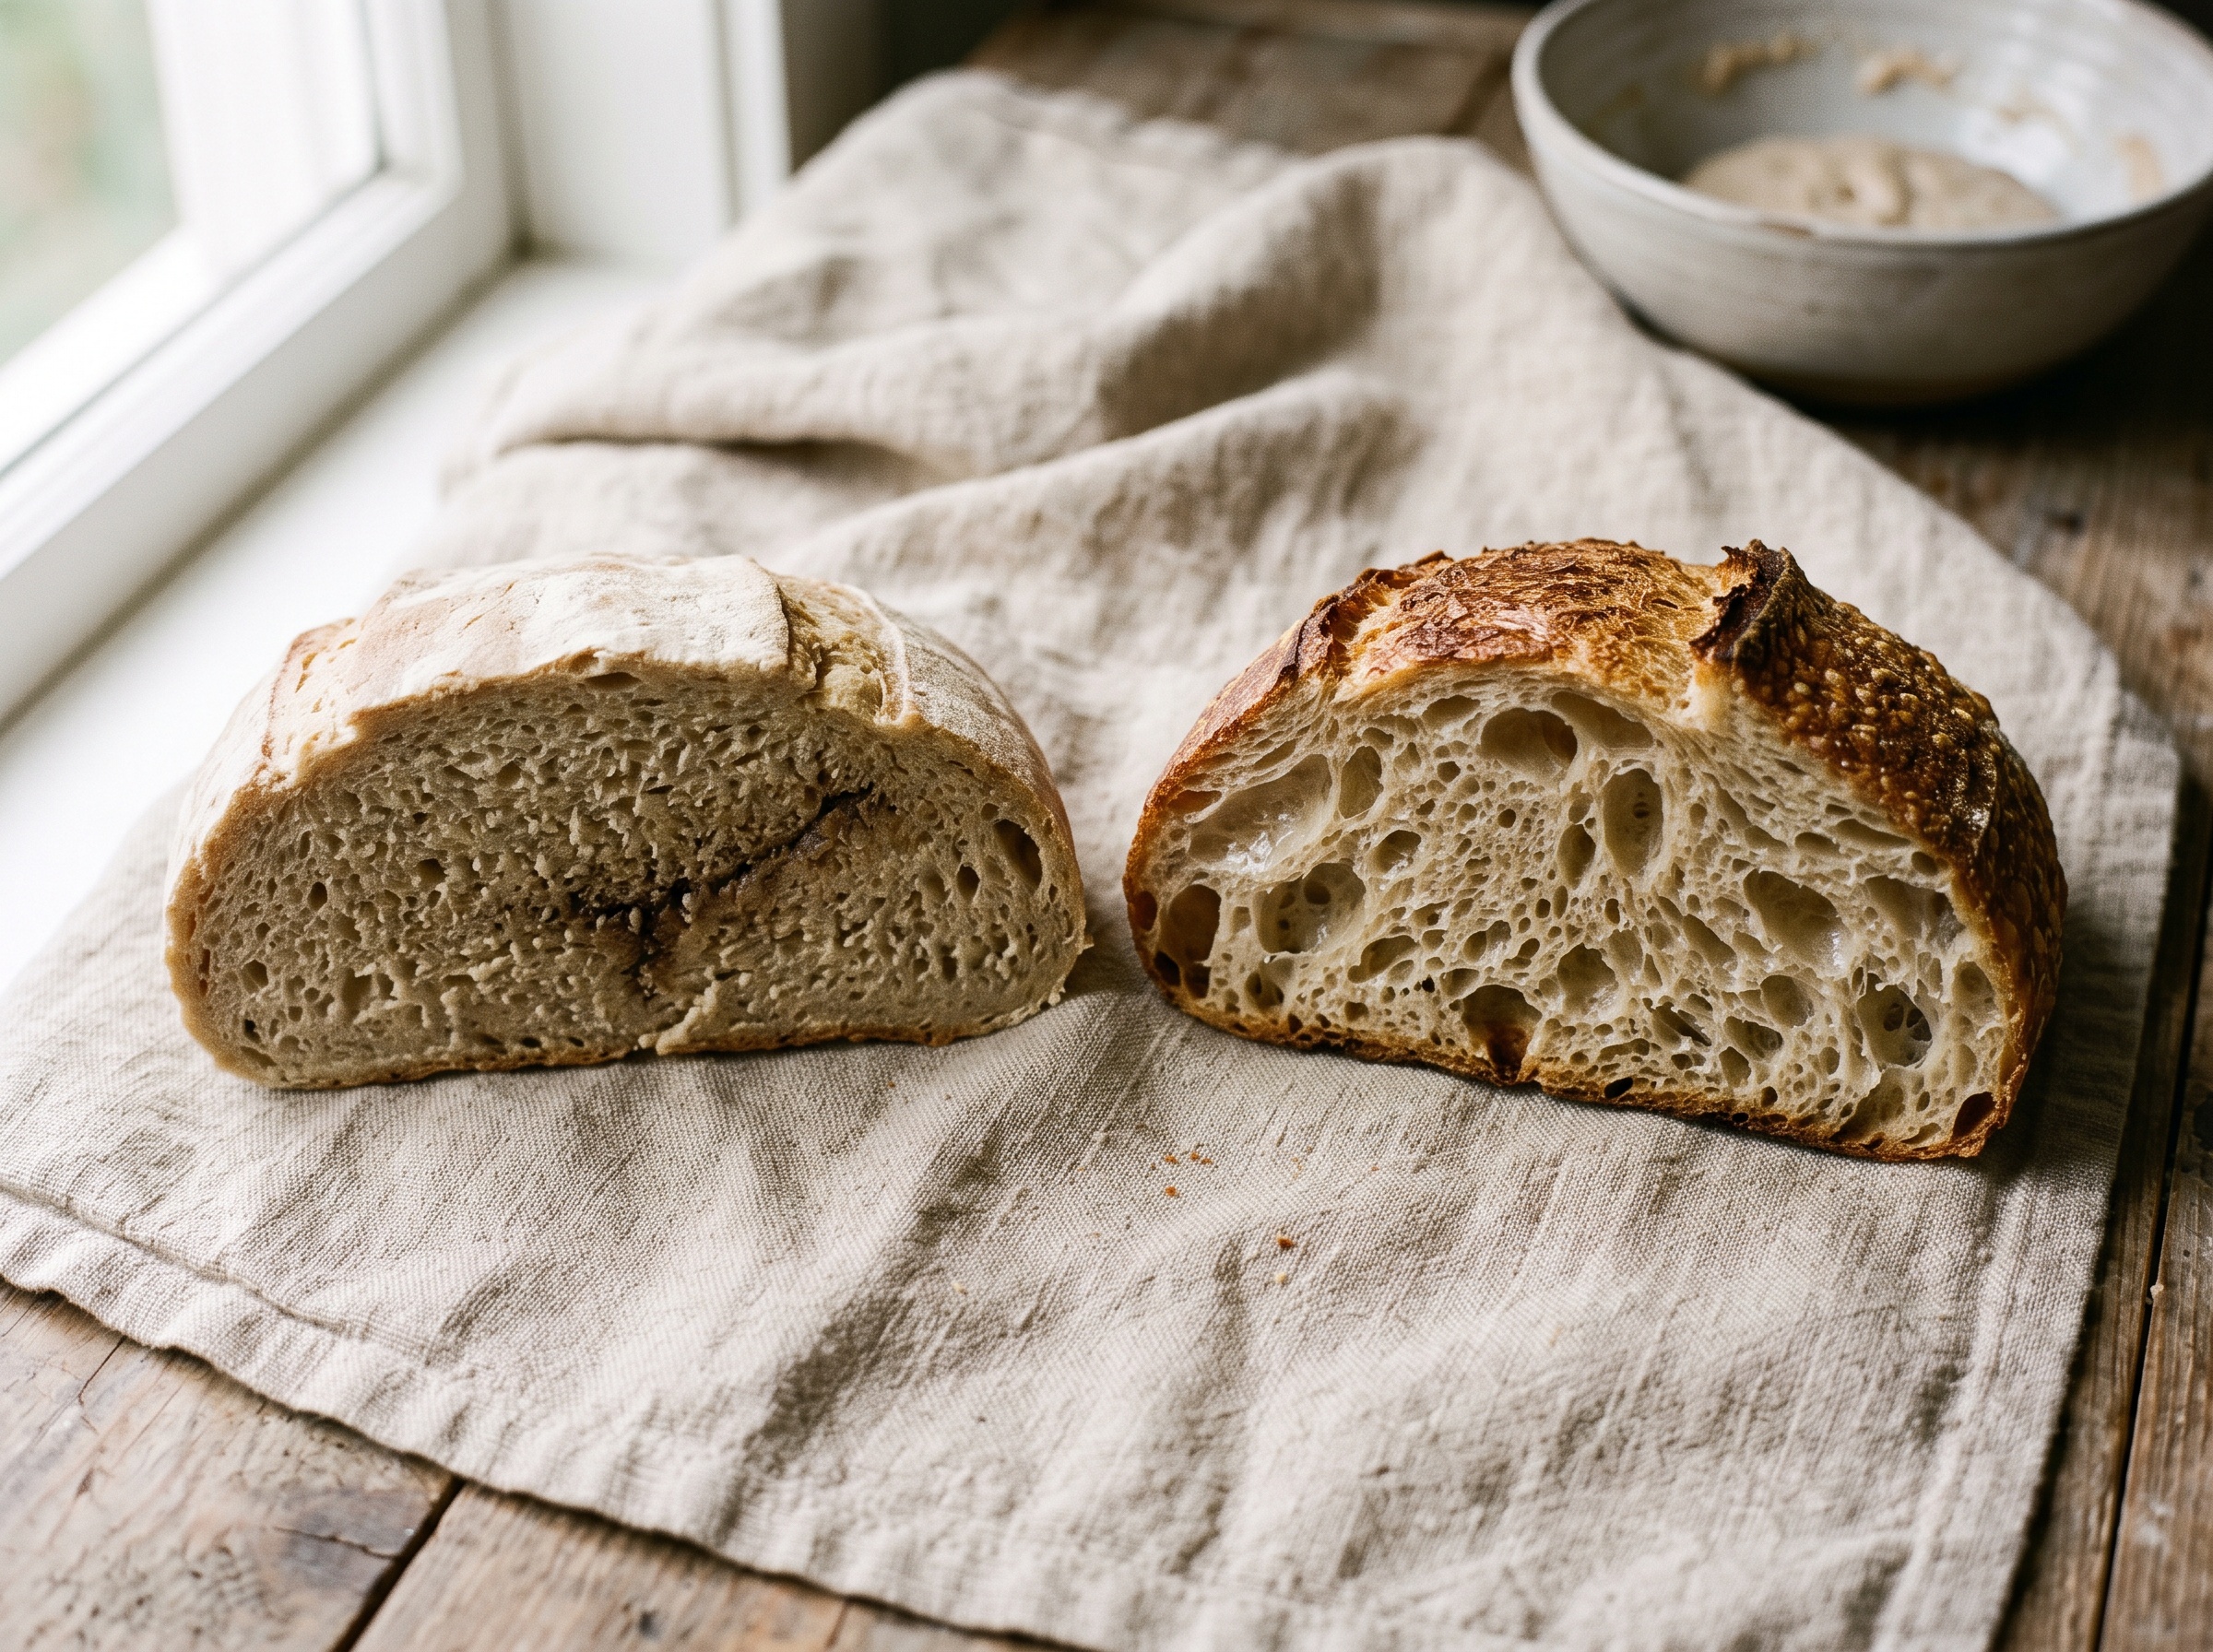
    Two sourdough crumb cross-sections compared, one tight and gummy, one open and even
    The crumb tells the temperature story: under-fermented and tight on the left, well-fermented and open on the right.

    Simple tools and habits that put you in control

    You do not need a laboratory. Three small habits cover almost everything:

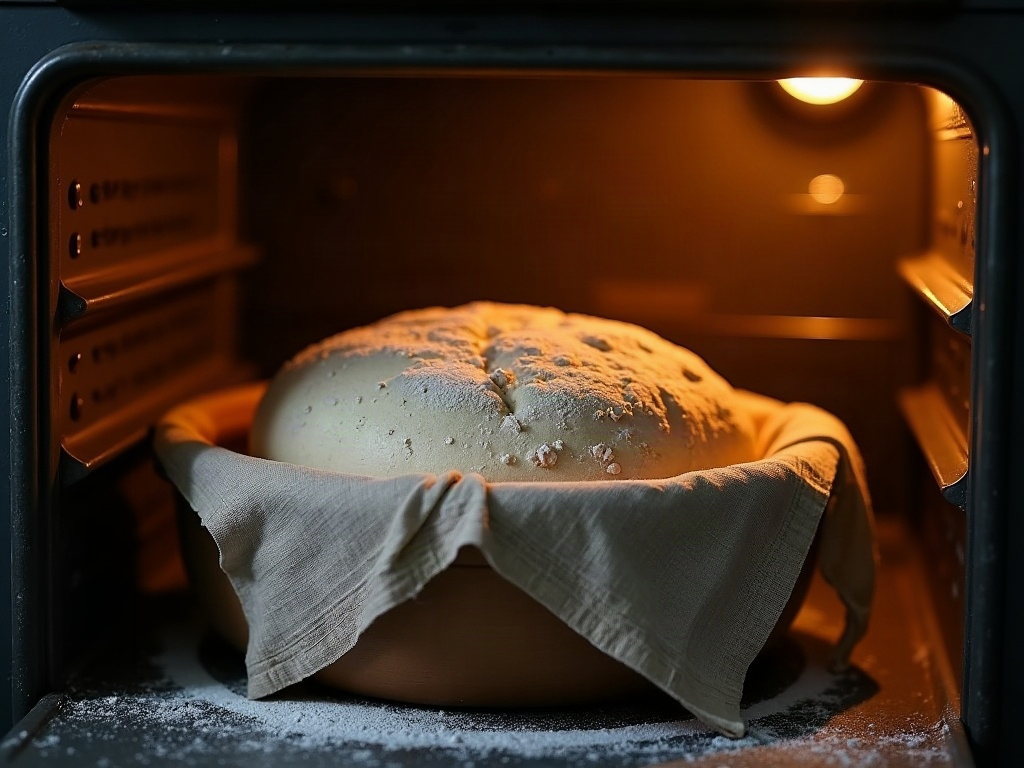
    Covered bowl of sourdough dough proofing inside a turned-off oven with the light on
    A turned-off oven with the light on is a reliable, draft-free warm spot for a steady rise.
    • Buy an instant-read thermometer. A cheap digital probe is the single most useful sourdough tool after a scale. Take the dough’s temperature right after mixing so you know your real starting point — guessing is what got you here.
    • Create a steady warm spot. A turned-off oven with just the interior light on, the top of the fridge, or a cooler with a jar of warm water all hold a gentle, draft-free warmth. Consistency beats heat: a stable 76°F spot is worth more than a hot windowsill that swings 15 degrees.
    • Adjust water first, everything else second. Before you change your recipe, change your water temperature. It is the fastest, most reliable dial you have.

    And if your kitchen simply runs cold and slow, do not fight it — work with it. A cooler, longer ferment builds gorgeous flavor, and you can shape your bake around real life. Our approach to baking sourdough around a full-time work schedule leans on exactly this: using temperature to stretch or compress the timeline to fit your day.

    The takeaway

    Sourdough is not fussy or magical — it is responsive. Nearly every “I did everything the same” loaf comes down to a dough that was warmer or cooler than last time, quietly running at a different speed. Measure the dough, pick a DDT around 76°F, steer it with your water, and then trust your eyes over the clock. Do that, and the mystery drains out of your baking and predictability takes its place.

    Want to see the water-temperature trick and the “is it done?” dough checks in real time? The full walkthrough lives on the LoafLovers YouTube channel, and you can grab our free sourdough troubleshooting guide — a quick-reference for the symptoms, causes, and fixes that come up most — when you join the email list. No hard sell, just the answers waiting for the next time your dough surprises you.

    Related Reading

  • Sourdough Burnt Bottom: Why the Base Scorches and How to Stop It

    Sourdough Burnt Bottom: Why the Base Scorches and How to Stop It

    You pull the loaf out, and the top looks incredible: blistered, deep gold, exactly what you were hoping for. Then you flip it over and your heart sinks. The bottom is a slab of near-black, and when you cut in, that base tastes acrid and bitter enough to ruin an otherwise good slice. It’s one of the most deflating sourdough surprises, precisely because everything else went right.

    Here’s the reassuring part: a burnt bottom is almost never a mistake in your dough, your starter, or your fermentation. It’s a heat problem, plain and simple. Your base is getting cooked harder and faster than the rest of the loaf, and once you understand where that heat is coming from, the fix is quick and permanent. Let’s diagnose it and shut it down.

    Read the burn before you fix it

    Start by looking closely at what actually burned. There’s a real difference between a base that has gone uniformly dark brown to black, and a base that’s golden but flecked with scattered black specks. The first is the crust itself overbaking from too much direct heat. The second is usually burnt dusting flour, the semolina, rice flour, or rye you scattered to stop sticking, carbonizing on contact with hot metal.

    They have different fixes, so it’s worth the ten-second look. If the whole base is scorched, you have a heat-delivery problem and the next few sections are for you. If it’s mostly specks on an otherwise fine crust, jump ahead to the dusting-flour section. Often it’s a bit of both, and the good news is the fixes stack neatly.

    Underside of two sourdough loaves side by side, one with a burnt black base and one with an even golden base
    Same recipe, same oven: a scorched base on the left, a properly baked golden base on the right. The difference is bottom heat, not skill.

    Why the bottom scorches: it’s heat from below

    Most home ovens heat unevenly, and the bottom element or the oven floor is frequently the most aggressive source in the box. When you bake sourdough in a preheated Dutch oven or on a screaming-hot baking stone, you’re pressing raw dough directly onto metal or ceramic that has been soaking up radiant heat for 45 minutes to an hour. That surface can sit well above the air temperature around it.

    The crumb and the top crust bake off the ambient heat and steam. The base, meanwhile, is conducting heat straight through the vessel, cooking faster and browning sooner. By the time the interior is set and the top is properly colored, the bottom has had far more thermal energy than it needed. That’s the whole mechanism, and every fix below is really just a way of moderating that one contact point.

    Move the loaf off the direct heat

    The fastest, most reliable fix costs nothing: put a barrier between your baking vessel and the oven’s bottom heat. Slide an empty metal baking sheet onto the rack directly beneath your Dutch oven or stone. That extra tray intercepts and diffuses the radiant blast so it never hits your loaf full force. For a lot of bakers this single change turns a black base golden overnight.

    A Dutch oven on the middle rack with an empty baking tray on the rack beneath it to block direct bottom heat
    The single most effective fix: slide an empty tray onto the rack below to break the direct blast of bottom heat.

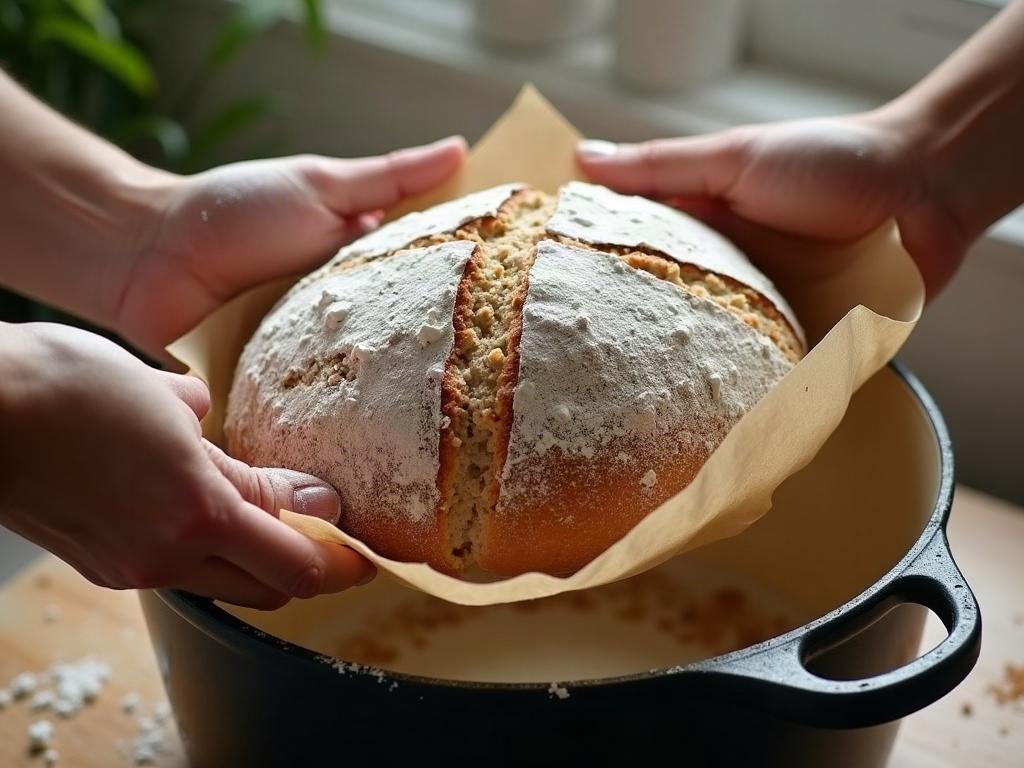
    You can also add a buffer right under the dough. A folded piece of parchment, a second thin tray, or a trivet inside the Dutch oven all lift the base a few millimeters off the scorching floor of the pot. Some bakers keep a small sheet of parchment as a sling, which does double duty: it makes launching the dough clean and easy while adding a thin insulating layer. If you’re curious how launching works without any vessel at all, our guide to baking sourdough without a Dutch oven walks through tray-and-steam setups that sidestep the problem entirely.

    Hands lowering a scored sourdough on parchment paper into a hot Dutch oven
    A parchment sling lifts the dough a hair off the scorching metal and makes launching gentle and burn-free.

    Fix your preheat and oven setup

    Two setup habits quietly cause a lot of burnt bases. The first is preheating too hot for too long. If you routinely preheat your Dutch oven at 500 degrees Fahrenheit for a full hour, the metal is storing enormous heat that dumps straight into the dough the instant it lands. Try preheating at your bake temperature rather than higher, and cap the preheat at around 45 minutes. The pot will still spring the loaf beautifully with less scorch.

    The second is rack position. If your baking vessel sits on the lowest rack, it’s parked right in the path of the bottom element. Move it up to the middle or even the upper-middle rack. That small shift puts more air between the heat source and your loaf and evens out top-to-bottom coloring. And if your oven has a convection or fan setting, using it circulates heat so no single surface dominates. A cheap oven thermometer is worth buying here, because plenty of ovens run 25 degrees or more off their dial, and a base that burns every single time is often a sign your oven is simply hotter than it claims.

    The dusting flours that burn, and better choices

    If your base is golden with black freckles, your dusting flour is the culprit. Fine flours and grains scorch at high heat: whole rye, semolina used too heavily, and especially anything with residual sugar will darken and turn bitter fast against a hot surface. A thick layer of it on the bottom of the loaf is basically kindling.

    Close-up of a sourdough base speckled with dark burnt flecks from scorched dusting flour
    Those black specks are burnt dusting flour, not the crust itself. Excess semolina or rye on the base carbonizes fast.

    The fix is to use less and choose better. Rice flour is the home baker’s friend here because it resists sticking without burning as readily as wheat or rye. Whatever you use, apply a light, even dusting rather than a heavy coat, and knock off the excess before the loaf goes in. If you’re battling sticking in the first place and over-flouring to compensate, the real solution lives upstream, and our breakdown of handling sticky high-hydration dough will get you there with far less flour on the base.

    Timing, sugar, and enriched doughs

    Bake time and dough composition both feed into a dark base. If you bake lidded and then uncovered, the base keeps conducting heat the entire time even after the top has taken on color. Once the top is where you want it, you can pull the loaf a few minutes early, or move it up a rack for the final stretch so the base stops gaining. There’s no rule that says the last five minutes have to happen on the same shelf.

    Enriched and sweetened doughs deserve special caution. Any sourdough with added honey, sugar, malt, or milk browns faster everywhere, and the base scorches soonest because of the direct contact. For those loaves, lower your temperature by 15 to 25 degrees and lean harder on the heat-deflection tray. This is the mirror image of the pale, anemic crust problem, and the same levers, heat, position, and sugar, control both directions.

    A quick pre-bake checklist to save the base

    Run through this before your next bake and a burnt bottom becomes a rare accident instead of a habit. One: put an empty tray on the rack below your vessel. Two: preheat at your bake temperature, not above it, and stop at about 45 minutes. Three: bake on the middle rack, never the lowest. Four: use a parchment sling or a thin buffer under the dough. Five: dust lightly with rice flour and shake off the excess. Six: check your oven’s true temperature with a thermometer.

    A cooling sourdough loaf turned over to show a perfectly even golden-brown bottom crust
    The goal: a base that matches the top, deep gold and evenly baked, with no bitter char.

    If you’ve been fighting a base that burns while the top and crumb come out right, resist the urge to change your recipe. Change your heat. And if your loaf is landing hard all over rather than just underneath, that’s a different fix worth reading up on in our guide to a crust too tough to bite through.

    Want to watch the heat-deflection setup, the parchment sling, and a proper preheat in real time? The full burnt-bottom walkthrough lives on the LoafLovers YouTube channel, and our free sourdough troubleshooting guide covers the rest of the crust fixes for when you’re mid-bake and need the answer now. No hard sell, just the fix.

    Related Reading

  • Sourdough Starter Float Test: Does It Really Work — and Better Ways to Tell It’s Ready to Bake

    Sourdough Starter Float Test: Does It Really Work — and Better Ways to Tell It’s Ready to Bake

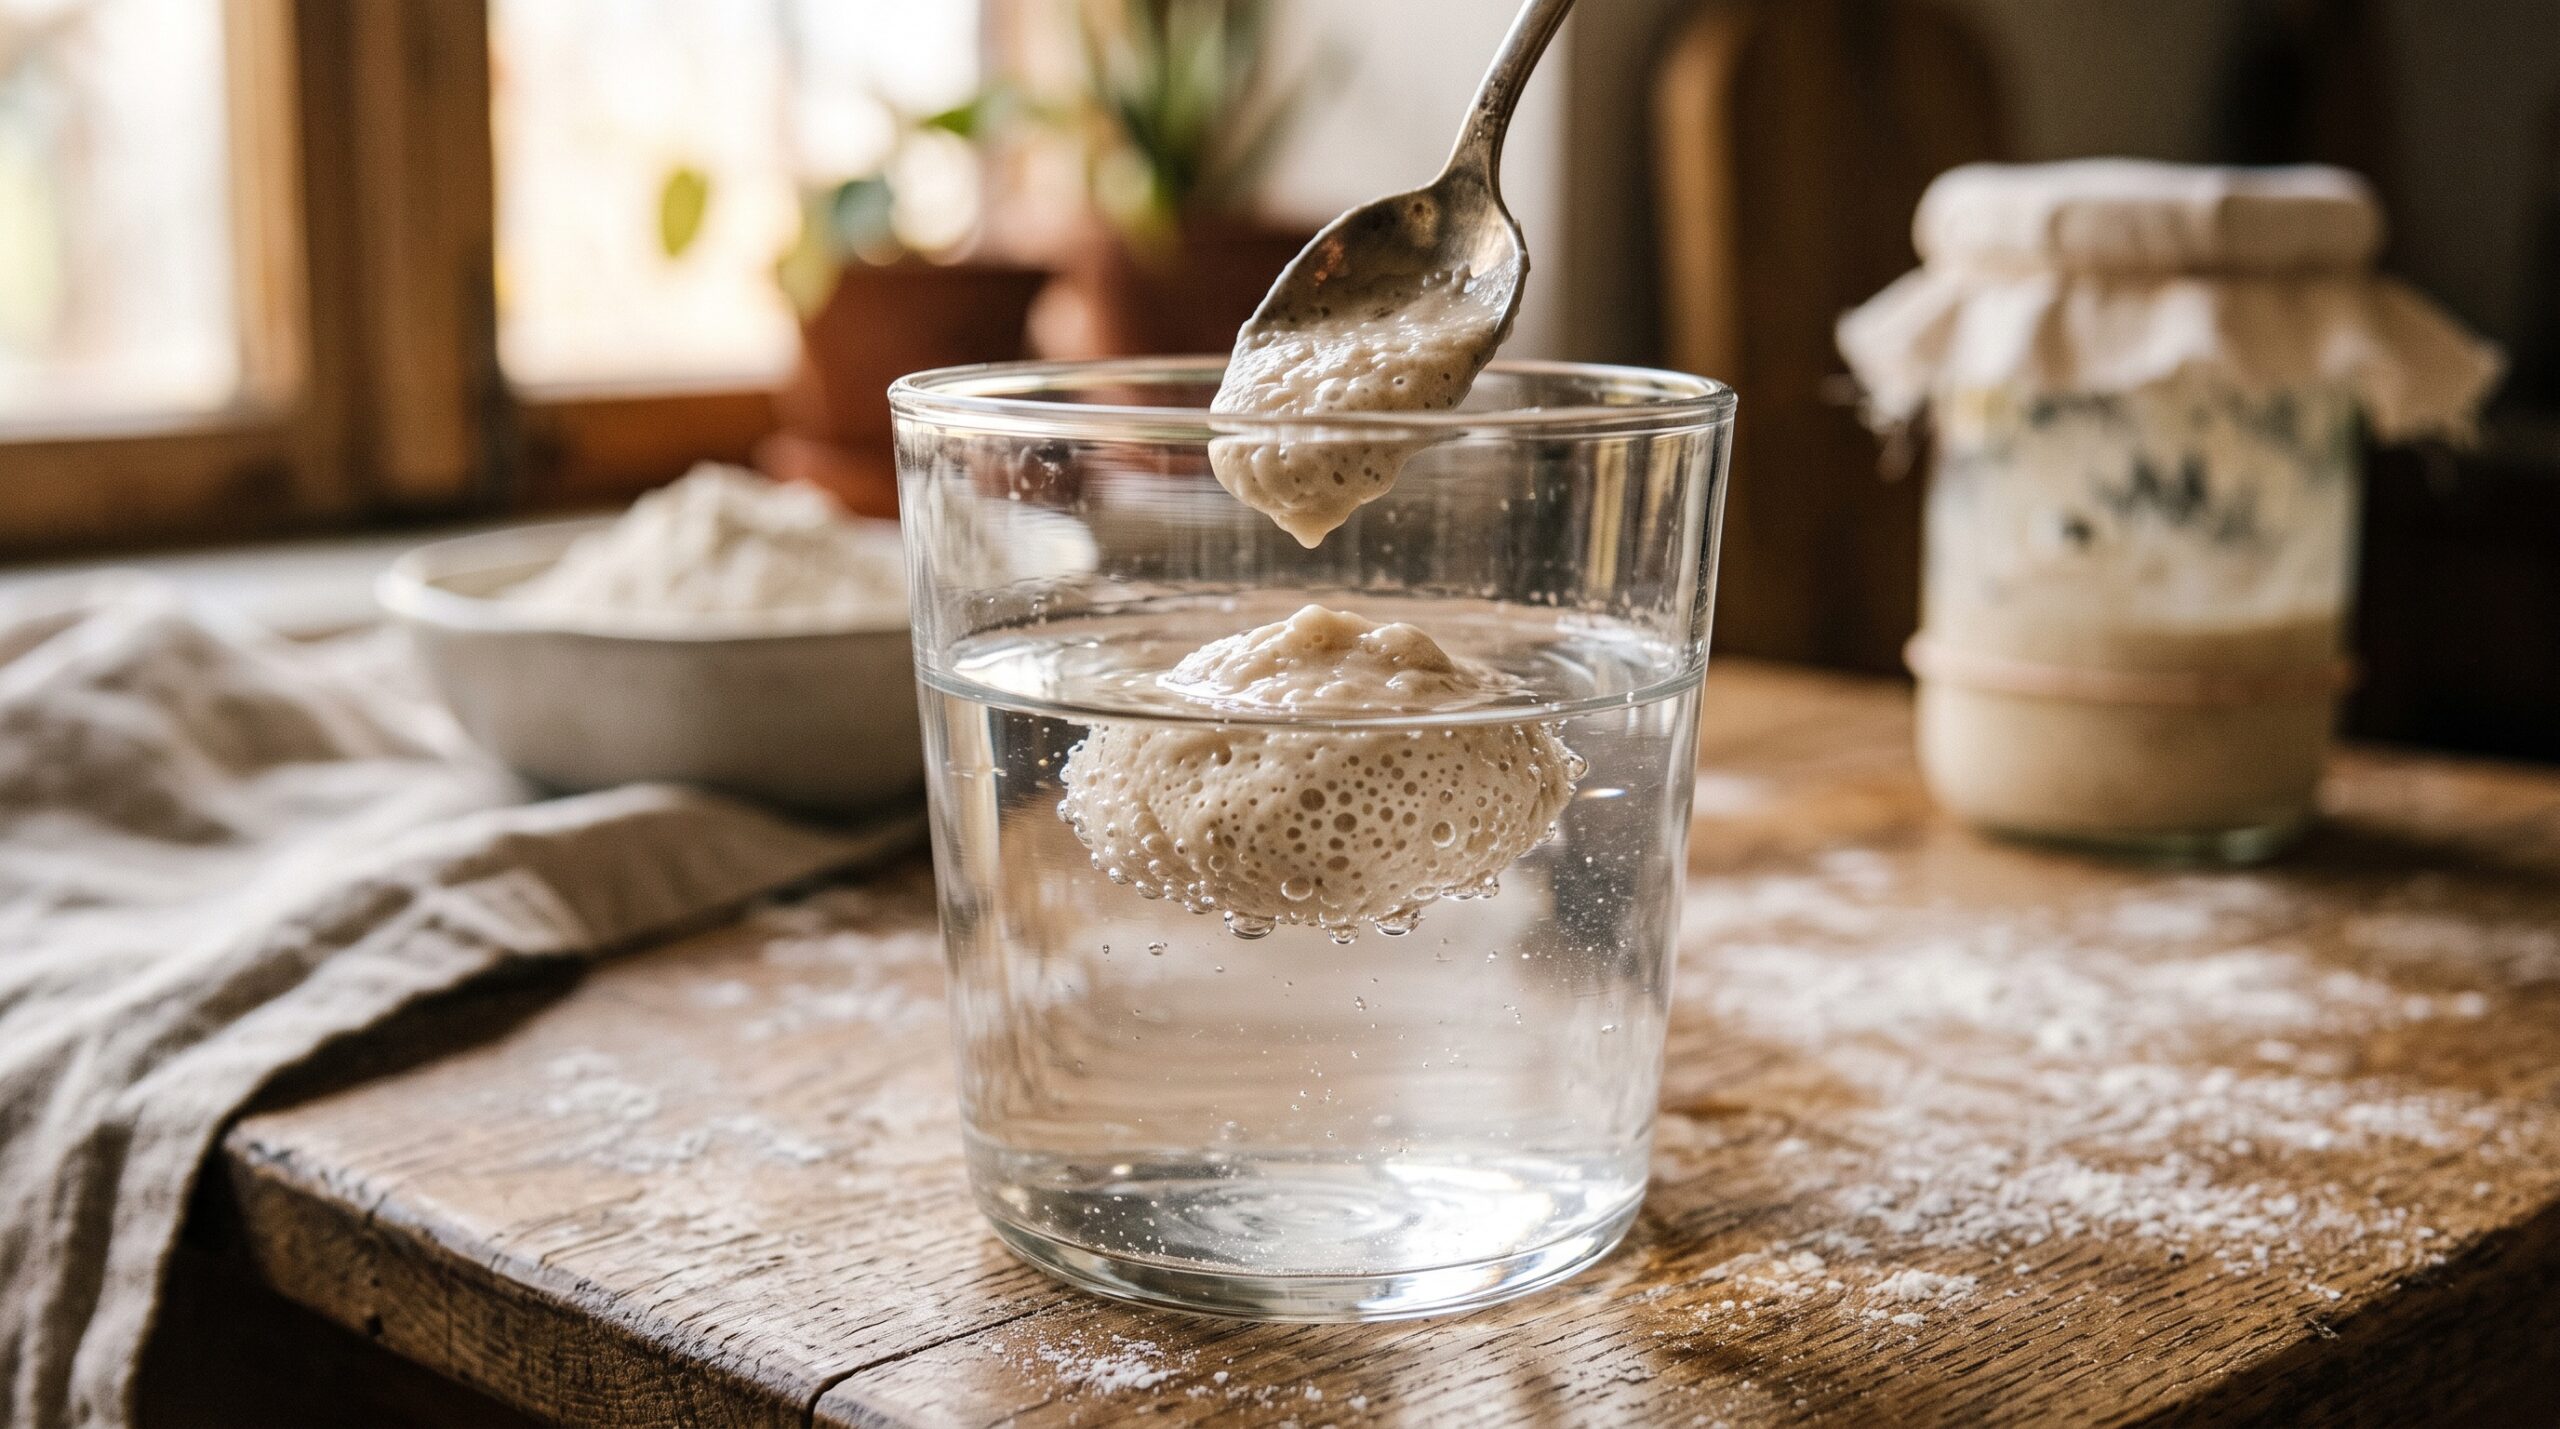
    You fed your starter this morning, and now you’re standing over the jar with a spoon and a glass of water, trying to answer the one question that stalls every bake: is it ready yet? Somewhere along the way you were taught the float test — drop a little starter in water, and if it floats, you’re good to go. It feels scientific and satisfyingly binary. The trouble is, plenty of bakers have floated a spoonful, mixed their dough with full confidence, and still ended up with a flat, dense loaf. Others have watched a perfectly healthy starter sink like a stone and panicked for no reason.

    So let’s clear this up. The float test isn’t useless, but it’s a rough, easily-fooled signal — not the reliable green light it’s made out to be. Once you understand what it actually measures, you can stop leaning on it and start reading the handful of signs that genuinely tell you a starter is at peak and ready to raise bread.

    A spoonful of sourdough starter floating in a glass of water during the float test
    The float test: a spoonful of starter dropped in water. It floats when the starter is full of gas — but a float alone doesn’t guarantee it’s at its best moment to bake.

    What the float test actually measures

    The idea behind the float test is simple physics. A healthy, active starter is full of carbon dioxide produced by the wild yeast. Gas is lighter than water, so a scoop of gassy starter traps enough of it to float. That’s the whole mechanism: the float test measures buoyancy, which is a proxy for how much trapped gas is in the starter right now.

    And that’s genuinely useful information — up to a point. A starter so lively it floats clearly has active yeast producing gas, which is exactly what you need to leaven a loaf. If your starter reliably floats when it looks bubbly and risen, there’s nothing wrong with using it as a quick confidence check.

    The problem is everything the test doesn’t tell you, and the surprisingly common ways it gives you the wrong answer.

    Why the float test fails as often as it works

    Here are the four situations where the float test quietly lies to you:

    1. A stiff or low-hydration starter can sink even at peak. The test was designed with a fairly loose, liquid starter in mind. If you keep a stiffer starter (less water, more flour), it’s denser and can sink straight to the bottom even when it’s bubbling happily and fully ready. These bakers ‘fail’ a test their starter was never built to pass.
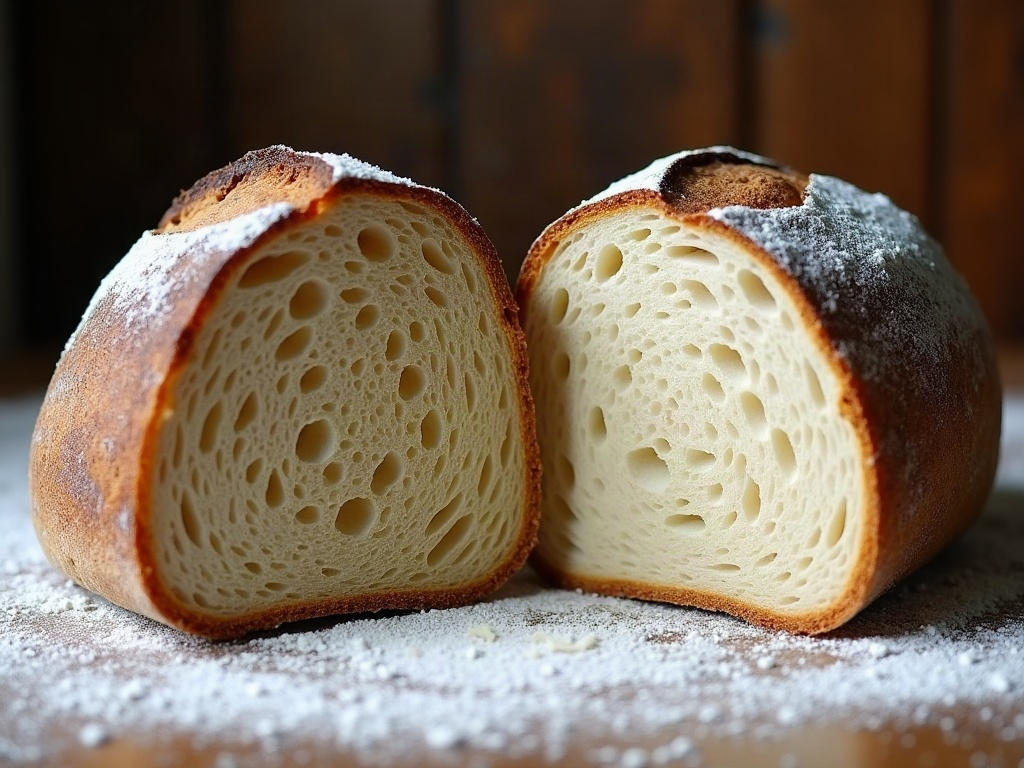
    2. An overripe, past-peak starter can still float. This is the dangerous one. A starter that peaked hours ago and has started to collapse can still hold enough residual gas to float — while its yeast is tired, its acidity is high, and its raising power is fading. You float it, trust it, and get a sluggish rise. A float tells you gas is present; it says nothing about whether the starter is on its way up or already on its way down.

    Two jars of sourdough starter side by side, one risen and domed at peak, one collapsed past peak
    Left: a starter at peak — domed, tall, and airy. Right: the same starter past peak, collapsed and slack. Both can pass a float test, but only one is at its best for baking.

    3. Scooping degasses the sample. How you take the spoonful matters enormously. If you stir or dig down and knock the gas out of the blob before you drop it in, you can sink a starter that would otherwise float. Two bakers can test the same jar and get opposite results based purely on how gently they scooped.

    4. It tells you nothing about timing. Even a clean float only tells you about this single moment. It can’t tell you the starter peaked an hour ago, or that it’ll be even stronger in another 45 minutes. And timing — catching the starter near its peak — is the single biggest factor in whether it has the muscle to raise a loaf.

    None of this means throw the test out. It means demote it from verdict to hint, and lean on signals that actually track readiness.

    The signs that really tell you a starter is ready

    Forget the water glass for a second and just look at the jar. A starter that’s ready to bake with shows a cluster of signs together:

    • It has roughly doubled to tripled in volume. This is the headline signal. A ready starter has visibly, dramatically risen since its feed — not crept up 20%, but climbed to two or three times where it started.
    • The top is domed, then just barely flattening. As it climbs it pushes up into a dome. The very peak is when that dome is at its tallest, right before the center starts to sink. That moment is the sweet spot.
    • The surface and sides are webbed with bubbles. Look through the glass: you want an airy network of small and large bubbles throughout, not just a few lonely ones. A gassy, foamy structure means the yeast is working hard.
    • The smell has turned tangy. Fresh after feeding it smells mild and sweet, almost like raw dough. At peak it shifts to pleasantly sour and yeasty — like tangy yogurt or ripe fruit, not sharp nail-polish (that sharpness means it’s gone too far and is hungry).
    • It’s the right amount of time since feeding. A healthy room-temperature starter usually peaks somewhere around 4 to 8 hours after a feed, depending on temperature, ratio, and how strong it is. Learn your own starter’s clock and you’ll barely need any test at all.

    When most of those line up — doubled, domed, bubbly, tangy, and at its usual peak time — your starter is ready, whether or not a scoop happens to float. If those signs aren’t showing up even after a full feed cycle, that’s a different problem, and our guide to a starter that won’t rise walks through the usual culprits.

    A jar of sourdough starter risen above a rubber band that marks its post-feeding level
    The rubber-band trick: mark the level right after feeding, then watch. When the starter has clearly doubled and domed above the band, it’s near peak.

    The rubber-band method: reading rise objectively

    Eyeballing ‘doubled’ is harder than it sounds when you’re staring at the same jar all day. The fix is almost embarrassingly low-tech: a rubber band.

    Right after you feed and stir your starter, wrap a rubber band (or mark the glass with a marker or piece of tape) around the jar at the starter’s level. Now you have an objective starting line. As the hours pass, you can see exactly how far it’s climbed — no guessing. When it reaches roughly double the band and domes over, you’ve caught peak.

    This one habit teaches you your starter’s personality faster than anything else. After a few bakes you’ll know ‘it doubles the band in about six hours at my kitchen temperature,’ and you can plan around it instead of hovering. It also makes the tricky past-peak stage obvious: once the starter rises well above the band and then starts sinking back down toward it, you’ve missed the peak and it’s fading.

    Timing your feed so it peaks when you want to mix

    Here’s where readiness becomes a scheduling tool rather than a waiting game. Because a starter peaks a fairly predictable number of hours after feeding, you can work backwards. Want to mix your dough at 9 a.m.? If your starter usually peaks around six hours after a feed at room temperature, feed it around 3 a.m. — or, more realistically, feed it the night before and use a cooler spot or a smaller ratio (more flour and water relative to old starter) to slow it down so it peaks in the morning rather than overnight.

    Warmer kitchen, bigger proportion of ripe starter, or a looser mix all make it peak faster; a cooler spot, a smaller seed of starter, or a stiffer mix make it peak slower. You have real control here. Dialing in this timing is the same instinct you’ll use when judging the dough itself later — our guide on telling when bulk fermentation is done is the loaf-stage sibling to reading your starter’s peak.

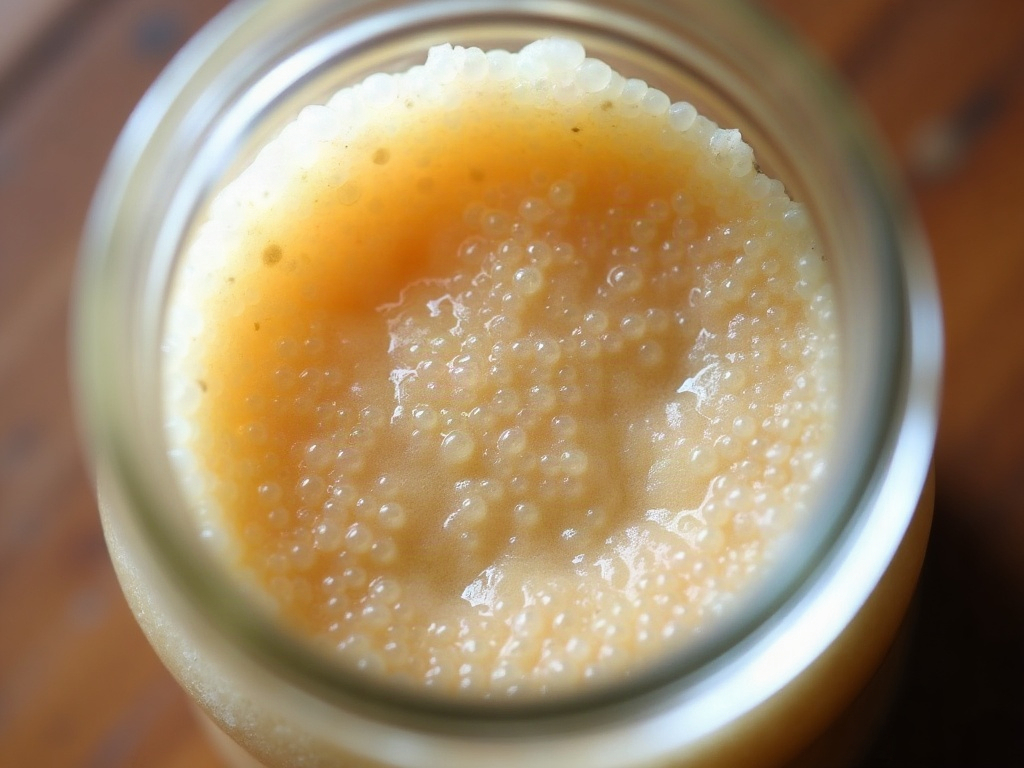
    Overhead view into a jar of peak sourdough starter showing a dense web of bubbles
    Look at the surface, not just the height. A ready starter is webbed with bubbles from edge to center — a sign the culture is gassy and active.

    Not-yet, at-peak, past-peak: reading the jar

    Once you’re watching rise and timing instead of floating spoonfuls, three clear stages emerge:

    Not yet ready. Still close to the band, only a few scattered bubbles, smells mild and sweet. It hasn’t built enough gas or population to raise a loaf well. Give it more time — impatience here is a leading cause of dense bread.
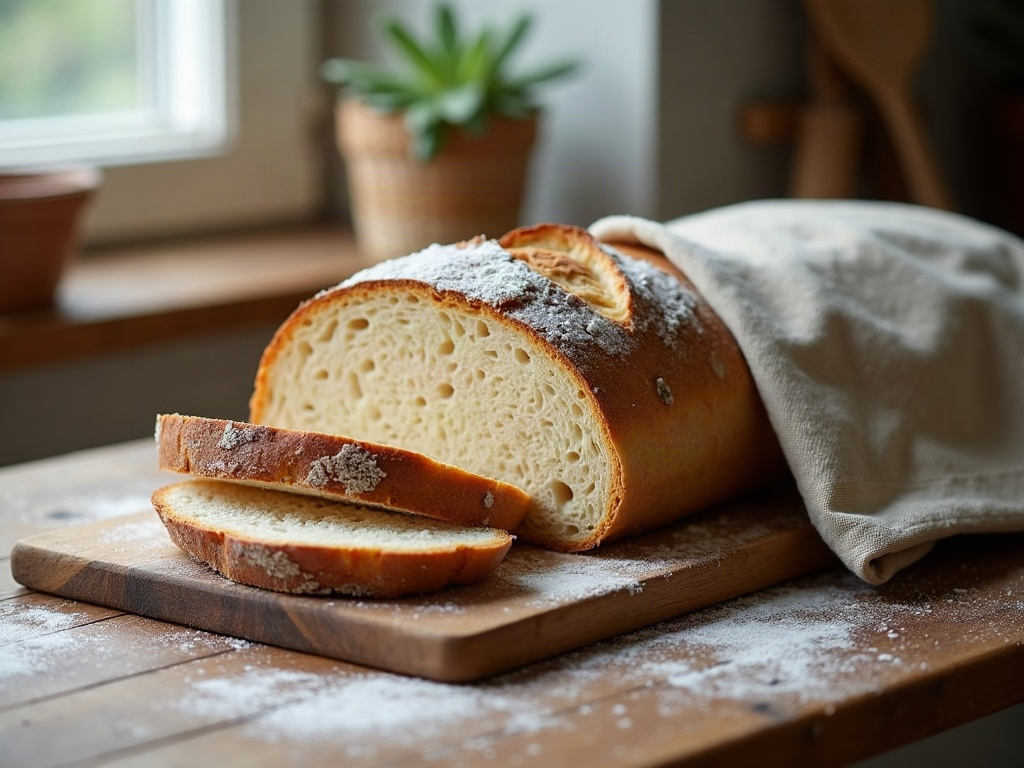
    At peak — go. Doubled to tripled, domed at its tallest, thoroughly bubbly, smell turned pleasantly tangy. This is the window. Build your levain or mix your dough now, or within the next hour or so.
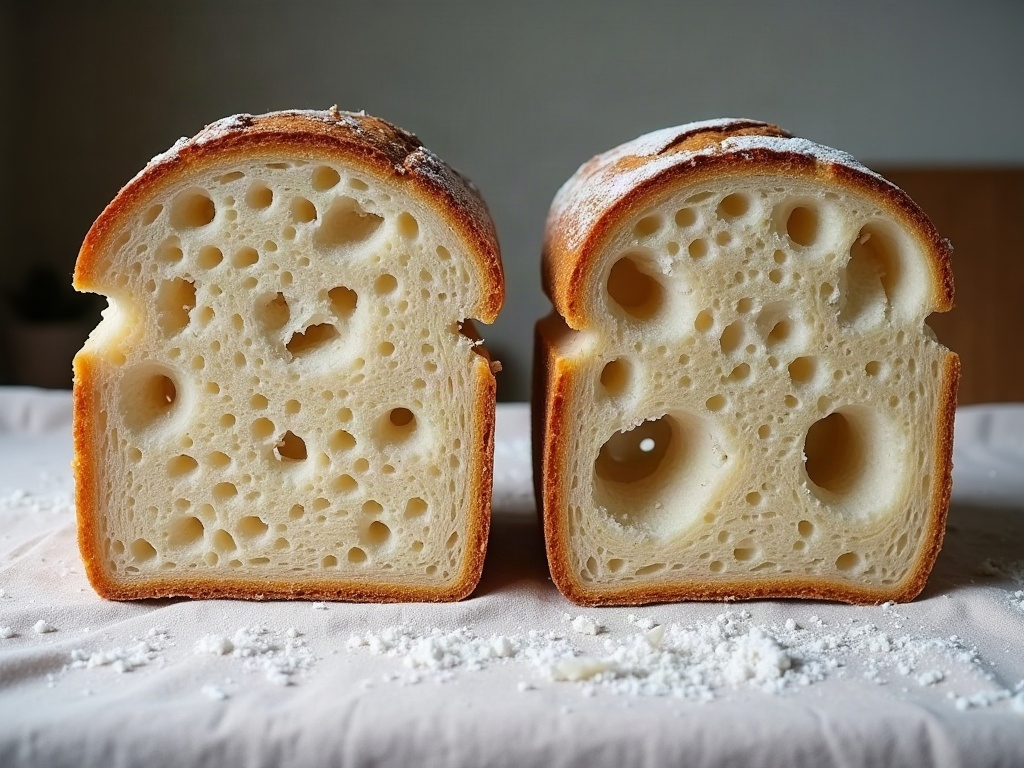
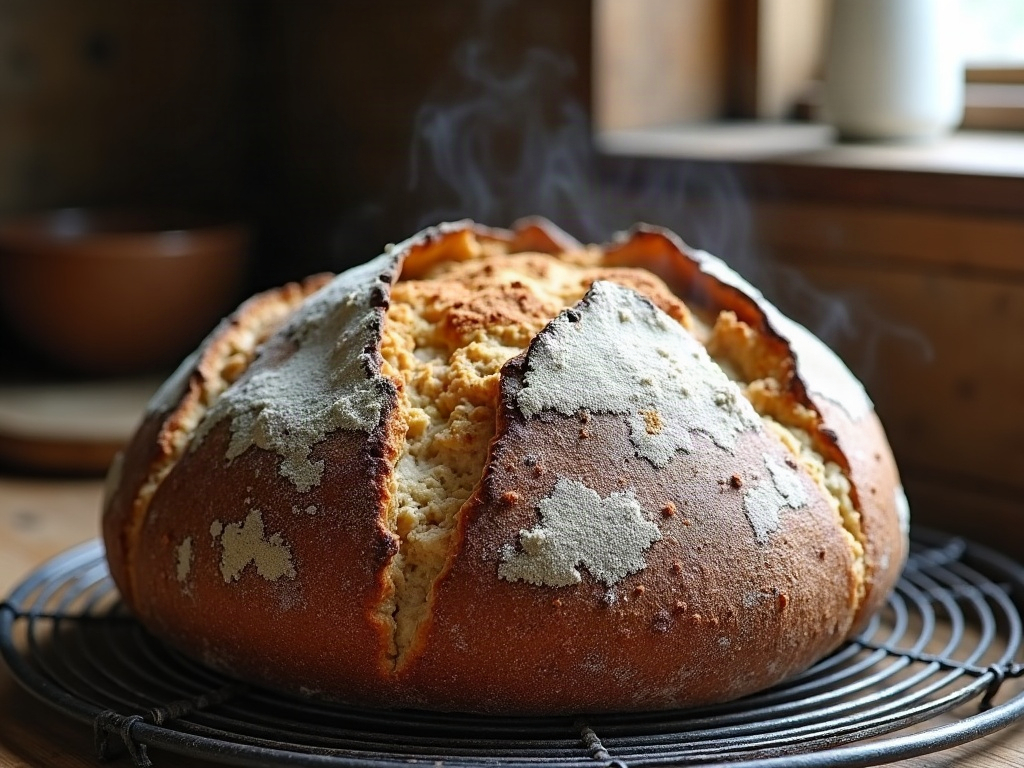
    Past peak. The dome has collapsed into a dip, the surface looks slack or wet, and it may be starting to smell sharper. It’s not ruined — you can often still bake with a just-past-peak starter, and it’ll simply be a touch weaker and tangier. But if it’s fallen a long way and thrown off liquid, it’s hungry. That liquid is hooch, and it’s telling you the starter needs feeding before it’s baking-strong again; here’s exactly what the liquid on your starter means and what to do about it.

    When your starter never seems to get there

    If you’re doing all of this and the starter still won’t reliably double, dome, and get bubbly, the issue isn’t your testing method — it’s the starter’s health or its environment. The usual fixes are warmth (most home kitchens are cooler than a starter wants; aim for the mid-70s°F / low-20s°C), consistency (feed on a regular schedule with a good ratio so the yeast population stays strong), and patience with a young or recently-stored culture that simply needs a few vigorous feeds to hit full strength. A starter coming out of the fridge, in particular, is dormant and needs a warm feed or two before it’s ready — which is why our guide to storing your starter ends every long break with a wake-up routine, not a straight-to-bake shortcut.

    The quick starter-readiness cheat-sheet

    • Float test: a hint, not a verdict — a float means gas is present, nothing more. Don’t bake on it alone.
    • The real green light: doubled-to-tripled, domed at its tallest, bubbly throughout, smell turned tangy, at its usual peak time.
    • Use a rubber band to mark the post-feed level so ‘doubled’ is a fact, not a guess.
    • Catch it near peak — on the way up and domed, not fallen and slack.
    • Time the feed backwards from when you want to mix; adjust with temperature and ratio.
    • Never ready? Warmer spot, consistent feeding, and a couple of strength-building feeds — not a better float test.

    The float test isn’t the enemy; over-trusting it is. Once you learn to read the rise, the dome, the bubbles, the smell, and the clock, you’ll know your starter is ready with a glance — no water glass required — and you’ll catch that peak window that makes the difference between a proud, open loaf and a dense, disappointing one.

    Hands lifting airy, bubbly sourdough starter from a jar with a spoon, ready to build into a levain
    Ready to bake: light, airy, and full of bubbles. When your starter looks and behaves like this near its peak, it has the strength to raise a loaf.

    Want to see the difference between a not-yet, at-peak, and past-peak starter in real time — and watch a float test pass and fail on the very same jar? The full walkthrough lives on the LoafLovers YouTube channel, and our free sourdough troubleshooting guide lays out the readiness signs and feed-timing math side by side. Grab it, mark your jar, and bake the next loaf right on cue.


    Sources & further reading:

    Related Reading

  • Why Won’t My Sourdough Brown? Fixing a Pale, Anemic Crust

    Why Won’t My Sourdough Brown? Fixing a Pale, Anemic Crust

    You did everything right. The starter was lively, the dough rose, the crumb looks fine when you cut it — but the loaf came out of the oven looking, well, undressed. Pale, matte, blonde, faintly gray in places, and nowhere near the deep golden-brown bakery crust you were picturing. It almost looks underbaked even when it isn’t. What happened?

    The good news: a pale crust is usually about the final act of baking, not a failure of your starter or your fermentation. Color on a sourdough crust comes from two chemical reactions — the Maillard reaction (browning between sugars and proteins) and caramelization (sugars themselves darkening under heat). Both need three things: enough heat, a surface that’s had a chance to dry, and some sugar left in the dough to burn. Take any one of those away and you get a blonde loaf. Let’s find which one is missing for you.

    Two sourdough boules compared, pale and blonde on the left, deep golden-brown on the right
    Same recipe, two very different bakes. Pale and matte (left) versus deep, glossy, blistered brown (right) — the difference is almost always heat, steam, and how much sugar was left in the dough.

    First, rule out “it just needs more color”

    Before you change anything structural, ask whether the loaf simply came out too early. A lot of pale loaves are just under-baked in the browning phase — pulled the moment they hit temperature but before the crust had time to color. A fully baked sourdough reads around 205–210°F / 96–99°C in the center, but you can absolutely leave it in longer to build color once it’s cooked through; the inside won’t overbake in a few extra minutes nearly as fast as a pale crust suggests.

    So the first, cheapest experiment: next bake, once the loaf is uncovered and at temperature, give it another 5–10 minutes and watch the color, not the clock. If that alone gets you there, you were just stopping short. If the crust still refuses to darken no matter how long it sits, one of the causes below is the real culprit.

    Cause #1: Your oven is running cold

    This is the number-one reason for a pale crust, and it’s invisible unless you measure it. Home ovens are notoriously inaccurate — being off by 25°F is common, and 50°F is not rare. If you set 450°F and the oven is really delivering 410°F, the crust simply never gets hot enough to brown properly, even though the inside cooks fine.

    Two fixes. First, buy a cheap oven thermometer and find out what your oven actually does; adjust the dial to hit your real target. Second, preheat long and hard — at least 45 minutes to an hour with your Dutch oven or baking stone inside. A stored-up mass of hot cast iron or stone is what sears color onto the crust in the first minutes. A rushed 15-minute preheat leaves everything lukewarm and your loaf pale. If your loaves also bake dense or short, weak heat can be part of that too — the same oven spring and browning both depend on hitting the dough with real, stored heat.

    An oven thermometer hanging on the rack next to a preheating Dutch oven in a home oven
    Most home ovens run cooler than the dial claims. A cheap oven thermometer tells you the real temperature the crust is actually seeing.

    Cause #2: Too much steam, left in too long

    Steam is essential early in the bake, but it’s also the sneakiest cause of a pale crust. While the surface of the loaf is wet with steam, it physically cannot brown — browning needs a dry surface and higher surface temperatures than wet dough can reach. Steam’s whole job is the first phase: keep the crust soft and elastic so the loaf can expand. After that, the oven needs to dry out so the crust can set, crisp, and color.

    If you bake in a Dutch oven and your crust is pale, you’re very likely leaving the lid on too long. Try removing it earlier — around the 20-minute mark — and giving the loaf a good 20–25 minutes uncovered in dry heat to develop color. If you steam a regular oven with a pan of water or ice, take the steam source out (or just open the door to vent it) partway through so the second half of the bake runs dry. The same steam-then-dry rhythm that gives you a strong ear and good oven spring is exactly what lets the crust brown once the expanding is done.

    Cause #3: Your dough is overproofed and out of sugar

    Here’s the one bakers miss most, because it feels backwards. Browning needs residual sugars in the dough — and fermentation eats sugar. The yeast and bacteria in your starter consume the flour’s available sugars as they work. If you overproof, or run a very long cold retard, the fermentation can strip the dough of nearly all its free sugar, leaving little for the crust to caramelize. The result is a loaf that’s beautifully sour and open but stubbornly pale, no matter how hot your oven is.

    The tell is that a pale crust often travels with other overproofing signs — a slack dough, poor oven spring, a slightly gummy or dense crumb. If that’s your picture, the fix isn’t in the oven at all; it’s earlier. Shorten your bulk ferment or final proof, or trim a very long fridge retard back a few hours, so the dough goes into the oven with sugar still in the tank. Our guides on telling when a loaf is underbaked versus overproofed can help you confirm whether over-fermentation is the shared root cause.

    Cause #4: Lean, very white flour with little to burn

    Ingredients matter too. A very white, refined bread flour is relatively low in the enzyme activity and residual sugars that drive browning, so an all-white lean dough (just flour, water, salt, starter) can bake paler by nature. Whole grains behave differently: whole wheat, rye, and spelt brown more readily and deepen color, which is why a mostly-white loaf looks blonde next to a whole-grain one.

    You have a few gentle levers. Swap 10–20% of your white flour for whole wheat or rye for more color and flavor. Or add a small amount of diastatic malt powder — about half a teaspoon per loaf — which supplies enzymes that free up sugars for browning; it’s the classic bakery trick for a deeper crust, but use a light hand, as too much makes the crumb gummy. Even a whisper of honey or sugar in the dough will push color, at the cost of moving slightly away from a pure lean sourdough.

    Bubbly sourdough starter beside a small pile of diastatic malt powder and whole wheat flour
    Browning needs sugar to burn. A less-exhausted dough, a touch of whole grain, or a pinch of diastatic malt all give the crust more to caramelize.

    Cause #5: A bone-dry, over-floured surface

    Sometimes the dough is fine and it’s the surface that’s the problem. A crust caked in dry flour from the banneton bakes matte and dusty rather than glossy and brown — that flour just scorches or stays pale instead of caramelizing. Likewise, a surface with no moisture at all in the early bake browns unevenly and dully.

    Two easy tweaks. Brush or wipe off excess bench flour before the loaf goes in, so you’re browning dough, not a flour coating. And make sure there’s a little surface moisture at the start — the steam phase normally handles this, but if you bake very dry you can lightly mist the top of the loaf with water just before it goes in the oven. A faintly moist surface at the start, then a good dry finish, is the combination that gives you sheen and color instead of a chalky matte crust.

    The quick pale-crust checklist

    • Cooked through but pale? Just bake it longer for color — watch the crust, not the timer.
    • Everything pale no matter what? Check your real oven temp and preheat harder and longer.
    • Wet-looking, soft, pale crust? Too much steam — uncover earlier and finish in dry heat.
    • Pale and gummy, slack, or flat? Overproofed and out of sugar — shorten the ferment or retard.
    • All-white lean loaf? Add some whole grain, a pinch of diastatic malt, or a touch of sweetener.
    • Dusty, matte surface? Brush off excess flour and lightly mist before baking.

    Change one thing per bake

    As always, don’t fix everything at once or you’ll never learn what worked. For most home bakers, a pale crust comes down to two things: an oven that’s cooler than it claims, and steam that stayed too long. Sort those first — verify your temperature, preheat properly, and give the loaf a genuine dry, uncovered finish — and most blonde loaves come back with real color. If those don’t move the needle, look upstream at fermentation and flour. And if you’re chasing crust texture as well as color, our walkthrough on getting a crisp, bite-through crust covers the flip side of the same bake.

    Lid lifted off a Dutch oven revealing a pale, steaming sourdough loaf mid-bake
    Steam early lets the loaf expand — but leave it too long and the surface stays wet and can’t brown. The uncovered, dry phase is where color happens.

    A pale crust isn’t a sign the loaf is bad — it usually just means the browning stage didn’t get enough heat, enough dry time, or enough sugar to work with. Give it all three and that anemic blonde loaf turns into the deep, glossy, blistered crust you were after.

    Close-up of a sourdough boule with a deep mahogany, glossy, blistered crust
    The goal: a deep, glossy, blistered crust with real color and flavor — not a blonde loaf that looks half-baked.

    Want to see the covered-then-uncovered bake and what a properly browning crust looks like minute by minute? The full method lives on the LoafLovers YouTube channel, and our free sourdough troubleshooting guide lines up the oven, steam, and fermentation fixes side by side — grab it and bake a loaf with a crust worth photographing.


    Sources & further reading:

    Related Reading

  • Sticky Dough, Sorted: How to Handle High-Hydration Sourdough Without the Mess

    Sticky Dough, Sorted: How to Handle High-Hydration Sourdough Without the Mess

    You added a little more water this time because everyone online swears higher hydration gives you that dreamy open crumb. Now your dough is a shiny, slack puddle that’s welded itself to your fingers, smeared across the bench, and taken your patience with it. You’re one flour-caked hand away from swearing off wet dough forever.

    Don’t. High-hydration dough isn’t harder to bake – it’s harder to hold, and that’s a technique problem, not a you problem. Wet dough rewards a completely different set of hands than stiff dough, and once you learn the moves, the mess mostly disappears. Let’s sort it out.

    Hands working a slack, shiny high-hydration sourdough dough on a floured wooden surface
    Wet dough isn’t broken dough – it just needs a different set of hands.

    First, is it sticky or just tacky?

    These feel the same in the moment but mean opposite things, and telling them apart is the whole game.

    • Tacky dough kisses your hand and releases cleanly. It might feel slightly clingy, but it lets go without pulling or tearing. This is exactly what well-developed, properly hydrated dough should feel like. Tacky is good.
    • Sticky dough grabs, stretches your skin, and tears away leaving goo behind. That’s usually a sign the gluten hasn’t developed enough yet, or the dough is under-fermented – not that there’s too much water.

    So before you panic and dump flour everywhere, ask which one you’ve actually got. Most “my dough is too wet” problems are really “my dough isn’t strong yet” problems – and those get fixed with time and folds, not with more flour.

    Wet hands beat floured hands

    The instinct with sticky dough is to reach for more flour. Resist it. Dry flour on wet dough turns to paste and glues everything together worse – and every handful you knead in quietly lowers your hydration, undoing the open crumb you were chasing.

    The real trick is almost too simple: wet your hands. Dough sticks to dry skin and slides right off damp skin. Keep a small bowl of water next to you, dip your fingers whenever the dough starts to grab, and it becomes shockingly manageable. Same idea for your work surface during folds – a lightly damp bench beats a heavily floured one for wet dough.

    Wet sourdough dough clinging in sticky strands to a baker's fingers
    Sticky pulls at your skin and tears; tacky just kisses and lets go. The difference tells you what to do next.

    Build strength with folds, not muscle

    You can’t knead a very wet dough on the counter the classic way – it’s too loose. Instead you build strength in the bowl with stretch-and-folds: wet one hand, grab an edge of the dough, stretch it up and over to the other side, rotate the bowl, repeat. Four folds is one set. Do a few sets spaced 30-45 minutes apart during the first couple hours.

    Something small and magical happens across those sets. The soupy, unmanageable blob transforms into a smooth, cohesive dough that holds together, jiggles like set jelly, and stops fighting you. You didn’t remove water – you organized the gluten so the dough can finally hold the water it has. Strong, well-folded dough is also what gives you those big holes in the first place, which is the whole point we cover in how to get an open crumb.

    Shape with a scraper, not a death grip

    When it’s time to shape, your bench scraper is the hero. Wet dough will stick to your hands if you grab and squeeze, so don’t. Use the scraper to lift, fold, and drag the dough across the bench, letting the slight friction between dough and surface build surface tension for you. Quick, confident movements win; slow, hesitant pawing is what turns into a smear.

    A light dusting of flour on the bench (not worked into the dough) helps here, and so does working fast. The longer wet dough sits pressed against your skin, the more it bonds. Touch it decisively, then let go. If it’s still spreading out flat instead of holding a round after shaping, that’s a separate signal worth reading – our guide to loaves that spread instead of rising walks through why.

    A wet hand stretching high-hydration dough up and over in a bowl during a fold
    Wet hands and a few rounds of stretch-and-fold turn a soupy mess into strong, jiggly dough.

    Give the fridge a job

    Here’s the move that quietly saves the most frustration: cold dough is firm dough. After shaping, a long, cold proof in the fridge – a few hours or overnight – firms the dough up dramatically. When you tip it out to score in the morning, it’s tight, cooperative, and holds its shape instead of oozing.

    Cold retarding also flours and scores far more cleanly, and it deepens flavor as a bonus. If wet dough is beating you at the shaping-and-scoring stage, moving to a cold overnight proof is often the single biggest fix. And it helps at the last step too: a well-chilled, well-floured dough is far less likely to weld itself to the basket, which is its own headache we tackle in why dough sticks to the banneton.

    A bench scraper lifting and shaping a round of wet sourdough on a floured bench
    A bench scraper is the second hand wet dough needs – it does the touching so you don’t have to.

    And if it’s genuinely too wet?

    Sometimes it really is – especially with a fresh bag of a thirstier or a weaker flour that just can’t drink as much. The fix isn’t to fight this batch; it’s to adjust the next one. Drop your hydration by 3-5% and see how it handles. There is no medal for baking at 80% hydration if 72% gives you a loaf you can actually shape. Great bread lives at whatever hydration you can handle confidently, and that number climbs on its own as your hands learn.

    The takeaway

    High-hydration dough feels like a punishment until you swap the tools: wet hands instead of flour, stretch-and-folds instead of kneading, a bench scraper instead of a grip, and a cold fridge instead of raw hope. Do that and the puddle becomes a strong, jiggly, cooperative dough – and the open, custardy crumb you wanted stops being a gamble.

    Sticky dough is one of those things that’s ten times clearer to watch than to read – the wet-hand fold and the scraper shape especially. Those are up on the LoafLovers YouTube channel, and if you want the calm, step-by-step version you can keep beside the mixing bowl, grab the free sourdough troubleshooting guide. Wet your hands, trust the folds, and let the dough come together.

    Related Reading

  • Why Is My Sourdough Crust So Hard? How to Get a Crisp Crust You Can Actually Bite Through

    Why Is My Sourdough Crust So Hard? How to Get a Crisp Crust You Can Actually Bite Through

    You pull a gorgeous, deeply browned loaf out of the oven. It smells incredible, the crust crackles as it cools — and then you try to slice it and nearly bend the knife. Worse, biting a piece feels like a dental risk, and shards of crust scatter across the counter. Great flavor, punishing crust. What went wrong?

    Here’s the reassuring part: a hard crust is one of the more fixable sourdough problems, because it’s almost always about the bake and the cool-down, not the days of fermentation before it. A crisp, thin, bite-through crust and a tooth-chipping one can come from the exact same dough — the difference is time, heat, steam, and how you treat the loaf after it comes out. Let’s find your culprit.

    Close-up of a sourdough boule with a deeply browned, blistered, crackled crust
    A great crust is deep and crackly — but it should shatter and yield, not fight back. When it goes rock-hard, a few specific things are usually off.

    First: crisp is good, concrete is not

    Don’t over-correct into a pale, soft loaf. A proper sourdough crust should be firm, crackly, and deeply colored — that’s where a huge amount of the flavor lives. The goal isn’t to eliminate the crust; it’s a crust that shatters and yields when you bite, with a tender crumb right beneath it. “Hard” becomes a problem when it’s thick and armored, leathery and chewy, or so brittle-tough that slicing crushes the loaf. Keep that target in mind as you adjust, so you don’t trade a great crust for a sad one.

    Cause #1: You baked it too long or too hot

    This is the most common reason, and the easiest to fix. Every extra minute in a hot, dry oven drives more moisture out of the crust and thickens it. Bake long enough and even a well-made loaf turns into a helmet.

    Two levers: total time and the uncovered phase. Most home Dutch-oven bakes run around 20 minutes covered, then 20–25 minutes uncovered — if yours is going 30+ minutes uncovered or your loaf is very dark and heavy, pull it sooner next time. Trust internal temperature over color: a fully baked sourdough reads about 205–210°F / 96–99°C in the center. If you’re checking doneness by feel and often overshoot, our guide on a gummy, underbaked crumb covers the other end of the same dial — you want to land between gummy and armored. And if your oven runs hot, an oven thermometer is worth its few dollars; many home ovens are off by 25°F or more.

    Cause #2: Your steam is out of balance

    Steam is the single biggest crust-texture lever, and it works in two phases. Early in the bake you want plenty of steam: it keeps the surface moist and elastic so the loaf can expand, and it delays the crust from setting — a crust that sets too early bakes thick and hard. Late in the bake you want a dry oven so the crust can crisp and color without becoming leathery.

    A preheated Dutch oven does this almost automatically: the lid traps the dough’s own steam for the first phase, then you remove it to dry out and crisp. If you bake this way and still get a brutal crust, you’re likely leaving the lid off too long or baking too hot after uncovering. If you bake on a stone or sheet without enough early steam, the crust sets fast and thick — add steam with a pan of boiling water or ice cubes for the first 15–20 minutes. The same steam mechanics that give you a good ear and strong oven spring also govern how thick and hard the crust turns out.

    Sourdough loaf springing inside a Dutch oven with steam rising as the lid is lifted
    Steam in the first phase keeps the surface soft so it can expand, then delays the crust from setting into armor plating.

    Cause #3: Lean, high-protein flour and low hydration

    Ingredients matter here too. A very high-protein bread flour and a low-hydration dough both push toward a thicker, chewier, harder crust. Whole grains and a leaner dough (no fat, no milk, no sugar) crisp up hard by nature — that’s classic rustic sourdough, and some people love it. If you want it gentler, nudge your hydration up a few percent; a wetter dough tends to bake a thinner, crisper crust rather than a thick one.

    If you specifically want a softer, more sandwich-friendly crust, that’s a recipe choice, not a fault: a little olive oil, butter, milk, or honey in the dough, or brushing the loaf with butter right out of the oven, all soften the crust considerably. Just know you’re moving away from the bakery-style rustic crust toward a softer everyday loaf — both are valid, they’re just different breads.

    Cause #4: You cut into it too soon

    This one quietly ruins good loaves. A sourdough is still finishing inside as it cools; the crumb is setting and moisture is redistributing outward. Slice it hot and you release steam that would have softened the crust from within — and the exposed crust hardens fast as it cools. Cutting early also gives you a gummy center and a crust that seems to toughen by the minute.

    Let the loaf cool completely on a wire rack — ideally a couple of hours for a standard boule — before you cut. A rack matters: resting on a solid surface traps steam underneath and can make the bottom crust soggy-then-tough. I know the warm-bread temptation is real. Fight it; the crust you get after a full cool is a different, friendlier thing.

    Freshly baked sourdough cooling on a wire rack with faint steam escaping the crust
    Cutting in too early traps steam and hardens the crust as it cools. Let it rest fully on a rack first.

    Cause #5: Storage is turning it to concrete overnight

    Sometimes the fresh crust is fine and it’s day two that’s the problem — the loaf has gone rock-hard sitting out. That’s staling plus a crust that keeps drying. Never refrigerate bread (the fridge stales it fastest), and don’t leave a cut loaf open to the air.

    Store a cut sourdough cut-side-down on a board or in a linen/paper bag for a crackly crust that lasts a day or two; a sealed bag or beeswax wrap softens the crust but keeps the crumb moist longer — pick based on which you care about. For anything beyond two or three days, slice and freeze it, then toast from frozen. A stale, hard loaf can also be revived: mist the crust with water and warm it in a 350°F / 175°C oven for 8–10 minutes to bring back much of the crackle.

    Cause #6: A too-thick or too-dark bake from scoring and shaping

    Minor, but real: a loaf that didn’t spring well bakes denser and can read as “hard” all over, crust included. Weak, timid scoring seals the loaf so it can’t open, forcing a thick, tight crust; a confident score gives the loaf a place to bloom and keeps the crust thinner where it opens. If your loaves consistently bake dense and heavy with a thick shell, weak oven spring may be the upstream cause — and steam, heat, and a good score all feed into it.

    Two sourdough crusts compared, thick and armored on the left, thin and crisp on the right
    Thick and armored (left) versus thin and crisp (right). Same bread, different bake — mostly time, temperature, and steam.

    The quick hard-crust checklist

    • Very dark, heavy, thick shell? Shorten the bake and check internal temp (205–210°F); your oven may run hot.
    • Crust sets thick and armored? More steam early, dry heat late — a lidded Dutch oven does both.
    • Chewy, leathery crust? Too long uncovered or too hot at the end; pull sooner.
    • Want a softer everyday crust? Raise hydration, add a little fat, or butter the top out of the oven.
    • Hardens as it cools / gummy center? You cut it too early — cool fully on a rack.
    • Fine fresh, brutal next day? Store cut-side-down or bagged; revive with a water mist and a short warm oven.

    Change one thing per bake

    As with most sourdough fixes, resist the urge to overhaul everything at once. Nine times out of ten a hard crust is simply baked a little too long and cut a little too soon — fix those two and most loaves land right in the crisp-but-bite-through zone. If you’re baking without a Dutch oven and fighting crust texture, our walkthrough on getting a crackly crust without a Dutch oven lines up the steam tricks that make the biggest difference.

    Cut sourdough loaf stored cut-side-down on a board beside a linen bread bag
    How you store it decides whether tomorrow’s crust stays pleasant or turns to concrete.

    A hard crust isn’t a sign you’ve failed — it usually means you’ve nailed the browning and just need to ease off the bake or the wait. Dial back the time, balance your steam, cool it fully, and store it kindly, and that beautiful deep crust turns into one you can actually enjoy.

    Want to see the covered-then-uncovered bake and a proper cool-down in real time? The full method lives on the LoafLovers YouTube channel, and our free sourdough troubleshooting guide puts the bake, steam, and crust fixes side by side — grab it and bake a loaf with a crust you’ll want to bite into.


    Sources & further reading:

    Related Reading

  • How to Get an Open Crumb in Sourdough: Why Your Holes Are Small and How to Fix It

    How to Get an Open Crumb in Sourdough: Why Your Holes Are Small and How to Fix It

    The loaf tastes wonderful. The crust is crackly, the flavor is tangy and deep — and then you slice it and the inside is tight, even, and slightly cakey. Not bad, exactly, but nothing like the wild, glossy, hole-riddled crumb you keep scrolling past online. It feels like there’s a secret you’re not being told.

    Here’s the honest version: an open crumb isn’t one trick. It’s the sum of a few things going right together — enough fermentation, the right amount of strength, adequate hydration, and gentle handling that keeps the air in. Get most of them right and the holes open up. Miss one and the dough quietly closes back into a tight little brick. Let’s walk through what actually moves the needle, and which lever is probably holding you back.

    Cross-section of a sourdough loaf showing an open, airy crumb with large irregular holes
    The look everyone chases: an open, irregular crumb with a glossy, translucent web. It comes from fermentation and handling — not luck.

    First: what an “open crumb” really is (and isn’t)

    An open crumb means an interior with irregular holes of varying sizes and thin, glossy, translucent walls between them. It is not a loaf full of giant caverns — those are usually a shaping fault or trapped gas, and they make for lousy toast and butter that falls through. What you actually want is an airy, well-aerated crumb that’s even in lightness, if not in hole size.

    Keep that in mind, because chasing enormous holes will push you toward wetter, harder-to-handle dough and more fragile loaves. For most home bakers, “noticeably more open and airy than what I’m getting now” is the real, useful goal.

    Cause #1: The dough is under-fermented (the #1 culprit)

    If your crumb is tight, dense, and gummy near the center, you almost certainly didn’t ferment long enough. This is the most common reason home loaves come out closed. The gas that inflates the crumb is produced by your starter over the course of bulk fermentation — cut it short and there simply isn’t enough of it, no matter how well you shape.

    Under-fermented dough feels dense and doesn’t jiggle; it hasn’t grown much and shows few bubbles at the edges of the bowl. The fix is patience and reading the dough, not the clock: bulk should run until the dough is puffy, domed, jiggly, and grown by roughly 50% or more, with visible bubbles. If you’re not sure what “done” looks like, our guide on how to tell when bulk fermentation is done walks through the exact signs home bakers miss. A tight crumb is very often just a bulk that ended an hour too early.

    Cause #2: Not enough gluten strength — or too much

    Strength is what lets the dough trap the gas instead of letting it leak out. A slack, under-developed dough can’t hold a bubble, so it spreads and bakes tight and flat. But there’s a catch on the other end: overworking the dough (especially by machine) can make it so tight and elastic that it resists expanding at all, giving you a dense, rubbery crumb.

    For sourdough, the sweet spot is usually built gently with stretch-and-folds or coil folds during bulk — three or four sets in the first couple of hours. The dough should go from shaggy to smooth, elastic, and able to hold a shape, passing a gentle windowpane-ish stretch without tearing immediately. Aim for supple and strong, not tight as a drum.

    Baker performing a stretch-and-fold on bubbly, elastic sourdough during bulk fermentation
    Strength built with folds — not overworking — lets the dough hold the gas that makes the holes.

    Cause #3: Hydration that’s too low for an open crumb

    Water is what makes the crumb open. A stiff, low-hydration dough (say 65% and below) will almost always bake tighter than a wetter one, because there’s less water to create steam and thin those cell walls. If you want a more open crumb, you generally need more water — many bakers find the magic starts around 72–78% hydration.

    The honest trade-off: wetter dough is stickier and harder to handle, and pushing hydration before your handling is ready just gives you a flat, sticky mess. Climb gradually. Add 2–3% water at a time across bakes, get comfortable, then add more. If your loaves are already spreading or sticking, don’t chase hydration yet — fix handling first (see our piece on flat, spreading loaves) and raise water once you have control.

    Cause #4: You’re degassing during shaping

    This one breaks a lot of hearts. You do everything right — great bulk, good strength — then flatten and press all the air out during a heavy-handed pre-shape and shape. Every firm pat is popping the bubbles you spent all day growing.

    Shape gently. Handle the dough like it’s full of air you want to keep, because it is. Use a light pre-shape to build just enough tension, give it a proper bench rest so the gluten relaxes, then a final shape that creates a taut skin without squashing the body flat. The goal is surface tension on the outside and preserved bubbles on the inside — tension and gentleness at the same time.

    Gentle sourdough shaping that preserves internal air bubbles while building surface tension
    Shape gently. A firm, deflating pre-shape crushes the very bubbles you spent all day growing.

    Cause #5: Proof problems — cold, rushed, or overproofed

    Two more traps sit at the final proof. Baking straight from the fridge is great for scoring and release, but a very cold, under-relaxed loaf can spring less and read tighter — make sure the dough actually completed enough proof before it went cold. On the flip side, overproofing collapses the structure: the gluten degrades, the loaf goes slack, and it bakes into a dense, flat crumb because it can no longer hold the gas. If you’re unsure which way you’ve gone, the difference between overproofed and underproofed dough is worth learning cold — the fixes are opposite.

    Cause #6: A weak oven spring

    The final expansion happens in the oven, in the first ten minutes, and it needs steam and heat. A dry oven sets the crust before the loaf can bloom, trapping the crumb tight. Bake in a preheated Dutch oven (lid on for the first 20 minutes to trap the dough’s own steam), or add steam another way, and start hot — around 475–500°F / 245–260°C. Score confidently so the loaf has a designed place to burst open. Weak spring almost always shows up as a tighter, shorter crumb.

    Two sourdough crumb cross-sections compared, tight and dense on the left, open and airy on the right
    Tight and cakey (left) versus open and airy (right). Same ingredients — the difference is fermentation, strength, and how gently it was shaped.

    The quick open-crumb checklist

    • Tight and gummy in the middle? Ferment longer — this is usually under-fermentation. (More on a gummy, dense crumb.)
    • Slack, won’t hold shape? Build more strength with folds during bulk.
    • Rubbery and stubborn? You may be overworking it — ease off.
    • Consistently tight? Nudge hydration up a few percent once handling is solid.
    • Great dough, closed crumb? You’re likely degassing — shape gently.
    • Short, pale loaf? More steam and a hotter start for oven spring.

    Change one thing at a time

    The temptation is to jack up the hydration, add folds, and extend bulk all in one bake — and then you have no idea what worked. Change a single variable per loaf. Nine times out of ten, the fix is simply more fermentation and gentler shaping, no wetter dough required. Get those two locked in and most tight crumbs open right up.

    Freshly baked sourdough boule with a blistered crust and open ear on a cooling rack
    A strong oven spring in a well-steamed oven is the final push that opens the crumb up.

    An open crumb is a byproduct of a well-fermented, well-handled loaf — not a separate skill you’re missing. Nail the bulk, build honest strength, keep the air in, and give it a hot, steamy start, and the holes arrive on their own.

    Want to see the fold technique, a gentle shape, and a proper turnout in real time? The full walkthrough lives on the LoafLovers YouTube channel, and our free sourdough troubleshooting guide lines up the fermentation and shaping fixes side by side — grab it and bake your most open loaf yet.


    Sources & further reading:

    Related Reading

  • Why Does My Sourdough Stick to the Banneton? How to Stop Dough Tearing When You Turn It Out

    Why Does My Sourdough Stick to the Banneton? How to Stop Dough Tearing When You Turn It Out

    You did everything right. The starter was bubbly, the dough felt alive, bulk fermentation looked textbook, and the shaped loaf went into the banneton looking like a proper boule. Then this morning you tipped the basket over and… half the loaf stayed behind. A ragged crater where the smooth top should be, dough hanging off the coils like it never wanted to leave.

    It’s one of the most deflating moments in sourdough — an entire overnight proof, wrecked in the last two seconds. The good news: sticking is almost never bad luck. It’s a small number of fixable causes, and once you know which one is biting you, the fix takes minutes.

    Proofed sourdough dough clinging to and tearing on the coils of a cane banneton
    The heartbreak moment: a well-proofed loaf half-glued to the basket. Almost always a dusting or tension problem — not bad luck.

    First, what a banneton is actually doing

    A banneton (or brotform) isn’t magic — it’s a shaping mold that wicks a little moisture from the dough’s surface while it holds a round or oval shape during the final proof. That slightly drier skin is what gives you a clean release and a crust that scores well and springs in the oven.

    Sticking happens when that surface either never dries, or gets glued to the basket by wet flour paste. So the whole game is: keep the dough’s outer skin taut and lightly floured with the right flour, and don’t leave it in there long enough (or wet enough) to weld itself to the coils.

    Cause #1: You’re using the wrong flour

    This is the single most common culprit. If you dust your banneton with regular wheat flour and the dough is anything above a moderate hydration, the flour absorbs water, turns to paste, and gelatinizes into glue. It feels like you floured the basket, but you actually made wallpaper adhesive.

    The fix is white rice flour. Rice flour barely absorbs water and doesn’t gelatinize the way wheat does, so it stays gritty and slippery against the coils. Many bakers use a 50/50 mix of rice flour and their usual flour for a balance of grip and release, but if you’re fighting stickiness, go straight rice flour until it’s solved.

    Rice flour and wheat flour bowls beside a hand dusting a banneton
    Rice flour doesn’t absorb water and gelatinize the way wheat flour does — which is exactly why it releases so cleanly.

    Cause #2: You didn’t flour enough — or floured unevenly

    A light, polite dusting isn’t enough for a new or humid basket. You want a genuine, even coat that gets down into the grooves of the coils — those grooves are exactly where dough anchors itself.

    • Sprinkle rice flour generously, then tilt and rotate the basket so it coats the walls, not just the bottom.
    • Tap out the loose excess. You want the coils lightly filled, not a snowdrift.
    • Pay special attention to the sides and rim — a loaf that slumps outward grabs the walls first.

    If a spot looks bare and shiny, it will stick. Re-dust before the dough goes in, not after it’s already proofing.

    Cause #3: A brand-new basket that hasn’t seasoned

    New cane and rattan bannetons are thirsty and grippy. Out of the box, they stick to almost everything. They need seasoning — a few uses to build up a thin film of flour in the coils that acts as a permanent non-stick layer.

    To speed it up: mist the empty basket very lightly with water, dust it heavily with rice flour, and let it dry completely (overnight is ideal). Do this once or twice before the first bake. After a handful of loaves, most baskets release far more easily and need less flour each time. Never wash a seasoned banneton with soap — just knock out the crumbs and let it air-dry.

    Cause #4: Weak shaping — the skin is too slack to hold itself

    Even a perfectly floured basket can’t save a loaf with no surface tension. If your shaping leaves a loose, slack blob, the dough relaxes and spreads sideways into the coils during proof, pressing itself into every groove. More contact, more sticking — and a flatter loaf on top of it.

    Build a taut skin: after pre-shaping and a bench rest, do a final shape that drags the dough across the counter to tighten the outer surface until it feels like a smooth, drum-tight balloon. That taut skin holds the loaf up off the coils and gives the flour a dry surface to sit on.

    Baker shaping sourdough on a bench to build a taut, tight skin
    A taut outer skin holds its own shape — loose, slack dough slumps into the coils and grips.

    Cause #5: The dough is too wet or overproofed

    Two moisture problems, same result. Over-hydration for your flour and skill level means a wetter, stickier surface that no amount of rice flour fully tames — if you’re new to a recipe, drop the hydration 3–5% and dial it back up as your handling improves.

    Overproofing is sneakier. A loaf left too long in the final proof degrades its own gluten, goes slack and sticky, and welds to the basket. If your dough looks puffy and lifeless and sticks badly, you likely overshot the proof — shorten it, or cold-proof in the fridge, which firms the surface and makes turnout dramatically easier. A cold loaf straight from the fridge is the single easiest thing to release.

    The clean-release turnout: technique that seals the deal

    Even with everything right, a hesitant, wobbly turnout can tear a loaf. Do it in one confident motion:

    • Have your parchment (and Dutch oven lid or peel) ready before you touch the basket.
    • Lay the parchment over the top of the banneton, put your hand or a board on top, and invert the whole thing in one smooth flip.
    • Lift the basket straight up. If a spot clings, don’t yank — gently peel the coil back and let gravity do the rest.
    • Score immediately and get it into the oven while the surface is still taut.

    Cold dough, a well-floured seasoned basket, rice flour, and a decisive flip — stack those and sticking basically disappears.

    Sourdough loaf releasing cleanly from an inverted banneton onto parchment
    A clean, gentle turnout: quick, confident, and dead-center over the parchment.

    Your quick sticking-diagnosis checklist

    • Using wheat flour to dust? Switch to white rice flour today.
    • Light dusting? Go heavier and get into the coils; tap out the excess.
    • New basket? Season it a couple of times before you trust it.
    • Loaf slumping and spreading? Tighten your final shaping.
    • Wet, puffy, lifeless dough? Lower hydration or shorten the proof — and cold-proof for an easy release.
    Baked sourdough with a clean spiral coil pattern from the banneton on a blistered crust
    The reward: a crisp coil imprint on an intact crust, no torn skin or blowouts.

    Sticking feels like a betrayal after all that waiting, but it’s one of the most solvable problems on the whole sourdough journey. Fix the flour, fix the tension, respect the proof — and that gorgeous coil pattern lands on your crust instead of staying in the basket.

    Want to see the seasoning trick and a clean one-motion turnout in real time? The full walkthrough lives on the LoafLovers YouTube channel, and our free sourdough troubleshooting guide has the shaping and proofing fixes side by side — grab it and never lose another loaf to the basket.


    Sources & further reading:

    Related Reading