Author: Raymond

  • Sourdough Discard Pizza Crust: Same-Day, No-Waste, and Better Than Delivery

    Sourdough Discard Pizza Crust: Same-Day, No-Waste, and Better Than Delivery

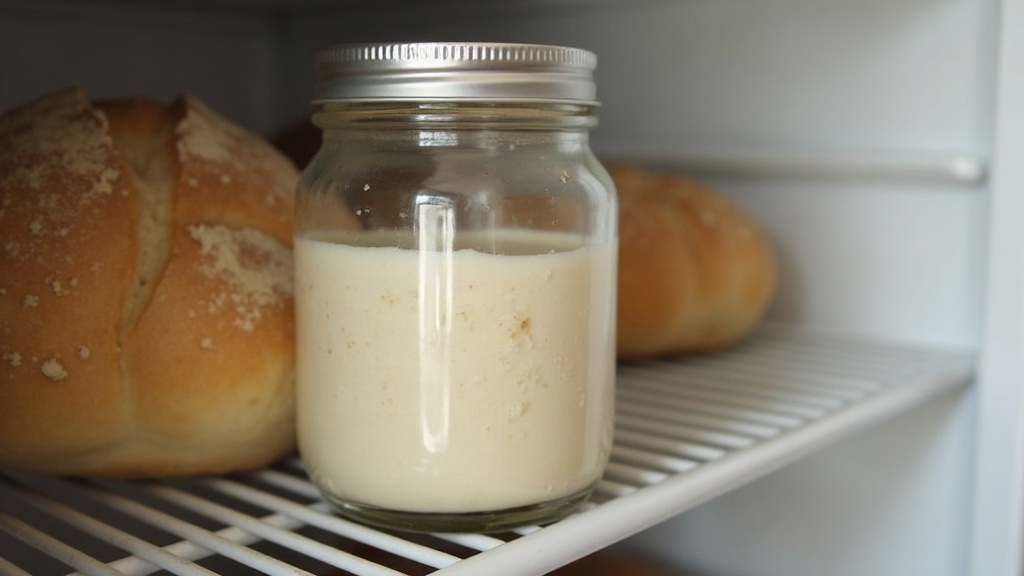
    You open the fridge and there it is again: the discard jar, half full, faintly accusing. You feel bad pouring it down the drain, but you are not about to bake another loaf tonight. Here is the good news — that jar is dinner. Sourdough discard makes a genuinely excellent pizza crust: tangy, chewy, crisp-bottomed, and fast. No perfectly active starter required, no two-day wait. Let us turn the thing you feel guilty about into the best pizza night you have had in a while.

    A rustic sourdough discard pizza with a blistered, chewy crust fresh out of the oven on a wooden peel
    Last week’s discard, tonight’s dinner: a crisp, chewy crust with real sourdough character.

    Discard for Flavor, Yeast for Lift

    First, the one distinction that makes this foolproof. Unfed discard — the cast-off starter you scoop out before feeding — is not reliably alive enough to raise a dough on its own. What it is full of is flavor: that lovely lactic tang and fermented depth. So for a discard pizza crust you split the job. The discard delivers the taste and a tender crumb, and a small amount of commercial yeast (or, in a pinch, baking powder) delivers the rise. This is the opposite of a levain build with active starter, where the culture does all the lifting. For same-day pizza, letting yeast handle the lift is exactly the right shortcut.

    The Same-Day Method

    This is the one for a weeknight. In a bowl, combine roughly 200 grams of sourdough discard, about 250 grams of flour (bread flour for chew, all-purpose is fine), 110 to 130 grams of warm water, a scant teaspoon of instant yeast, 1 teaspoon of salt, and a glug of olive oil. Mix to a shaggy dough, then knead a few minutes until smooth, or do a couple of stretch and folds in the bowl. Cover and let it rise somewhere warm for 1 to 2 hours, until puffy and roughly doubled. That is it — from jar to ready-to-stretch in about the time it takes to prep your toppings.

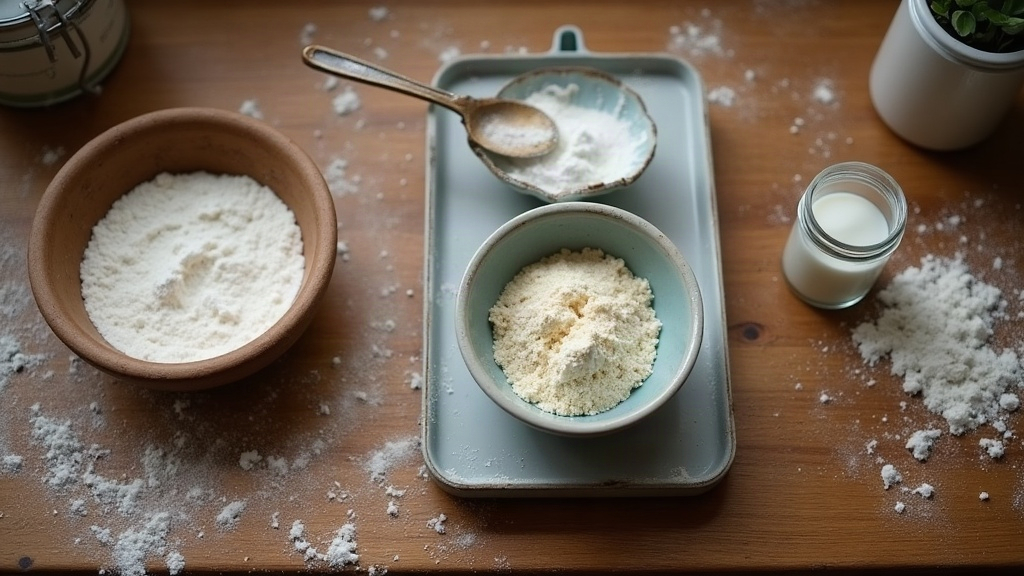
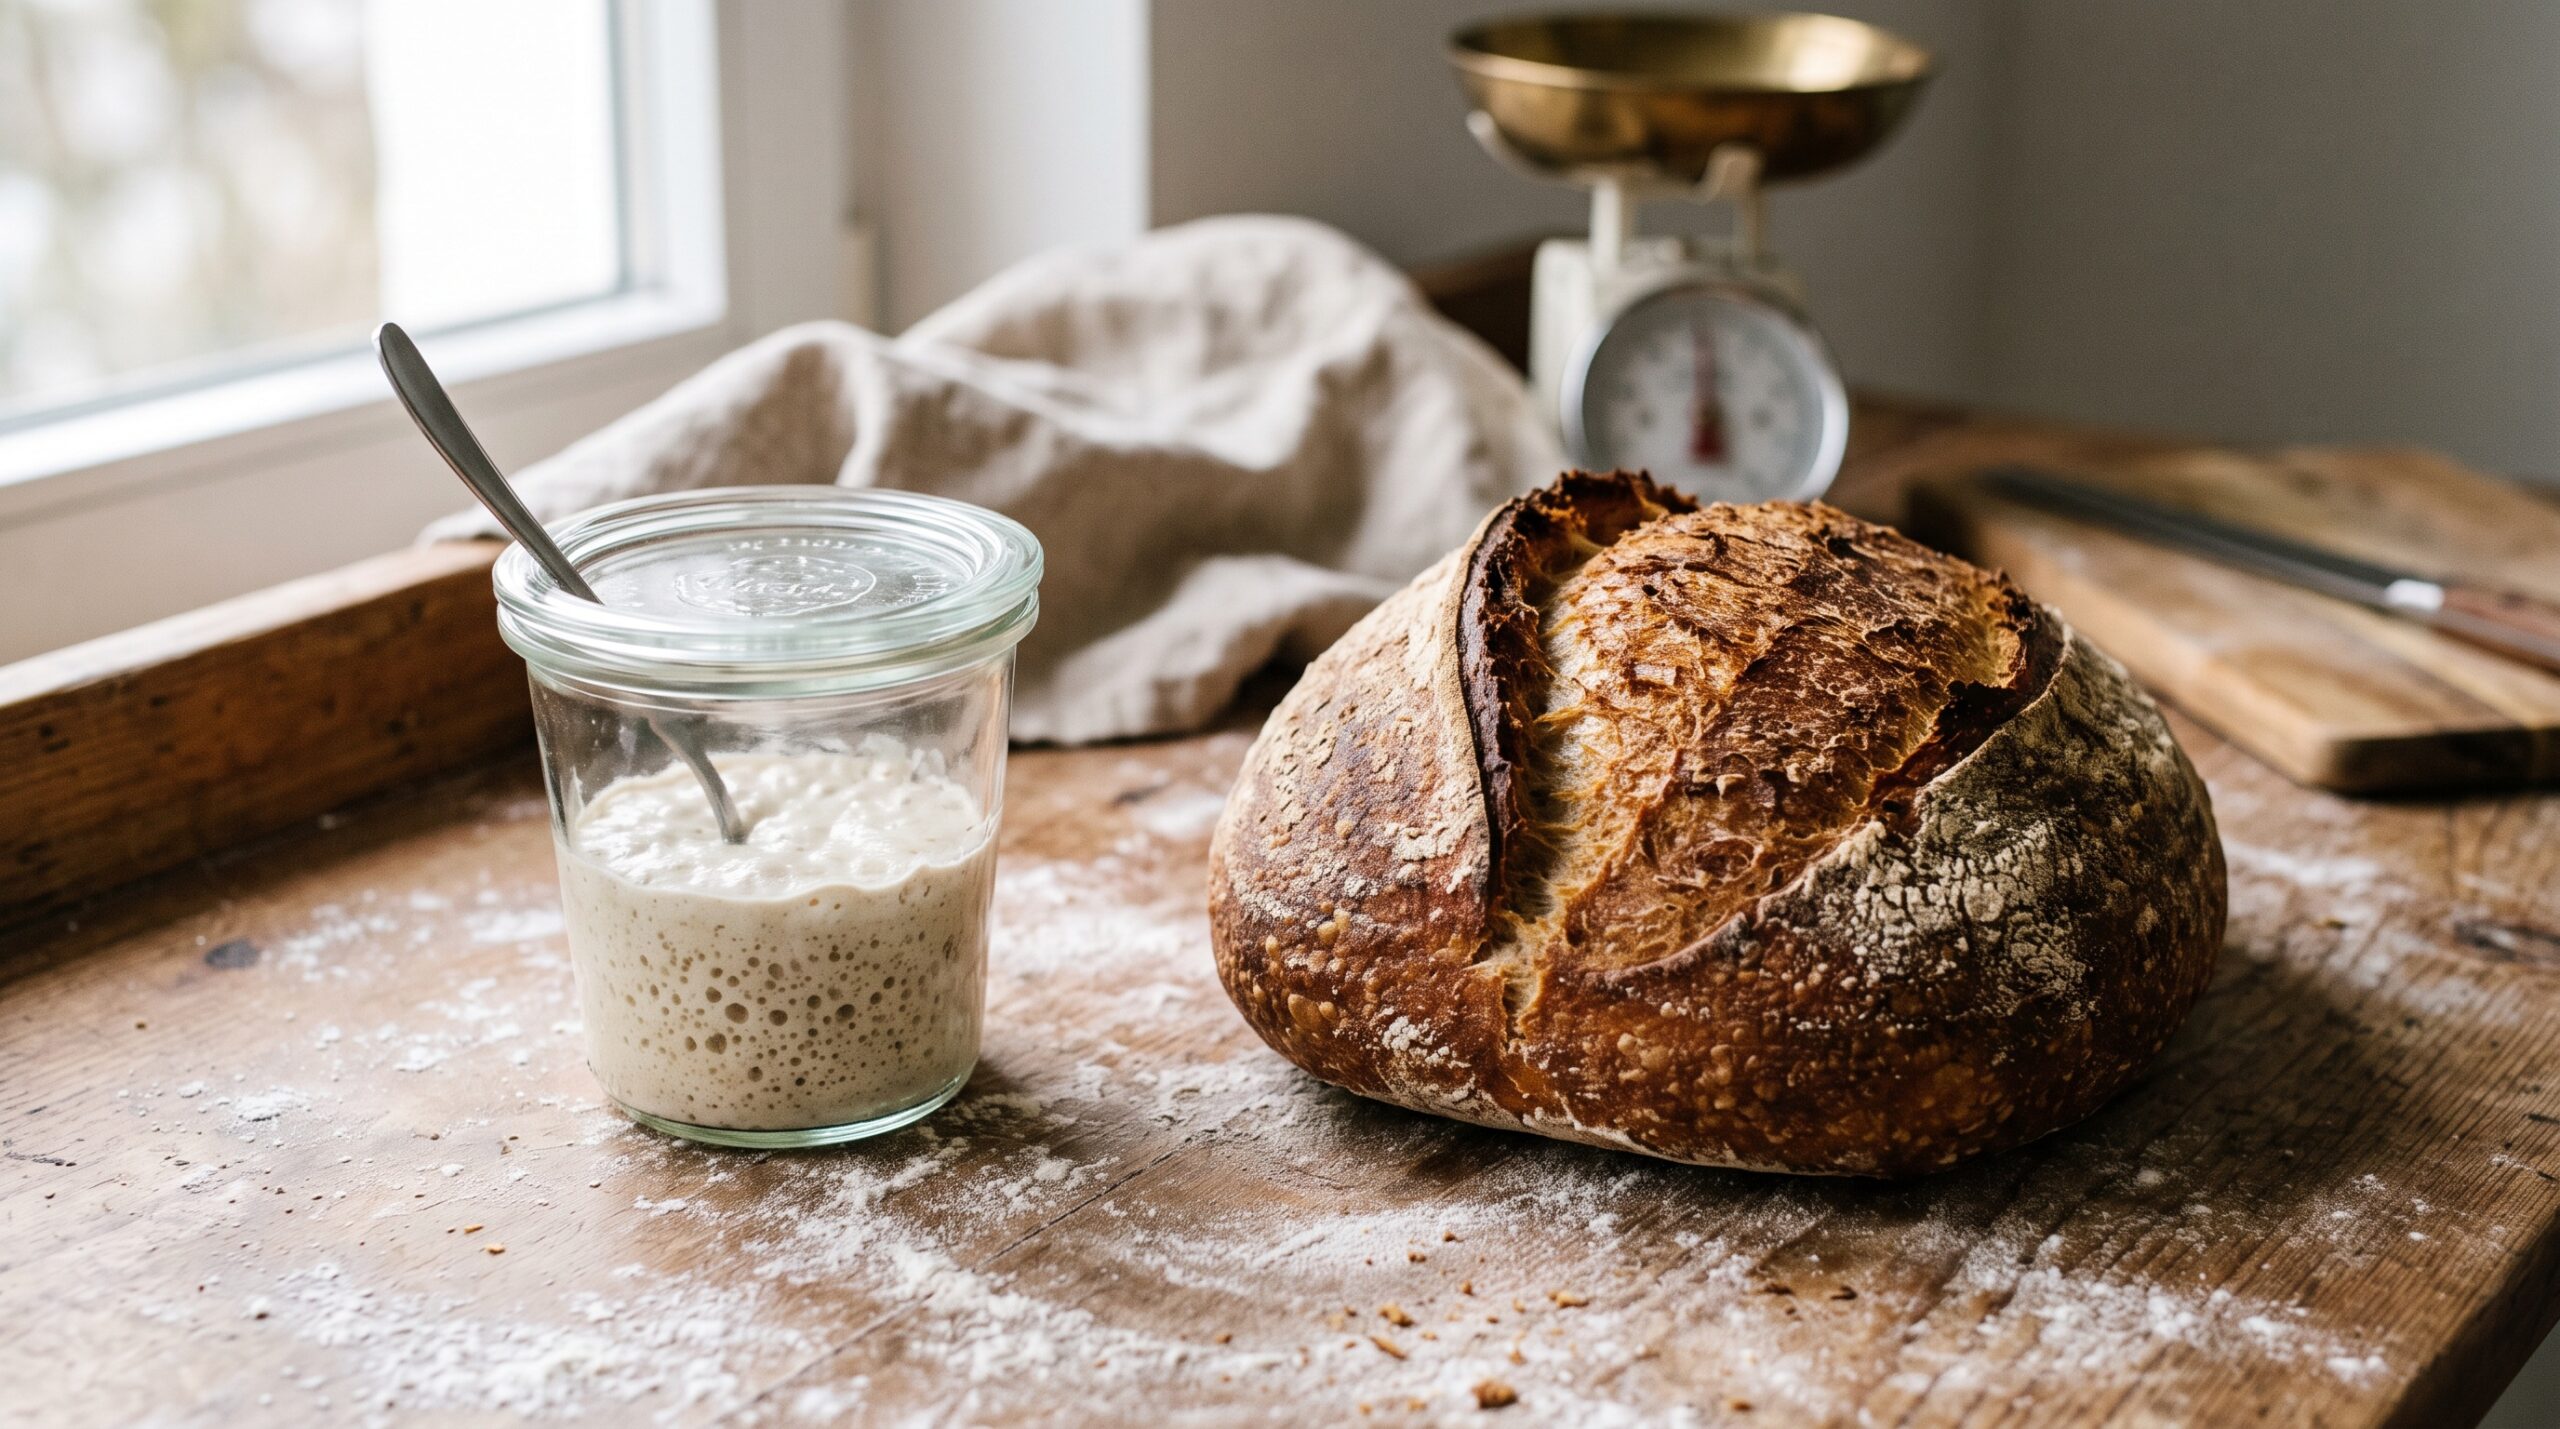
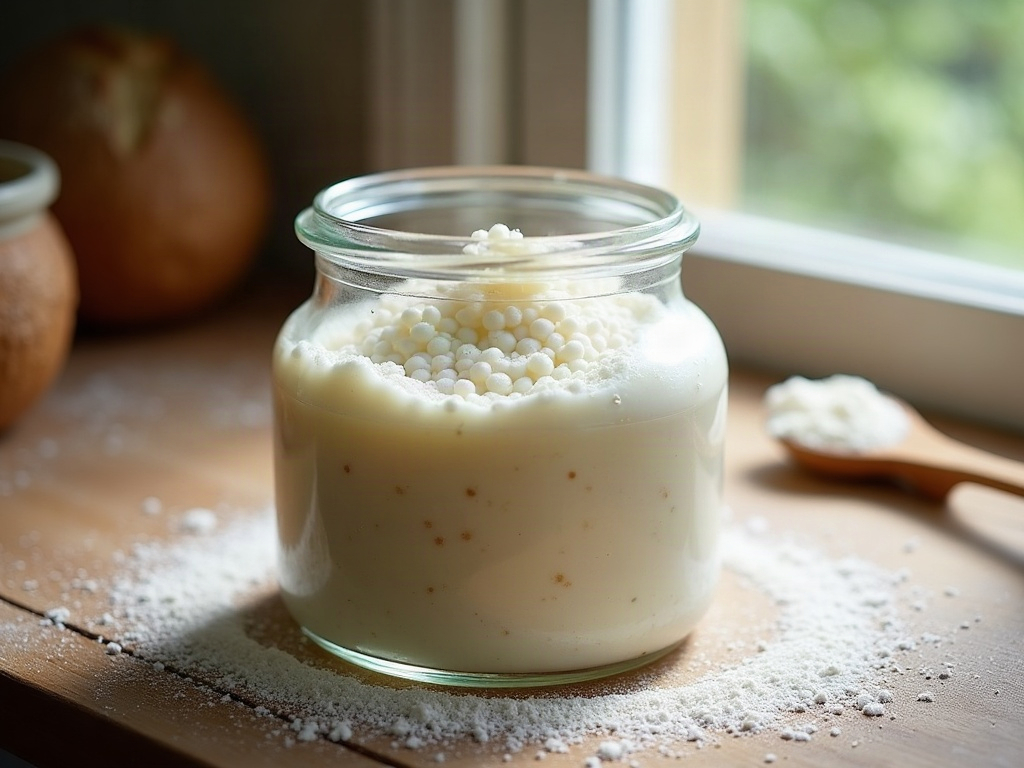
    Unfed sourdough discard being spooned from a jar into a bowl with flour for pizza dough
    Straight from the fridge, no feeding required: discard brings the flavor, a pinch of yeast brings the lift.

    The Overnight Method (More Flavor)

    If you can plan a few hours ahead, this version is better. Use the same ingredients but cut the yeast to a pinch (about a quarter teaspoon), mix, and let the dough ferment slowly in the fridge for 8 to 24 hours. The long, cold rise gives the discard time to develop deeper, more complex sourdough flavor and a more extensible, easy-to-stretch dough — the same principle behind a cold retard on a normal loaf. Pull it out an hour before baking so it warms up and relaxes. You get most of the character of a true sourdough pizza with a fraction of the fuss.

    How Much Discard, and What It Does

    Around 150 to 250 grams of discard per crust is the sweet spot. More discard means more tang and a softer dough; less means a milder, sturdier one. Because discard is roughly equal parts flour and water, it also counts toward your dough’s hydration — so if your discard is on the loose, liquid side, hold back a little of the added water, and if it is stiff, you may need a splash more. Do not overthink it. Mix to a soft, slightly tacky dough that clears the sides of the bowl; adjust with a sprinkle of flour or a teaspoon of water until it feels right.

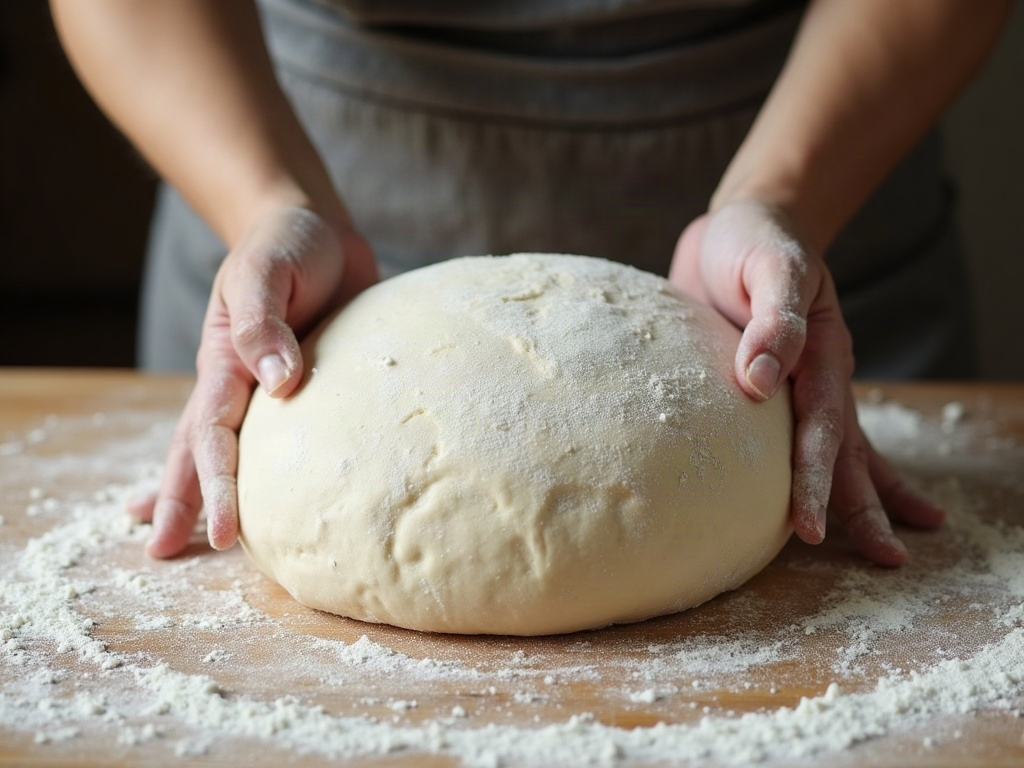
    Hands stretching a round of sourdough discard pizza dough with a puffy rim on a floured counter
    Stretch by hand, not by rolling pin. Leave a thicker rim and let the center go thin.

    Stretch and Bake It Hot

    Heat matters more than almost anything else for pizza. Get your oven as hot as it goes — 250°C / 480°F or higher — and preheat a baking steel, stone, or even an inverted heavy tray for at least 30 to 45 minutes. Divide the dough, then stretch it by hand, never a rolling pin, which crushes out the air you want in the rim. Push from the center outward, leaving a thicker edge. Top it lightly — overloaded pizzas steam and go soggy — and bake directly on the hot surface for 7 to 12 minutes, until the rim is puffed and charred in spots and the bottom is crisp and browned. A hot surface under the dough is what gives you a base with real snap instead of a pale, floppy middle.

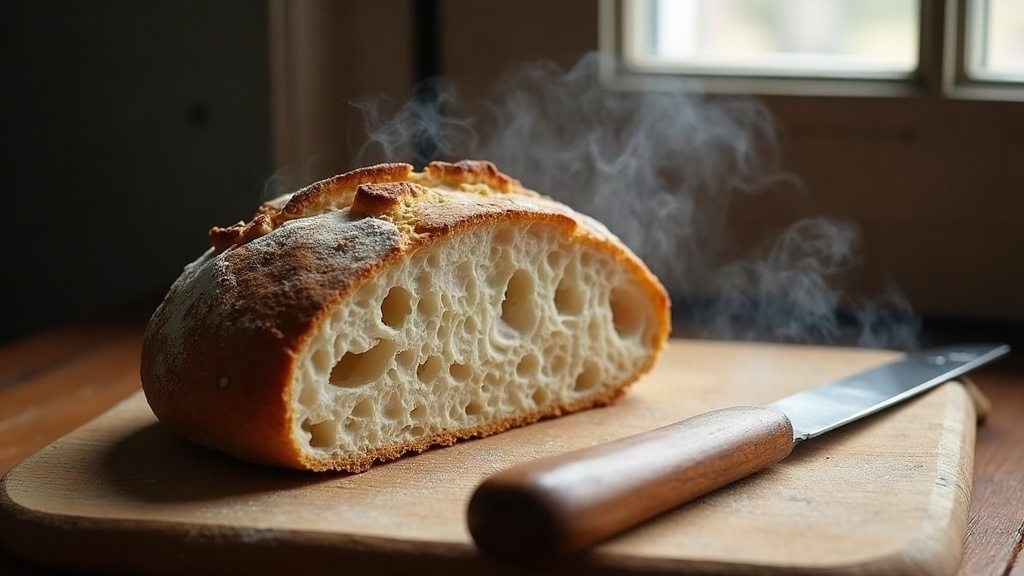
    Cross-section of a baked sourdough discard pizza crust edge showing airy chew and a crisp browned base
    The goal: a crisp, browned bottom and an airy, chewy edge, not a pale cracker or a soggy middle.

    When It Goes Wrong

    A few quick fixes for the usual troubles. Dough that snaps back and will not stretch is tight gluten — let it rest 10 to 15 minutes on the counter and try again; relaxed dough stretches willingly. A soggy or pale bottom almost always means the baking surface was not hot enough or the pizza was too wet — preheat longer, go hotter, and lighten the toppings. If the crust bakes up dense and flat, your yeast was old or the dough was cold and underproofed — check your yeast is alive and give same-day dough a proper warm rise. And if the flavor is too sour for your taste, use less discard or a fresher jar; the older and more neglected the discard, the sharper the tang.

    The Honest Payoff

    Discard pizza is the recipe that quietly changes your relationship with the jar in the fridge. Instead of a source of low-grade guilt, that discard becomes the reason Friday night smells like a pizzeria — and it slots neatly beside the other ways to use it up, from crispy crackers to fluffy pancakes. Keep the discard, keep this method handy, and you have a fast, low-waste dinner that beats delivery and puts your starter’s leftovers to genuinely delicious work. The full walk-through, including a hands-on stretch-and-bake video, lives on the LoafLovers YouTube channel — and if you want the whole low-waste routine in one place, grab our free sourdough troubleshooting guide. No hard sell, just fewer wasted spoonfuls and better pizza.

    A sliced sourdough discard pizza on a wooden board with a slice being lifted
    From guilt-jar to genuine dinner. This is the discard recipe that earns a permanent spot in the rotation.

    Related Reading

  • Small-Batch Sourdough: One Perfect Loaf Without a Giant Starter

    Small-Batch Sourdough: One Perfect Loaf Without a Giant Starter

    Somewhere along the way, sourdough got heavy. Not the bread — the setup. A giant jar of starter that needs feeding twice a day, a discard jar filling faster than you can bake, and the low-grade guilt of pouring perfectly good flour down the drain. If you only want to bake one loaf, once or twice a week, almost none of that is necessary. You can keep a tiny starter, feed it a spoonful at a time, and produce a beautiful loaf with barely any waste. Let us scale sourdough down to the size it actually needs to be.

    A tiny jar of bubbly sourdough starter beside a single finished round loaf on a wooden counter
    This much starter is all one loaf needs. The giant jar was never the point.

    Why You Have Way More Starter Than You Need

    Here is the thing nobody tells beginners: most recipes and starter guides are written around maintaining a large, always-ready culture — often 100 grams or more, fed with equal weights of flour and water every day. That made sense for someone baking multiple loaves or feeding a family bakery habit. For one loaf a week, it is wild overkill. A single standard loaf needs only 50 to 100 grams of active levain. Keeping hundreds of grams of starter alive to produce that is like idling a truck to charge your phone. The excess is exactly where your discard mountain comes from.

    How Much Starter One Loaf Actually Needs

    Work backwards from the loaf. A typical single loaf uses around 400 to 500 grams of flour, and most recipes call for roughly 20 percent of that as levain — call it 80 to 100 grams of bubbly, ripe starter going into the dough. That is all you need to build for a bake. You do not need to store that much between bakes. You only need to keep a small seed alive — a stock starter of a tablespoon or two — and grow it into a fresh levain the night before you bake. Build what you need, when you need it. Nothing sits around going to waste.

    A small scale weighing a tiny amount of starter with flour and water for a small levain build
    Build only the levain you need the night before, seeded from a spoonful of stock starter.

    The Tiny-Starter Method

    This is the whole trick, and it is simple. Keep a very small stock starter — just 10 to 20 grams — in a little jar. The night before you bake, take a small spoonful of it and feed it with the flour and water you need to reach your target levain amount. For one loaf, that might mean mixing 10 grams of seed with 40 grams of flour and 40 grams of water to wake up around 90 grams of ripe levain by morning. Before you use it, feed the stock jar one more tiny time to keep the culture going, then set it aside. You have built exactly the levain the loaf needs, kept the mother alive, and created almost no discard in the process.

    A Simple Small-Batch Framework

    Baker’s percentages make scaling painless because everything is a percentage of the flour weight. A reliable single loaf looks like this: 100 percent flour (say 450 grams), 70 to 75 percent water, 20 percent levain, and 2 percent salt. That gives you one manageable loaf with an open crumb and no leftover dough to deal with. Mix, do a few stretch and folds to build strength, bulk ferment until the dough is puffy and jiggly, shape, proof, and bake. The method is identical to any full-size sourdough — you have just right-sized the numbers so nothing is wasted.

    A single small shaped sourdough loaf proofing in a round banneton
    One loaf, scaled down cleanly with baker’s percentages so nothing is left over.

    Storing the Tiny Starter Between Bakes

    If you bake once a week, your stock starter should live in the fridge, not on the counter. Cold slows the culture down so it can go five to seven days between feedings without complaint. A day before you plan to build your levain, take it out, give it one small feed, and let it wake up at room temperature until it is bubbly and lively again. Then build your levain as above. For an occasional baker, this is the low-effort dream: a spoonful of starter in the back of the fridge, a quick feed to rouse it, and you are ready. If it has been neglected longer than that and smells sharp or has a layer of liquid on top, it is not dead — it just needs a couple of feeds to bounce back.

    A small starter jar going into the fridge to rest between weekly bakes
    Between bakes, the tiny starter sleeps in the fridge. A quick feed wakes it before your next loaf.

    Where Small-Batch Bakers Go Wrong

    Two mistakes trip people up. The first is letting the tiny stock starter get too weak — if you keep it very small and very cold and never feed it, it loses vigor and your levain will be sluggish and your loaf dense. The fix is a single feed to wake it fully before every bake, and an occasional counter feed to keep it strong. The second is trying to build too much levain from too little seed in one jump — a pinch of starter cannot ripen a huge feed overnight. Keep your build ratios modest, roughly one part seed to four or five parts fresh flour and water, and give it time. Respect those two rules and the tiny-starter method is bulletproof.

    The Honest Payoff

    Small-batch sourdough is not a compromise. You get the same crackling crust and open crumb as any loaf — you simply stop maintaining infrastructure you were never using. Less flour spent feeding a jar you do not bake from. Almost no discard, and what little you have can go straight into a quick discard recipe. Less guilt, less fuss, and a fridge that holds a spoonful of starter instead of a science experiment. If sourdough has felt like too much to keep up with, this is how you make it fit a real life: one good loaf, a tiny starter, and next to nothing wasted.

    A single small-batch sourdough loaf sliced open to show an open, airy crumb
    Proof that small batch does not mean small results: one honest loaf, almost zero waste.

    Related Reading

  • The Windowpane Test: How to Know Your Sourdough Gluten Is Developed

    The Windowpane Test: How to Know Your Sourdough Gluten Is Developed

    You have mixed your dough, done a few folds, and now you are standing over the bowl asking the question that stalls every batch: is this actually ready, or am I about to bake a brick? You could keep folding and risk overworking it. You could stop now and risk a dough too weak to rise. Or you could pinch off a small piece, stretch it toward the light, and let the dough tell you exactly where it stands.

    That is the windowpane test — the single fastest way to read whether your sourdough’s gluten is developed enough to trap gas and hold its shape. It takes ten seconds, needs no equipment, and removes almost all the guesswork from the murkiest stage of the bake. Here is what the test really measures, how to do it without fooling yourself, how to read the result, and exactly how to fix a dough that keeps tearing.

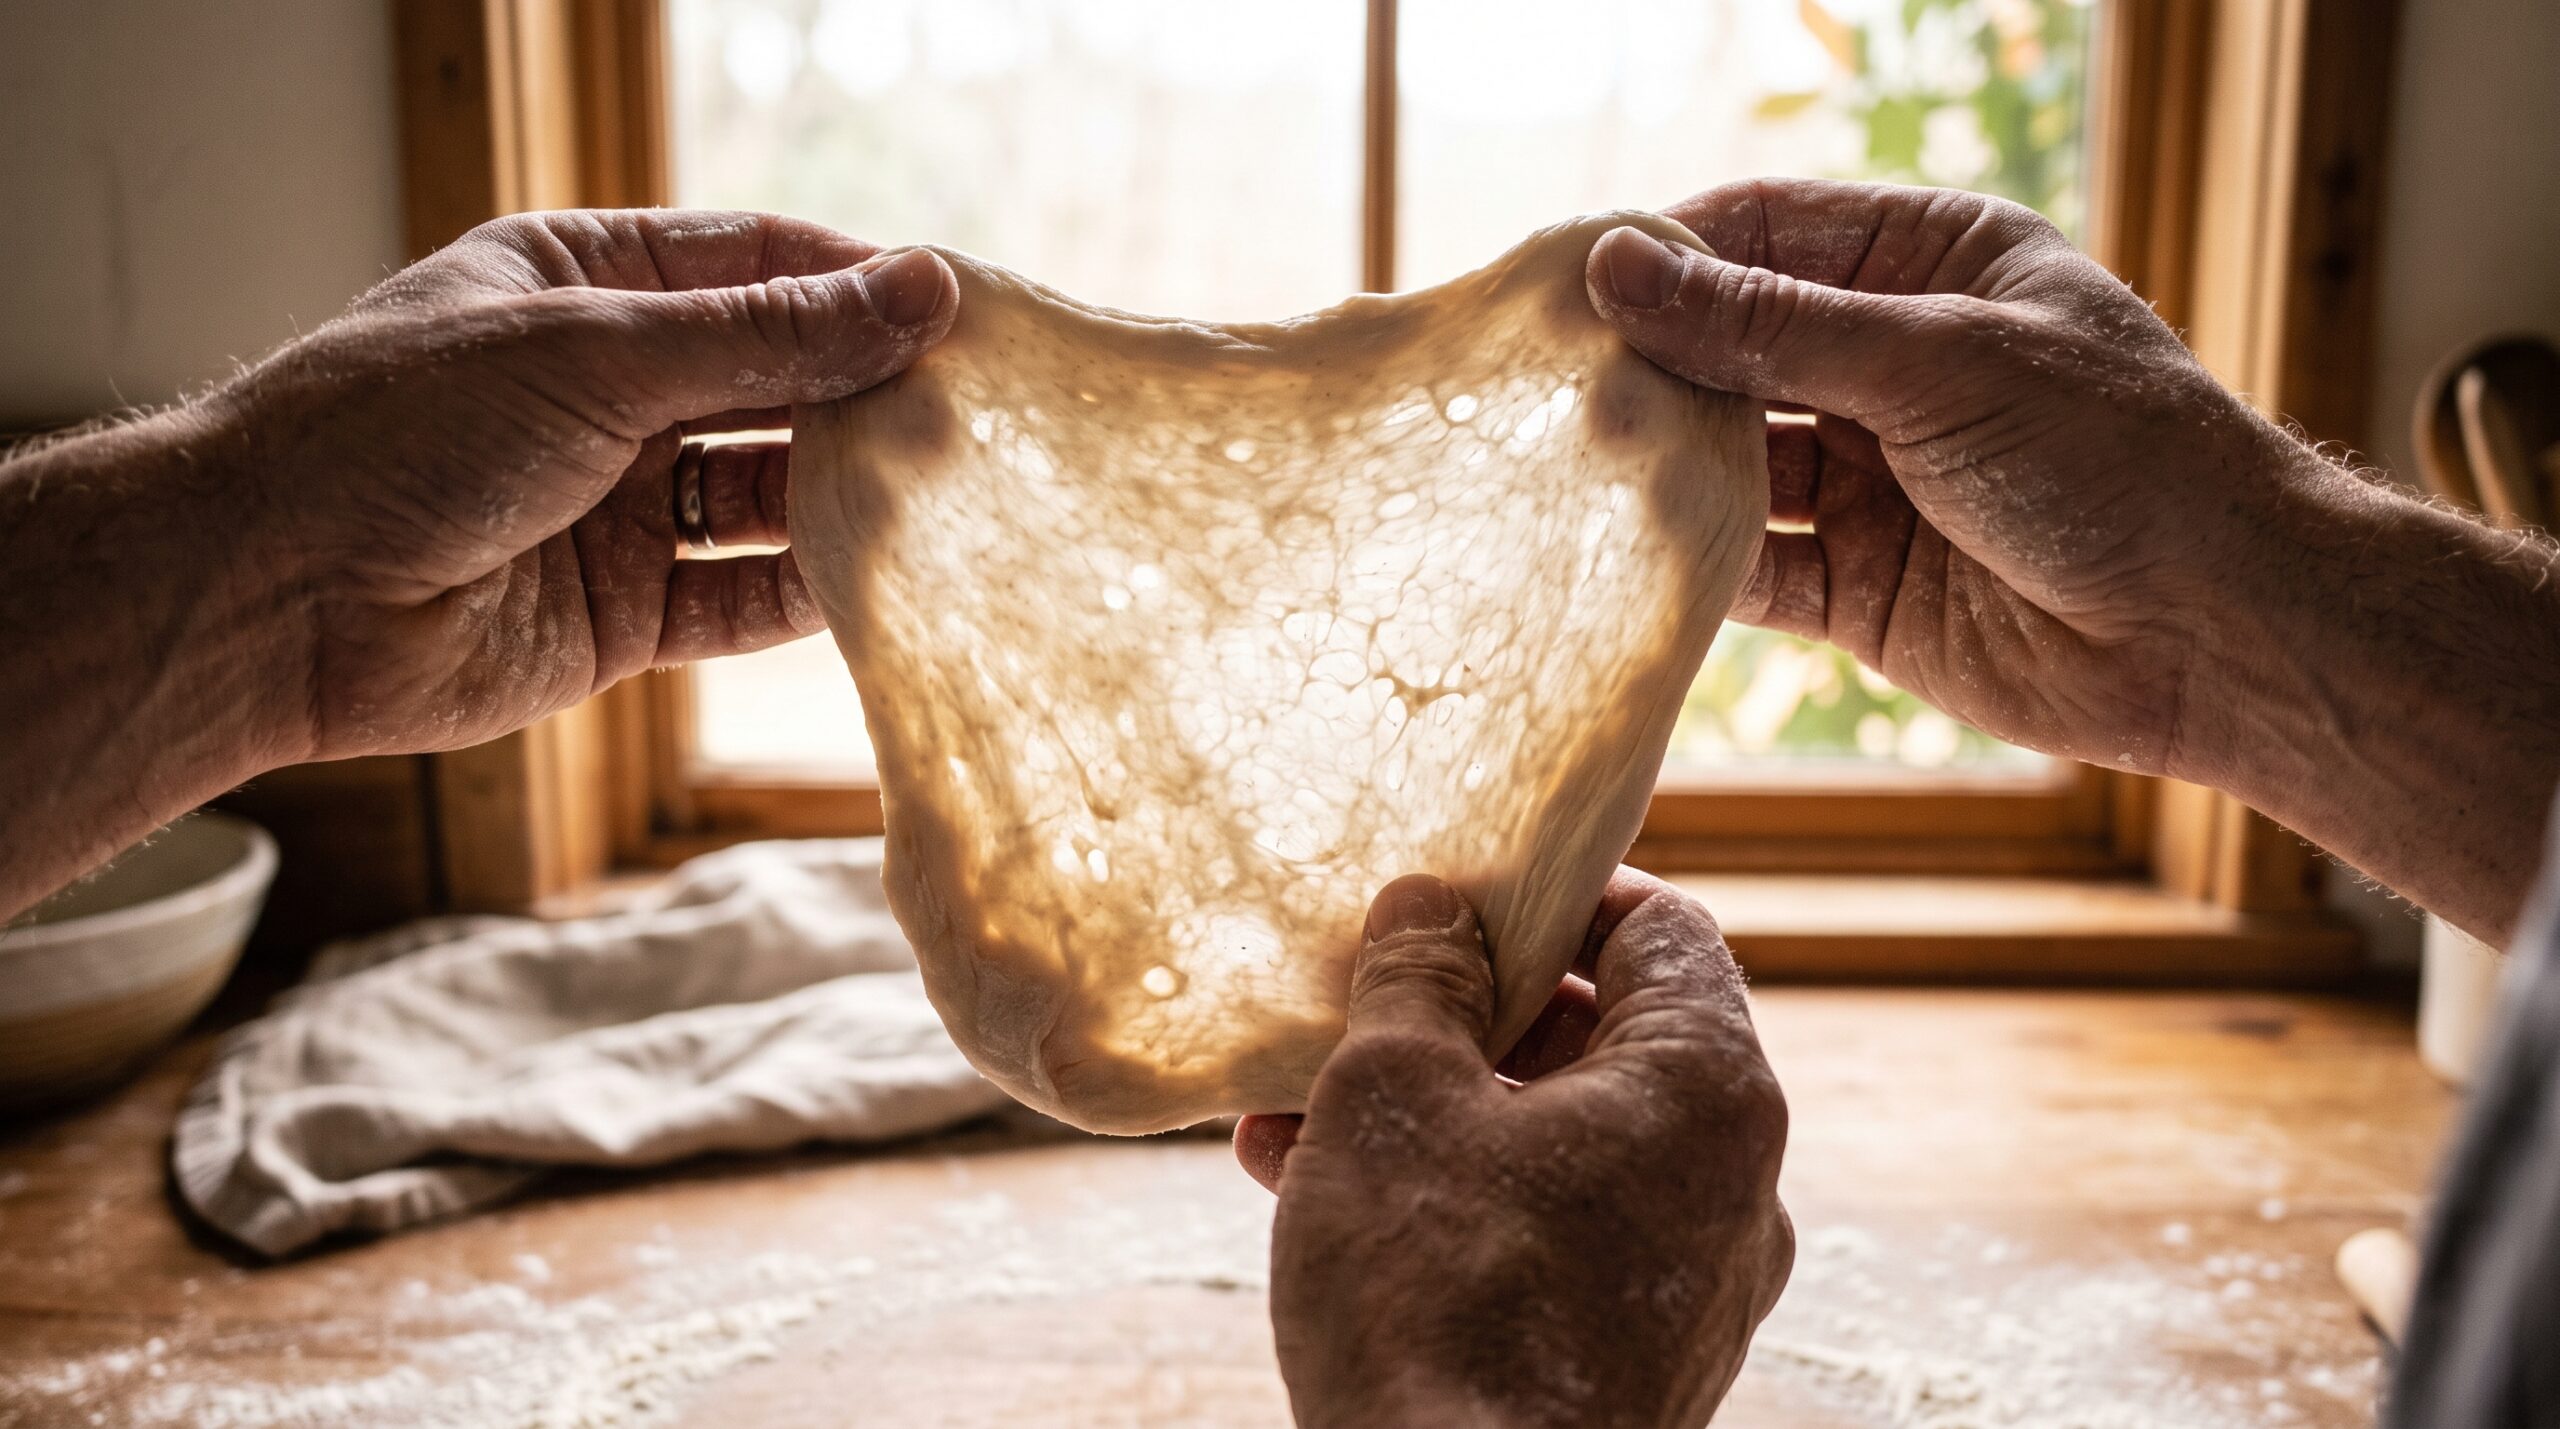
    Hands stretching a piece of sourdough dough into a thin translucent windowpane against soft window light
    A true windowpane: the dough stretches thin enough that light glows through it without tearing.

    What the Windowpane Test Actually Tells You

    Gluten is the stretchy protein network that forms when flour meets water and gets worked. It is the scaffolding of your loaf: as the yeast and bacteria in your starter produce carbon dioxide, that gas gets trapped inside the gluten network like air in a balloon. Strong, well-organized gluten holds the gas and rises tall. Weak, disorganized gluten lets the gas escape, and the dough spreads flat instead of up. If you have ever fought a loaf that pancaked across the counter, weak gluten was very likely part of the story — the same root cause behind many flat, spreading loaves.

    The windowpane test measures exactly this. When you stretch a piece of dough thin and it forms a smooth, translucent membrane without tearing, you are seeing a gluten network that is organized enough to stretch around expanding gas bubbles. That same extensibility is what gives you oven spring and an open, airy crumb. If the dough tears into a thick, ragged hole the moment you pull it, the network is not there yet. The test is not a superstition — it is a direct, visual read of the one structure your entire loaf depends on.

    How to Do the Windowpane Test (Step by Step)

    The technique matters more than people expect, because a rushed test gives a false fail. Here is the reliable way to do it:

    1. Take a small piece. Pinch or cut off a piece of dough about the size of a golf ball. Take it from the main mass gently — you are not trying to deflate the whole batch.

    2. Round it briefly. Roll it into a loose little ball between your palms to give the gluten a consistent starting point.

    3. Stretch from the center, slowly. Hold the piece with the fingertips of both hands and gently pull outward, working the dough thinner from the middle. Rotate as you go, like you are opening a tiny pizza. The key word is slowly — give the gluten time to relax and stretch rather than snapping it.
    4. Hold it up to the light. Once the center is thin, raise it toward a window or a lamp. You are looking to see whether light passes through a smooth, unbroken film.

    Do the test after the dough has had a short rest, not immediately after a vigorous fold. Gluten tightens right after it is worked and needs a few minutes to relax before it will show its true extensibility. Test a tense dough and you will underrate it every time.

    Fingertips slowly stretching a small dough ball from the center into a thin see-through film
    Work slowly from the center outward. Rushing tears the membrane and gives you a false fail.

    Reading the Result: Pass, Almost, and Fail

    There are really three outcomes, and learning to tell them apart is the whole skill.

    Pass. The dough stretches into a thin, translucent membrane you can almost see your fingers through. It glows when you hold it to the light and does not tear, or tears only at the very end when it is already gossamer-thin. The edges of any eventual hole are smooth and clean. This dough has developed gluten and is ready to move on to shaping or its final rest.

    Almost. The dough stretches thin and shows some translucency, but tears before it gets truly see-through, leaving a hole with a slightly rough edge. This is a dough that is close — it usually just needs a bit more time or one or two more gentle folds, then a rest and a retest.

    Fail. The dough tears almost immediately into a thick, ragged hole with a shaggy edge, and never approaches translucency. The gluten network is under-developed. Do not shape this dough yet — it needs more development, and the next section explains why and how.

    Why Your Dough Won’t Pass (and the Fix for Each)

    A failed windowpane almost always traces back to one of four causes. Match your symptom to the fix:

    Under-mixed or under-worked dough. The most common reason, and the easiest to fix. The gluten simply has not had enough mechanical development. If you are kneading, keep going for a few more minutes, then rest and retest. If you are doing no-knead sourdough, add another set of stretch and folds and give it a proper rest between sets. Development builds with time and gentle work, not brute force.

    Hydration is high. Wetter doughs feel slack and can seem to fail even when the gluten is coming along, because a very loose dough is harder to stretch into a clean film. If you are working at high hydration, expect the membrane to be more delicate and give it extra folds with generous rests. It also helps to get comfortable with the feel of a wet dough in the first place — our guide to handling sticky, high-hydration dough makes the test far less frustrating.

    Whole grain or low-protein flour. Whole wheat and rye have sharp bran particles that physically cut the gluten strands, and some flours are simply lower in the proteins that build gluten. These doughs may never form a picture-perfect windowpane, and that is normal. Aim for the best translucency the flour will give, lean on longer autolyse and gentle folds, and read the dough as a whole rather than demanding a flawless film.

    Over-fermented dough. This one is sneaky. A dough that has fermented too far starts to break down — the acids and enzymes degrade the gluten, so a dough that once could windowpane will start tearing again and feel slack, sticky, and lifeless. If your dough passed earlier and now fails, over-fermentation is the likely culprit, and more folding will not save it. The fix is on the next bake: shorten your bulk ferment. Knowing when bulk fermentation is actually done is what keeps you from crossing that line.

    The Windowpane Test and No-Knead Sourdough

    Most home sourdough is not kneaded in the classic sense — it is built with rounds of stretch and folds spaced through the bulk ferment. That changes how you use the test. Instead of one long knead and a single check, you are developing gluten gradually, and time itself does much of the work as the flour hydrates and the network organizes on its own.

    So test at the right moment: after a set of folds and a rest, not in the middle of folding. Early in bulk, expect an “almost” or a fail — that is fine, the dough has more sets to go. By the last set or two, you are looking for that smooth, translucent stretch. If you reach the end of your planned folds and the dough still fails badly, add one more set and extend the rest before you commit to shaping. And remember that in a slow, folded dough, the gluten keeps developing during the rests even when your hands are off it. Patience is a legitimate technique here.

    Side by side of a smooth translucent dough membrane on the left and a torn ragged dough that failed on the right
    Left: developed gluten stretches smooth and thin. Right: under-developed dough tears with a thick, ragged edge.

    Windowpane vs the Poke Test: Don’t Confuse Them

    This is the mix-up that trips up even experienced bakers, so hold onto it: the windowpane test and the poke test answer completely different questions.

    The windowpane test measures gluten development — is the dough strong and organized enough to trap gas? You use it during mixing and bulk fermentation, before shaping. The poke test measures proof — has the shaped loaf fermented to the right point, ready for the oven? You use it after shaping, on the final rise. A dough can pass the windowpane test brilliantly and still be badly underproofed or overproofed, because strong gluten and correct fermentation timing are two separate things.

    Think of it as a sequence. First, build and confirm the structure with the windowpane test. Then ferment and shape. Finally, judge the readiness of that shaped loaf with the poke test. Keep the two in their own lanes and a huge amount of sourdough confusion simply evaporates.

    A wet hand lifting and folding a slack sticky sourdough dough over itself inside a glass bowl
    In no-knead sourdough, each stretch and fold builds the gluten a little more. Test after a rest, not mid-fold.

    When You Can Skip the Test

    Once you have made the same recipe a dozen times, you often will not need to stretch a piece to the light — your hands learn the feel of a dough that has come together, going from shaggy and tearing to smooth, supple, and slightly jiggly. The windowpane test is training wheels in the best sense: it teaches your fingers what “developed” feels like until you can read it by touch alone.

    Until then, use it freely. It costs you nothing, it deflates only a golf-ball’s worth of dough, and it turns the most anxious stage of the bake into a clear yes or no. On a new recipe, a new flour, or a batch that just feels off, pinch a piece, stretch it toward the window, and let the gluten give you a straight answer.

    A halved sourdough boule showing an even open crumb with glossy cell walls and a golden crust
    Developed gluten is what traps the gas and holds this structure. The windowpane predicts the crumb.

    Want to see a real pass, a real fail, and the recovery folds side by side? The full slow-motion walkthrough lives on the LoafLovers YouTube channel, and you can grab our free sourdough troubleshooting guide — a quick-reference for the symptoms, causes, and fixes that come up most — when you join the email list. No hard sell, just the answer waiting the next time you are hovering over the bowl wondering if it is ready.

    Related Reading

  • Cold Retard: How Long Can Sourdough Sit in the Fridge Before Baking?

    Cold Retard: How Long Can Sourdough Sit in the Fridge Before Baking?

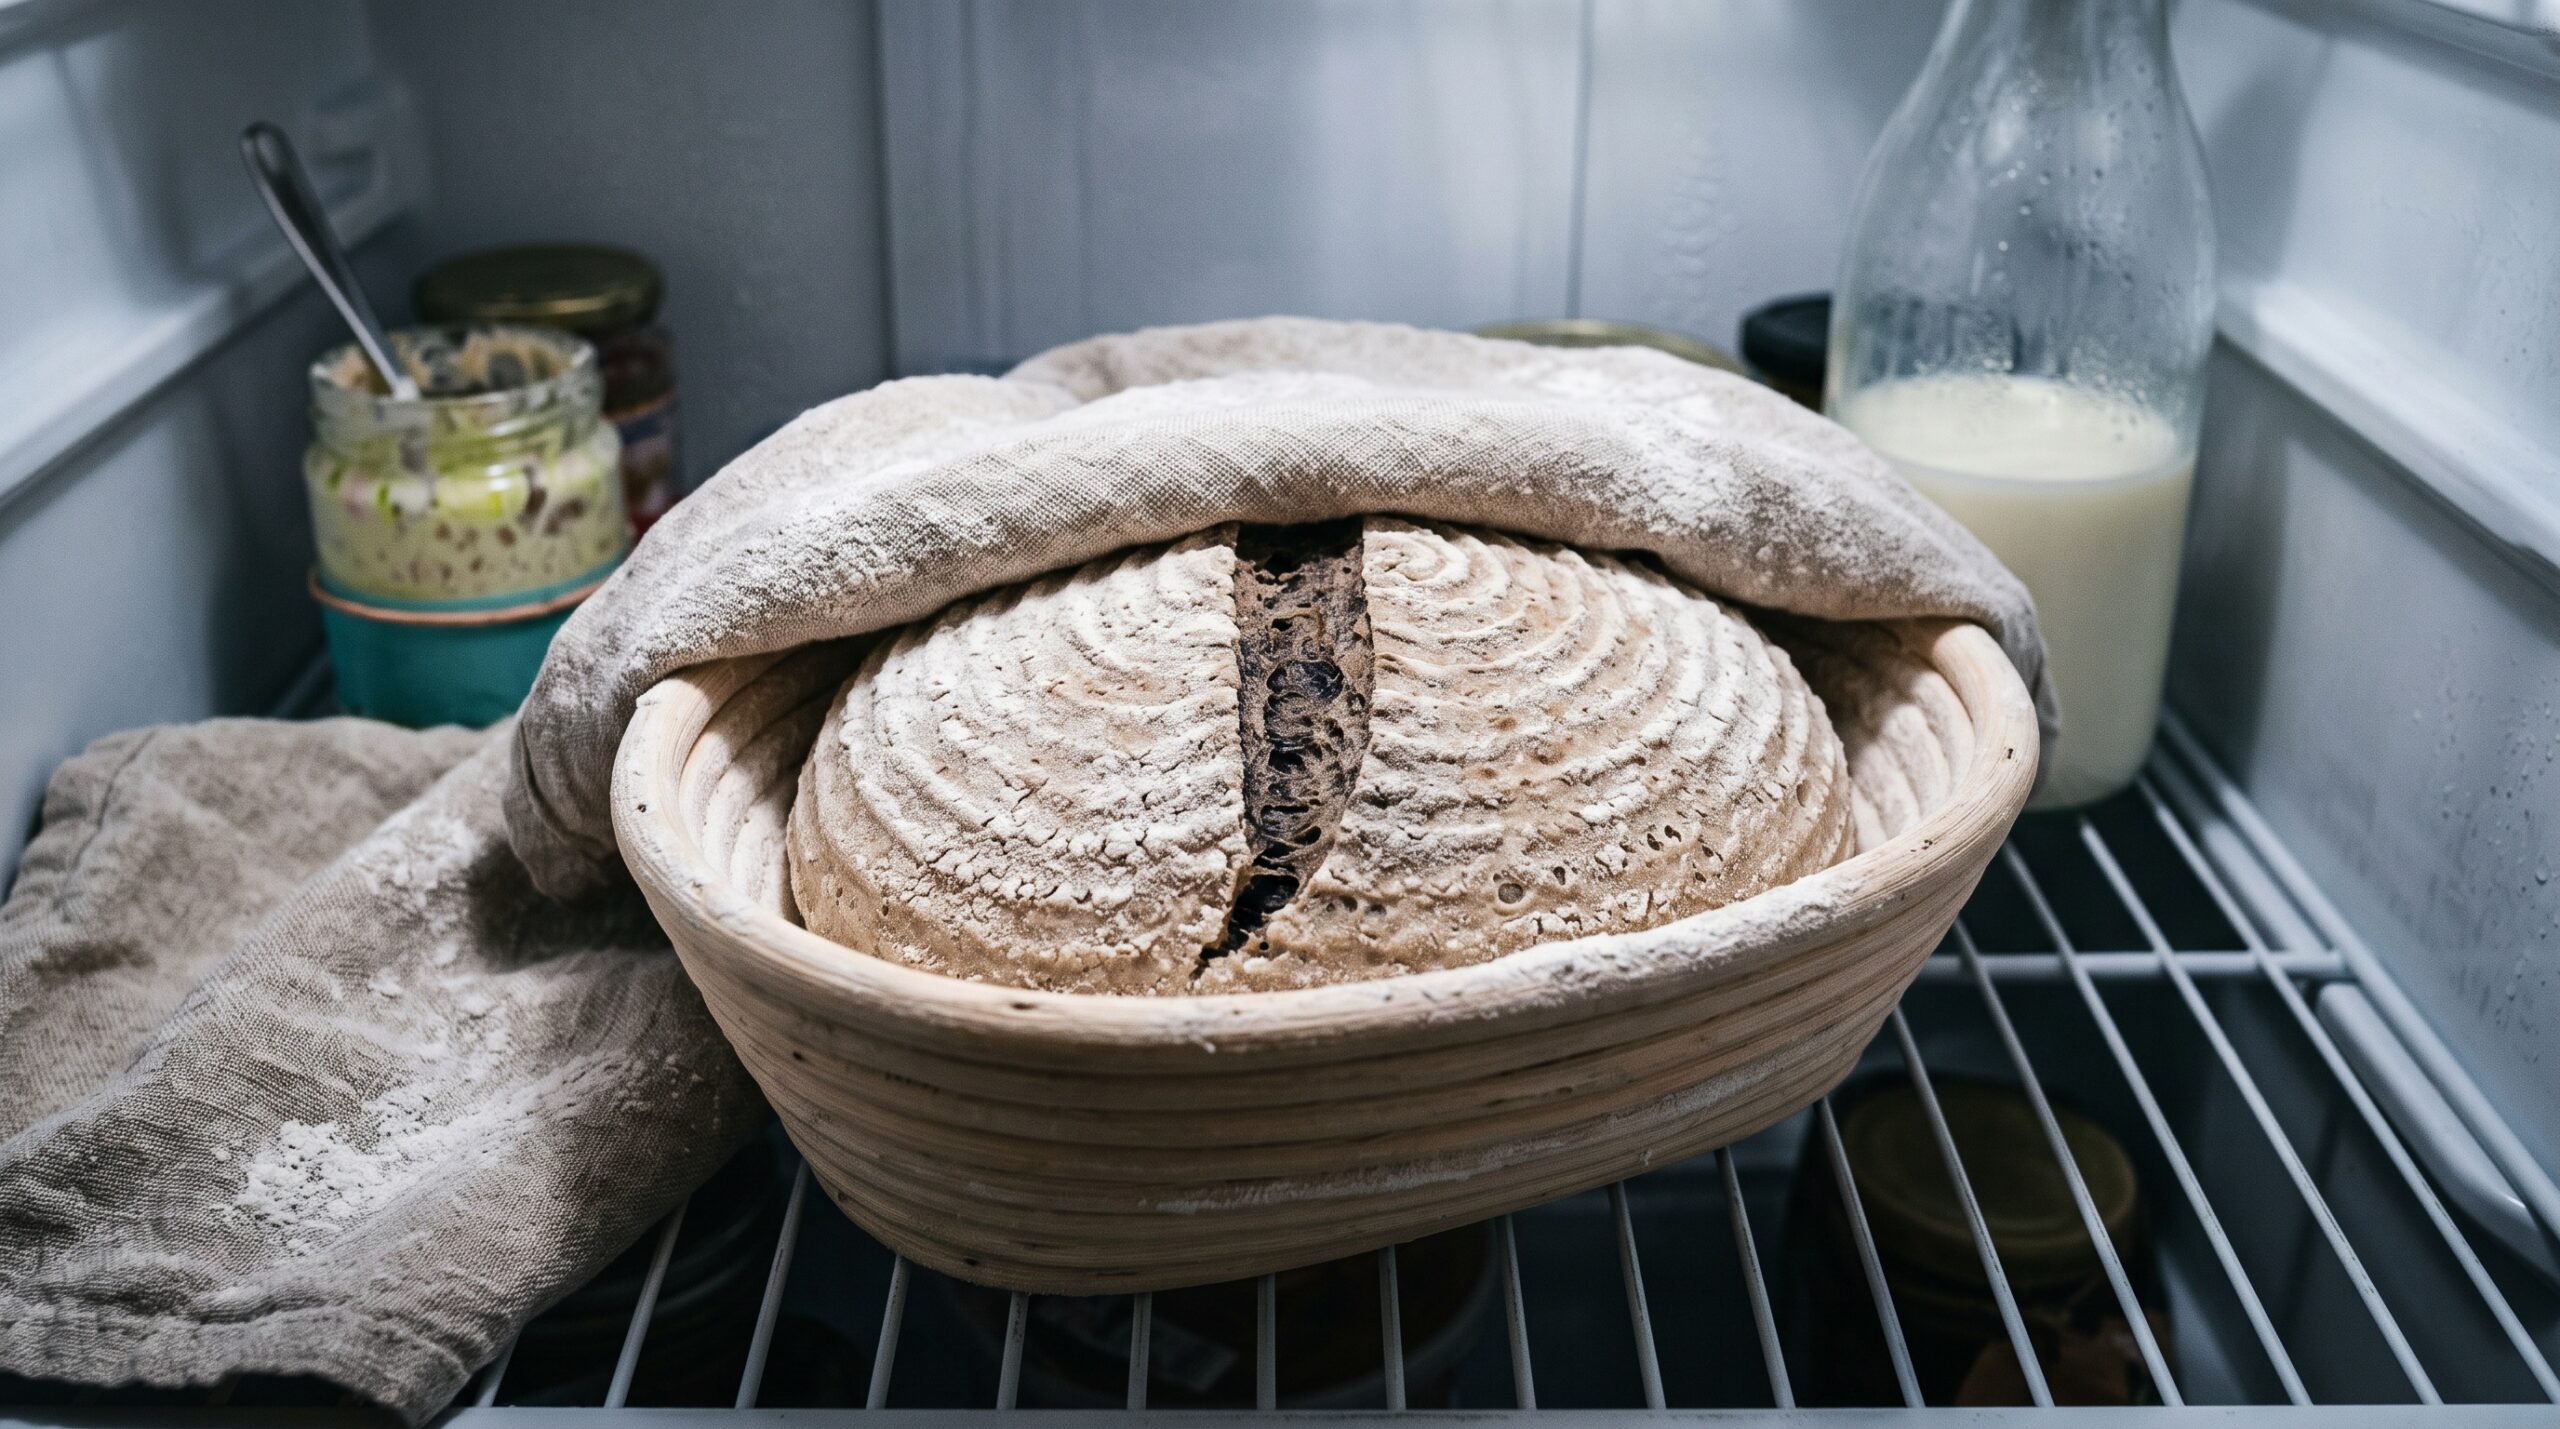
    You shaped a beautiful loaf, tucked it into the fridge for an overnight cold proof, and then real life arrived. The overnight became a day. The day is turning into a second night. Now it is sitting there behind the milk, and you are standing at the open fridge door asking the question every home baker eventually asks: how long can sourdough actually sit in the fridge before I have to either bake it or throw it out?

    Good news first — you almost certainly have not ruined it, and cold retarding is one of the most forgiving, most useful tricks in sourdough. But “forgiving” is not “infinite,” and the difference between a loaf that rewards the extra time and one that bakes into a flat, gummy disappointment comes down to reading the dough rather than the clock. Here is exactly how the cold retard works, how long you really have, and how to tell which side of the line your loaf is on.

    A shaped sourdough loaf in a floured banneton resting on a shelf inside the refrigerator
    The fridge is not a pause button. It slows fermentation to a crawl, but the clock keeps ticking.

    What Cold Retarding Actually Does

    Fermentation is a temperature game. Warm dough ferments fast; cold dough ferments slowly. When you put a shaped loaf into a fridge running at the usual 38°F to 40°F, you are not stopping the yeast and bacteria — you are dropping them into slow motion. The yeast, which produces most of the gas that makes your loaf rise, goes nearly dormant in the cold. The bacteria that produce sourdough’s tang keep working, just gently. That split is the whole point of the technique.

    Two things happen while your loaf chills. First, the rise slows to a near-standstill, which buys you a wide, flexible window to bake whenever it suits you. Second, those still-active bacteria keep developing acids and flavor, so a retarded loaf tastes deeper and more complex than one rushed straight from shaping to oven. Cold dough is also firmer and less sticky, which means it scores cleanly and gives you that dramatic ear. So a cold retard is not a compromise you make for convenience. It genuinely makes better bread — up to a point.

    The Short Answer: How Long Is Safe

    For most home bakers with a fridge in that 38°F to 40°F range, the practical, reliable window is 12 to 48 hours. Somewhere in there is the sweet spot for nearly every recipe. Twelve to sixteen hours is the classic overnight retard and the safest bet. Push to 24 or 36 hours and you gain flavor and a bit more convenience with very little risk, as long as your dough was not already racing when it went in. Reach toward 48 hours and you are near the edge: still very bakeable for most doughs, but you need to inspect before you commit.

    Can you go to 72 hours? Sometimes — but only if the stars align. A 72-hour retard tends to work when your bulk fermentation was on the shorter side, your fridge runs genuinely cold, and your flour is strong enough to hold structure that long. Whole grain and rye doughs, which ferment faster and have weaker gluten, will overproof well before then. The number on the clock is a guide, not a guarantee. What actually decides it is the state of the dough, which is why you inspect rather than assume.

    A cold sourdough loaf turned out onto parchment showing a domed floured surface with small bubbles
    A loaf retarded just right holds a gentle dome and a few surface bubbles, not a slack puddle.

    Signs It Retarded Just Right

    Pull the loaf and look at it cold, before it warms up. A loaf in the sweet spot holds a gentle, confident dome. It has grown a little since you shaped it — noticeably risen but not ballooned. The surface shows a scattering of small bubbles, a good sign the fermentation kept ticking. Give it the poke test with a floured finger: press gently and the dent should spring back slowly and only partway, leaving a soft impression. That lazy, partial rebound is exactly what you want. The dough should feel alive and pillowy but still hold its shape when you tip it out of the banneton. If that is what you are seeing, stop worrying and start your oven.

    Signs It Went Too Far (Overproofed in the Fridge)

    Now the failure mode. A loaf that overproofed in the cold gives clear tells, and catching them saves you from a confusing bake. The surface looks slack, wet, and heavily bubbled, sometimes with large blisters that have started to collapse. When you turn it out of the banneton it spreads and flattens instead of holding a dome, oozing outward like it has given up. The poke test is the giveaway: press it and the dent stays put, or the dough deflates and sighs rather than springing back at all. You may also notice an aggressively sharp, almost acetone-adjacent smell — the sign fermentation has run well past its peak.

    An overproofed loaf has exhausted its structure: the gluten can no longer trap gas, so it will bake flat and dense with a tight, gummy crumb and little oven spring. It is not dangerous, just disappointing. If you catch it here, you have options. Bake it anyway as a flatter loaf — it will still taste good and make excellent toast or croutons. Or reshape it into a pan loaf or focaccia, where a container does the job the gluten no longer can. Either way, log what happened: an overproofed retard almost always means the loaf went into the fridge too far along in its bulk ferment. Next time, chill it a little earlier.

    Two sourdough loaves compared, one tall and domed, one flat and overproofed and slack
    Left: retarded just right. Right: gone too far in the fridge, spreading and losing its structure.

    How to Bake It Straight From the Cold

    Here is the part that trips people up: do not let a retarded loaf come to room temperature before baking. Cold dough is a feature, not a problem. It is firmer, so it scores cleanly and holds a bold ear, and the cold center gives the outside time to set before the whole thing overspreads. Letting it warm up on the counter for an hour just invites overproofing and undoes the benefit you waited all night for.

    So bake it cold. Preheat your Dutch oven thoroughly — a full 45 minutes at 475°F to 500°F — then take the loaf straight from the fridge, turn it onto parchment, score it decisively, and load it into the hot pot. The cold surface takes a sharp cut and the trapped steam does its work. Give it your usual covered-then-uncovered bake; a fridge-cold loaf sometimes wants an extra few minutes covered to fully spring, so judge by color and an internal temperature around 205°F to 210°F rather than the timer.

    How to Stretch or Shorten the Window on Purpose

    Once you understand the mechanism, you can steer the retard to fit your schedule instead of scrambling around it. To buy more time, put the loaf in the fridge slightly earlier — a touch under-proofed at room temperature — so it has room to finish slowly in the cold. Make sure your fridge is genuinely cold; the back of a lower shelf is coldest, the door is warmest. A colder fridge stretches your window; a warm, crowded one shrinks it.

    To shorten or tighten the window, let the loaf proof a little more at room temperature before it goes in, so it needs only a short chill to be bake-ready. And remember the levers you already have: a dough built with strong bread flour, a firm shaping job, and a bulk ferment you did not push too far will all tolerate a longer, more forgiving retard. Weak flour, over-fermented bulk, and a warm fridge all narrow it. The retard does not have a fixed length — it has a length you design.

    A hand scoring a cold firm sourdough loaf with a lame straight from the fridge on parchment
    Cold dough scores cleanly and holds the cut. Bake it straight from the fridge, no warm-up needed.

    The Bottom Line

    So, how long can sourdough sit in the fridge? For most loaves, 12 to 48 hours is comfortable, overnight is the safe classic, and 72 hours is possible when everything is in your favor. But the honest answer is the one your dough gives you: a gentle dome and a slow, partial spring back means bake it with confidence; a slack, spreading, non-rebounding loaf means it went too far, and the fix is to chill it earlier next time. Trust that read over any number, and the fridge stops being a source of panic and becomes what it should be — the most flexible, flavor-boosting tool in your kitchen.

    Want to see the cold poke test and a straight-from-the-fridge bake in real time? The full walkthrough lives on the LoafLovers YouTube channel, and you can grab our free sourdough troubleshooting guide — a quick-reference for the symptoms, causes, and fixes that come up most — when you join the email list. No hard sell, just the answers waiting for the next time your schedule and your starter disagree.

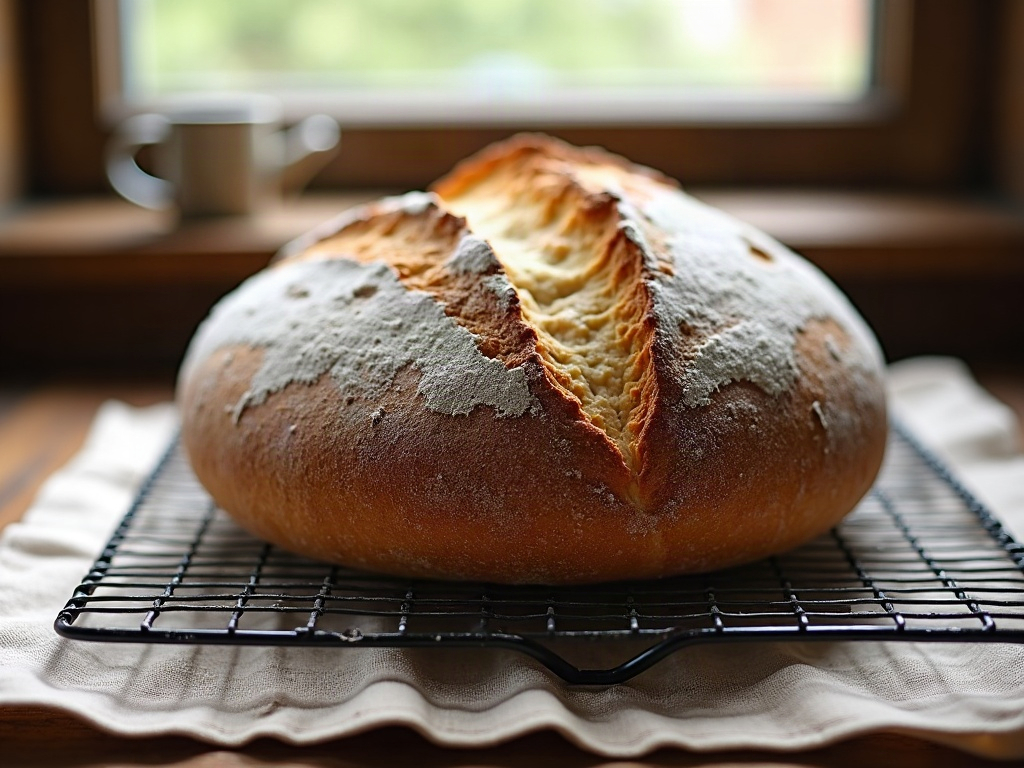
    A finished sourdough boule with a golden blistered crust and open ear cooling on a wire rack
    The reward for a well-timed retard: deeper flavor, a bold ear, and a crust that shatters.

    Related Reading

  • Sourdough Discard Pancakes: Fluffy, Tangy, and Ready in Minutes

    Sourdough Discard Pancakes: Fluffy, Tangy, and Ready in Minutes

    There is a specific kind of guilt that lives in the sourdough baker’s fridge, and it looks like a jar of discard slowly filling up week after week. You know you should use it. You also know it feels like a chore. So here is the recipe that quietly solves both problems at once: sourdough discard pancakes — fluffy, faintly tangy, genuinely better than the pancakes you would make from scratch, and ready in about the time it takes the griddle to heat.

    This is the recipe that turns discard from a guilt trip into the reason you keep a starter at all. No special technique, no perfect timing, no wasted flour. Just breakfast, and one fewer thing in the fridge to feel bad about.

    A short stack of fluffy golden sourdough discard pancakes with butter and maple syrup
    Sourdough discard turns into the tenderest, tangiest pancakes — no waste required.

    Why discard makes better pancakes, not just less waste

    It would be enough if discard pancakes were simply a way to avoid throwing food away. But they genuinely taste better than a standard from-scratch batter, and there are real reasons why.

    The first is flavor. All those days of fermentation leave the discard mildly acidic and complex — that gentle sourdough tang cuts the sweetness of syrup beautifully and gives an ordinary pancake a bakery-like depth. The second is texture. The acidity in the discard reacts with baking soda to create a burst of lift, and the flour that has been sitting hydrated in your starter is fully softened, which makes the finished pancake unusually tender. You are not fighting your discard’s sourness — you are putting it to work. (If your starter runs sharp enough that even the pancakes taste too sour, our guide to taming an overly sour sourdough explains where that acidity comes from.)

    Know your discard before you start

    Discard is not a fixed ingredient the way flour is. It changes depending on how you keep your starter, and thirty seconds of paying attention will save you a flat batch.

    Stir it first. If a layer of thin, dark liquid has gathered on top — that is hooch, and it is harmless — just mix it back in; it carries flavor. Then notice the consistency. A discard fed with equal weights of flour and water pours like thick cream, and this recipe is built around that. If yours is stiff and paste-like, plan to loosen the batter with an extra splash of milk. If it is very thin and watery, you will need a touch more flour. There is no single correct discard, only the one in your jar, so read it before you commit.

    A jar of sourdough discard being stirred with a spoon showing its loose bubbly texture
    Know your discard first: stir any hooch back in and notice whether it is thick or thin.

    One more thing: cold discard straight from the fridge is fine here. Unlike baking a loaf, you do not need it active or bubbling. Discard that has been ignored for a week or two will still make excellent pancakes — and if you want to bank a bigger jar for a weekend batch, see how to store your starter and its discard without it going off.

    The recipe: fluffy sourdough discard pancakes

    This makes about eight to ten pancakes and scales up cleanly. The quantities are forgiving, so treat them as a starting point rather than a law.

    Overhead flat-lay of sourdough discard pancake ingredients on a floured wooden table
    Everything you need is likely already in your kitchen — the discard does the heavy lifting.

    You will need:

    • 1 cup (about 240g) sourdough discard, stirred
    • 1 large egg
    • 2 tablespoons (30g) melted butter, plus more for the pan
    • 1/2 cup (120ml) milk, plus more to adjust
    • 1 tablespoon sugar (or honey)
    • 1/2 cup (60g) all-purpose flour
    • 1/2 teaspoon salt
    • 1 teaspoon baking soda

    Method:

    1. In a bowl, whisk together the discard, egg, melted butter, milk and sugar until smooth.
    2. Add the flour and salt and stir just until combined. A few lumps are good — do not beat it smooth.
    3. Add the baking soda last and fold it in gently. The batter will foam and puff almost immediately. This is the moment the magic happens, so do not skip ahead and add it early.
    4. Let the batter rest for 5 to 10 minutes while a griddle or heavy pan heats over medium. Butter it lightly.
    5. Pour about a quarter cup per pancake. Cook until the surface is covered in bubbles and the edges look set, 2 to 3 minutes, then flip once and cook another 1 to 2 minutes until golden.

    Resist pressing them flat with the spatula — that squeezes out exactly the air you just created.

    Sourdough pancake batter being poured onto a cast-iron griddle with bubbles forming on a cooking pancake
    Wait for a rash of bubbles across the top before you flip — that is your cue.

    The overnight version (barely any morning effort)

    If mornings are chaos, do almost everything the night before. Whisk together the discard, egg, butter, milk, sugar and flour, cover the bowl, and leave it on the counter overnight. By morning it will be looser, bubblier, and even tangier from the extra fermentation.

    The only rule: add the baking soda in the morning, right before you cook. Baking soda reacts on contact with the acidic batter, so if you add it the night before it will spend its lift overnight and leave you with flat, dense pancakes. Stir it in fresh, watch the batter foam, and cook straight away. That single habit is the difference between overnight pancakes that soar and ones that sit there.

    Why yours came out flat or rubbery (and how to fix it)

    Discard pancakes are simple, but two disappointments come up again and again. Both have clear causes.

    Flat and dense. The symptom is a thin, heavy pancake with no rise. The cause is almost always the baking soda — either it was old and had lost its punch, or it was added too early and fizzled out before the batter hit the pan. The fix: use fresh baking soda, add it last, and cook within a few minutes of stirring it in. A too-thin batter from watery discard will also spread and flatten, so thicken it with a spoonful of flour.

    Tough and rubbery. The symptom is a chewy, dense pancake that fights back. The cause is overmixing, which develops the gluten in the flour — great for a chewy loaf, wrong for a tender pancake. The fix: stir only until the flour disappears, lumps and all, and let the batter rest so the flour hydrates and the gluten relaxes. Gentle hands make soft pancakes.

    Two sourdough discard pancakes compared, one flat and dense, one tall and fluffy
    Same discard, different result: flat and rubbery on the left, fluffy on the right.

    Make it yours: variations and storing the batter

    Once the base works, it becomes a canvas. Fold blueberries or chocolate chips onto the pancakes just after you ladle the batter (rather than into the bowl, so they distribute evenly). Add a little cinnamon and vanilla for a warmer breakfast, or pour the same batter into a waffle iron — the higher heat makes the tang and the crisp edges even better.

    Leftover batter without the baking soda keeps in the fridge for a day or two; stir in fresh soda when you are ready to cook. Cooked pancakes freeze beautifully in a stack with parchment between them — reheat straight from frozen in a toaster. And if the discard-recipe habit takes hold, your next easy win is a batch of crispy sourdough discard crackers, or a look at all the other ways to use sourdough discard so that jar never guilt-trips you again.

    The takeaway

    Sourdough discard pancakes are the rare recipe that is faster, cheaper, and tastier than the alternative while also solving a problem you already had. Stir your discard, keep the mixing gentle, add the baking soda last, and cook them fluffy. Do that and the jar in your fridge stops being a source of guilt and becomes the best reason to make breakfast.

    Want to see the batter foam and the perfect flip in real time? The full walkthrough lives on the LoafLovers YouTube channel, and you can grab our free sourdough troubleshooting guide — quick fixes for the loaf, starter, and discard problems that come up most — when you join the email list. No hard sell, just the answers waiting for the next time your jar fills up.

    Related Reading

  • Sourdough Dough Temperature: The Number That Secretly Controls Your Whole Bake

    Sourdough Dough Temperature: The Number That Secretly Controls Your Whole Bake

    You followed the recipe to the letter. Same flour, same starter, same schedule you used last week when the loaf turned out beautifully. Yet today the dough is either lifeless and slack or racing away before you can shape it. Nothing changed — except the one thing you almost certainly did not measure.

    That thing is sourdough dough temperature: the actual warmth of the dough in the bowl. It is the quiet variable behind most “but I did everything the same” mysteries, and once you learn to read it and steer it, your bakes stop being a roll of the dice. Here is what the number means, why it matters more than the clock, and how to control it with nothing fancier than your kitchen tap.

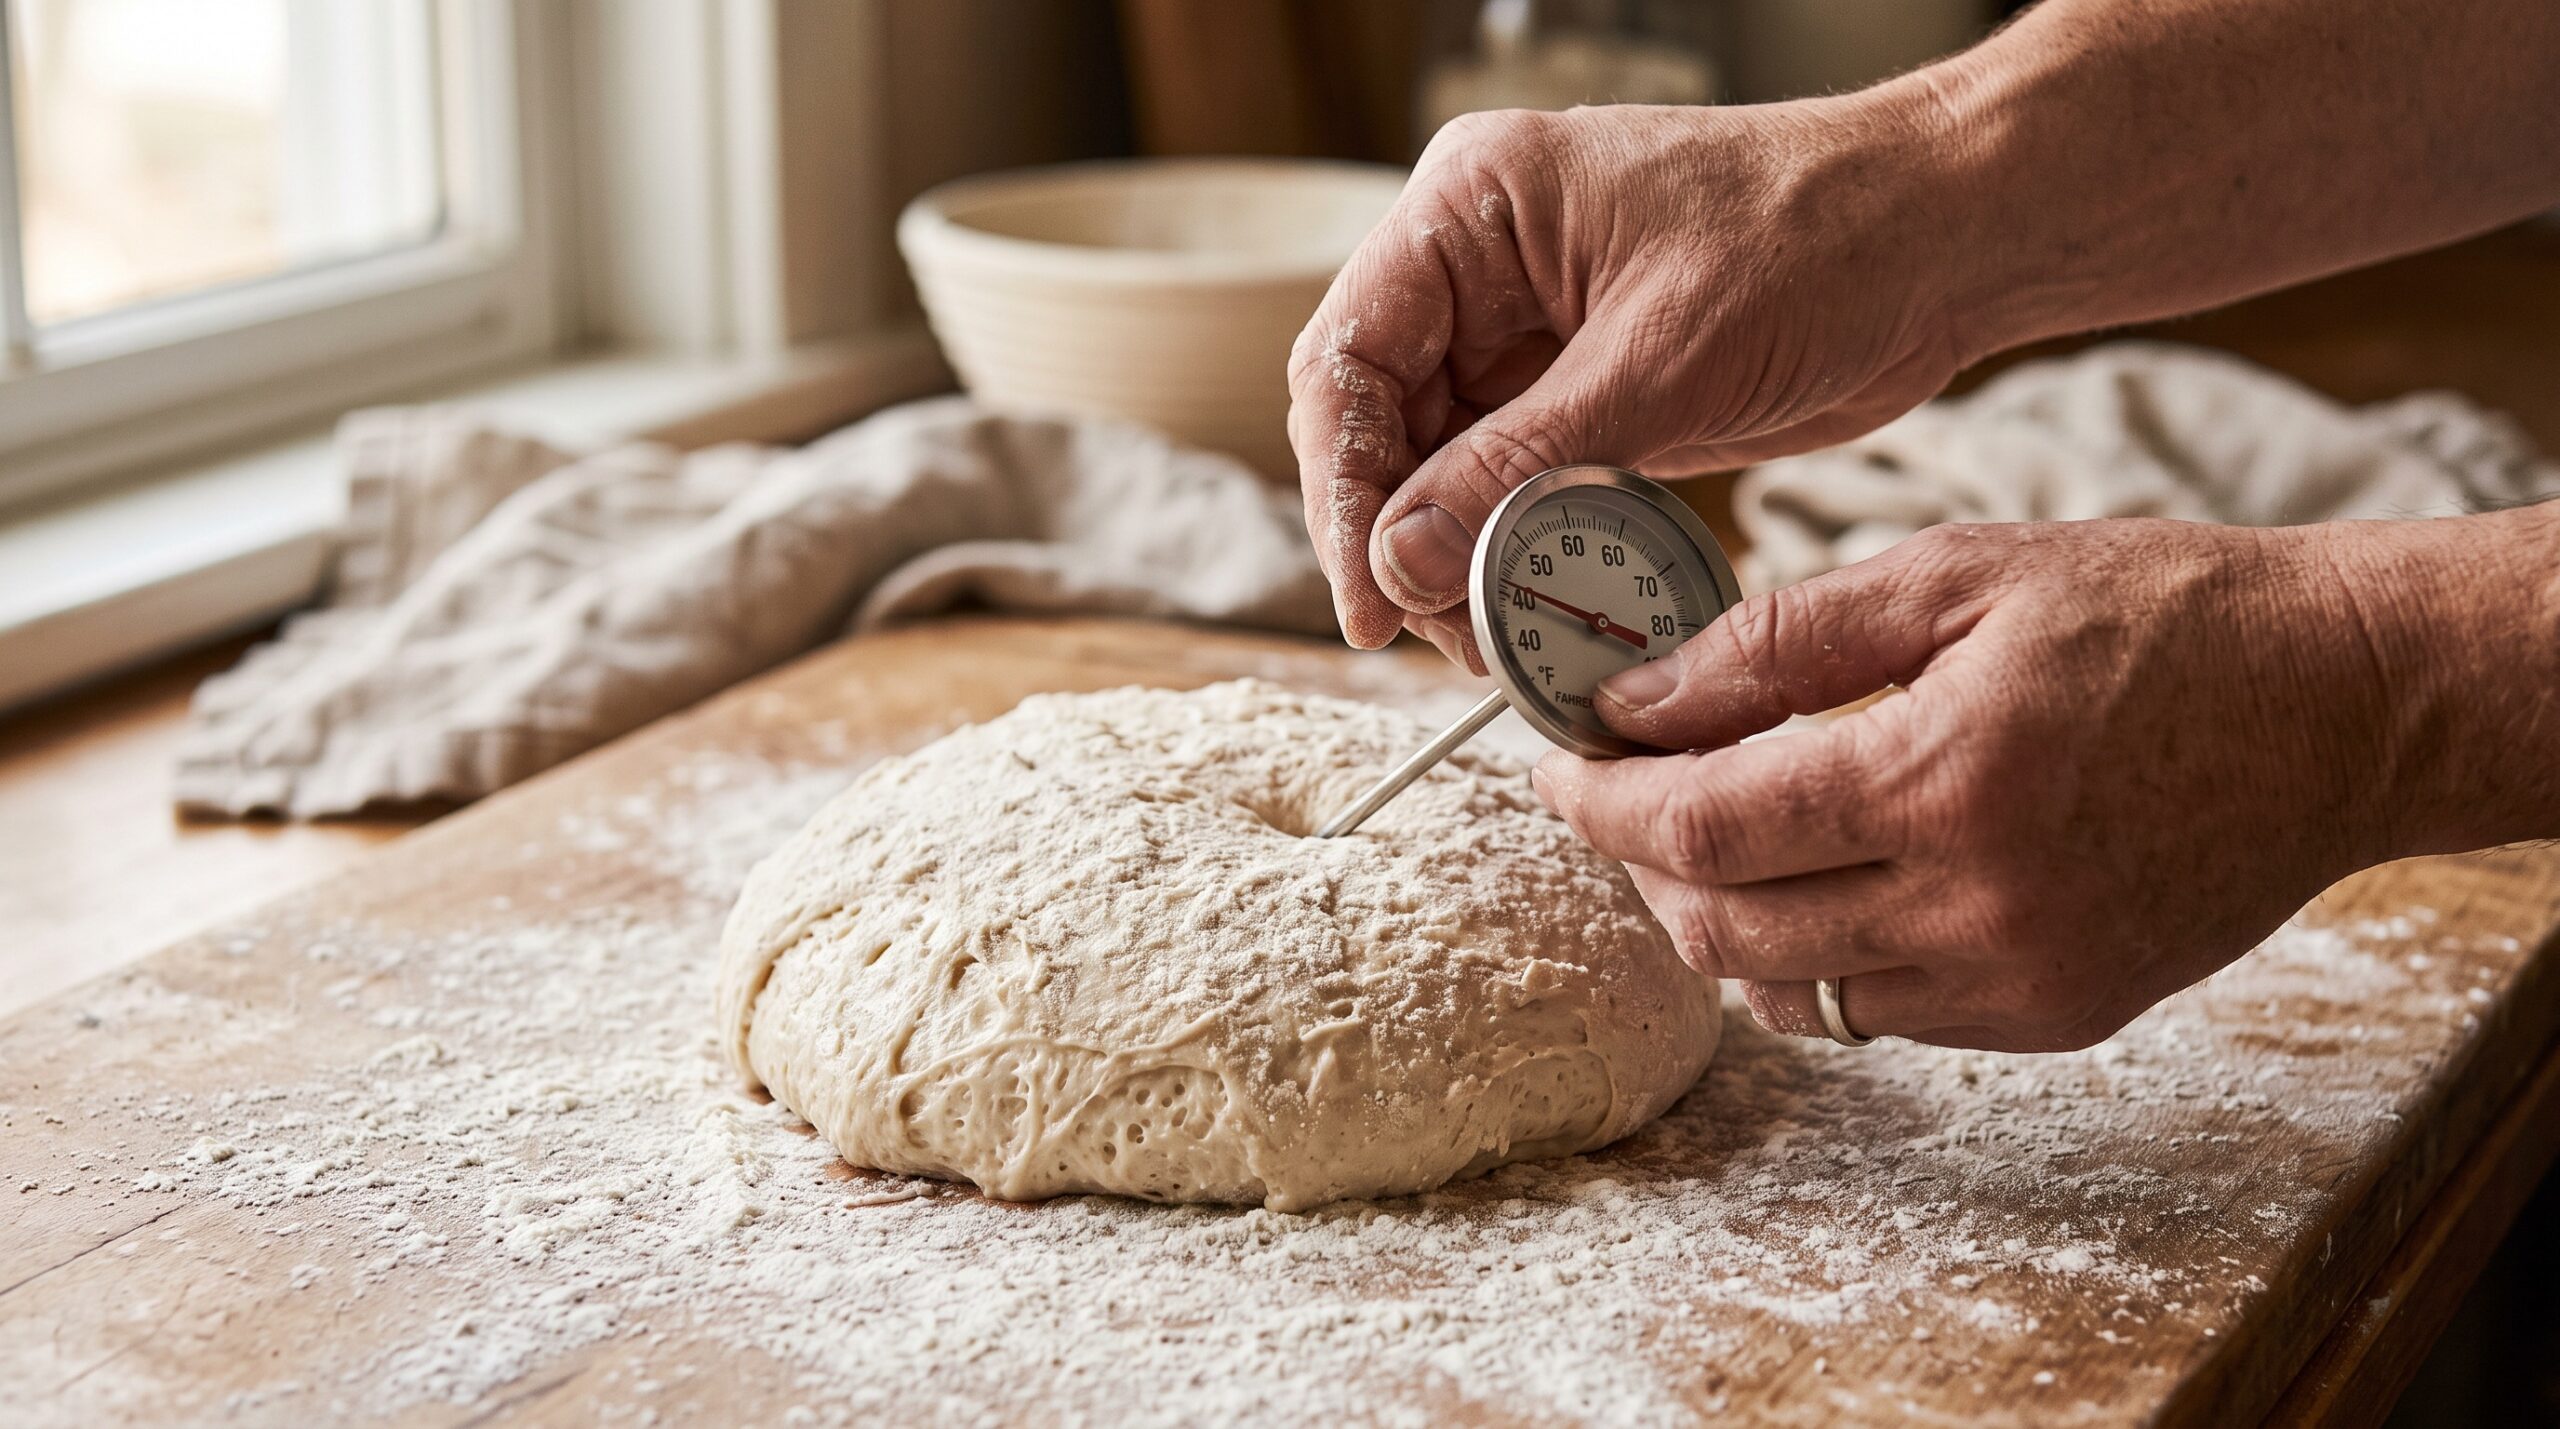
    Analog probe thermometer being inserted into a ball of sourdough dough on a floured wooden board
    The one measurement most home bakers skip: the actual temperature of the dough itself.

    Why the clock lies and the thermometer tells the truth

    Recipes give you times — “bulk ferment for four hours,” “proof for two.” Those times are shorthand for a temperature the recipe writer assumed you would be baking at, usually a comfortable 75°F (24°C) kitchen. But fermentation is a chemical reaction, and like all chemistry it speeds up when it is warm and slows down when it is cool.

    The rough rule bakers use: for every increase of about 15°F (8°C), fermentation roughly doubles in speed. Drop the same amount and it roughly halves. So a dough sitting at 70°F is fermenting at a completely different pace than the identical dough at 80°F — even though your recipe hands both the same four-hour window. Follow the clock in a cold kitchen and you underproof; follow it in a warm one and you sail straight past the finish line. If you have ever been unsure which side of that line you landed on, our guide to telling overproofed versus underproofed dough shows you exactly what each one looks and feels like.

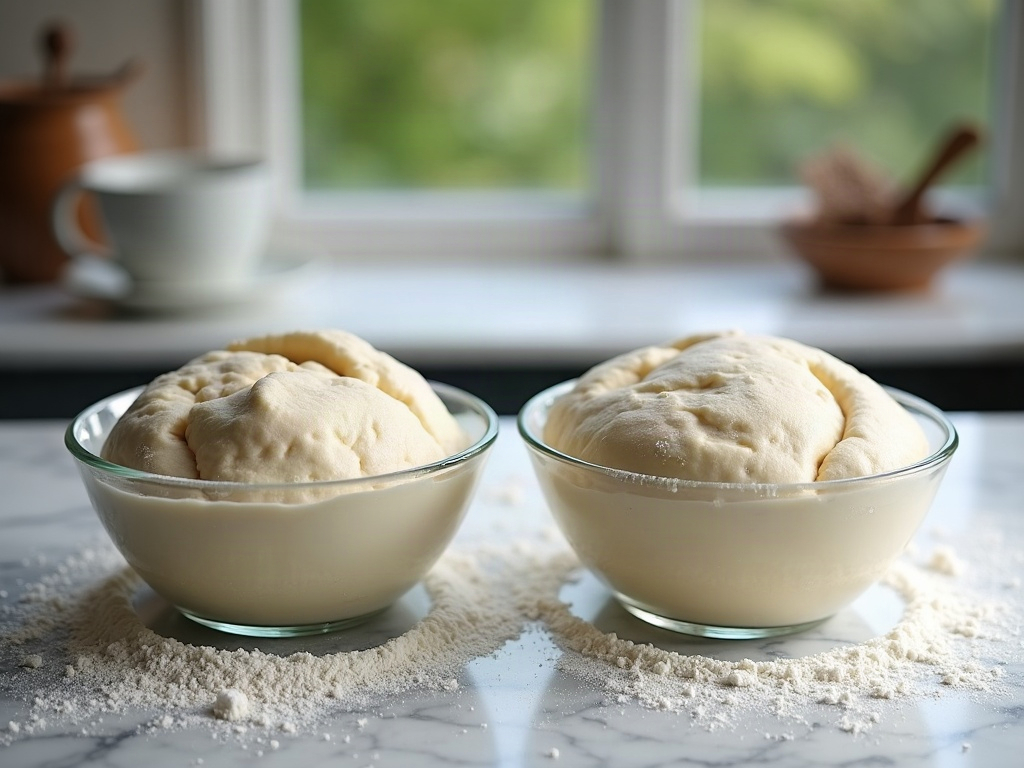
    Two bowls of sourdough dough compared, one flat and cool, one risen and warm
    Same flour, same starter, same hours. The only difference is dough temperature.

    Meet DDT: the one number to aim for

    Professional bakers do not leave dough temperature to chance. They pick a target called the Desired Dough Temperature (DDT) — the temperature they want the dough to be right after mixing. For most sourdough, a DDT somewhere between 75°F and 78°F (24–26°C) is the sweet spot: warm enough for lively, predictable fermentation, cool enough that you still have control and flavor.

    Why does the temperature right after mixing matter so much? Because it sets the starting pace for the entire bulk ferment. Start the dough at 78°F and it hits the gas immediately. Start it at 68°F and it crawls out of the gate, then you spend the whole day wondering why nothing is happening. Picking a DDT turns a vague hope into a target you can actually hit.

    How to hit your target: the water-temperature formula

    Here is the good news. You do not control the flour temperature (it is whatever your cupboard is) and you barely control the room. But you have complete, instant control over one ingredient: the water. Adjust the water temperature and you drag the finished dough toward your DDT.

    The simple home-baker version of the formula is:

    Water temperature = (DDT × 3) − flour temperature − room temperature − starter temperature

    Say your DDT is 77°F, your flour and room are both 70°F, and your starter (straight from a cool spot) is 72°F. That is (77 × 3) − 70 − 70 − 72 = 231 − 212 = 19… which tells you the water needs to be about 19°F warmer than the rest, so roughly 89°F. Warm tap water, in other words. In a cold kitchen you will reach for warmer water; in a summer kitchen you may need it straight from the cold tap or even chilled.

    Do not overthink the arithmetic. The lesson underneath the formula is the part that matters: when the room is cool, warm the water; when the room is warm, cool the water. Even a rough correction beats ignoring temperature entirely.

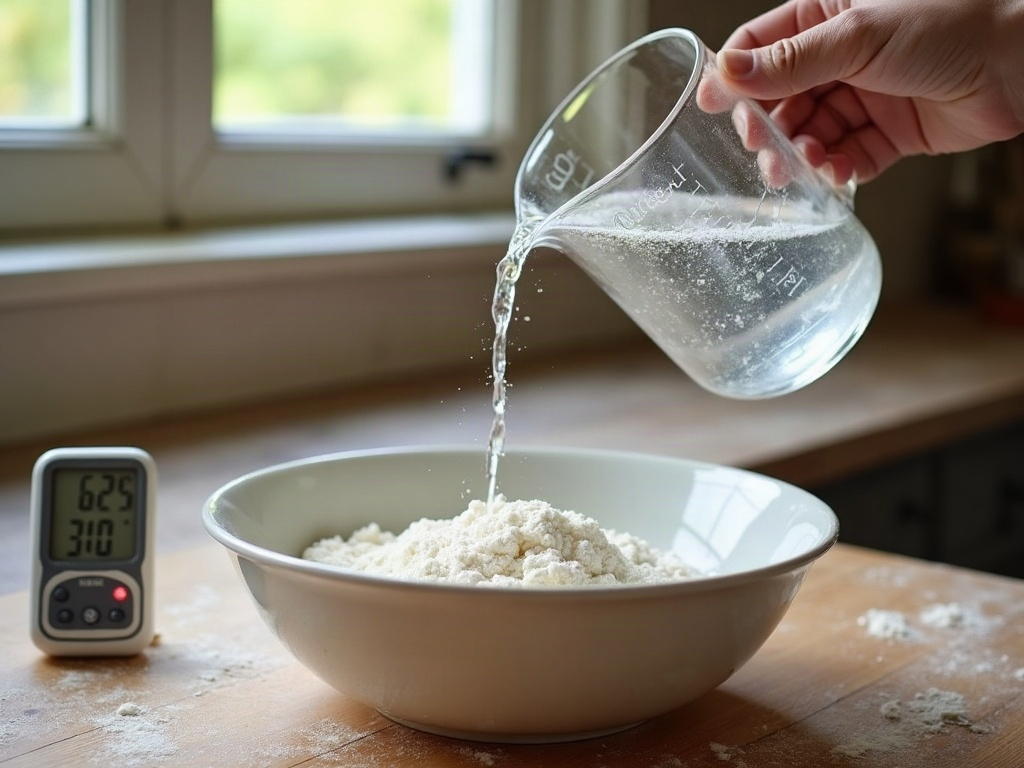
    Water being poured from a measuring jug into flour with a thermometer resting nearby
    Water is the easiest lever you have. Adjust its temperature and you steer the whole bake.

    Reading the room reshapes your whole timeline

    Once the dough is mixed at the right temperature, the room takes over — and this is where the clock really falls apart. A dough that finishes bulk fermentation in four hours at 76°F might need six or seven hours at 68°F, or be dangerously close to overproofed in three at 82°F.

    This is exactly why you should judge the dough, not the timer. Watch for the real signals — a 30–50% rise, a domed and jiggly surface, bubbles along the edges of the container. If you are not yet confident spotting them, our walkthrough on how to tell when bulk fermentation is done covers the signs most home bakers miss. Temperature decides when those signs appear; your eyes decide when to move on.

    Symptom, cause, and fix: the two temperature traps

    Trap one — the sluggish cold dough. The symptom: hours pass and the dough looks almost exactly as it did when you mixed it. The cause is nearly always a cold dough and a cold room dragging fermentation to a near-standstill. The fix: give it a genuinely warm spot (more on that below) and, crucially, extend your time — a cold dough is not broken, it is just slow. If your starter itself is barely bubbling before you even mix, the same cold logic applies; our fixes for a sourdough starter that will not rise almost always start with warmth.

    Trap two — the runaway warm dough. The symptom: you turn your back for an hour and the dough has ballooned, gone slack, and lost its structure. The cause is a dough that started too warm or proofed somewhere hot, so fermentation overshot. The fix: mix cooler next time (colder water), shorten your windows, and in high summer let the fridge slow things down. A warm dough is not “faster and better” — past a point it is just overproofed.

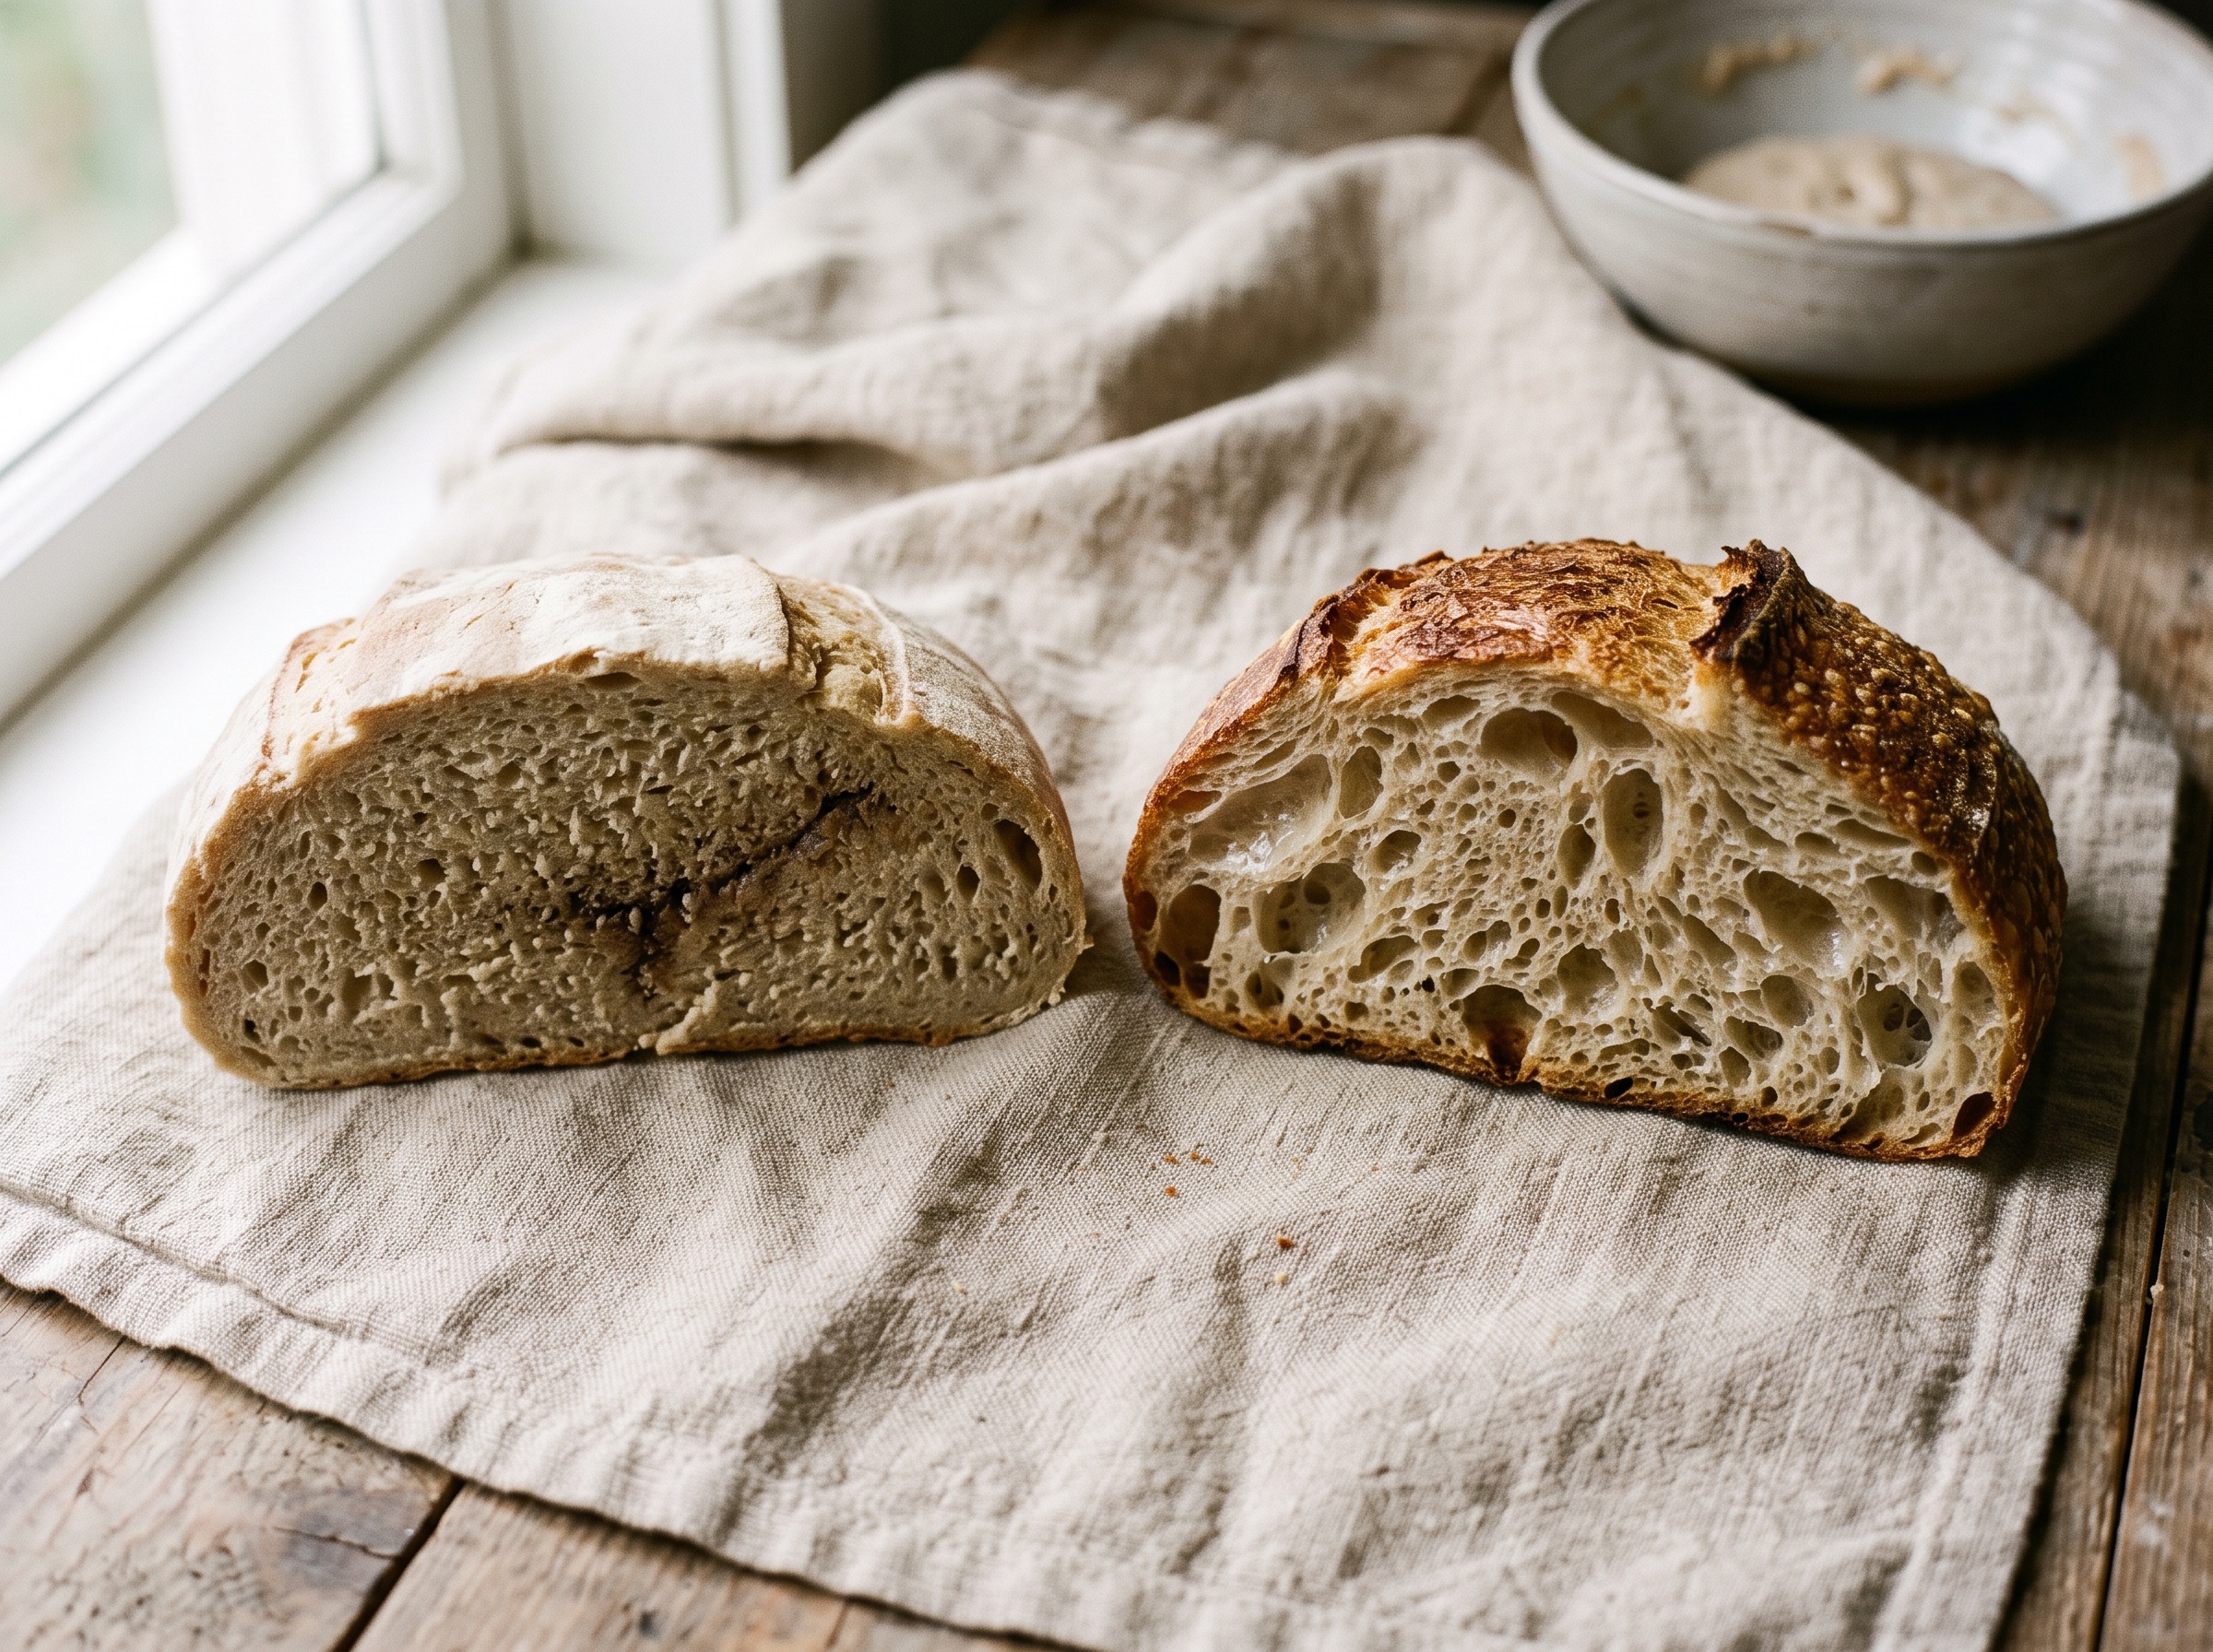
    Two sourdough crumb cross-sections compared, one tight and gummy, one open and even
    The crumb tells the temperature story: under-fermented and tight on the left, well-fermented and open on the right.

    Simple tools and habits that put you in control

    You do not need a laboratory. Three small habits cover almost everything:

    Covered bowl of sourdough dough proofing inside a turned-off oven with the light on
    A turned-off oven with the light on is a reliable, draft-free warm spot for a steady rise.
    • Buy an instant-read thermometer. A cheap digital probe is the single most useful sourdough tool after a scale. Take the dough’s temperature right after mixing so you know your real starting point — guessing is what got you here.
    • Create a steady warm spot. A turned-off oven with just the interior light on, the top of the fridge, or a cooler with a jar of warm water all hold a gentle, draft-free warmth. Consistency beats heat: a stable 76°F spot is worth more than a hot windowsill that swings 15 degrees.
    • Adjust water first, everything else second. Before you change your recipe, change your water temperature. It is the fastest, most reliable dial you have.

    And if your kitchen simply runs cold and slow, do not fight it — work with it. A cooler, longer ferment builds gorgeous flavor, and you can shape your bake around real life. Our approach to baking sourdough around a full-time work schedule leans on exactly this: using temperature to stretch or compress the timeline to fit your day.

    The takeaway

    Sourdough is not fussy or magical — it is responsive. Nearly every “I did everything the same” loaf comes down to a dough that was warmer or cooler than last time, quietly running at a different speed. Measure the dough, pick a DDT around 76°F, steer it with your water, and then trust your eyes over the clock. Do that, and the mystery drains out of your baking and predictability takes its place.

    Want to see the water-temperature trick and the “is it done?” dough checks in real time? The full walkthrough lives on the LoafLovers YouTube channel, and you can grab our free sourdough troubleshooting guide — a quick-reference for the symptoms, causes, and fixes that come up most — when you join the email list. No hard sell, just the answers waiting for the next time your dough surprises you.

    Related Reading

  • Why Is My Gluten-Free Sourdough Dense and Gummy? The Real Causes and How to Fix Each One

    Why Is My Gluten-Free Sourdough Dense and Gummy? The Real Causes and How to Fix Each One

    There is a particular disappointment that belongs only to gluten-free bakers. You kept a gluten-free starter alive for weeks, you fed it faithfully, it bubbled up beautifully, you mixed your dough with real hope — and out came a loaf that is squat, pale, heavy as a paperweight, and unmistakably gummy through the middle. It is easy to blame yourself, or the starter, or gluten-free baking as a whole. Don’t. A dense, gummy gluten-free loaf is not a mystery and it is almost never bad luck. Gluten-free sourdough simply fails along different lines than wheat sourdough, and once you know what those lines are, the fix for each is concrete and repeatable. Let’s diagnose it properly.

    A cut gluten-free sourdough loaf on a wooden board showing a dense, slightly gummy, squat crumb in soft natural light
    The classic gluten-free fail: pale, squat, dense at the base, sticky in the middle. Every part of it has a cause.

    First, Understand Why Gluten-Free Behaves Nothing Like Wheat

    Everything about that gummy crumb traces back to one fact: there is no gluten. In a wheat loaf, gluten forms a stretchy elastic web that traps fermentation gas and sets into an airy, springy structure in the oven. Gluten-free flours — rice, sorghum, buckwheat, starches — have none of that. On their own they behave like wet sand: they cannot trap gas, they cannot hold a tall shape, and they cannot form the scaffold that makes bread light. So gluten-free sourdough is not “wheat sourdough with different flour.” It is a different craft that borrows the flavor of sourdough. The dough is usually a thick, pourable batter rather than a kneadable ball, structure comes from an added binder instead of gluten development, and the loaf is baked far longer and to a specific internal temperature. Miss those differences and you get exactly the dense, sticky brick you are holding. Nearly every cause below is really a version of this same truth: the loaf never got the structure or the full bake that gluten-free bread demands.

    Cause 1: Not Enough Binder (Usually Psyllium)

    This is the number-one reason a gluten-free loaf comes out dense and gummy, and it is the first thing to check. Because there is no gluten, something else has to trap the gas and give the crumb its set, stretchy structure — and for real bread-like results, that something is almost always psyllium husk. Psyllium forms a gel that mimics gluten’s gas-holding, gives the dough enough cohesion to rise and hold a shape, and sets into a proper crumb instead of a paste. Too little psyllium (or leaning only on xanthan gum, which helps but will not carry a whole hearth loaf on its own) and the structure collapses: the gas escapes, the loaf sinks, and the interior bakes into that tight gummy band. The fix is to make sure your recipe uses a meaningful amount of psyllium husk — whole husk or powder — and to measure it by weight, because the difference between a good loaf and a gummy one can be a few grams. If your recipe uses no psyllium at all and relies solely on a pinch of gum, that recipe is the problem, not your technique. Find a formula built around psyllium and the single biggest cause of gumminess usually disappears.

    Psyllium husk being stirred into a wet gluten-free sourdough batter, forming a thick gel, hands in frame
    Psyllium is the structure gluten-free dough is missing. Too little and the loaf has nothing to hold it up.

    Cause 2: The Hydration Is Wrong for a Batter Dough

    Gluten-free doughs need more water than wheat doughs — the flours and psyllium are thirsty, and a stiff gluten-free dough bakes up dry, crumbly, and dense because there was never enough moisture to gelatinize the starches properly. But there is a trap on the other side: too much water, with too little binder to manage it, gives you a loaf that is soft, wet, and gummy no matter how long you bake it. The target is a thick, spreadable, batter-like consistency — think stiff cake batter or soft mashed potato that holds a mounded shape, not a dough you can knead. If your mix pours like pancake batter, it is too wet for the structure to set and you will chase gumminess forever; if it is stiff enough to feel like play-dough, it is too dry. Managing that wet, sticky texture is a skill of its own — the same wet-hands, bench-scraper, work-with-it-not-against-it approach that helps with high-hydration wheat dough applies here too. Weigh your water, follow your recipe’s hydration closely, and adjust in small steps rather than by eye.

    Cause 3: Underbaked and Cut Too Soon (the Big One)

    Here is the cause that fools almost everyone, because the loaf looks done. Gluten-free bread needs to bake longer and to a higher internal temperature than most people expect — the dense, wet batter takes a long time for heat to penetrate to the center, and a gluten-free loaf pulled when a wheat loaf would be ready is simply raw in the middle. That raw center is your gumminess. The fix is to stop baking by color and start baking by temperature: bake until the internal temperature at the very center reads fully done — for most gluten-free hearth loaves that means around 205 to 210°F (96 to 99°C), noticeably higher than a wheat loaf. An instant-read thermometer is not optional here; it is the single most useful tool in gluten-free baking. And then comes the discipline nobody wants to hear: you must let it cool completely before slicing, and gluten-free bread means completely — several hours, fully to room temperature. The crumb of gluten-free bread finishes setting as it cools; the starches are still gelatinized and pasty when hot, and cutting a warm loaf smears that unset interior into a gummy streak that was never actually the fault of your dough. If you take only one thing from this article: bake it longer and hotter than feels right, and do not cut it until it is stone cold.

    Two gluten-free sourdough loaves side by side, one squat and dense, one taller with a lighter set crumb
    Problem next to fixed: the taller loaf was baked longer, hotter, and fully cooled before slicing.

    Cause 4: A Weak or Wrongly Fed Gluten-Free Starter

    Structure and bake are the usual culprits, but fermentation matters too, and a sluggish gluten-free starter leaves you underpowered from the start. A gluten-free starter that is not vigorous will not produce enough gas to lift a heavy batter, so the loaf never gets airy and bakes dense. Make sure your starter is genuinely active — bubbly, risen, and predictable — before you bake, and that you are feeding it a gluten-free flour it actually likes (brown rice and sorghum are reliable workhorses; whole-grain gluten-free flours ferment more energetically than plain starches). If your starter is limp, weak, or barely moving, fix that before you blame the loaf. Building a gluten-free starter that truly rises is its own project, and if yours has never been reliably lively, our guide to building a gluten-free starter that actually rises is the place to start. A strong loaf begins with a strong culture.

    Cause 5: Over- or Under-Fermented Dough

    Fermentation timing cuts both ways, and gluten-free dough is less forgiving than wheat about it. Under-ferment — not enough rise time — and there is too little gas in the dough, so the loaf bakes tight and heavy. Over-ferment — leaving that batter to rise far too long — and the fragile gluten-free structure breaks down, loses its ability to hold gas, and collapses into a dense, damp crumb during the bake. Because gluten-free dough won’t give you the obvious dome-and-jiggle cues a wheat dough does, watch for a clear rise of roughly 50 percent and visible bubbles rather than a strict clock, and get to know how your particular dough looks at its peak. The gummy-crumb diagnosis has a lot in common with its wheat cousin here — if you have read our piece on why regular sourdough turns out gummy, you will recognize the same fermentation-and-bake logic, just with a smaller margin for error.

    Cause 6: A Poor Flour Blend

    Finally, the flour itself. A gluten-free loaf built on nothing but light starches (white rice flour, tapioca, potato starch) tends toward a gummy, dense, oddly bouncy crumb because there is little substance to set around. The best gluten-free bread blends whole-grain gluten-free flours — brown rice, sorghum, buckwheat, millet, oat — for body and flavor with a portion of starch for lightness. If you have been using a generic all-purpose gluten-free blend designed for cookies and cakes, that is likely part of your problem; those blends are tuned for tender pastry, not for the structure a hearth loaf needs. Use a bread-specific gluten-free flour blend, or build your own around whole-grain flours plus psyllium, and the crumb gets meaningfully better on its own.

    Putting the Diagnosis Together

    Work the causes in order and the fix is usually fast. Start with the two that account for most gummy loaves: is your recipe built around enough psyllium, and did you bake it long enough, to temperature, and cool it completely before cutting? Those two alone rescue the majority of dense gluten-free loaves. If they check out, move down the list — hydration in the right batter range, a genuinely lively starter, fermentation caught at its peak, and a bread-worthy whole-grain flour blend. Change one variable at a time so you actually learn what your kitchen and your ingredients want, rather than swapping everything at once and never knowing what fixed it. Gluten-free sourdough has a smaller margin than wheat, but it is not luck — it is a set of knowable rules, and every one of them is in your hands.

    An instant-read thermometer probe in the base of a gluten-free sourdough loaf cooling on a rack with steam rising
    Gluten-free bread is baked to temperature, not to a guess. The center needs to hit fully done or the crumb stays gummy.

    If you want to see the batter consistency, the psyllium gel, and the cold-slice test in motion — because gluten-free is a craft you really have to see — the full walkthrough lives on the LoafLovers YouTube channel, and our free sourdough troubleshooting guide will help you pin down whichever of these causes is behind your loaf. Bake it longer than feels right, let it cool all the way, and slice into a gluten-free loaf that finally holds together.

    Related Reading

  • Sourdough Blowout: Why Your Loaf Bursts on the Side Instead of the Score

    Sourdough Blowout: Why Your Loaf Bursts on the Side Instead of the Score

    You did everything right, or so it felt. The dough rose, you slid it into a screaming-hot oven, and it sprang. But when you pulled the loaf out, the neat slash you made across the top had barely opened, and instead the bread had ripped itself open somewhere it wasn’t supposed to: a ragged, pale, torn seam bursting out of the side or the base. That’s a blowout, and it’s one of the most deflating things to find, precisely because the loaf clearly had life in it. It just spent that energy in the wrong place.

    The good news is that a blowout isn’t random bad luck. It’s the loaf telling you something specific about how it was proofed, shaped, and scored. Once you can read it, the fix is usually a single adjustment. Let’s walk through what a blowout actually is, then diagnose the handful of causes so you can figure out which one is yours.

    What a blowout actually is

    Every sourdough loaf has a huge burst of expansion in the first ten to fifteen minutes in the oven, the oven spring, as trapped gas heats and pushes outward before the crust sets. That expanding dough has to go somewhere. Your job when you score is to give it a deliberate, controlled exit so it opens where you chose. A blowout happens when the dough finds an easier place to escape than your cut, so it tears through a weak spot instead.

    Two sourdough loaves side by side, left one burst raggedly on the side, right one cleanly scored with a raised ear
    The tell at a glance: on the left the loaf tore open at a weak side seam while the top score stayed closed; on the right the cut governed the expansion into a clean ear.

    That weak spot is almost always low on the side or along the base, where the dough was under tension, poorly sealed, or simply the path of least resistance. The score stays shut because it was too shallow to matter, and the loaf blows out a ragged, uneven seam that often looks paler because that freshly exposed dough ballooned out and set mid-tear. So the real question is never just “why did it burst?” but “why was the side weaker than my score?” Every cause below is a version of that.

    Cause #1: The dough was underproofed

    This is the single most common reason, by a wide margin. An underproofed loaf goes into the oven still tight and full of unreleased energy. It hasn’t developed enough extensibility to open gently and evenly, so when that violent oven spring hits, the surface is under so much pressure that it rips through the weakest point rather than easing open at the score. Underproofed loaves are the ones that blow out most dramatically.

    The tell is in the rest of the loaf too: an underproofed bake is often tight and dense inside, sometimes with a dense gummy band near the base, and the blowout tends to be aggressive and jagged. If that sounds familiar, the fix is simply to let bulk fermentation run longer so the dough relaxes and fills with gas before you shape and bake. Knowing when it’s actually ready is its own skill, and our guide to telling when bulk fermentation is done covers the signs bakers miss. If you’re not sure which side of the line you’re on, learning to read overproofed versus underproofed dough is the fastest way to stop guessing.

    Cause #2: Your scoring didn’t give it an exit

    If the dough is well proofed but still blowing out, look hard at your score. A cut that’s too shallow, made with a dull blade, or placed at the wrong angle simply doesn’t create a real release valve. The loaf pushes against a surface that’s still effectively closed everywhere, and it wins the argument at a side seam instead.

    A hand scoring a round of sourdough at a shallow angle with a lame to make one clean deep cut
    One decisive cut at a low, shallow angle gives the loaf a deliberate place to open, so it does not have to find its own weak spot.

    Two things fix most scoring blowouts. First, cut deeper and with conviction: a confident slash roughly a centimeter deep gives the loaf a genuine weak line to open along, rather than a timid scratch it can ignore. Second, mind the angle. For a classic ear, hold the blade at a low, shallow angle, almost parallel to the surface, so the cut lifts a flap of dough that curls back as it bakes. A single decisive cut usually beats a busy decorative pattern when you’re fighting blowouts, because scattered shallow cuts divide the release and none of them dominates. Our deeper walkthrough on scoring for a proper ear and oven spring breaks the technique down step by step.

    Cause #3: Uneven shaping tension

    Here’s the cause bakers overlook most. A loaf expands most wherever there’s the least tension holding it back. If you shaped your boule or batard so the skin is taut across the top but slack, loose, or torn underneath, you’ve built the weak spot in with your own hands. The oven spring finds that slack patch and bulges out through it, no matter how well you scored the top.

    Two hands shaping a boule of sourdough on a floured surface, building a taut smooth skin
    Even surface tension is the real fix: a smooth, tight skin all the way around leaves no slack weak spot for the loaf to burst through.

    The fix is to build even, all-around surface tension when you shape. Drag and cup the dough to stretch a smooth, tight skin over the entire surface, and make sure the seam on the bottom is pinched closed and not gaping. A dough that’s evenly taut has no single obvious escape route, so it defers to the score you gave it. This same tension is what gives you a tall, well-structured loaf in the first place, and it’s closely tied to the shaping habits behind a good open crumb. Weak shaping shows up as both a flat, spreading loaf and a blowout-prone one, so it’s worth drilling.

    Cause #4: A dried skin, cold dough, or weak steam

    A few oven-side factors turn a borderline loaf into a burst one. The most common is a dried-out skin. If your shaped loaf sat uncovered, especially during a long cold retard in the fridge, the surface can form a tough, leathery film. That skin can’t stretch, so when the soft interior springs, it splits the crust at a seam instead of opening cleanly. Keep the dough covered during proofing and retard so the surface stays supple.

    Steam matters too. In the first several minutes of the bake, moisture keeps the crust soft and elastic so it can expand with the loaf. A dry oven sets the crust too early, and a prematurely stiff crust is far more likely to tear than to open. Bake into a Dutch oven with the lid on, or add steam some other way, for at least the first fifteen minutes. Finally, dough that goes in very cold and dense from the fridge sometimes springs sluggishly and unevenly against an already-setting crust; letting a cold loaf take the chill off slightly, or making sure your oven is genuinely, thoroughly preheated, evens out that fight.

    The fix, step by step

    When you get a blowout, don’t change five things at once. Work down the list in order, because the causes stack from most to least likely.

    Start with proof: if the loaf was tight, dense, or clearly underproofed, give bulk fermentation more time before you touch anything else, because underproofing causes more blowouts than everything else combined. If the proof looked right, deepen and simplify your score to one confident cut at a low angle, so the loaf has an obvious release valve. If it’s still bursting, turn your attention to shaping and build a tighter, more even skin with a properly sealed bottom seam. And throughout, keep the surface from drying out by covering the dough, and make sure you’re baking with real steam into a fully preheated oven.

    A finished sourdough loaf with a single clean score opened into a raised curling ear and blistered crust
    The goal: the score becomes the loaf’s release valve, opening into a clean ear while the sides stay smooth and intact.

    Change one variable per bake and watch what the loaf does. A blowout is genuinely useful feedback: it’s pointing straight at the weakest link in your process, and fixing it is exactly what turns a ragged side seam into a clean, curling ear on the top where you wanted it. Get these dialed in and the score stops being decoration and starts doing its real job, governing where all that beautiful oven spring gets to go.

    Want to see a blowout diagnosed in real time next to a clean bake, with the shaping and scoring shown up close? The full visual walkthrough lives on the LoafLovers YouTube channel, and our free sourdough troubleshooting guide has the rest of the fixes for when you’re standing over a torn loaf and need the answer now. No hard sell, just the fix.


    Sources & further reading:

    Related Reading

  • Mold on Your Sourdough Starter vs Kahm Yeast: How to Tell and When to Toss It

    Mold on Your Sourdough Starter vs Kahm Yeast: How to Tell and When to Toss It

    You lift the lid on your sourdough starter and something looks off. A patch of fuzz. A strange skin across the top. A pool of dark liquid. Your stomach drops, because you’ve read enough kitchen horror stories to wonder whether the whole jar is now dangerous, or whether you just wasted weeks of feeding on something you have to pour down the drain.

    Take a breath, because most of the time what people panic about isn’t mold at all. Starters routinely grow harmless films and liquids that look alarming and are completely safe. But real mold does happen, and when it does the only correct move is to toss the jar. The whole skill is learning to tell the difference on sight and smell, and once you can, this stops being scary. Let’s diagnose exactly what you’re looking at.

    First, don’t panic, but do look closely

    Before you decide anything, get the jar into good light and really study the surface. Three very different things get lumped together under the word “mold,” and only one of them means the starter is done. What you’re trying to sort out is whether you’re seeing genuine mold (fuzzy, raised, colored spots), kahm yeast (a thin flat film), or plain hooch (a layer of liquid). Each looks distinct once you know the tells, and each has a completely different fix.

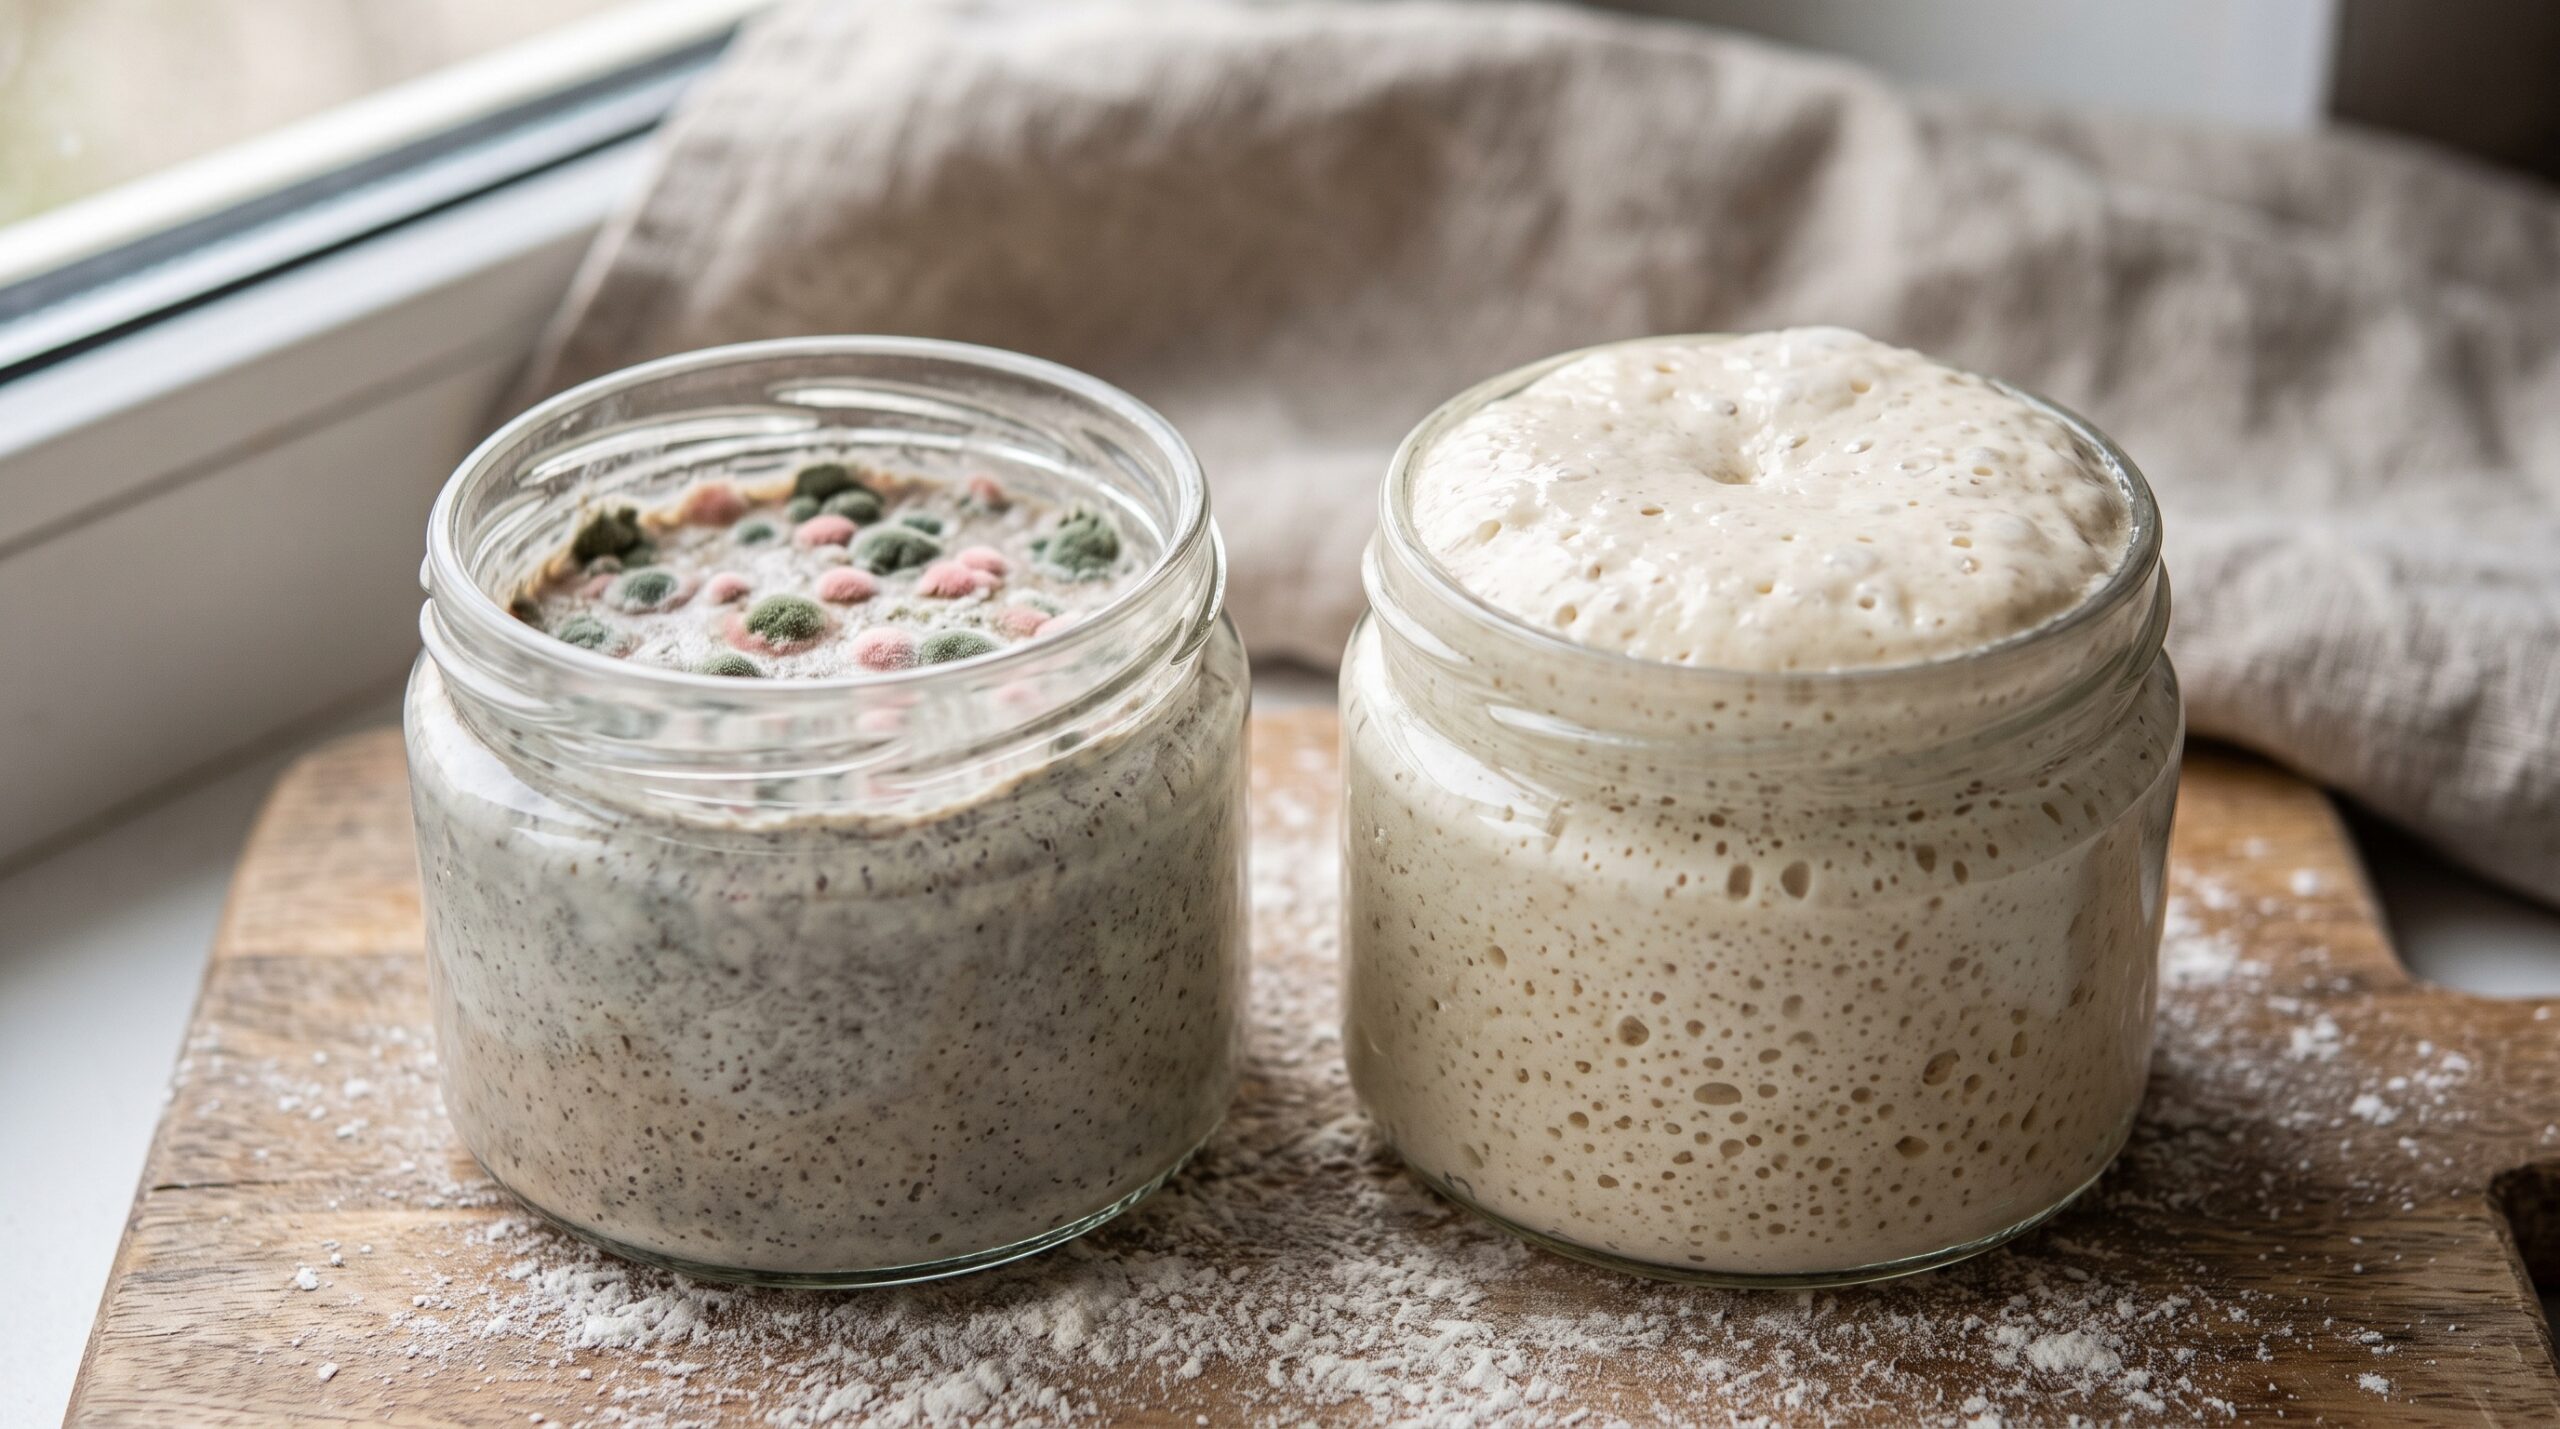
    Two starter jars side by side, one with fuzzy green and pink mold spots and one healthy and bubbly
    The difference at a glance: fuzzy raised colonies on the left mean toss it; a domed, bubbly, even surface on the right is a healthy starter.

    The single most useful question to ask is: is it flat, or is it fuzzy? Mold is three-dimensional. It grows up and out in fluffy, defined circles. The harmless look-alikes lie flat against the surface. That one distinction resolves the majority of panicked starter jars, so start there and then confirm with color and smell.

    What sourdough starter mold actually looks like

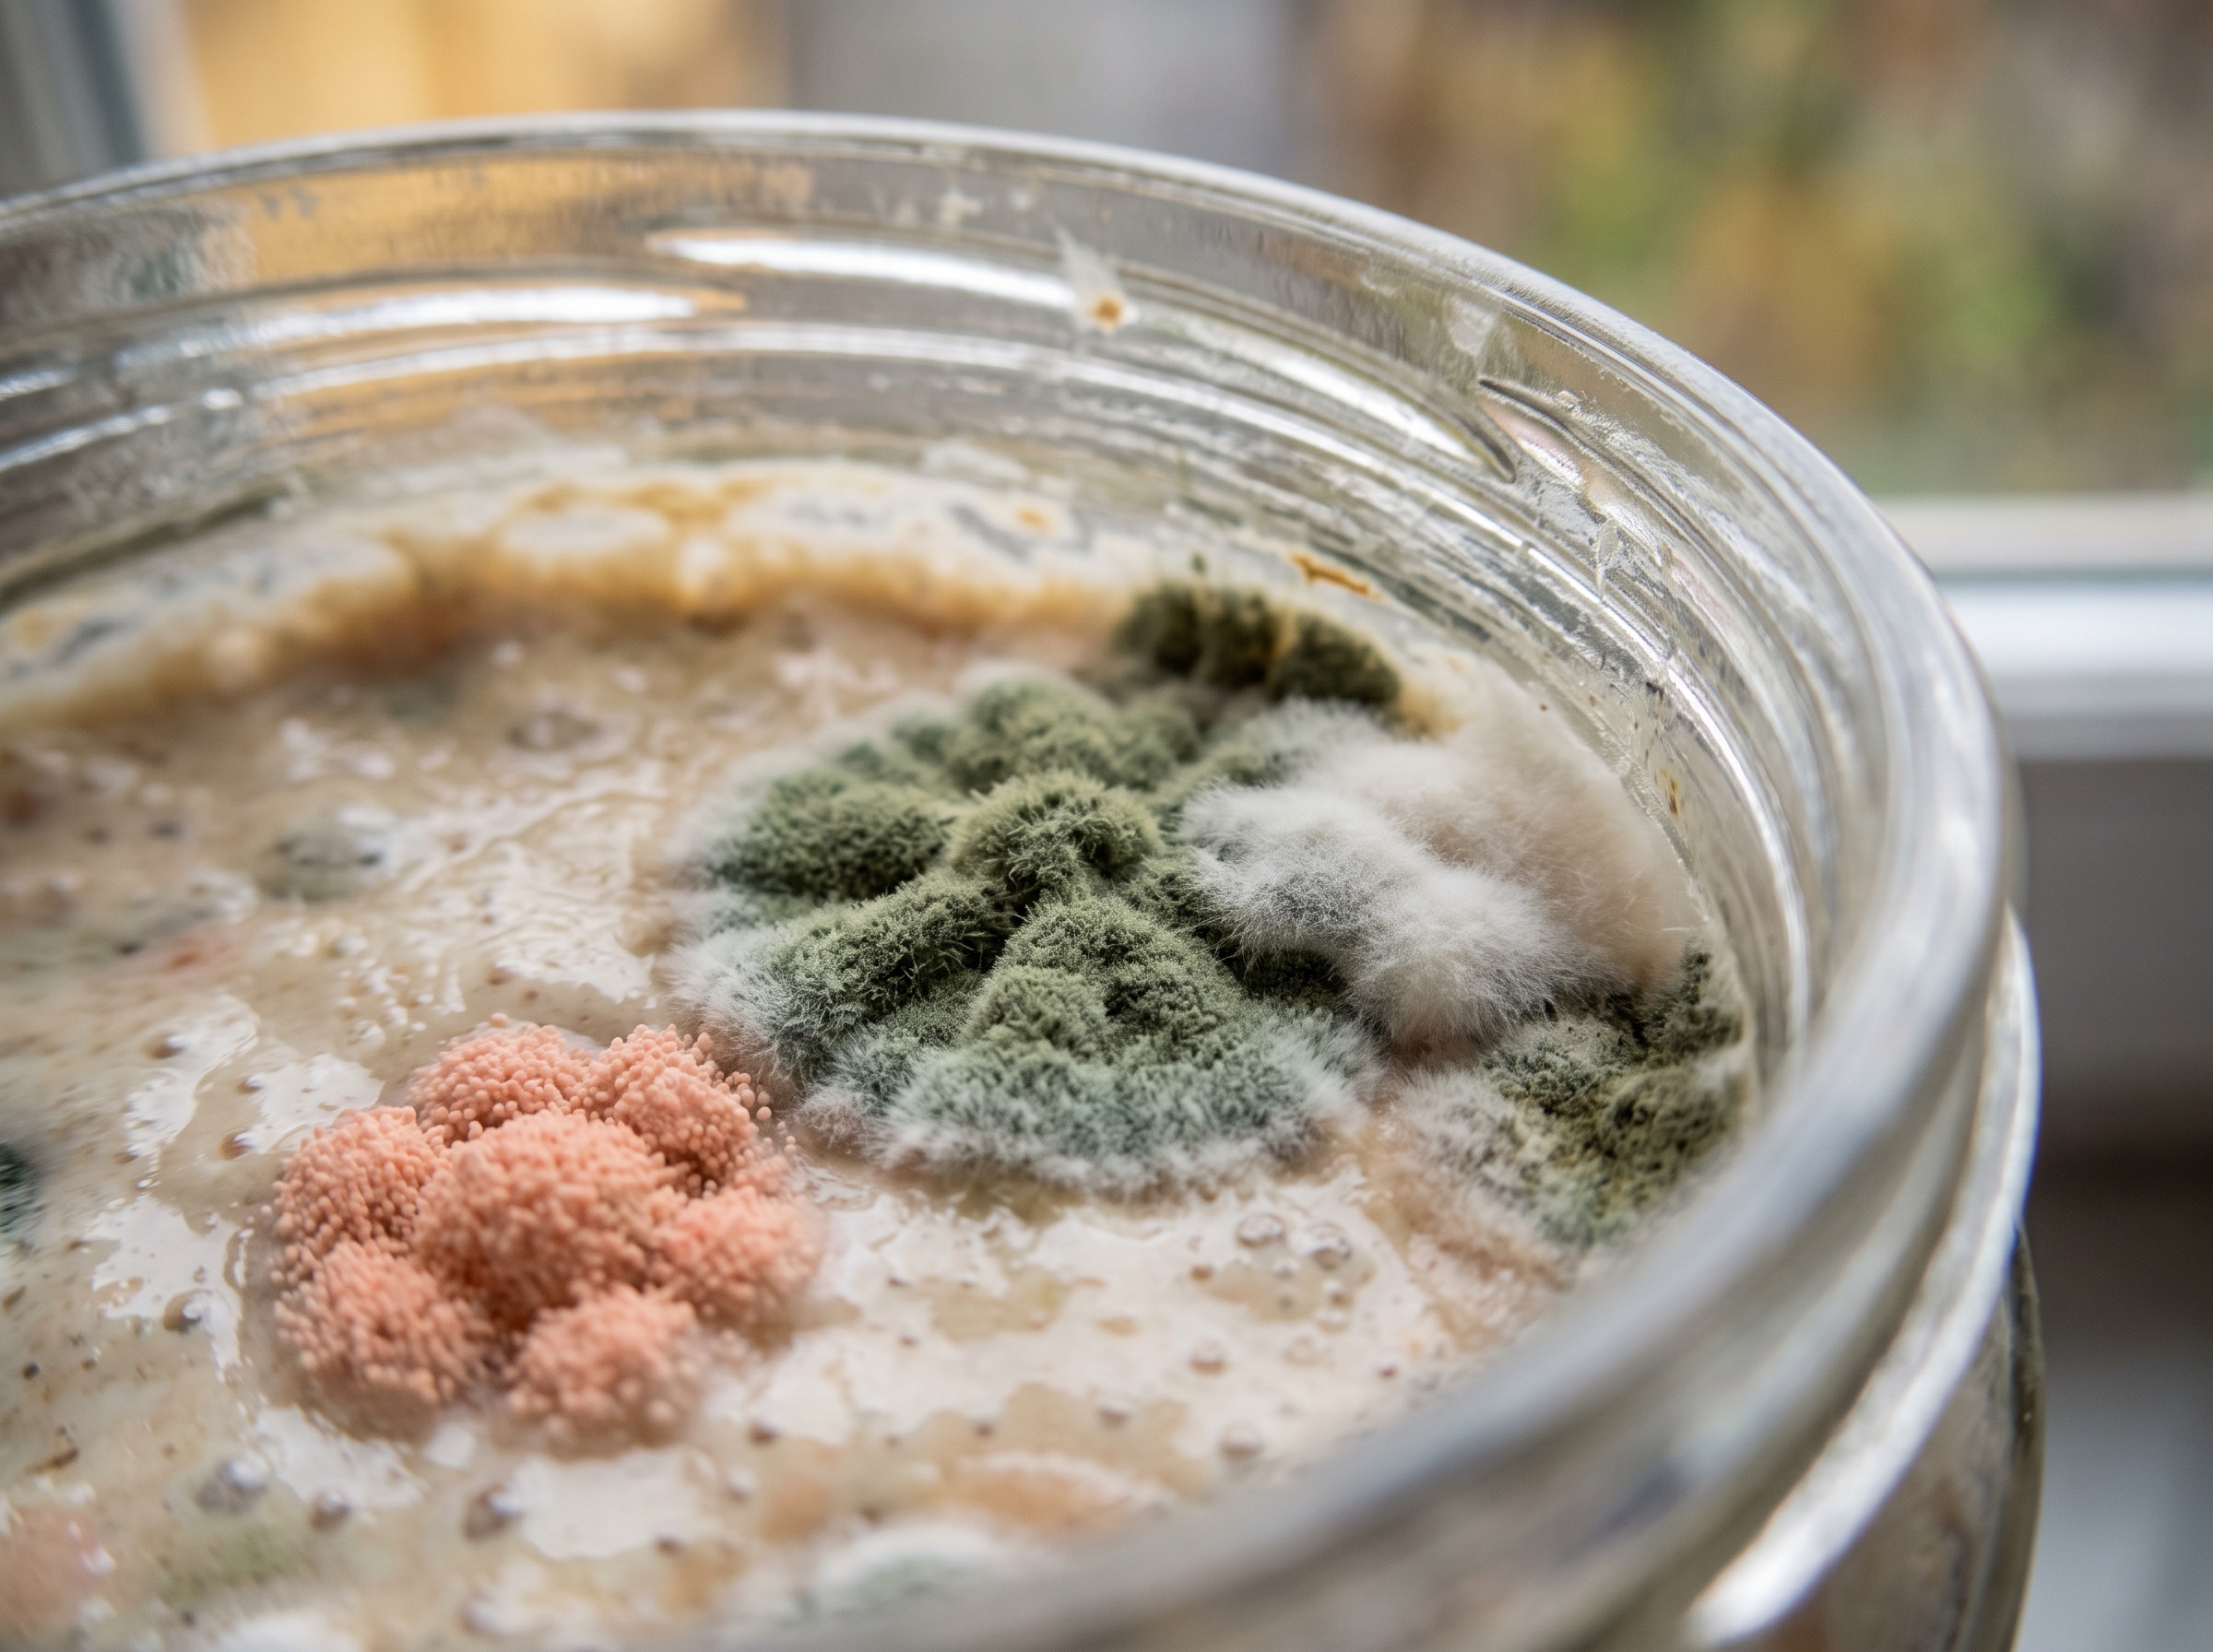
    Real mold is unmistakable once you’ve seen it clearly. It appears as fuzzy, raised colonies, usually in small round spots that spread outward, and it almost always carries color: shades of green, blue, black, or the especially unwelcome pink and orange. Those spots sit up off the surface like tiny bits of lint or cotton, and if you look closely you can often see the fuzzy texture that flat films never have.

    Close-up of fuzzy raised green, white and pink-orange mold colonies growing on a sourdough starter surface
    Real mold is fuzzy and raised, grows in defined round spots, and often shows color: green, black, pink, or orange. This is a toss-it sign.

    Mold typically takes hold on a starter that has been neglected, left too warm, exposed to open air for a long time, or contaminated by a dirty spoon or splashes of flour stuck high on the dry jar walls. Pink and orange growth in particular is a bacterial or mold contamination that is a hard stop. There is no scraping it off and carrying on. When you see fuzzy, colored, raised spots, the starter is compromised all the way through, even the paste that looks clean, because mold sends threads down into food you can’t see. That jar gets thrown out, which we’ll cover below.

    Kahm yeast: the harmless look-alike everyone fears

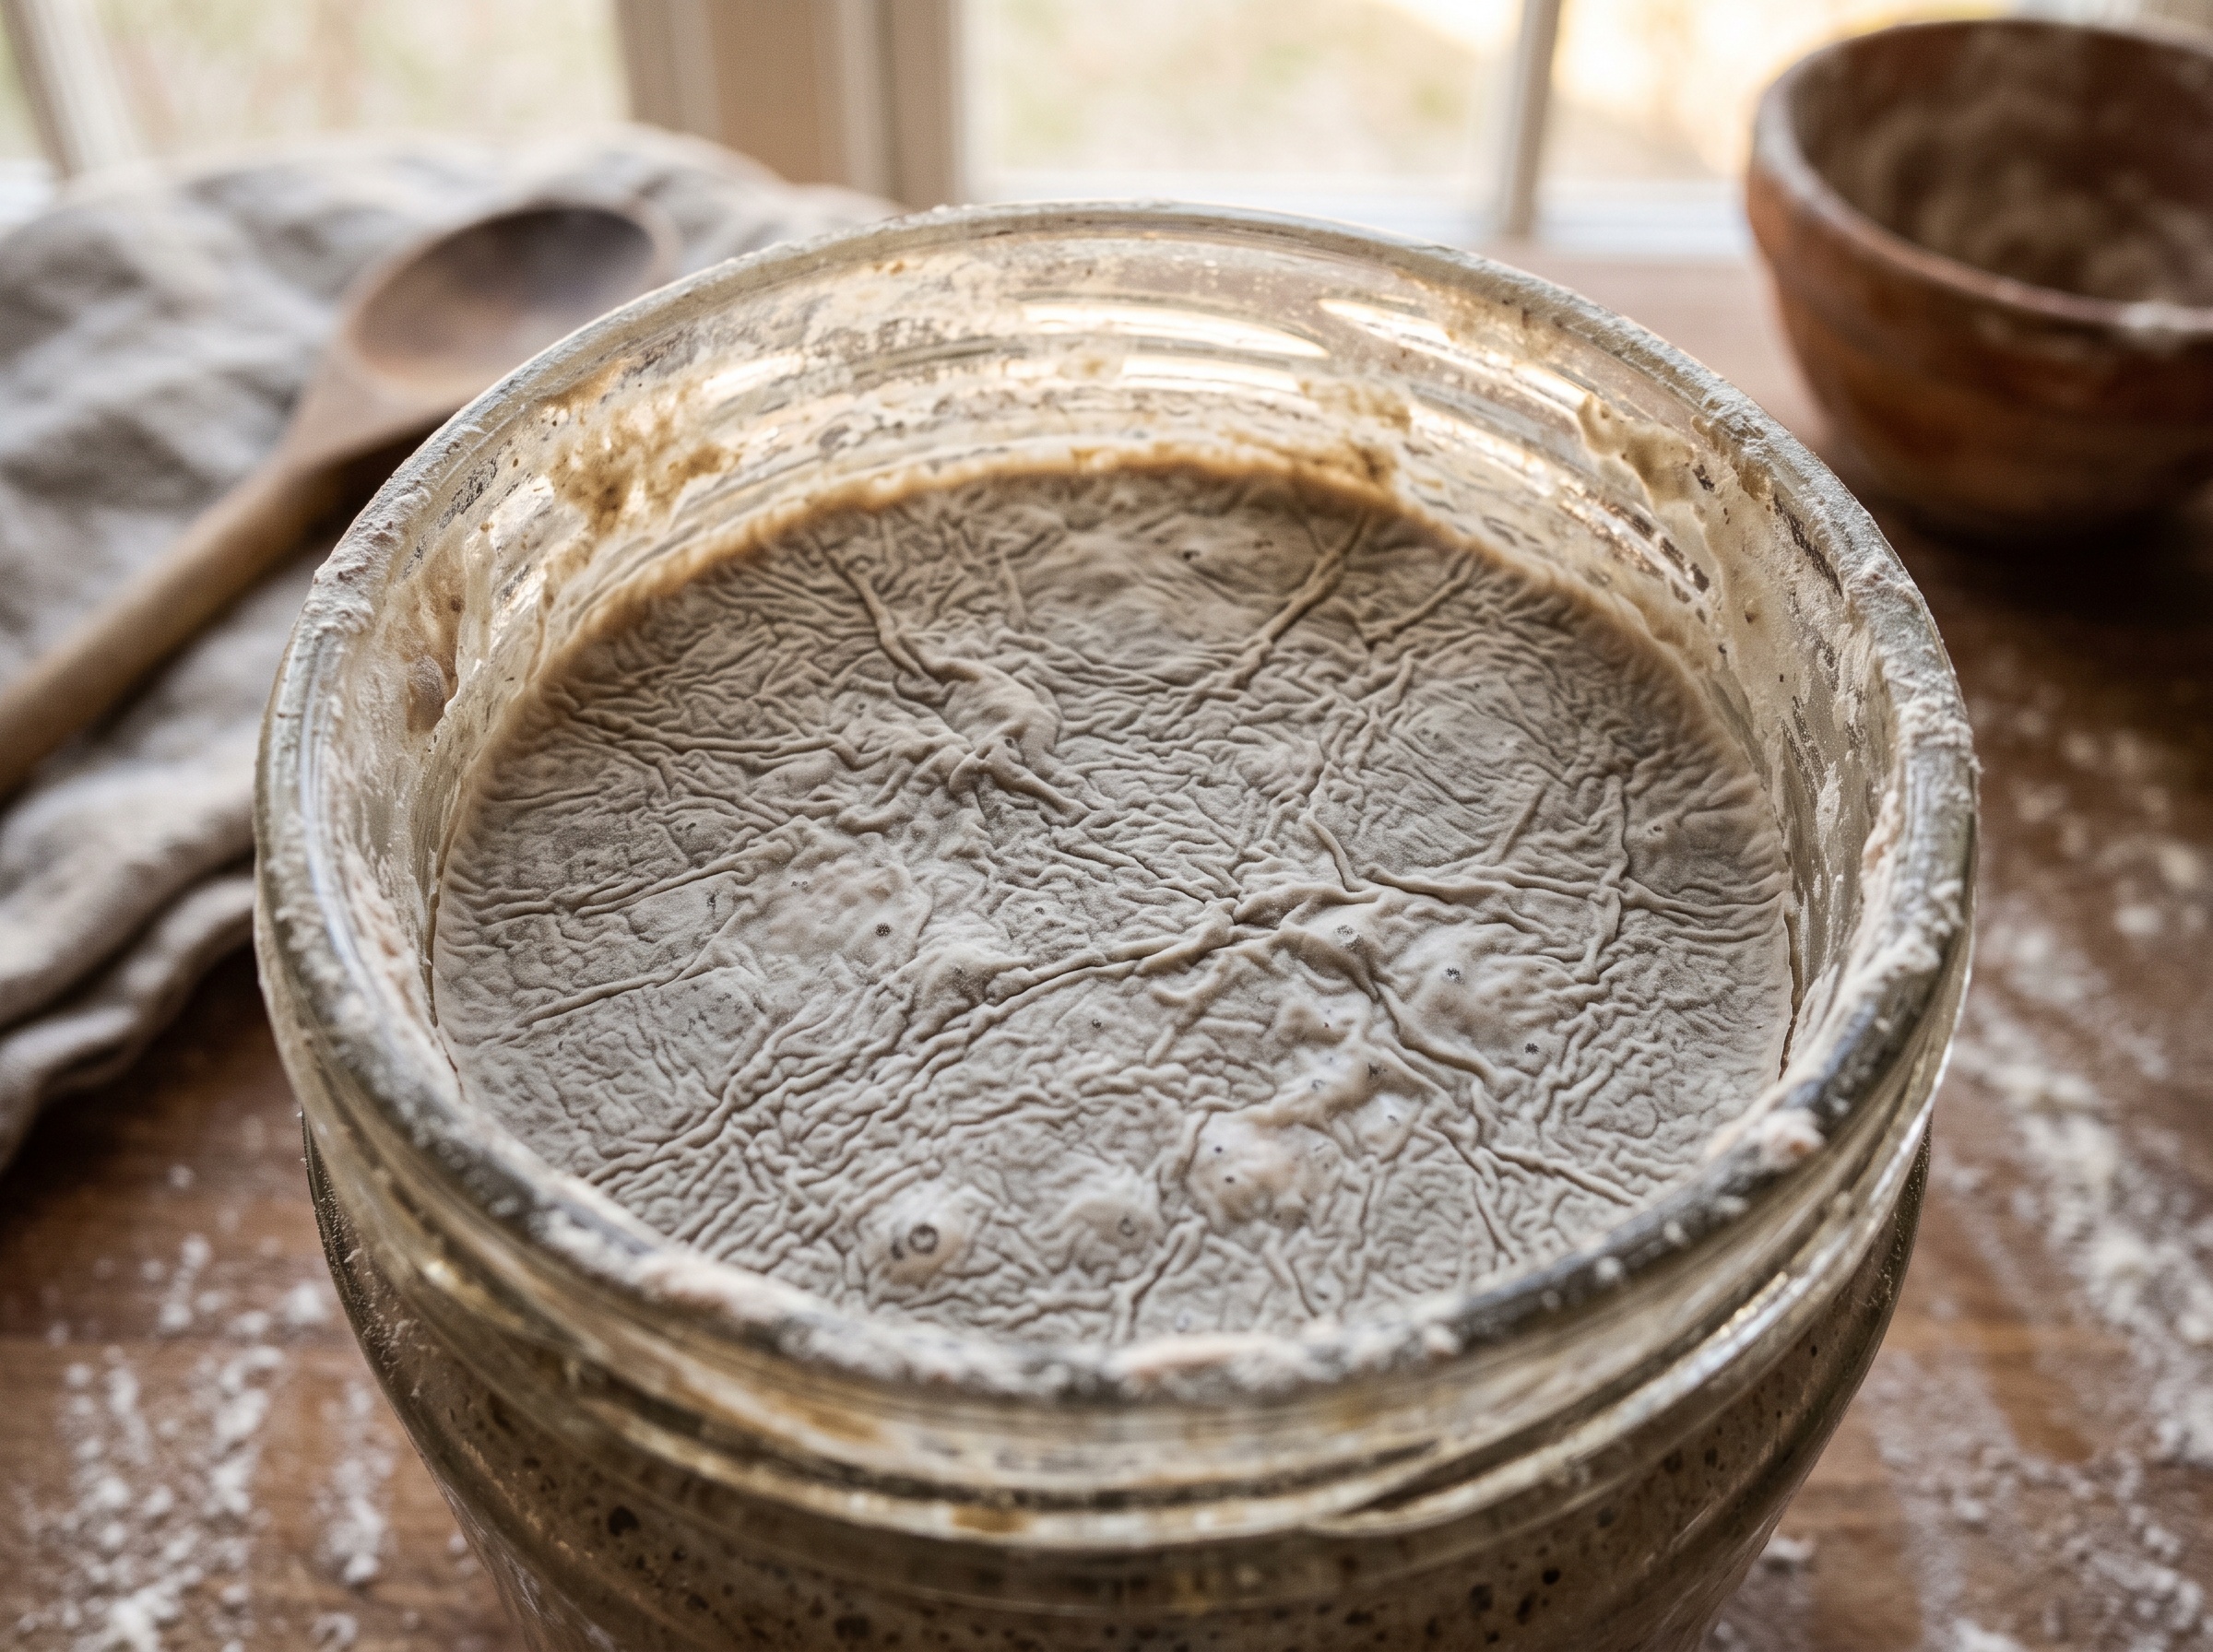
    Here is the growth that scares people the most and hurts them the least. Kahm yeast forms a thin, flat, wrinkly film across the surface, usually grayish-white or off-cream, sometimes with a faintly powdery or skin-like look. Crucially, it is flat. It does not fuzz up, it does not grow in raised circular colonies, and it does not show green, pink, or black color. It’s a wild yeast that thrives when a starter is a bit sluggish, sitting too warm, or going too long between feeds.

    A thin flat wrinkly white film of kahm yeast sitting flat on the surface of a sourdough starter
    Kahm yeast is the harmless look-alike: a thin, flat, wrinkly film with no fuzz and no color. It is unpleasant but not dangerous.

    Kahm is unpleasant and can throw a slightly funky, sometimes cheesy or nail-polish-adjacent smell, but it is not dangerous. You have two reasonable options. If the film is light, you can carefully skim it off the top, discard a generous portion of the starter beneath it, and begin feeding more frequently to outcompete it. If it keeps coming back, it’s usually a sign your starter is underfed or too warm, the same root cause behind a sluggish starter that won’t rise. Tightening up your feeding routine almost always clears it.

    Hooch and discoloration: usually just hunger

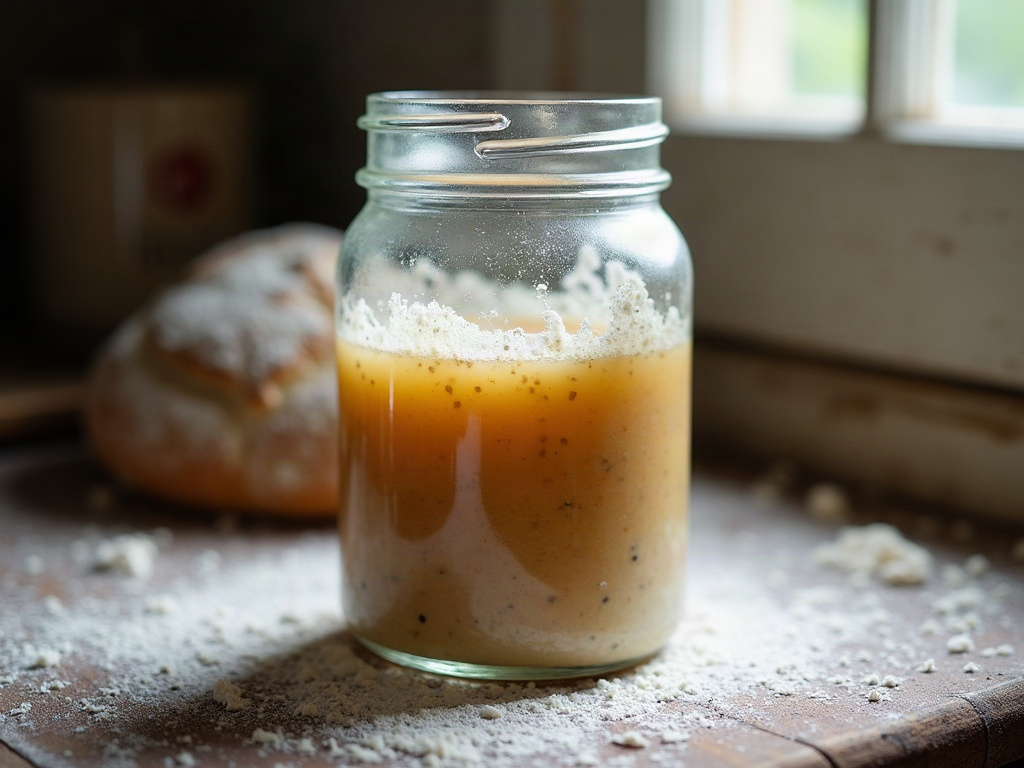
    The third thing people mistake for mold isn’t even solid. A layer of thin liquid pooling on top, clear, gray, amber, or occasionally darker, is hooch: alcohol and byproducts your starter produces when it has eaten through its food and gone hungry. It looks dramatic but it’s completely harmless. You simply stir it back in for a tangier result or pour it off for a milder one, then feed. We walk through exactly what the color of that liquid tells you in our guide to the hooch layer on your starter.

    A layer of clear amber hooch liquid sitting on top of a sourdough starter in a jar
    A layer of clear or gray liquid is hooch, not mold. It just means your starter is hungry, and you simply stir or pour it off.

    Discoloration on its own can also be benign. Hooch can tint the top of a starter gray or even brownish, and that darker paste underneath is usually fine once stirred. What you’re watching for is not a uniform color shift but those raised, fuzzy, spotty growths. A flat surface that’s simply gone a shade darker is a hungry starter, not a moldy one. When in doubt, this is where the nose earns its keep.

    The smell test, and when to just toss it

    Your nose is a genuinely reliable backup instrument. A healthy starter smells sharp, tangy, yeasty, sometimes beery or faintly like ripe fruit or vinegar. All of that is normal and good. What should stop you is a smell that reads as genuinely rotten, putrid, or foul in a garbage-y way, rather than sour. That kind of stench, especially paired with any pink or orange tint, means the jar has gone off. Trust it.

    So here’s the clean decision rule. Toss the entire starter and start over if you see any fuzzy raised mold, any green, black, pink, or orange growth, or if it smells truly rotten rather than sour. Don’t try to scoop mold off and save the rest; the contamination runs deeper than the visible spots, and a starter is cheap to rebuild while a foodborne illness is not. You can save it if what you have is flat kahm yeast, a layer of hooch, or simple discoloration on a starter that still smells sour. In those cases, discard down to a small amount of the cleanest paste, move it to a clean jar, and feed on a tight schedule. A neglected but mold-free starter is remarkably resilient, and our walkthrough on reviving a neglected starter covers exactly how to nurse a sad one back to strength.

    How to stop mold coming back

    Prevention is mostly hygiene and rhythm. Always feed with a clean spoon and wipe the inside walls of the jar so stray dried flour and paste up high can’t grow anything. Move your starter to a fresh, clean jar every week or so rather than letting crust build up around the rim. Keep the lid resting on or loosely closed, not screwed down airtight, so gases escape without inviting a long open-air exposure.

    A healthy freshly fed sourdough starter domed and bubbly in a clean glass jar by a window
    The goal after a clean restart: a fresh jar, a smooth even surface, and a vigorous rise with no film and no fuzz.

    Feed on a consistent schedule and don’t let the jar sit hungry and warm for days, which is exactly the condition kahm and mold love. If you’re going to be away or baking less often, the safest home for a starter is the fridge, where the cold dramatically slows everything down; our guide to storing your starter through breaks and vacations lays out how to park it safely and wake it back up. A well-fed starter kept clean and cool is a genuinely difficult place for mold to gain a foothold.

    The reassuring truth is that a fuzzy, colored, foul jar is rare, and nearly everything else you’ll see, films, liquids, funky sour smells, is normal starter behavior you can fix in a feed or two. Learn the flat-versus-fuzzy tell and you’ll never lose a good starter to a false alarm again.

    Want to see a moldy jar next to kahm yeast and hooch side by side so you’ll always recognize them? The full visual walkthrough lives on the LoafLovers YouTube channel, and our free sourdough troubleshooting guide covers the rest of the starter rescues for when you’re staring at a jar and need the answer right now. No hard sell, just the fix.

    Related Reading

  • Sourdough Burnt Bottom: Why the Base Scorches and How to Stop It

    Sourdough Burnt Bottom: Why the Base Scorches and How to Stop It

    You pull the loaf out, and the top looks incredible: blistered, deep gold, exactly what you were hoping for. Then you flip it over and your heart sinks. The bottom is a slab of near-black, and when you cut in, that base tastes acrid and bitter enough to ruin an otherwise good slice. It’s one of the most deflating sourdough surprises, precisely because everything else went right.

    Here’s the reassuring part: a burnt bottom is almost never a mistake in your dough, your starter, or your fermentation. It’s a heat problem, plain and simple. Your base is getting cooked harder and faster than the rest of the loaf, and once you understand where that heat is coming from, the fix is quick and permanent. Let’s diagnose it and shut it down.

    Read the burn before you fix it

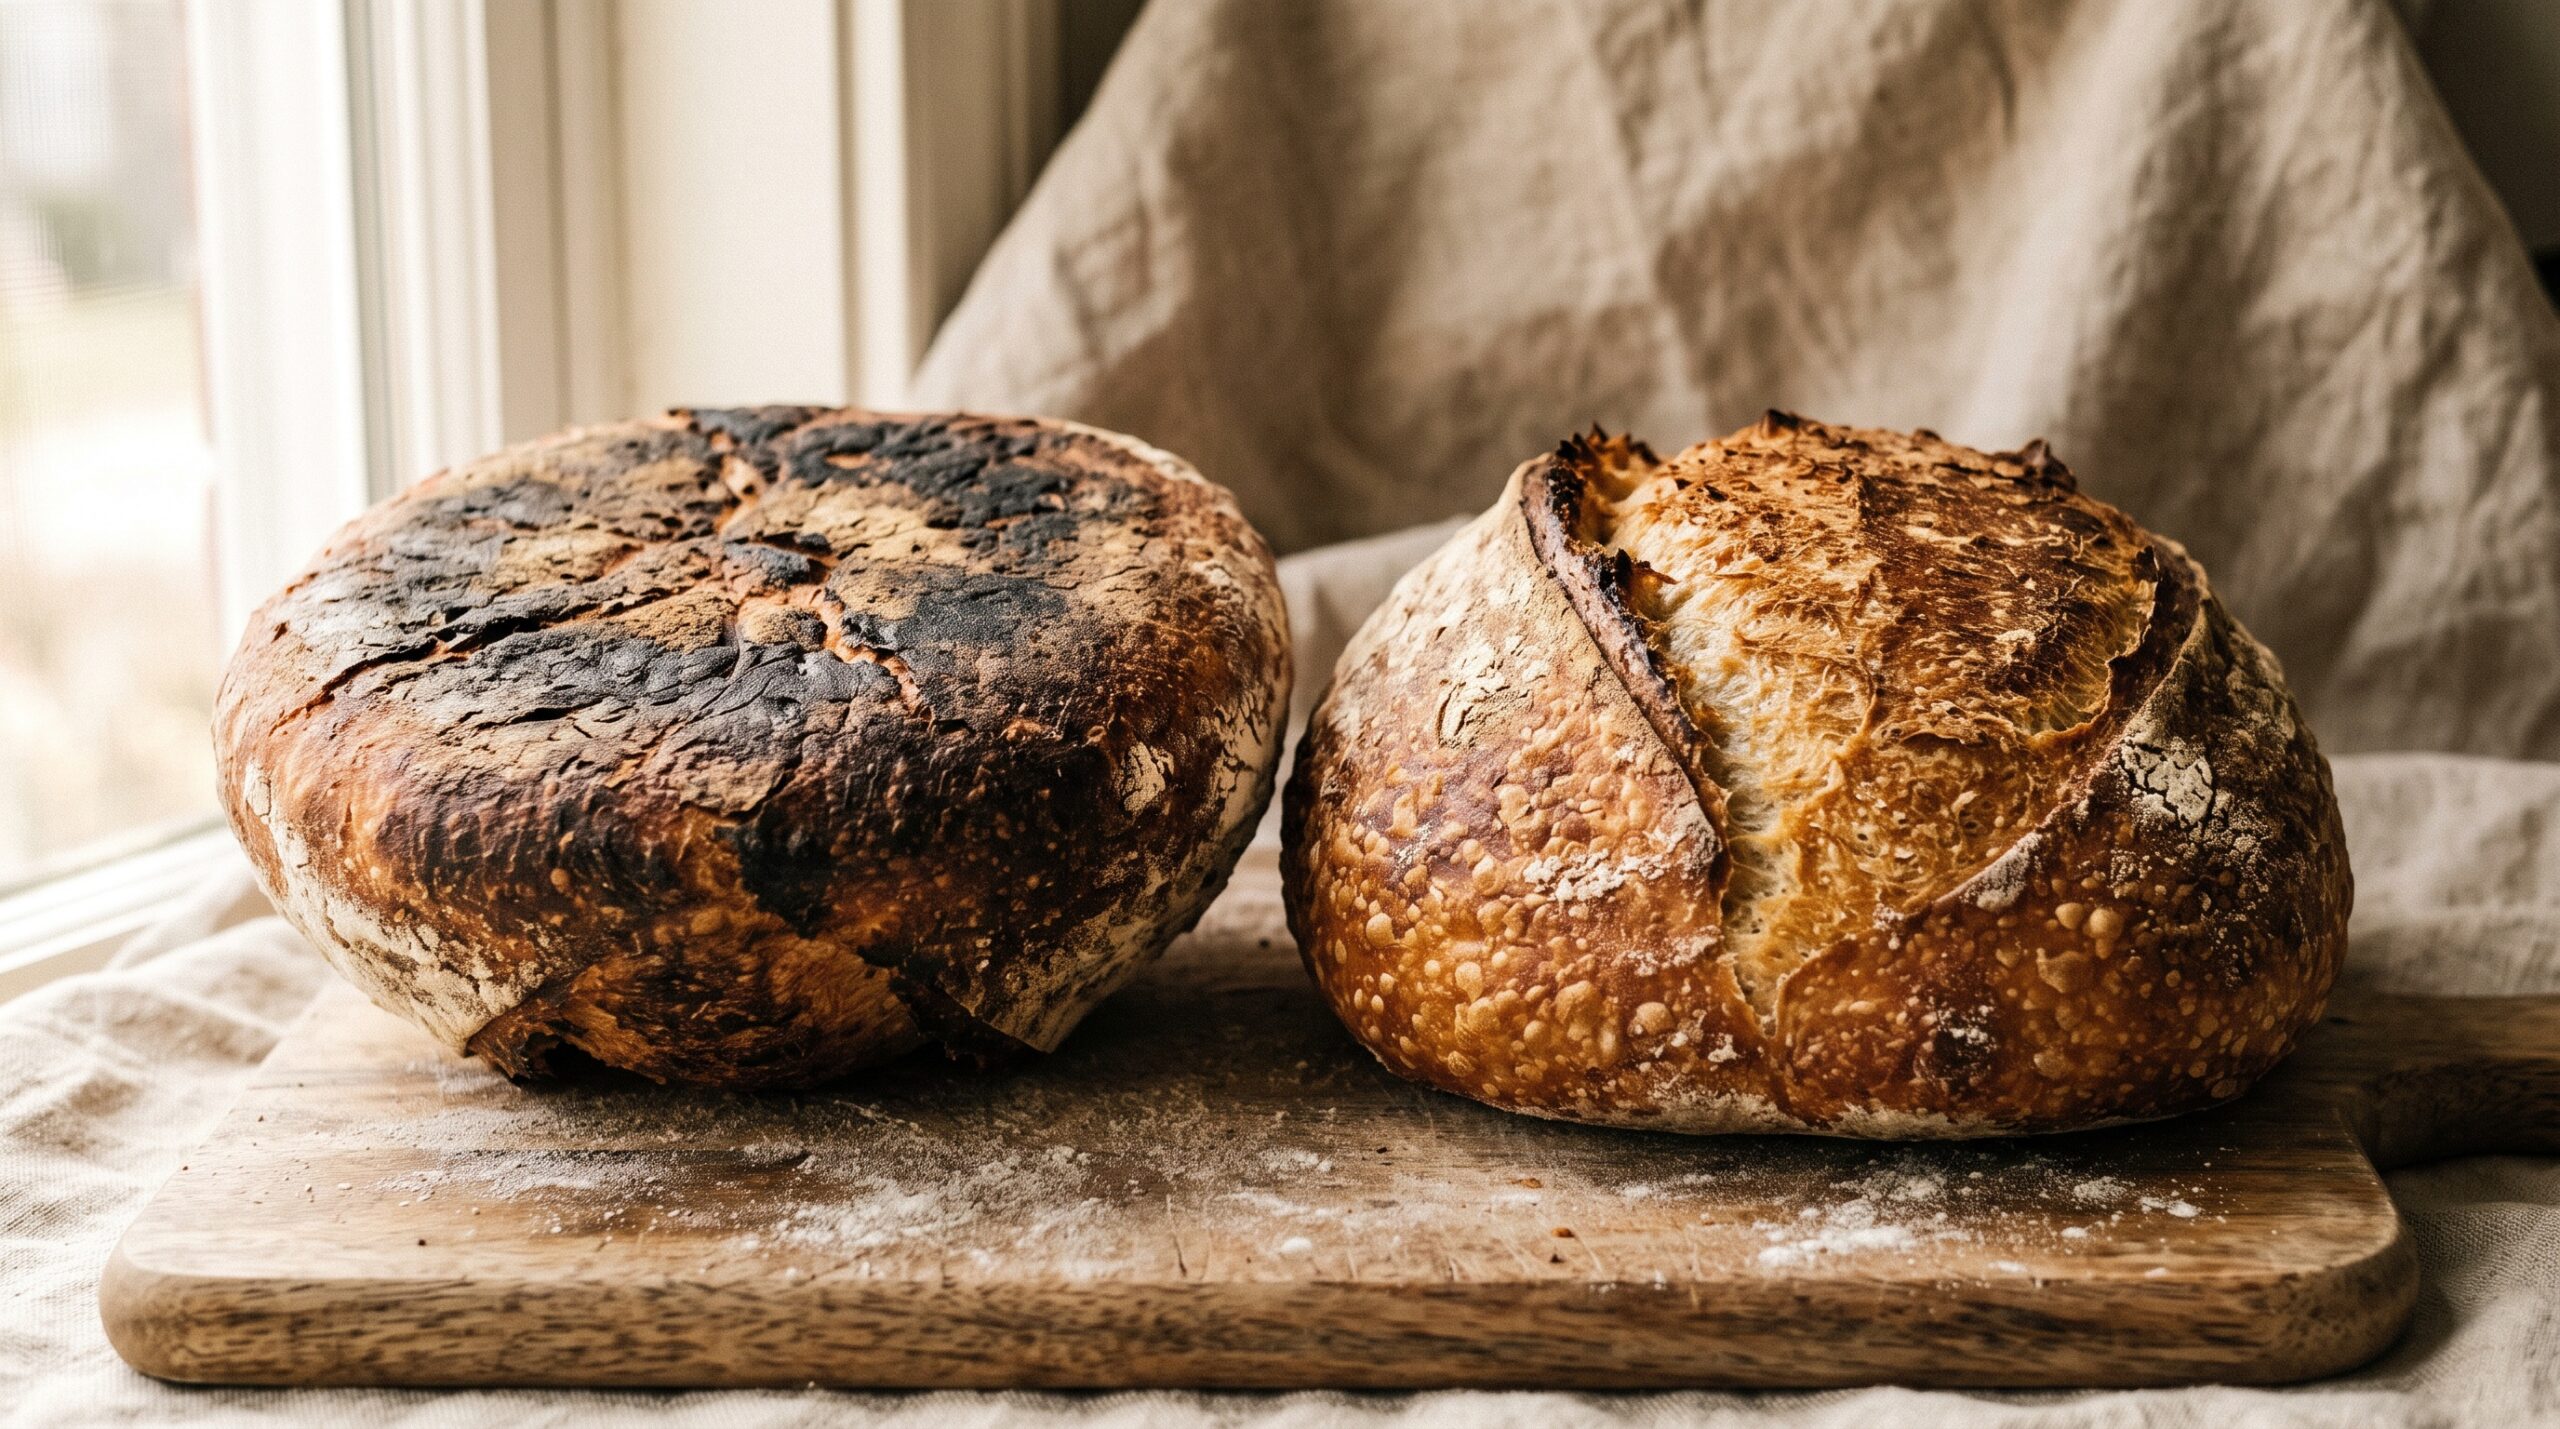
    Start by looking closely at what actually burned. There’s a real difference between a base that has gone uniformly dark brown to black, and a base that’s golden but flecked with scattered black specks. The first is the crust itself overbaking from too much direct heat. The second is usually burnt dusting flour, the semolina, rice flour, or rye you scattered to stop sticking, carbonizing on contact with hot metal.

    They have different fixes, so it’s worth the ten-second look. If the whole base is scorched, you have a heat-delivery problem and the next few sections are for you. If it’s mostly specks on an otherwise fine crust, jump ahead to the dusting-flour section. Often it’s a bit of both, and the good news is the fixes stack neatly.

    Underside of two sourdough loaves side by side, one with a burnt black base and one with an even golden base
    Same recipe, same oven: a scorched base on the left, a properly baked golden base on the right. The difference is bottom heat, not skill.

    Why the bottom scorches: it’s heat from below

    Most home ovens heat unevenly, and the bottom element or the oven floor is frequently the most aggressive source in the box. When you bake sourdough in a preheated Dutch oven or on a screaming-hot baking stone, you’re pressing raw dough directly onto metal or ceramic that has been soaking up radiant heat for 45 minutes to an hour. That surface can sit well above the air temperature around it.

    The crumb and the top crust bake off the ambient heat and steam. The base, meanwhile, is conducting heat straight through the vessel, cooking faster and browning sooner. By the time the interior is set and the top is properly colored, the bottom has had far more thermal energy than it needed. That’s the whole mechanism, and every fix below is really just a way of moderating that one contact point.

    Move the loaf off the direct heat

    The fastest, most reliable fix costs nothing: put a barrier between your baking vessel and the oven’s bottom heat. Slide an empty metal baking sheet onto the rack directly beneath your Dutch oven or stone. That extra tray intercepts and diffuses the radiant blast so it never hits your loaf full force. For a lot of bakers this single change turns a black base golden overnight.

    A Dutch oven on the middle rack with an empty baking tray on the rack beneath it to block direct bottom heat
    The single most effective fix: slide an empty tray onto the rack below to break the direct blast of bottom heat.

    You can also add a buffer right under the dough. A folded piece of parchment, a second thin tray, or a trivet inside the Dutch oven all lift the base a few millimeters off the scorching floor of the pot. Some bakers keep a small sheet of parchment as a sling, which does double duty: it makes launching the dough clean and easy while adding a thin insulating layer. If you’re curious how launching works without any vessel at all, our guide to baking sourdough without a Dutch oven walks through tray-and-steam setups that sidestep the problem entirely.

    Hands lowering a scored sourdough on parchment paper into a hot Dutch oven
    A parchment sling lifts the dough a hair off the scorching metal and makes launching gentle and burn-free.

    Fix your preheat and oven setup

    Two setup habits quietly cause a lot of burnt bases. The first is preheating too hot for too long. If you routinely preheat your Dutch oven at 500 degrees Fahrenheit for a full hour, the metal is storing enormous heat that dumps straight into the dough the instant it lands. Try preheating at your bake temperature rather than higher, and cap the preheat at around 45 minutes. The pot will still spring the loaf beautifully with less scorch.

    The second is rack position. If your baking vessel sits on the lowest rack, it’s parked right in the path of the bottom element. Move it up to the middle or even the upper-middle rack. That small shift puts more air between the heat source and your loaf and evens out top-to-bottom coloring. And if your oven has a convection or fan setting, using it circulates heat so no single surface dominates. A cheap oven thermometer is worth buying here, because plenty of ovens run 25 degrees or more off their dial, and a base that burns every single time is often a sign your oven is simply hotter than it claims.

    The dusting flours that burn, and better choices

    If your base is golden with black freckles, your dusting flour is the culprit. Fine flours and grains scorch at high heat: whole rye, semolina used too heavily, and especially anything with residual sugar will darken and turn bitter fast against a hot surface. A thick layer of it on the bottom of the loaf is basically kindling.

    Close-up of a sourdough base speckled with dark burnt flecks from scorched dusting flour
    Those black specks are burnt dusting flour, not the crust itself. Excess semolina or rye on the base carbonizes fast.

    The fix is to use less and choose better. Rice flour is the home baker’s friend here because it resists sticking without burning as readily as wheat or rye. Whatever you use, apply a light, even dusting rather than a heavy coat, and knock off the excess before the loaf goes in. If you’re battling sticking in the first place and over-flouring to compensate, the real solution lives upstream, and our breakdown of handling sticky high-hydration dough will get you there with far less flour on the base.

    Timing, sugar, and enriched doughs

    Bake time and dough composition both feed into a dark base. If you bake lidded and then uncovered, the base keeps conducting heat the entire time even after the top has taken on color. Once the top is where you want it, you can pull the loaf a few minutes early, or move it up a rack for the final stretch so the base stops gaining. There’s no rule that says the last five minutes have to happen on the same shelf.

    Enriched and sweetened doughs deserve special caution. Any sourdough with added honey, sugar, malt, or milk browns faster everywhere, and the base scorches soonest because of the direct contact. For those loaves, lower your temperature by 15 to 25 degrees and lean harder on the heat-deflection tray. This is the mirror image of the pale, anemic crust problem, and the same levers, heat, position, and sugar, control both directions.

    A quick pre-bake checklist to save the base

    Run through this before your next bake and a burnt bottom becomes a rare accident instead of a habit. One: put an empty tray on the rack below your vessel. Two: preheat at your bake temperature, not above it, and stop at about 45 minutes. Three: bake on the middle rack, never the lowest. Four: use a parchment sling or a thin buffer under the dough. Five: dust lightly with rice flour and shake off the excess. Six: check your oven’s true temperature with a thermometer.

    A cooling sourdough loaf turned over to show a perfectly even golden-brown bottom crust
    The goal: a base that matches the top, deep gold and evenly baked, with no bitter char.

    If you’ve been fighting a base that burns while the top and crumb come out right, resist the urge to change your recipe. Change your heat. And if your loaf is landing hard all over rather than just underneath, that’s a different fix worth reading up on in our guide to a crust too tough to bite through.

    Want to watch the heat-deflection setup, the parchment sling, and a proper preheat in real time? The full burnt-bottom walkthrough lives on the LoafLovers YouTube channel, and our free sourdough troubleshooting guide covers the rest of the crust fixes for when you’re mid-bake and need the answer now. No hard sell, just the fix.

    Related Reading